Track and Manage Temp Attachments with Expiry Dates
No more manually checking expiry dates—just a structured way to manage everything in one place.
Upload Attachments with Expiry Dates
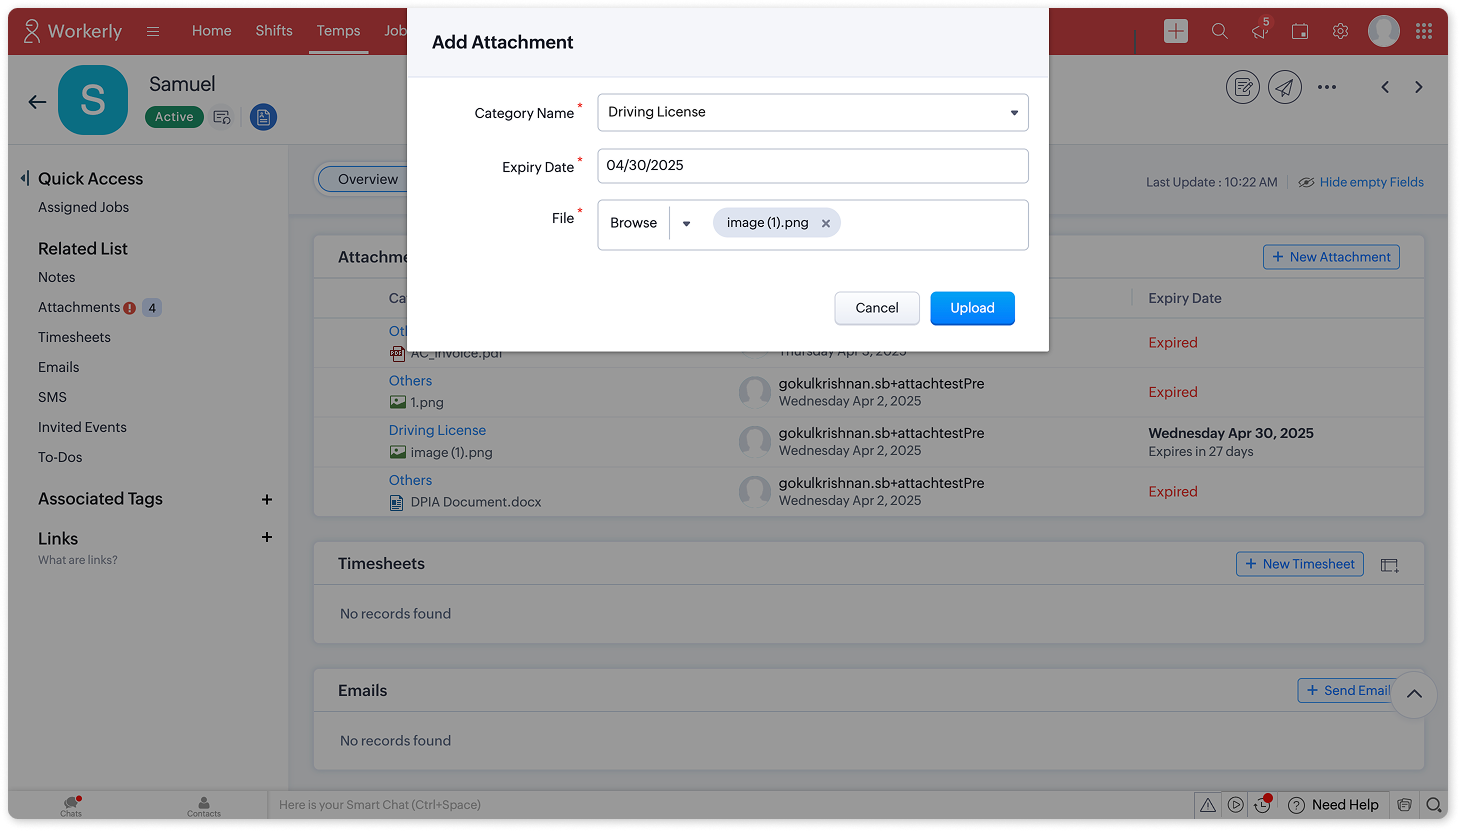
You can now add an expiry date while uploading attachments for temps, making it easier to track document validity. The revamped attachment interface offers a clearer view, with visual indicators to help you identify pending or expired documents at a glance.
Steps to upload an attachment with an expiry date:
Go to the Temps module and open a temp record.
Navigate to the Related List section and select Attachments.
Click + New Attachment.
Choose the document you want to upload.
Enter an Expiry Date (if applicable).
Click Save.
You can edit or delete an attachment later if needed.
Enable Expiry Date for Specific Attachment Categories
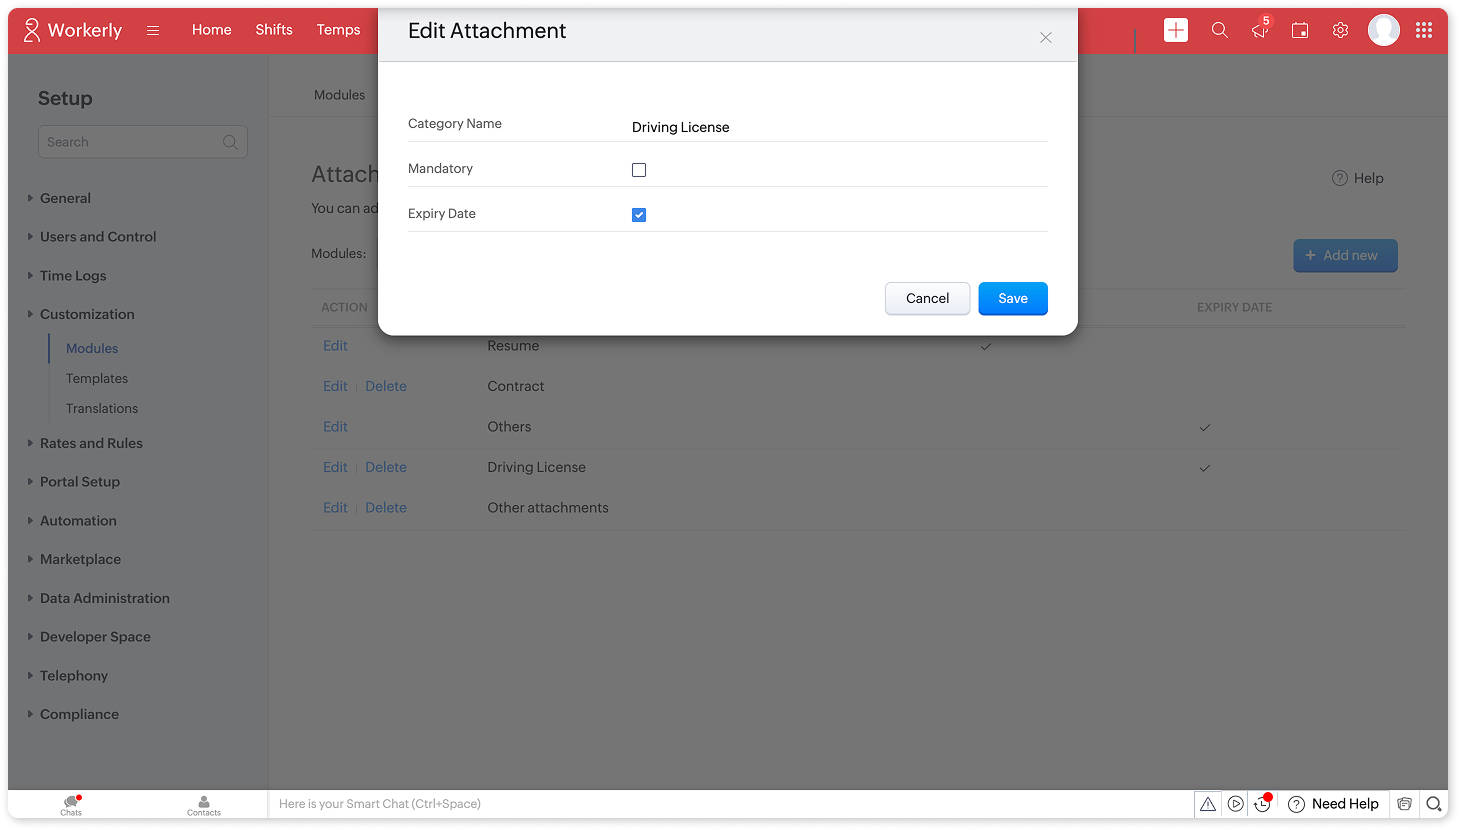
Not all documents require expiry tracking. You can enable the expiry date field for specific attachment categories, such as driver’s licenses, certifications, or work permits, ensuring only relevant documents are tracked.
Steps to enable expiry date for specific attachment categories:
Go to Setup > Customization > Modules > Attachments.
Select the required module (e.g., Temps).
Click Edit and enable the Expiry Date option for the relevant attachment category.
Click Save.
Note: Expired or soon-to-expire documents are visually highlighted across relevant pages, including the Temps list view and Shifts page, so you can take action before they become an issue.
Get Notified Before Attachments Expire
To ensure you never miss an expiring document, you can set up Attachment Expiry Reminders to notify temp owners before a document expires.

Steps to enable Attachment Expiry Reminders:
Go to Setup > Reminders > Attachment Expiry Reminder.
Click Enable Reminder.
Select when you want to receive notifications:
On expiry
Before 1 day
Before 3 days
Before 7 days
Before 14 days
Click Save.