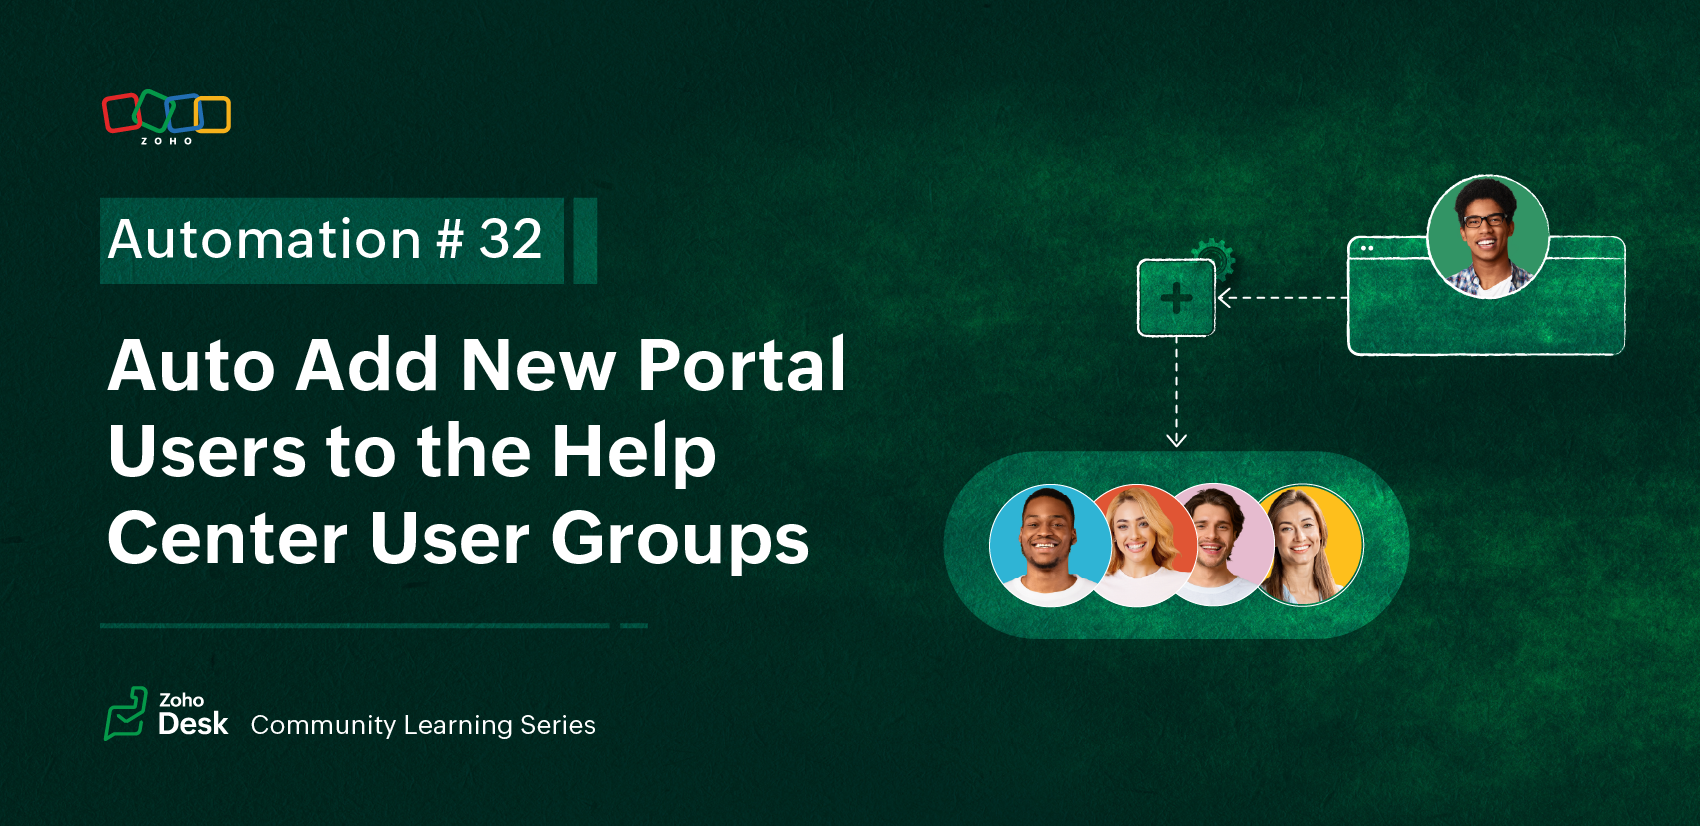
Automation#32:Auto Add New Portal Users to the Help Center User Groups
Hello Everyone,
Introducing a custom function that automates the process of adding new portal users to Help Center user groups, making user management effortless!
By default, Zoho Desk allows you to assign new portal users to groups manually. But with this custom function, the process is completely automated, ensuring seamless categorization.
Why User Groups?
Zylker Techfix was dedicated to helping customers through their Help Center. While they actively supported users, there was one challenge: everyone received the announcements, irrespective of their requirements.
Zylker Techfix wanted a smarter way to engage their users by sending targeted announcements based on individual interests, such as gadgets, office equipment, and operations.
To make this happen, they created user groups and assigned new users accordingly. But manually adding users to the right groups was time-consuming.
So, they automated the process! With a custom function, they streamlined operations, ensuring every new portal user was automatically assigned to the right Help Center user group. More relevance, better engagement, zero manual effort.
Let’s walk through the steps to incorporate this custom function into your workflow.
Prerequisites
1. Create a connection
1.1 Go to Setup(S) and choose Connections under Developer Space.
1.2 Click Create Connection.
1.3 Select Zoho Desk under Default Services.
1.4 Set the connection name as zohodesk.
1.5 Disable the toggle for User Credentials of Login User.
1.6 Under Scope, choose the below scope values:
Desk.contacts.READDesk.contacts.UPDATE
1.7 Click Create and Connect.
1.8 Click Connect and click Accept.
Connection is created successfully.
Create a Workflow Rule
1. Go to Setup, choose Workflows under Automation.
2. Under Workflows, click Create Rule.
In the Basic Information section,
3. Select Contacts from the drop-down menu under Module.
4. Enter a Rule Name and Description for the rule.
5. If you want to activate the rule right away, select the Active checkbox. Else, create the rule and activate it later.
6. Click Next.
In the Execute on section, follow these steps:
7. Select Field Update. Select field isPortalUser.
8. Click Next.
9. In the Criteria section, add isPortalUser is and select the checkbox. click Next.
10. In the Actions section, click the + icon and select New next to Custom Functions.
11. Enter a Name and Description for the custom function. Choose Contacts under Module.
12. Under Argument Mapping, give a desired Method Name. Map the arguments as below:
12.1 In the Argument Name field, type contactId and select Contact ID under the Contacts Section.
13. In the script window, insert the Custom Function given below:
- // ---------------User inputs------------------------------------------
- deskUrl = "https://desk.zoho.com/api/v1/"; // replace based on user dc
- groupId = "<<GROUP ID>>"; // replace the group id in your desk portal
- //---------------------------------
- logs = Map();
- try
- {
- getContactStatus = invokeurl
- [
- url :deskUrl + "contacts/" + contactId + "/helpCenters"
- type :GET
- connection:"zohodesk"
- ];
- contactUserId = getContactStatus.get("data").get(0).get("userId");
- if(contactUserId != null)
- {
- addUserToGroup = invokeurl
- [
- url : deskUrl + "groups/" + groupId + "/users/add"
- type :POST
- parameters:"" + {"users":{{"id":contactUserId}}}
- headers:{"Content-Type":"application/json"}
- detailed:true
- connection:"zohodesk"
- ];
- info "addUserToGroup" + addUserToGroup;
- }
- }
- catch (errorInfo)
- {
- logs.insert("errorInfo":errorInfo);
- }
- info "logs: \n" + logs;
- if(logs.containKey("errorInfo"))
- {
- throws "Error happen in the CF execution";
- }
User Inputs
a. In Line 2, replace .com in the URL based on your DC.
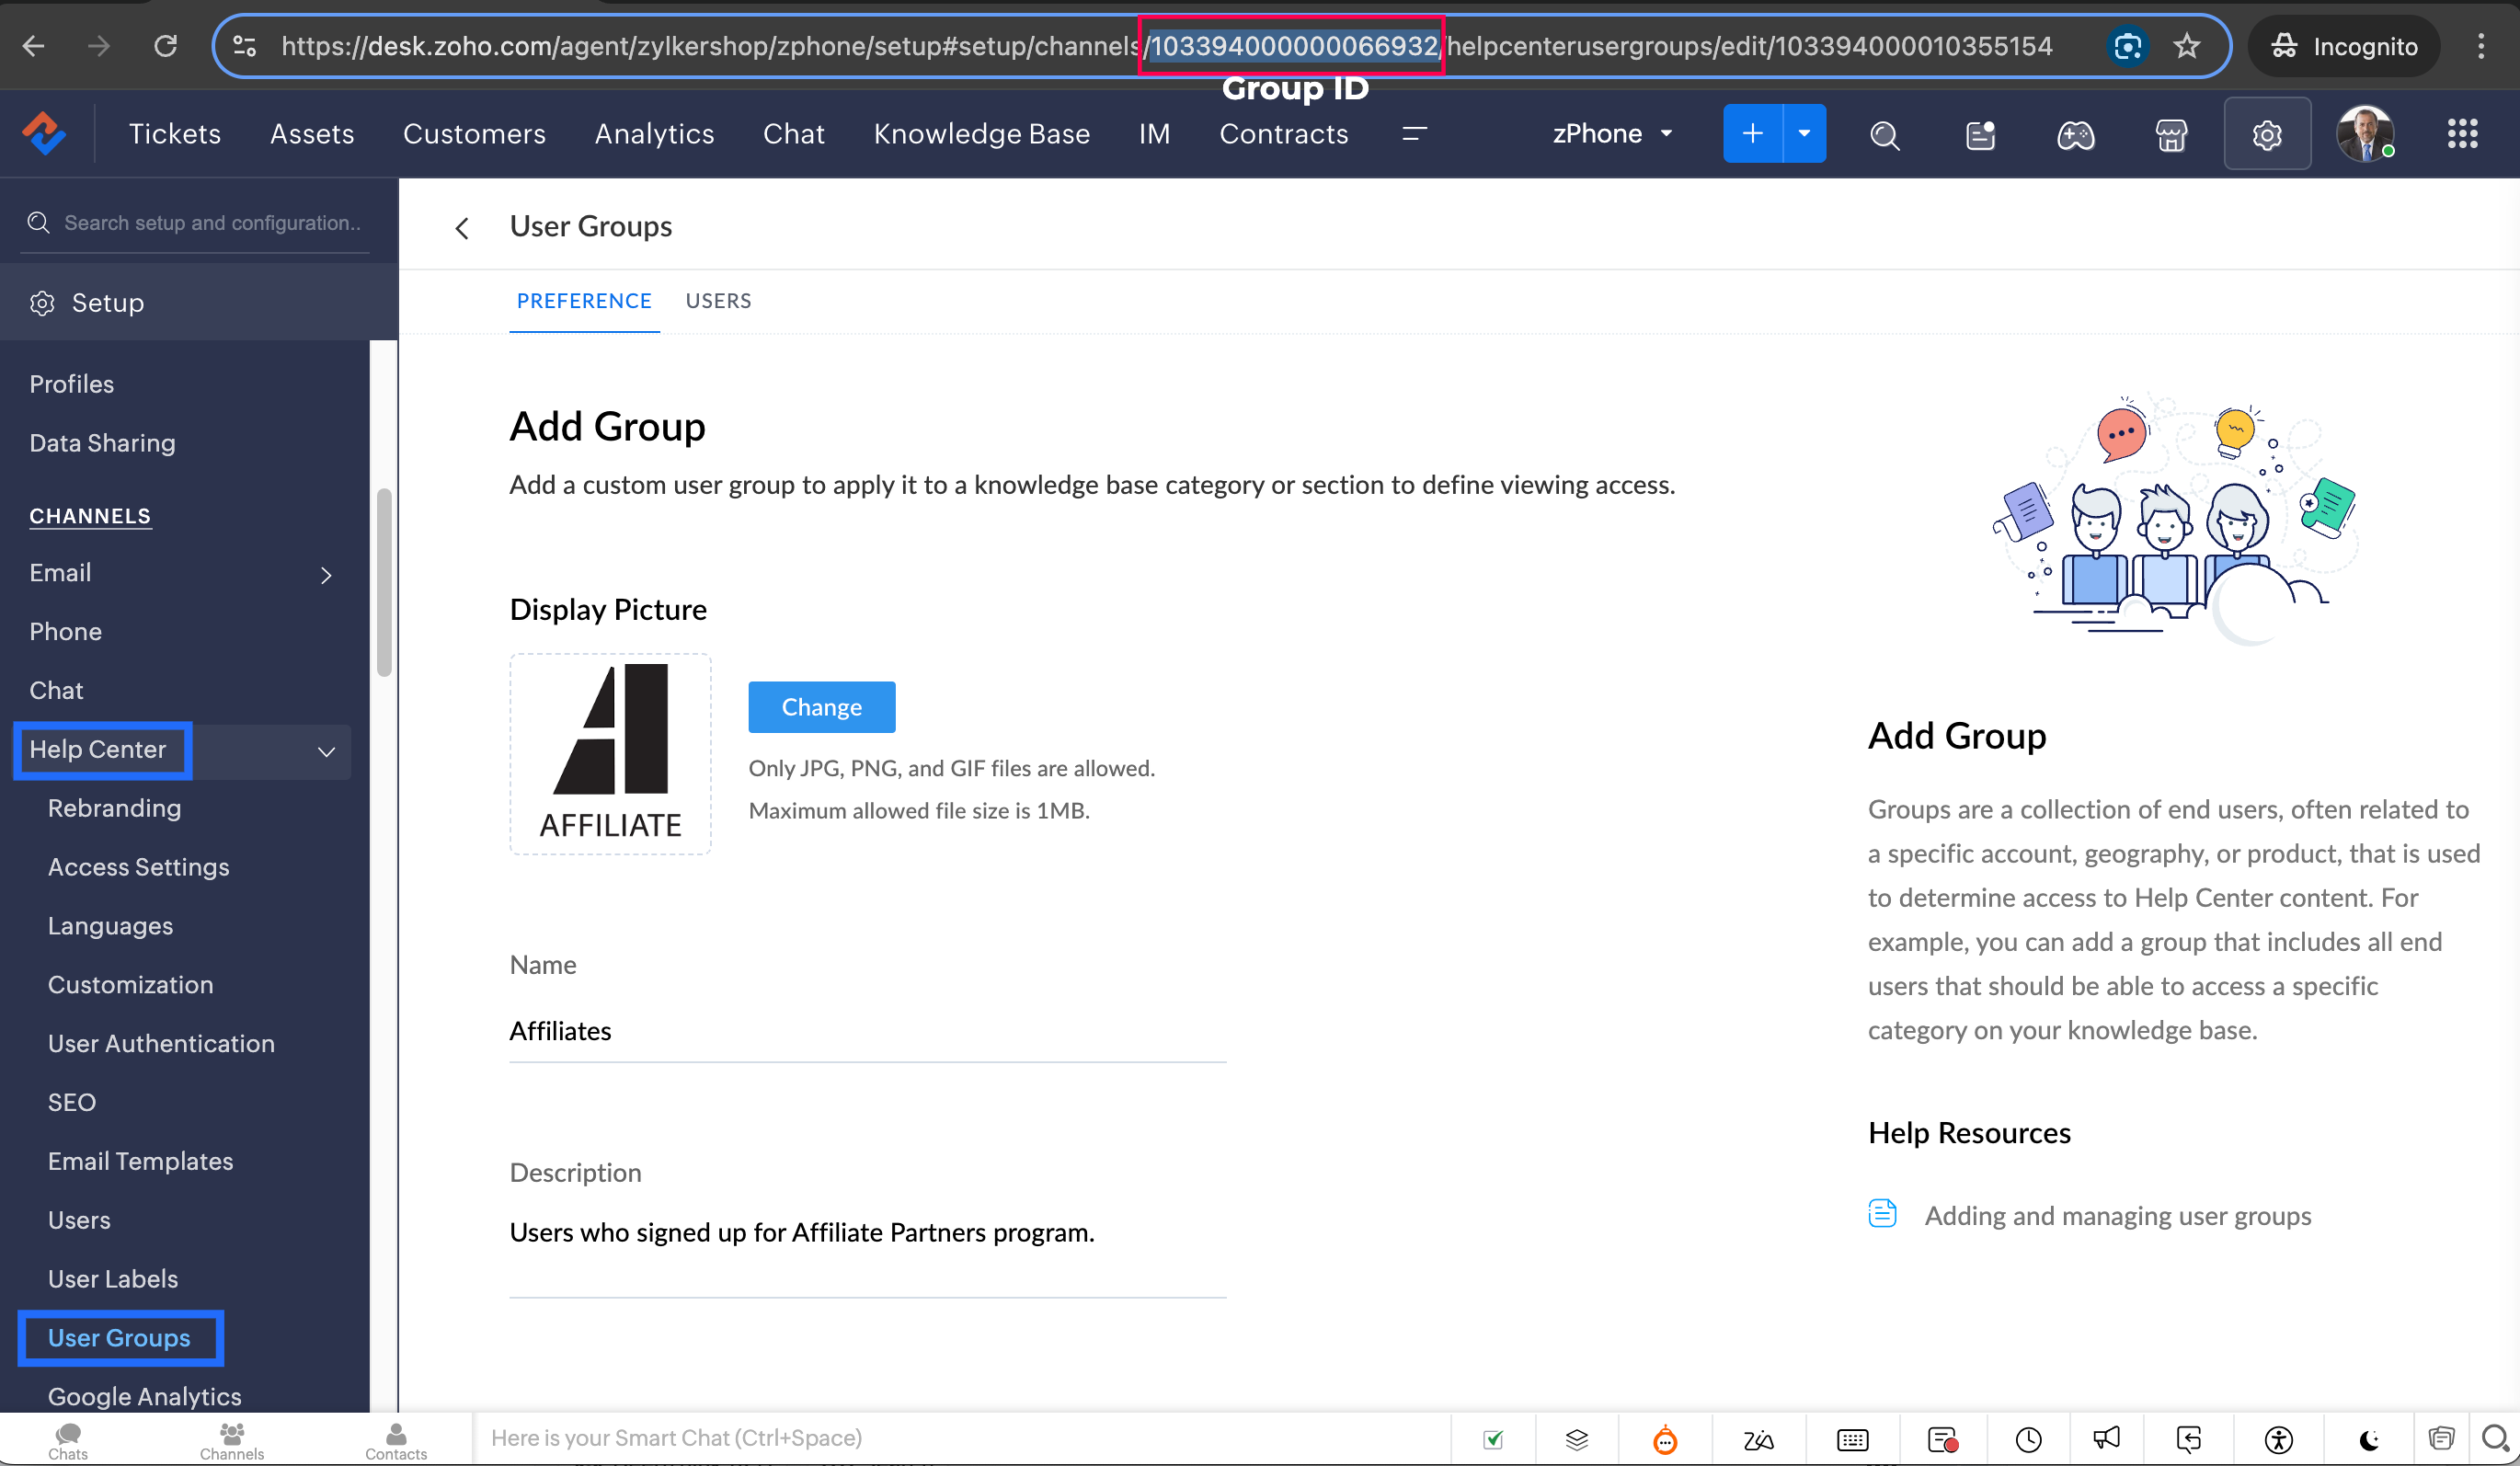
b. In Line 3, enter the group ID to which you would like to add your new portal users. To access group ID, go to Setup >> Help Center >> Select the Department having your preferred User group >> choose User Groups on the left panel >> Select the user group >> The Id in the address bar is the required Group ID.
Note: Configure the Workflow for the contacts module in the respective department where you want to add portal users to be added to the User group.
14. Click Save to save the custom function.
15. Click Save again to save the workflow.
Share with us how this custom function helps you in your operations! Drop a comment below or reach out to us at support@zohodesk.com, we’re just an email away!
Meet you in the next post!
Regards,
Lydia | Zoho Desk