Weekly Tips: SecurePass For Extra Security
Imagine sensitive data from your organisation sent via email is being accessed by unintended recipients. The sensitive data can range from Personal Identification Information to a tender quotation or a client’s NDA document. The unintended access could lead to data leaks, legal consequences, and more. So, how can you ensure that only the intended recipient can view the content and that it becomes inaccessible after a certain period?
One simple yet effective solution: Sending a SecurePass email.
SecurePass email
Zoho Mail's SecurePass email offers the ability to ensure that only the intended recipient can access the content of the email. When you send your email as a SecurePass email, your sensitive data is kept secure. A link protected by a SecurePass code will be sent to the recipients via email. The secure passcode will only be sent to the actual recipient's email address, and the recipient must enter the code to view the email's content, which cannot be forwarded, copied&pasted, printed, or downloaded.
How to Send a Secure Pass email:
To send a SecurePass email, follow the steps mentioned below:
- Log into your Zoho Mail account.
- Click on the New Mail button in the left pane.
- Click on the Secure Email icon from the header.
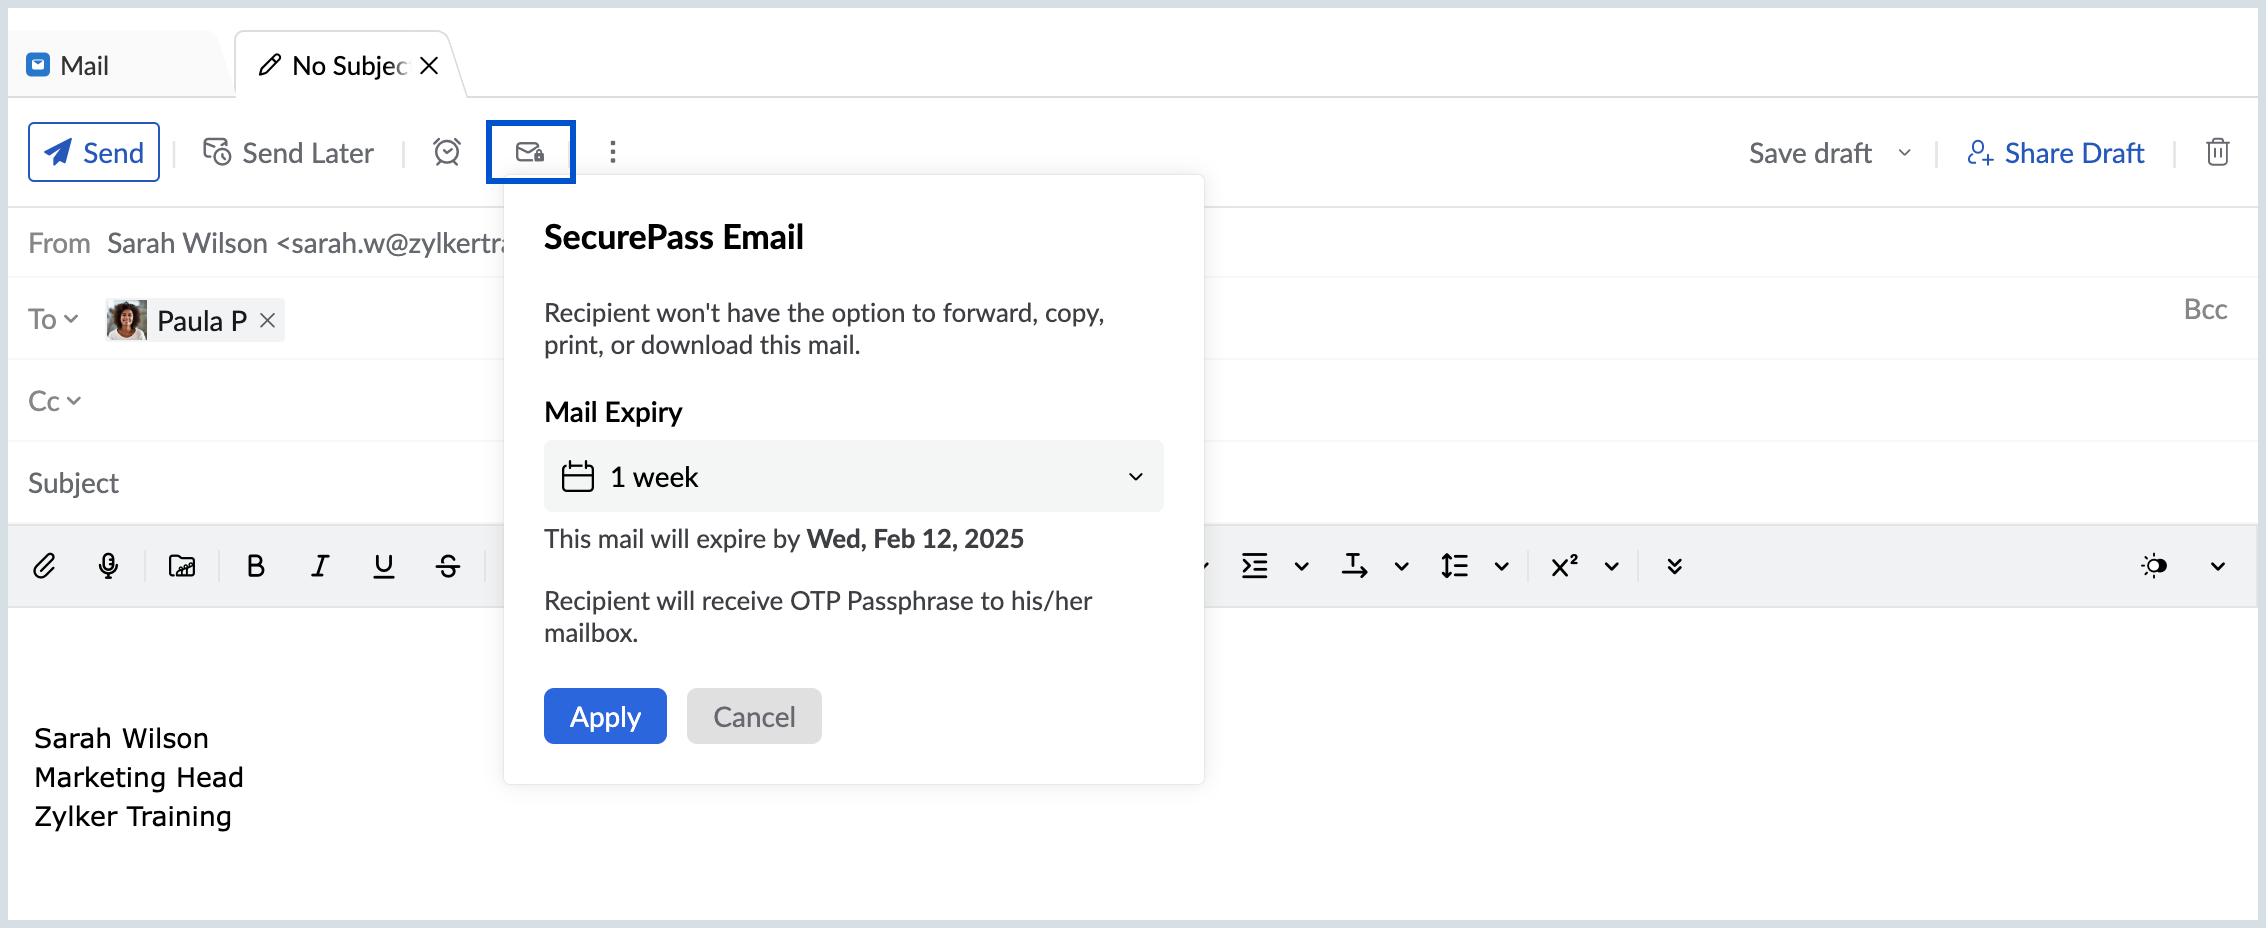
- Choose the Mail expiry date using the options provided in the drop-down. You can also choose a Custom date for the email to expire.
- After setting the Mail expiry, click the Apply button. Your email content will now be protected with a passcode when sent to the recipients.
- You can also choose to Edit the expiry date or Clear/ Delete the SecurePass using the respective option from the top of Compose window.
- Compose the rest of the email content and click Send.
Keep your email communication safe with Zoho Mail’s Secure pass emails!