iPhone - Dynamic Display
Dynamic Display offers an intuitive approach to displaying your data, allowing you to precisely choose which fields to display, customize their presentation, and arrange them in the desired order in the list view.
Two Modes
Dynamic Display can be used in two modes: web setup and mobile setup.
Web Setup: The primary purpose of this mode is to mirror the display settings on the web and provide a limited selection of customization options.
Mobile Setup: Mobile users may truly take control of their viewing experience in this mode through extensive customization options.
Important Know-How:
Preview Pane
The preview pane will reflect the user's current view along with any changes they've made to it. This will let them see how their customization will affect the final look of the view.
Selecting Fields
This section is where all the magic happens. Here, users may experiment with several approaches to data visualization and choose the one that works best for them.
i. HEADING
Font size and weight have been increased in this layout to draw attention to the most important content first. A header may be chosen by dragging and dropping a field onto it, or it can be selected with a few taps.
ii. SUBHEADING
You may think of this as the second-most noticeable part of the layout. It contains two fields, H1 and H2, along the leading and trailing ends of the layout. There can be two or more sub-headers underneath the header, depending on the layout you've chosen.
iii. ITEMS
This part of the layout is useful for displaying multiple pieces of data. Each field contained here is separated by the bar "|" symbol.
Drag and Drop Support
The number of steps required to reorder or select fields can be reduced significantly with the help of drag and drop actions. Drag and drop can be used in the following scenarios:
i. Between layouts
- To reorder the layouts
- To swap fields in and out of the layout
- To add a field to an empty layout
ii. Inside the Items layout
- Reorder fields easily inside the layout
Swap is not supported inside this layout to maintain a smooth reordering experience.
iii. Removing fields from a layout
- Drag any field from the layout and drop it on the "Delete" icon at the bottom to remove it from the layout.
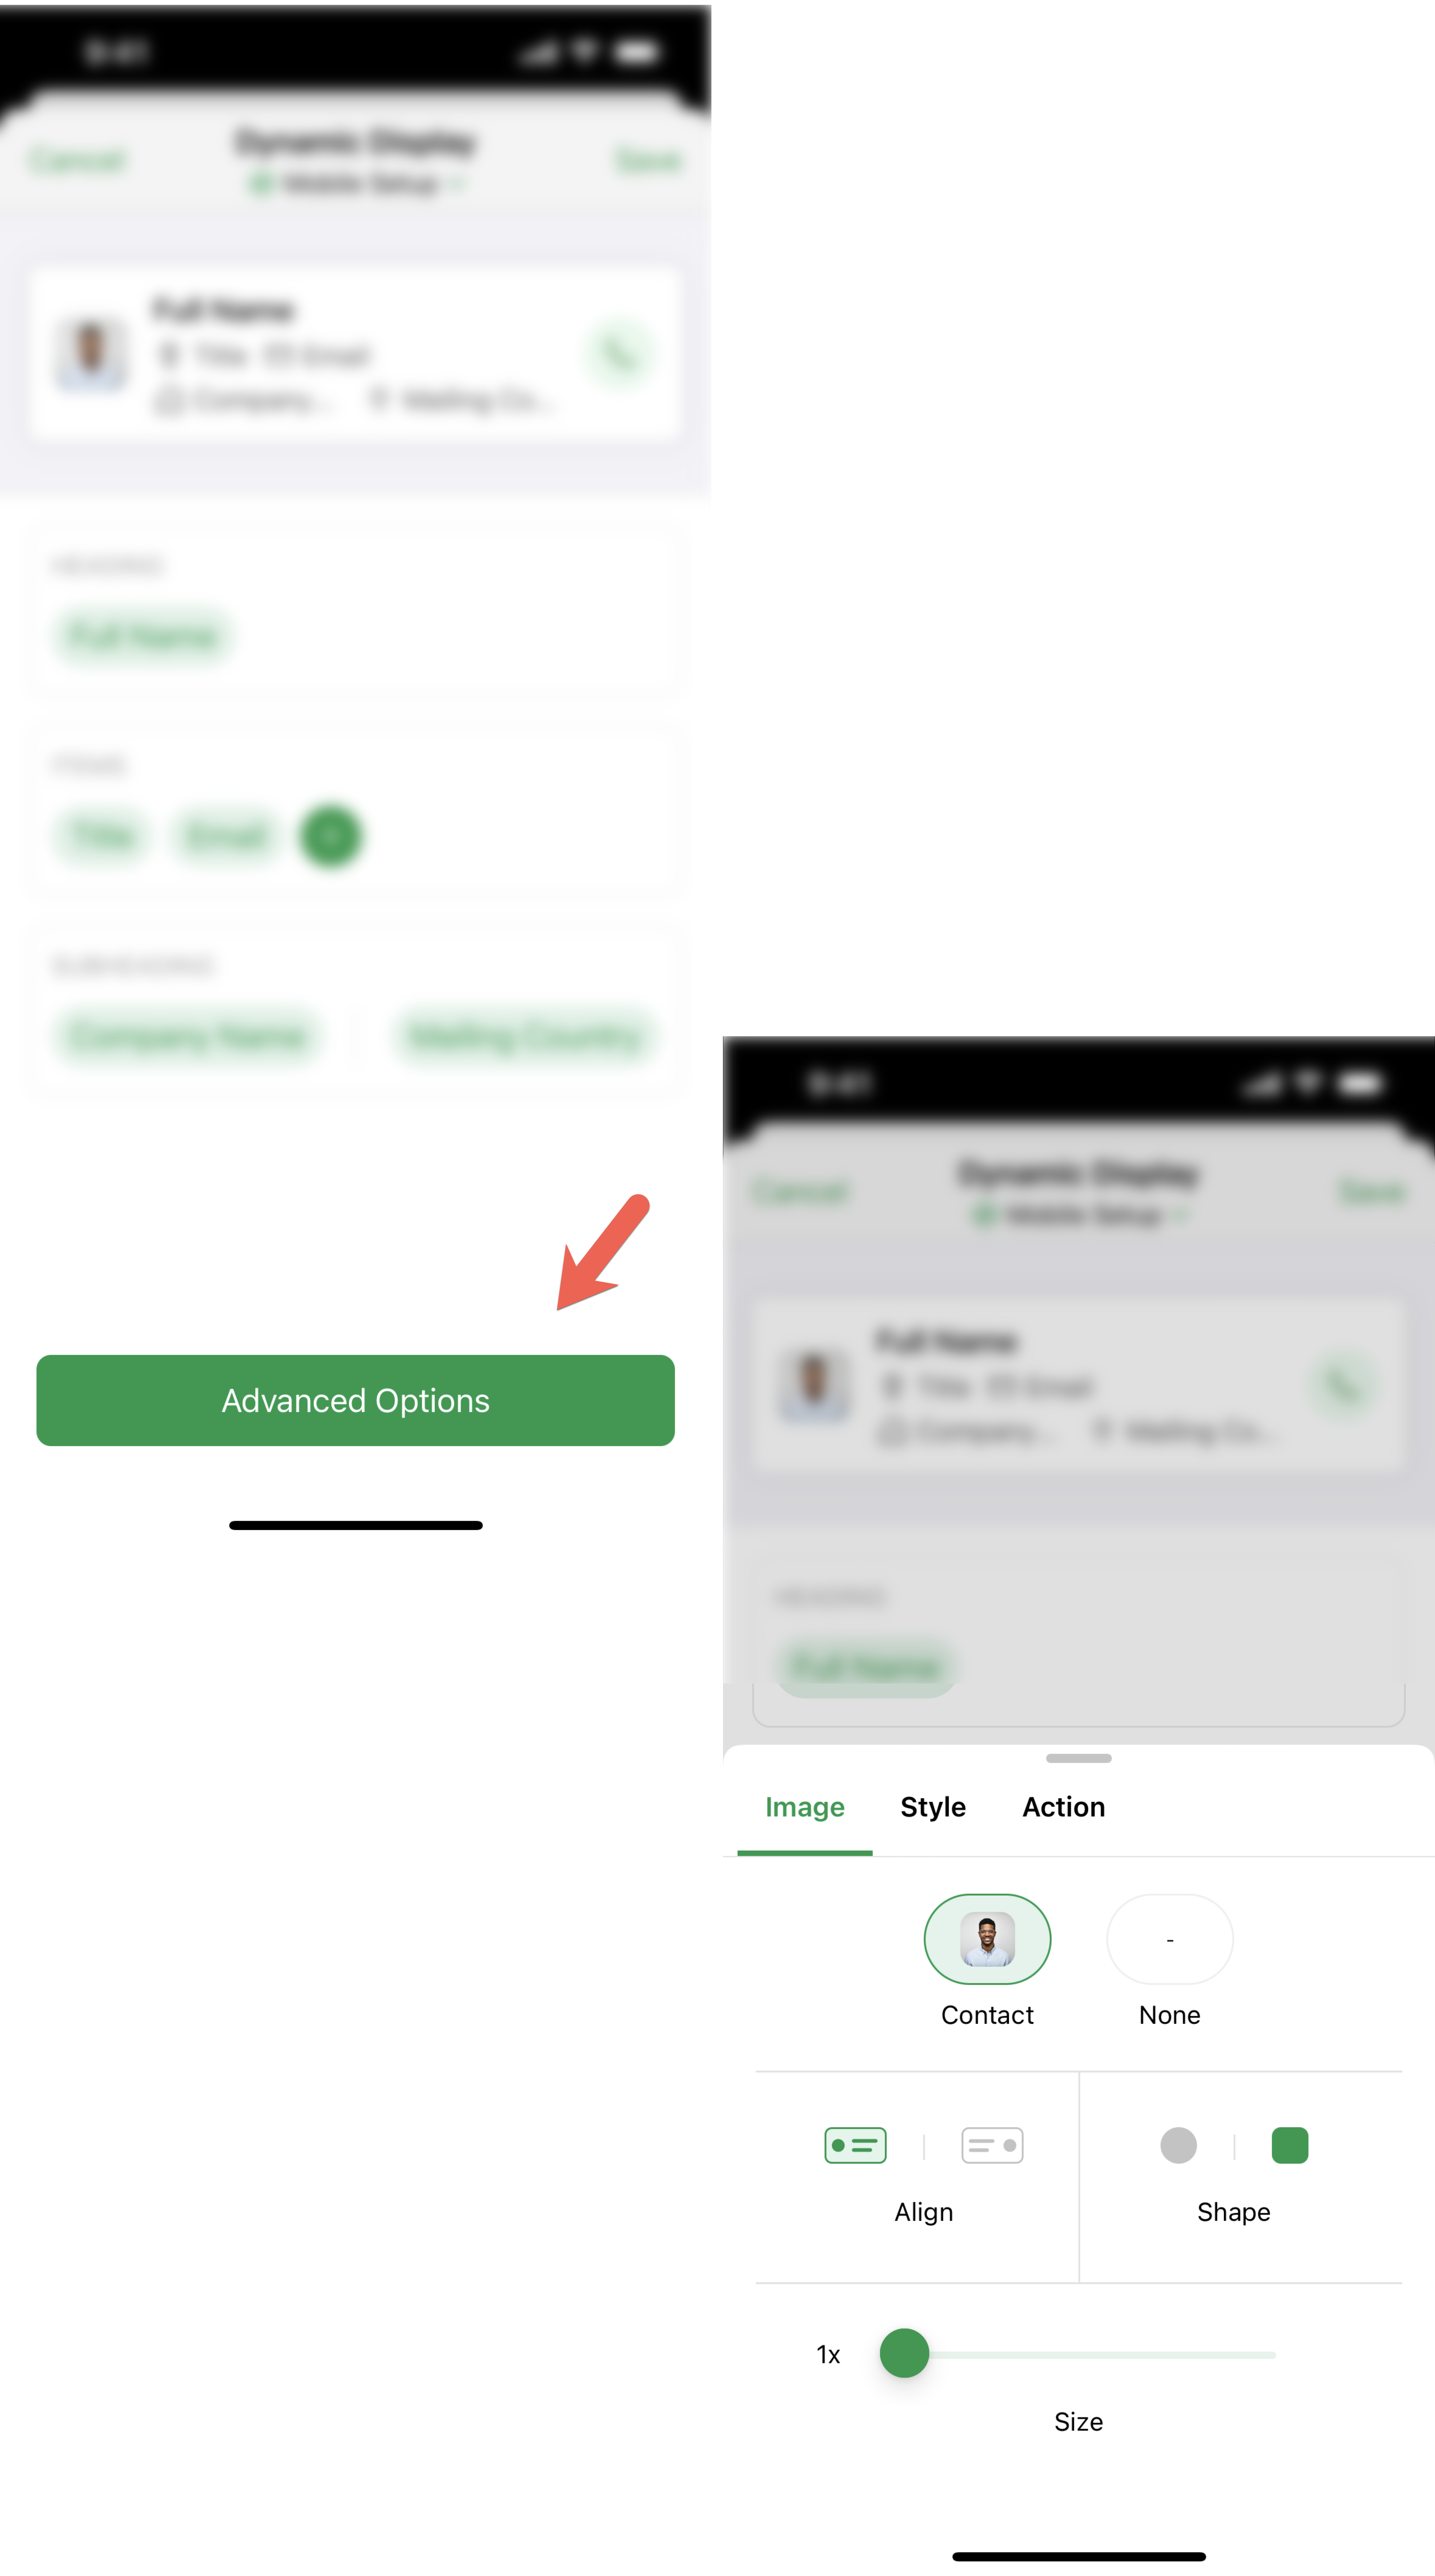
Advanced Options
You'll find a button marked "Advanced Options" located at the bottom of the screen. By accessing this section, you can make modifications that go beyond just choosing fields. The available configurations are organized into distinct tabs that you can access by navigating horizontally.

Image tab
This tab includes all the customization options related to the image displayed in the view, such as the profile image of a record, as well as the stage or probability of deals.
Style tab
You can adjust the style of each card in the display using the options found here, such as the layout style (whether Card or List) and whether to display icons.
Actions tab
The appropriate action for each module can be configured in this tab. For example, you can choose to have a call button appear with each record in the Contacts module.

Note: The actions tab is available only in the advanced options for Contacts and Tasks modules.
Zoho CRM Training Programs
Learn how to use the best tools for sales force automation and better customer engagement from Zoho's implementation specialists.
Zoho DataPrep Personalized Demo
If you'd like a personalized walk-through of our data preparation tool, please request a demo and we'll be happy to show you how to get the best out of Zoho DataPrep.
Centralize Knowledge. Transform Learning.
All-in-one knowledge management and training platform for your employees and customers.
New to Zoho Writer?
You are currently viewing the help pages of Qntrl’s earlier version. Click here to view our latest version—Qntrl 3.0's help articles.
Zoho Sheet Resources
Zoho Forms Resources
New to Zoho Sign?
Zoho Sign Resources
New to Zoho TeamInbox?
Zoho TeamInbox Resources
New to Zoho ZeptoMail?
New to Zoho Workerly?
New to Zoho Recruit?
New to Zoho CRM?
New to Zoho Projects?
New to Zoho Sprints?
New to Zoho Assist?
New to Bigin?
Related Articles
Android - Dynamic Display
Dynamic Display offers an intuitive approach to displaying your data, allowing you to precisely choose which fields to display, customize their presentation, and arrange them in the desired order in the list view. Two Modes Dynamic Display can be ...Manage List View
List view allows you to group records present in your Bigin account based on a specific criteria. Viewing all the records without any order will be hard for you to pull the required record immediately. For example, you may want to view the contacts ...How to view tasks in the Activities module?
To view tasks 1. Open the Bigin app on your iPhone. 2. Navigate to the Activities module. You can find all your tasks listed here. Note: To display specific task records, tap the List View Dropdownat the top left of the screen and select a criteria.How to view events in the Activities module?
To view events 1. Open the Bigin app on your iPhone. 2. Navigate to the Activities module. 3. Switch to the Events tab. You can find all your events listed here. Note: To display specific event records, tap the List View Dropdownat the top left of ...How to view calls in the Activities module?
To view calls 1. Open the Bigin app on your iPhone. 2. Navigate to the Activities module. 3. Switch to the Calls tab. You can find all your calls listed here. Note: To display specific call records, tap the List View Dropdownat the top left of the ...
New to Zoho LandingPage?
Zoho LandingPage Resources


