Set up a Zoho Bookings account
-
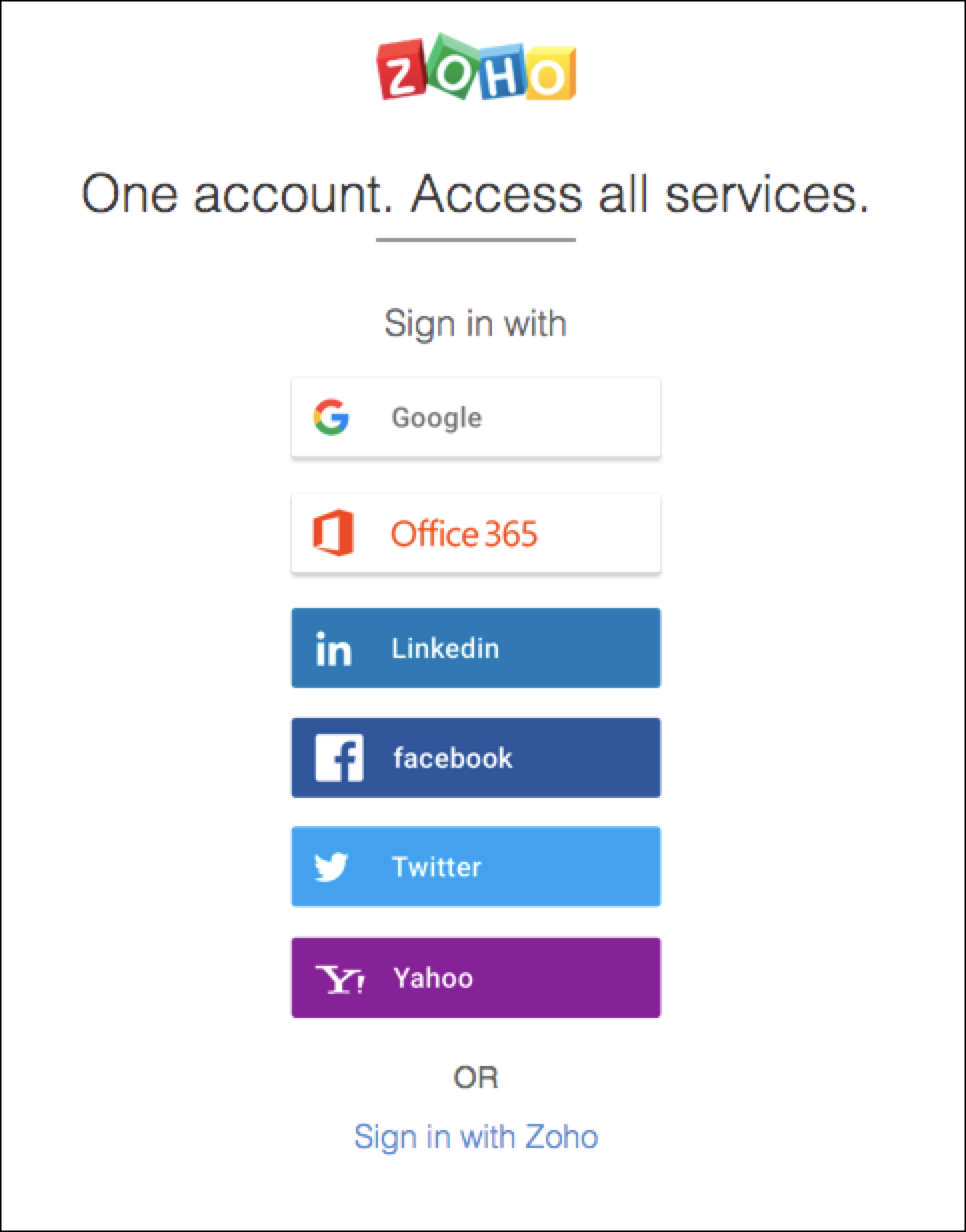
Access the login page of Zoho Bookings.
-
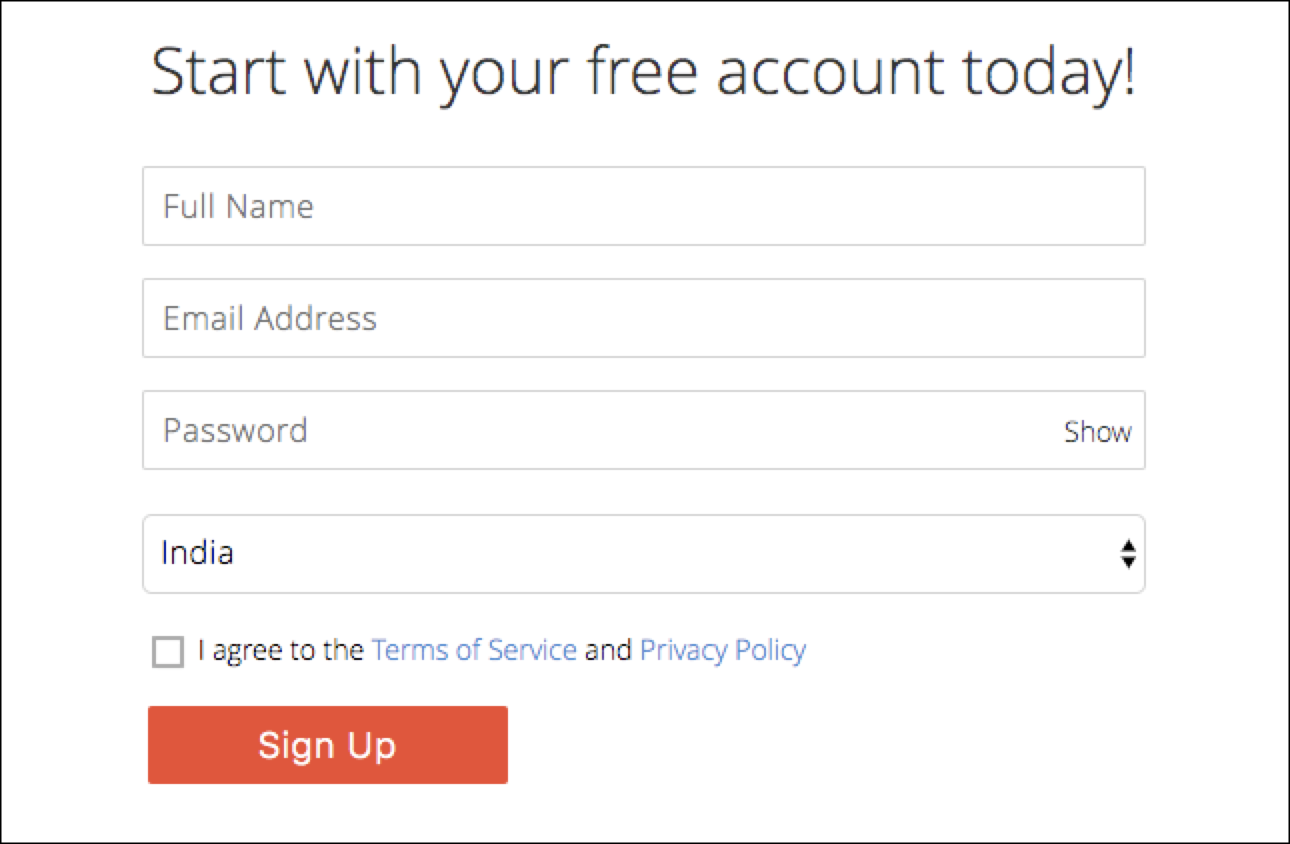
You need only one Zoho account to access all Zoho services. So if you already have an account with Zoho, proceed to sign in. If you do not have a Zoho account, you can click on Sign in with Google or other IDPs to sign in using Google, Office 365, LinkedIn, Facebook, Twitter, or Yahoo. You can also sign up with a Zoho account by clicking Sign Up Now.
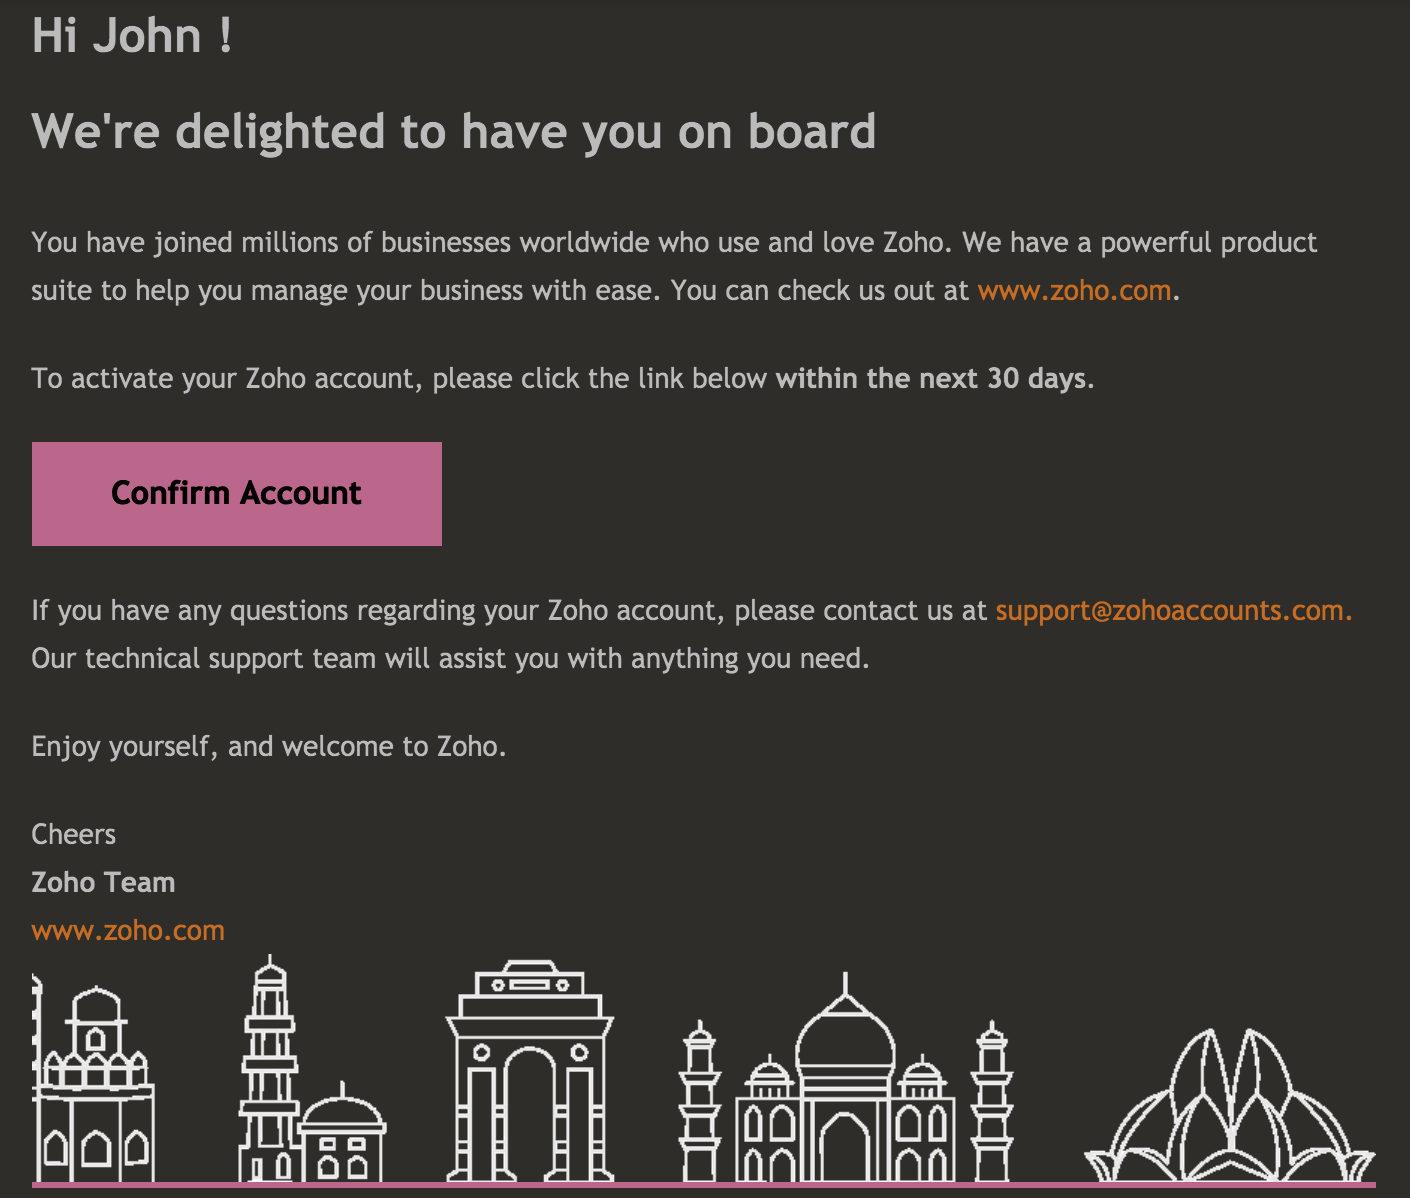
Post confirmation you will be navigated to Zoho Bookings.
When you sign up to Zoho Bookings, you'll be asked to provide details about your business, such as business timings and your availability, before you start. This is an initial setup process that gets your account up and running. This information can be edited, or further details can be added, anytime later.
Business Details
Provide your business name, choose your time zone, and select the currency you'll be dealing with. Click Next, once done.
Availability
Choose hours and days of the week when you are available to receive appointments. Click Next.
Business Name can be later changed under settings in General tab.
Create Service
You can now create a one-on-one service. Provide a name for your service, choose a duration, and click Create.
Availability set here can be modified later.
Setup complete
The basic setup for your account is complete. A one-on-one booking is good for consultations and face-face interactions. Get your hands dirty by booking a sample appointment.
 Note: This sample appointment can be deleted later.
Booking page
A booking page is created by default displaying the service details, availability, and a button to book an appointment. Click Book Appointment.
Personal Details
A booking form helps capture information about your customers. Fill your personal details including contact information and click Schedule Appointment.
Booking Complete
Congrats! Your appointment is booked.
Product Tour
You can either take the product tour or explore it on your own.
Once you land on the calendar dashboard, the sample appointment you booked is visible.