Integrate with Zoho Apps
Zoho Invoice
Features
- Sync customer details from Zoho Invoice to Zoho Campaigns automatically.
- Connect and manage data from multiple Zoho Invoice accounts in one place.
- Use invoice data to create more relevant and personalized campaigns.
- Send invoice updates and payment reminders without manual follow-ups.
Prerequisites
- You need an active Zoho Invoice account. If you have multiple accounts, you can connect only one account per integration setup.
- You must have administrator access in both Zoho Invoice and Zoho Campaigns. This ensures you have the required permissions to configure and manage the integration.
Integrate with Zoho Invoice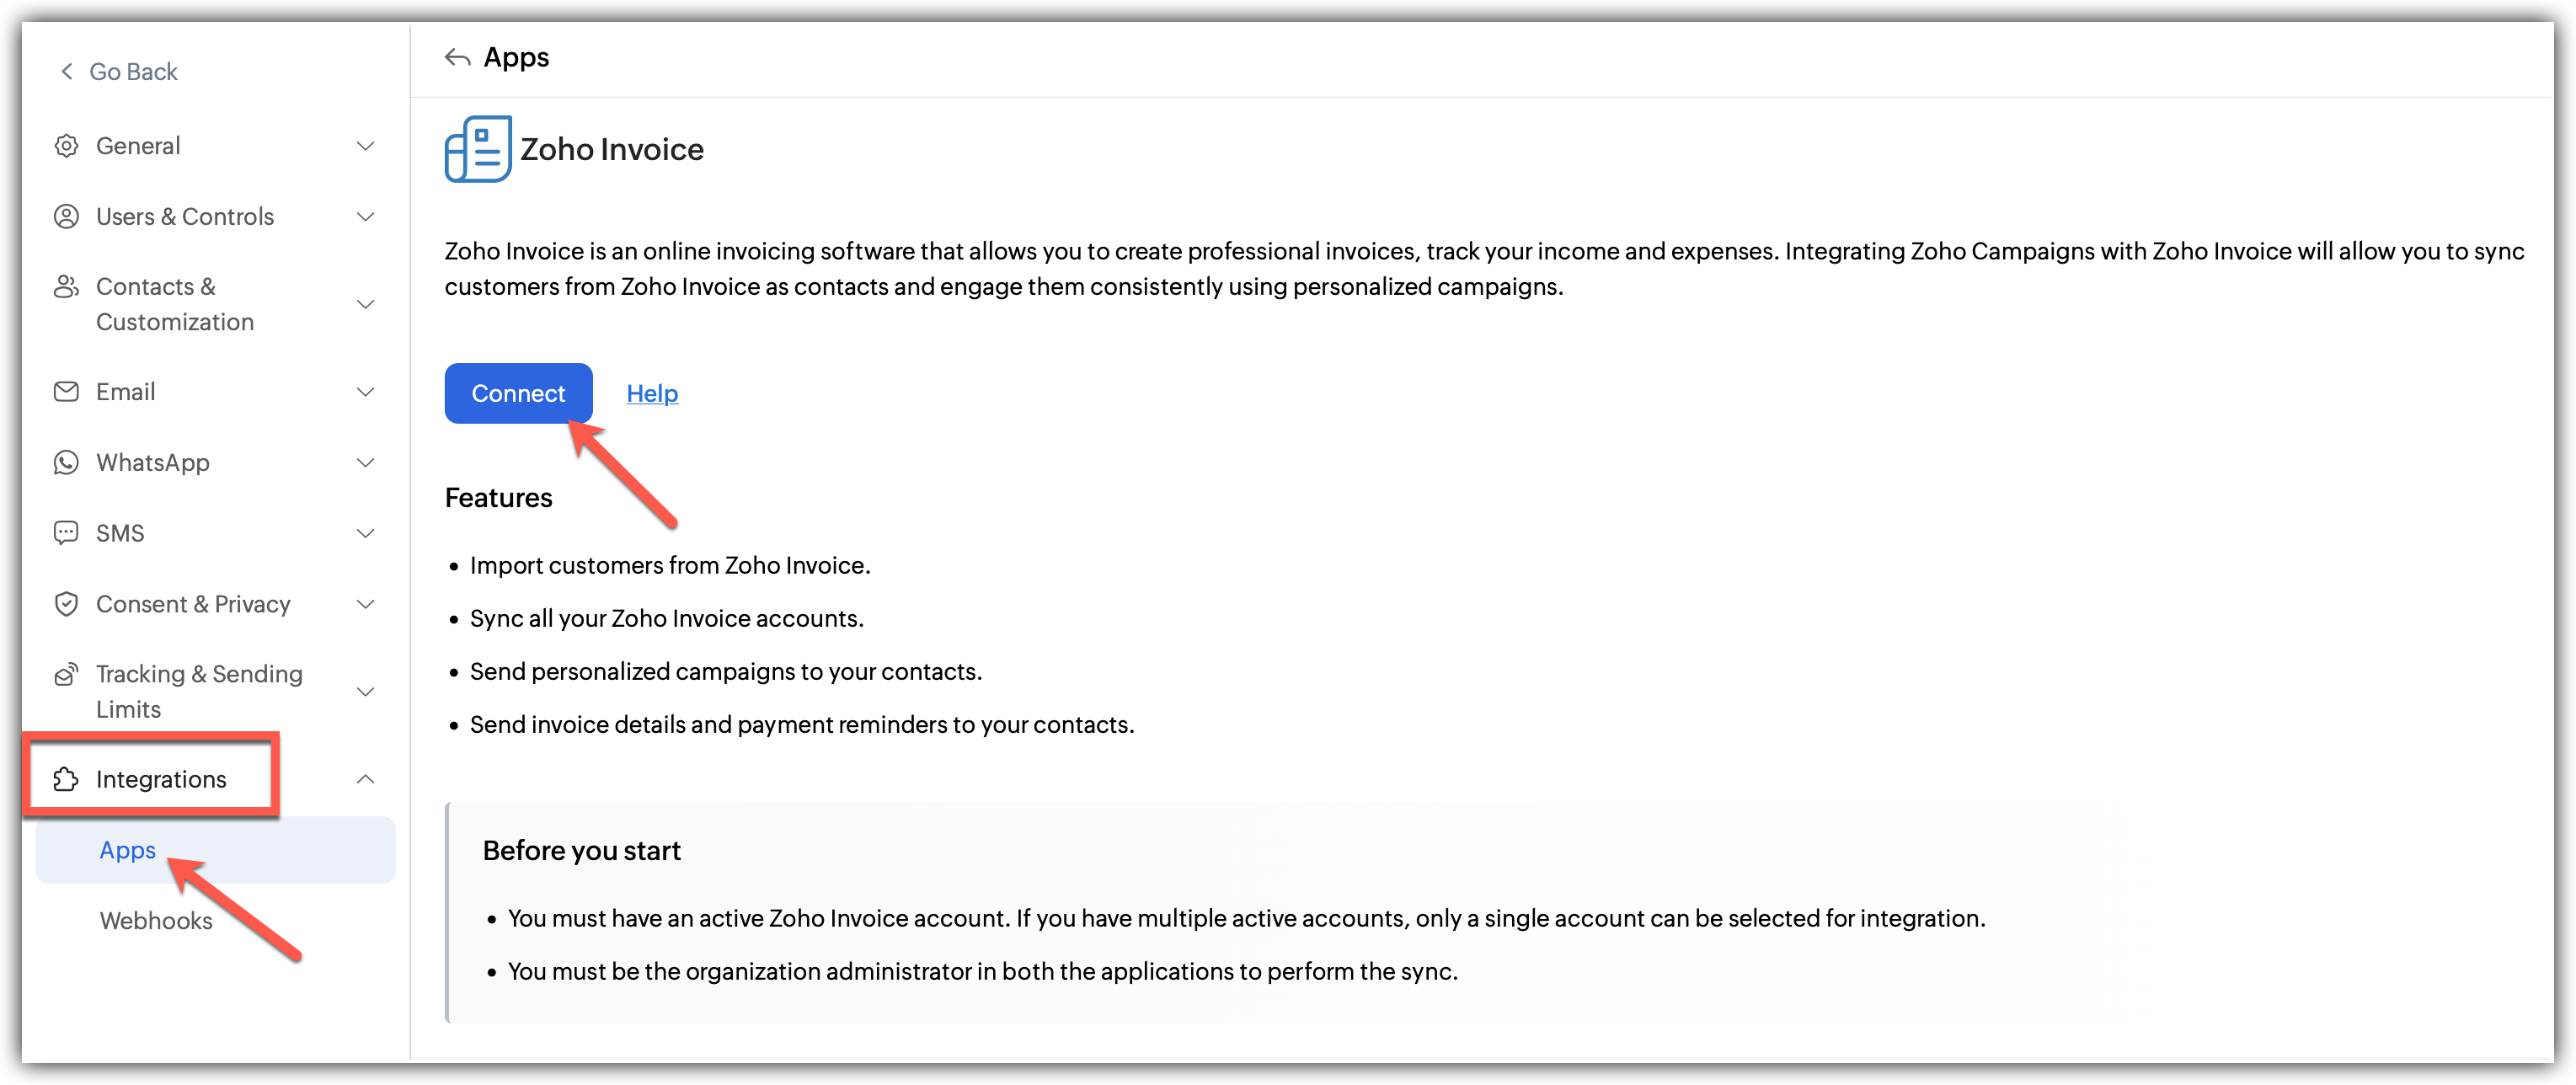
Click Settings icon on the top-right corner of the screen, then click Apps under Integrations.
Click Connect App on the top-right corner of the screen.
Click Zoho under Categories and then, select Zoho Invoice.
Click Connect.
A pop-up appears asking you to set up the sync settings:
1. Select the workspace that you want to map
2. Select where you want to sync to
3. Select the subscription type
4. Choose a topic for the imports if required
5. Select the sync frequency and the exact condition for it.
6. Toggle whether you want to update empty field value as per Zoho Invoice details.Click Save and Next.
Now, Map the fields from Zoho Invoice to Zoho Campaigns.
Click Save and your sync will be initiated.
Learn how to import contacts from Zoho Invoice

Denying access to Zoho Invoice
Click Settings icon on the top-right corner of the screen.
Choose Apps under Integration.
Click Zoho Invoice under connected apps.
Click the Disconnect option after clicking the three dots in the right.
A pop appears informing about the effect of disconnecting.
Click Proceed.
What happens if I deny my Zoho Invoice account Integration?
If you deny this integration,
Existing active syncs will be disabled.
You cannot import further contacts from Zoho Invoice.
You cannot send any type of promotional campaigns to your contacts from Zoho Invoice.
Post Integration
You can always go back and edit the Sync details and Field Mapping.
You can also view the Sync History which logs all the actions related to this integration including Total Records, Added, Updated, Skipped contacts.
Zoho Creator
Features
- Import contacts from Zoho Creator.
- Sync all your Zoho Creator accounts.
- Send personalized campaigns to your contacts.
Prerequisites
- You must have an active Zoho Creator account. If you have multiple accounts, only one account can be selected for integration.
- Only users with Administrator permission in both Zoho Creator and Zoho Campaigns can setup the sync.
Integrate with Zoho Creator 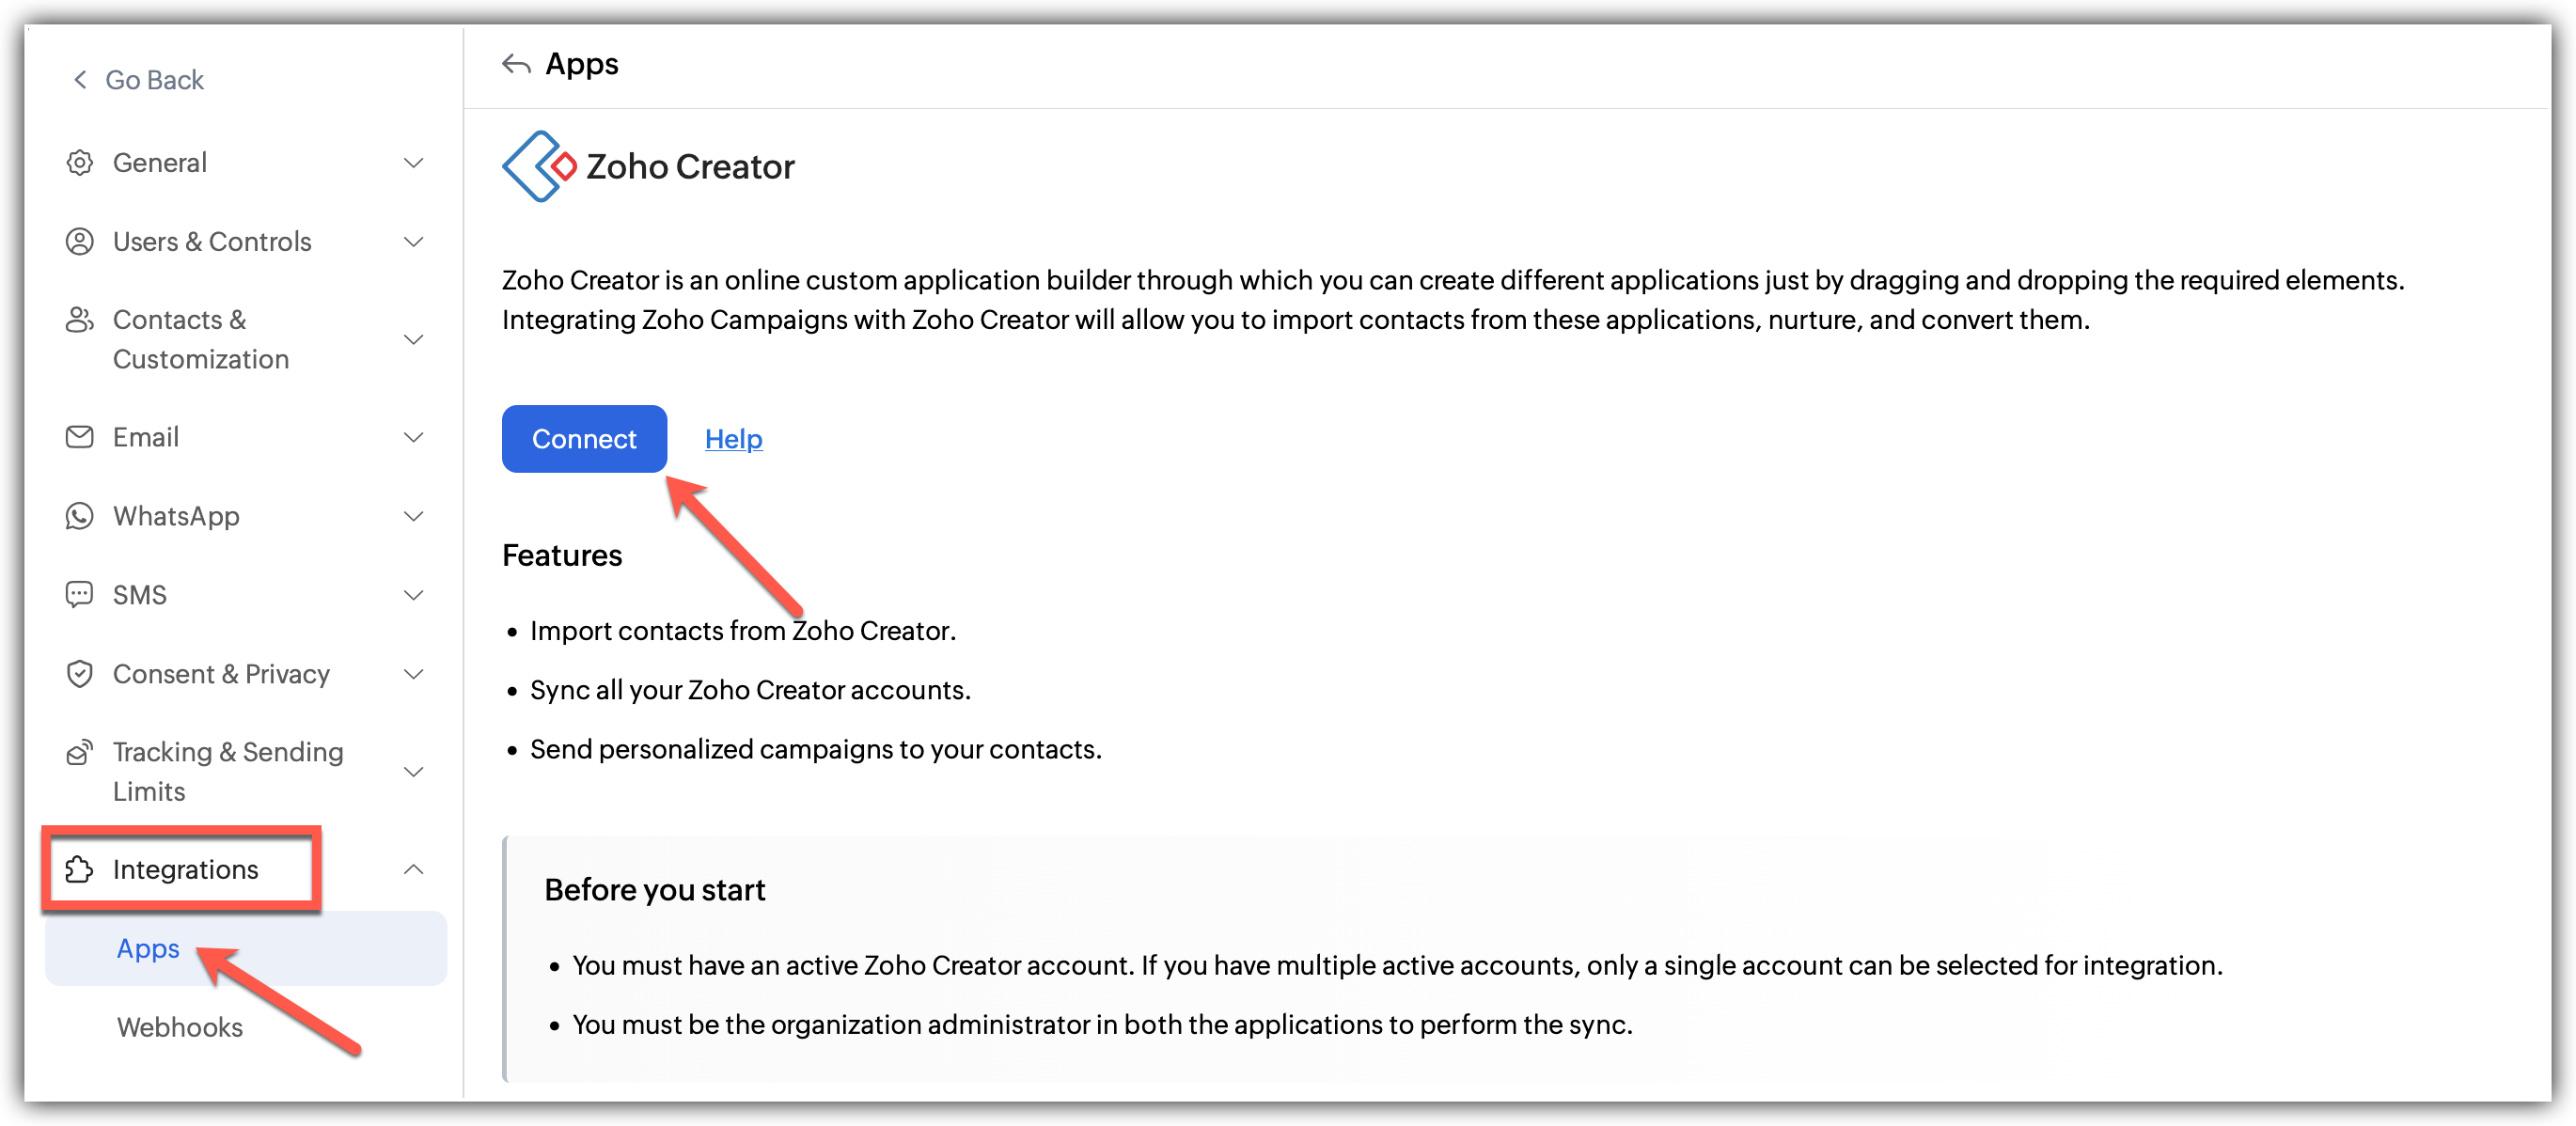
Click Settings icon on the top-right corner of the screen.
Choose Apps under Integration.
Choose Zoho Creator and click Create Sync.
A pop up appears to create a new sync.
Fill in the details of the sync:
1. Choose the Application to Sync
2. Select the list you want to sync to
3. Select the subscription type
4. Choose a topic for the imports if required
5. Toggle whether you want to update empty field value as per Zoho Creator details.
6. Select the sync frequency and the exact condition for it.
Click Next.
Now, Map the fields from Zoho Creator to Zoho Campaigns.
Click Save and your sync will be initiated.

Unlike other integrations, Zoho creator has two dropdowns–a source as well as a sub source aka an application and a form.
Learn how to import contacts from Zoho Creator
What happens if I deny my Zoho Creator account Integration?
If you deny this integration,
You cannot import contacts any further from Zoho Creator.
All active syncs will be disabled.
You cannot send any type of promotional campaigns to your contacts from Zoho Creator.
Denying access to Zoho Creator
You can either disconnect the Zoho Creator integration as a whole or you can just delete a particular sync from your list of syncs.
To disconnect the sync as a whole:
Click Settings icon on the top-right corner of the screen.
Choose Apps under Integration.
Under connected apps, Select Zoho Creator.
Click the Disconnect option after clicking the three dots in the right.
A pop appears informing about the effect of disconnecting.
Click Proceed.
At the integration page, you can view the syncs in a list view format under workspaces if multiple syncs are running simultaneously.
Also, individual integrations have a pause and delete sync options for easier accessibility.
Zoho Analytics
Features
- Import contacts from Zoho Analytics.
- Sync all your Zoho Analytics account details.
- Nurture your contacts using multiple channels in Zoho Campaigns.
- Schedule your nurturing plan using workflows.
Prerequisites
- You must have an active Zoho Analytics account. If you have multiple accounts, only one account can be selected for integration.
- Only users with Administrator permission in both Zoho Analytics and Zoho Campaigns can setup the sync.
Integrate with Zoho Analytics 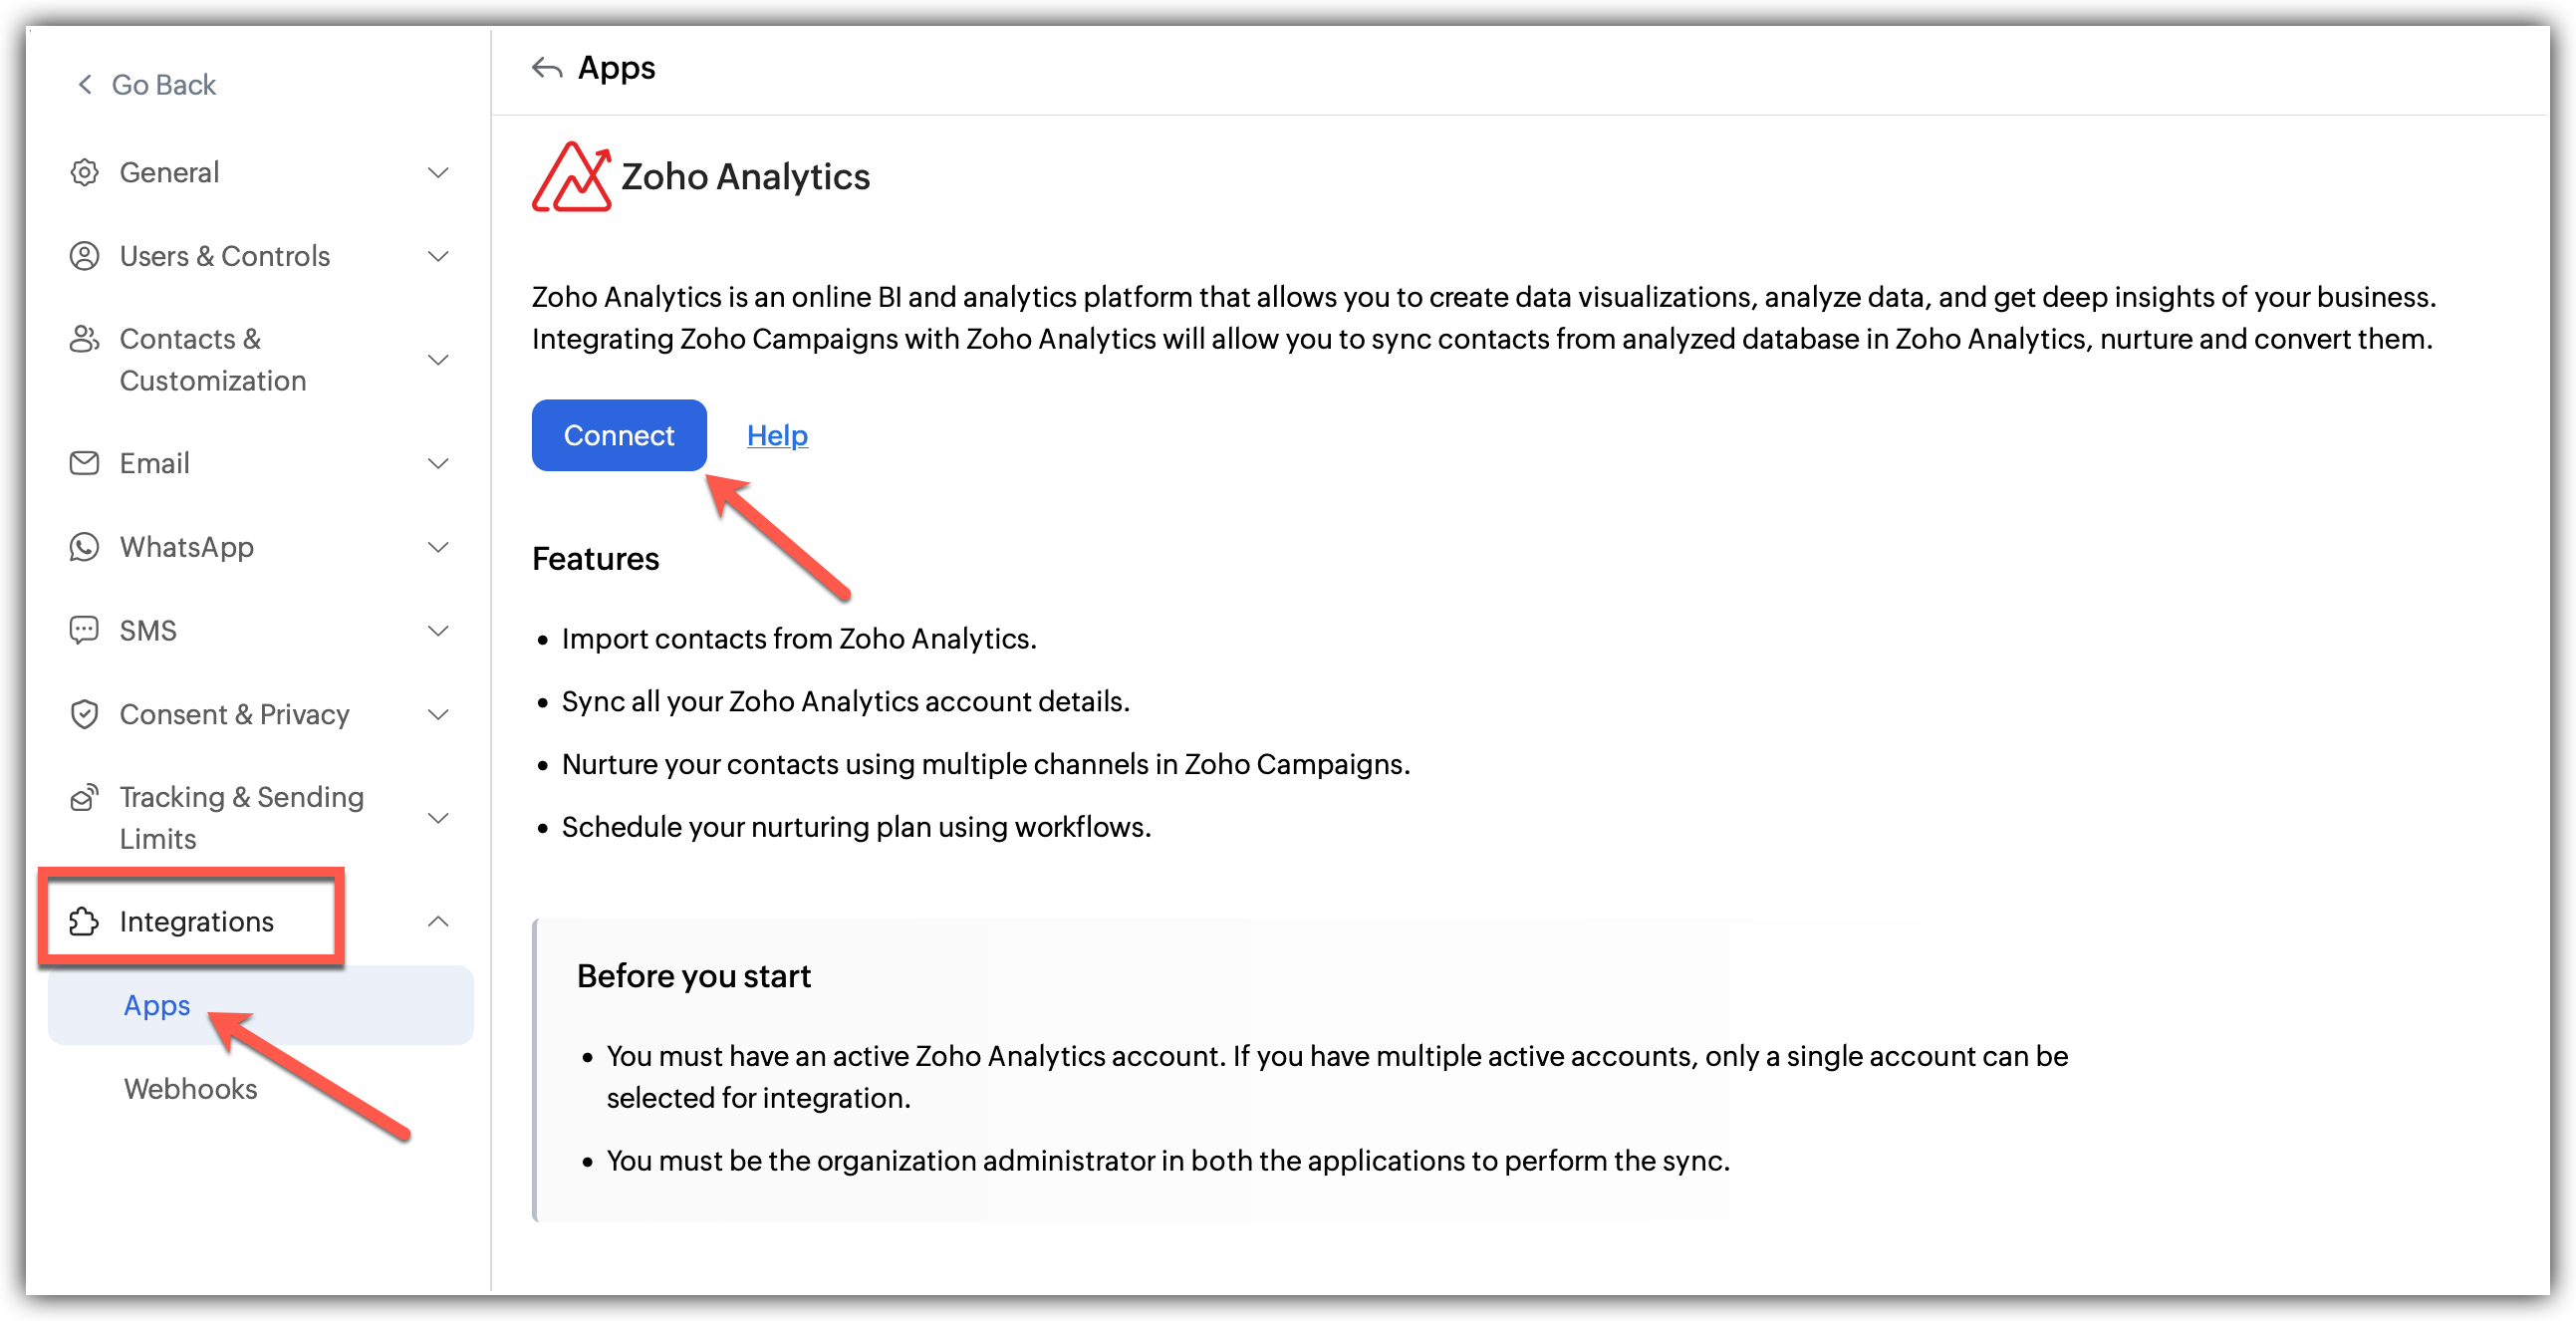
Click Settings icon on the top-right corner of the screen.
Choose Apps under Integration.
Select Zoho Analytics under Zoho and click Create Sync.
A pop up appears to create a new sync.
Fill in the details of the sync:
1. Choose the Analytics module that you want to sync.
2. Choose the Table Name and Select the Workspace under it.
3. Select the list you want to sync to.
4. Select the subscription type.
5. Choose a topic for the imports if required.
6. Select the Date, Sync frequency and the exact condition for it.
Click Next.
Now, Map the fields from Zoho Analytics to Zoho Campaigns.
Click Save and your sync will be initiated.
- Unlike other integrations, Zoho Analytics has two dropdowns–a source as well as a sub source aka an application and a form.
- Fields are not automatically pre-mapped in Zoho Analytics, so the data needs to be manually mapped to its fields during setup.
- The sync frequency date option is added for manual sync of data. The sync data will be fetched based on the time set in Sync frequency. Setting up a random time may cause improper sync issues.
What happens if I deny my Zoho Analytics account Integration?
If you deny this integration,
You cannot import contacts any further from Zoho Analytics.
All active syncs will be disabled.
You cannot send any type of promotional campaigns to your contacts from Zoho Analytics.
Denying access to Zoho Analytics
To disconnect the sync as a whole:
Click Settings icon on the top-right corner of the screen.
Choose Apps under Integration.
Under connected apps, Select Zoho Analytics.
Click the Disconnect option after clicking the three dots in the right.
A pop appears informing about the effect of disconnecting
Click Disconnect
Post Integration
At the integration page, you can view the syncs in a list view format under workspaces if multiple syncs are running simultaneously.
Also, individual integrations have a pause and delete sync options for easier accessibility.
Zoho Meeting
Features
- Import/sync webinar details along with registrants and attendees data into Zoho Campaigns.
- Send invitations, reminders, and follow-up campaigns to your audience through webinar based campaigns.
- Automate actions like reminders and follow-ups based on webinar sign-ups and participation through workflows.
- Use your mailing lists to promote upcoming webinars through targeted campaigns.
Prerequisites
- You must have an active Zoho Meeting account. If you have multiple accounts, only one account can be selected for integration.
- Only users with Administrator permission in both Zoho Meeting and Zoho Campaigns can setup the sync.
- If GDPR is enabled in your account, the Lawful basis for communication must be configured.
To integrate your Zoho Meeting account 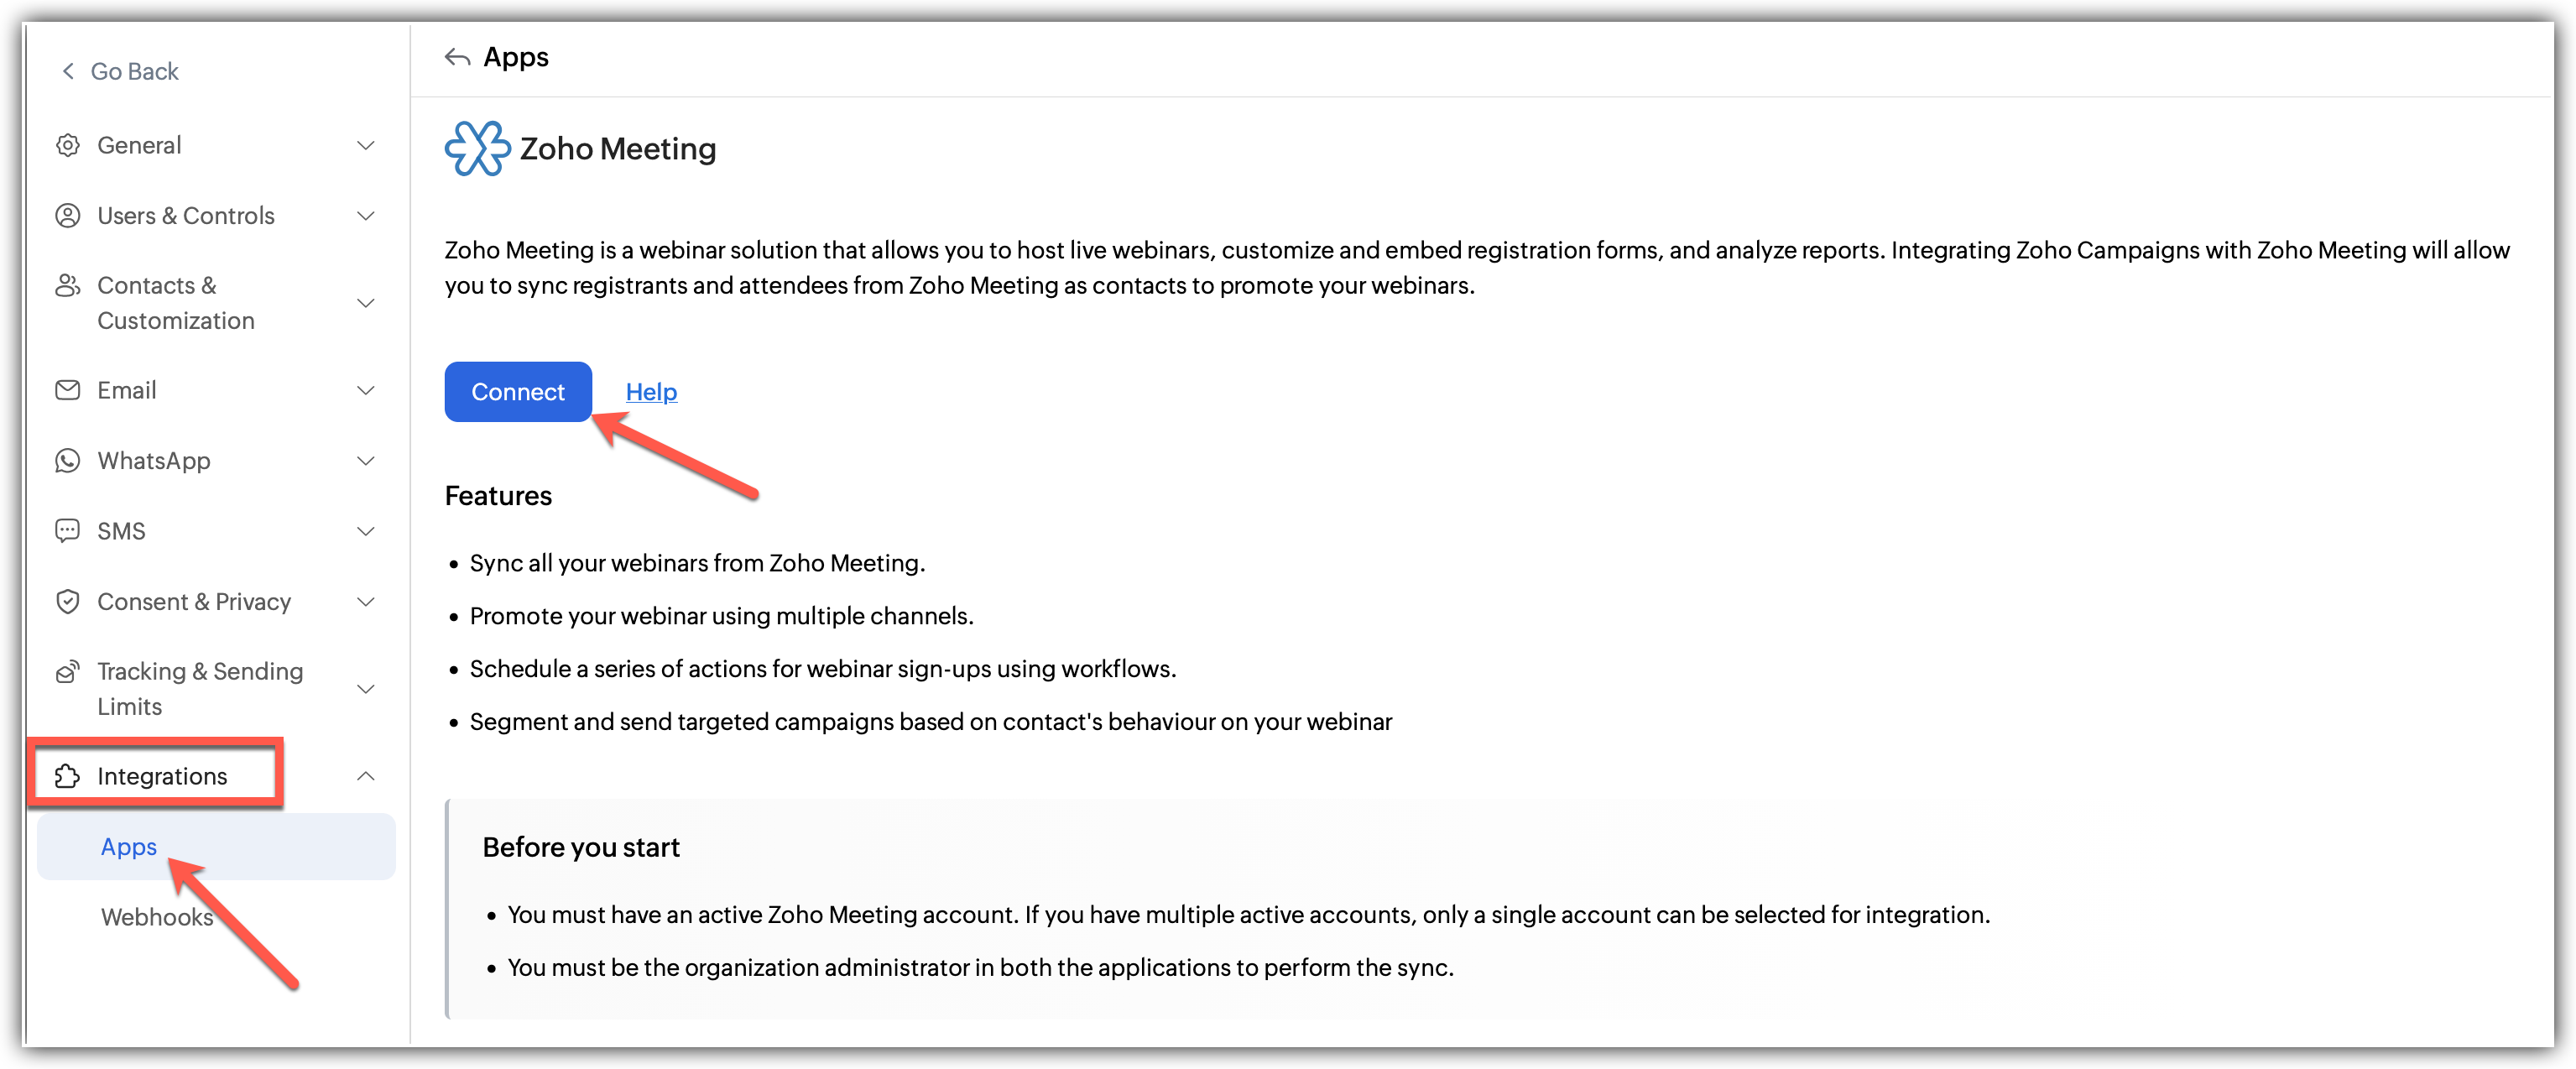
Click Settings icon on the top-right corner of the screen.
Choose Apps under Integration.
Select Zoho Meeting and click Connect.
A pop up appears to Integrate with Zoho Meetings
In the pop up:
1. Select the Organization to Integrate
2. Choose the Webinar you want to sync.
3. Enable the toggle button to Create new mailing lists for new events (Optional).
4. Select a topic to the webinar if required.Click Initiate to complete the integration.
All registrants and attendees will be synced to the All Contacts section in Zoho Campaigns.
What happens if I deny my Zoho Meeting account Integration?
If you deny this integration:
All active syncs will be disabled.
Scheduled webinar-based campaigns will be moved to draft.
You cannot import new registrants or attendees from Zoho Meeting.
You cannot send campaigns to your webinar audiences.
Denying access to Zoho Meeting
Click Settings icon in the top-right corner of the screen.
Choose Apps under Integration.
Under connected apps, Select Zoho Analytics.
Click the Disconnect option after clicking the three dots in the right.
A pop appears informing about the effect of disconnecting.
Click Disconnect.
Post Integration
- You can view the Sync history which has webinar specific sync details like status, registrants, attendees, etc.
- Sync activity is tracked and available for reference within the integration section.
Zoho Contacts
Features
- Import and sync contacts from Zoho Contacts into Zoho Campaigns.
- Keep your Campaigns contact list aligned with your Zoho Contacts data.
- Use your synced contacts for targeted email campaigns.
Prerequisites
- You must have an active Zoho Meeting account. If you have multiple accounts, only one account can be selected for integration.
- Only users with Administrator permission in both Zoho Contacts and Zoho Campaigns can setup the sync.
Integrate with Zoho Contacts 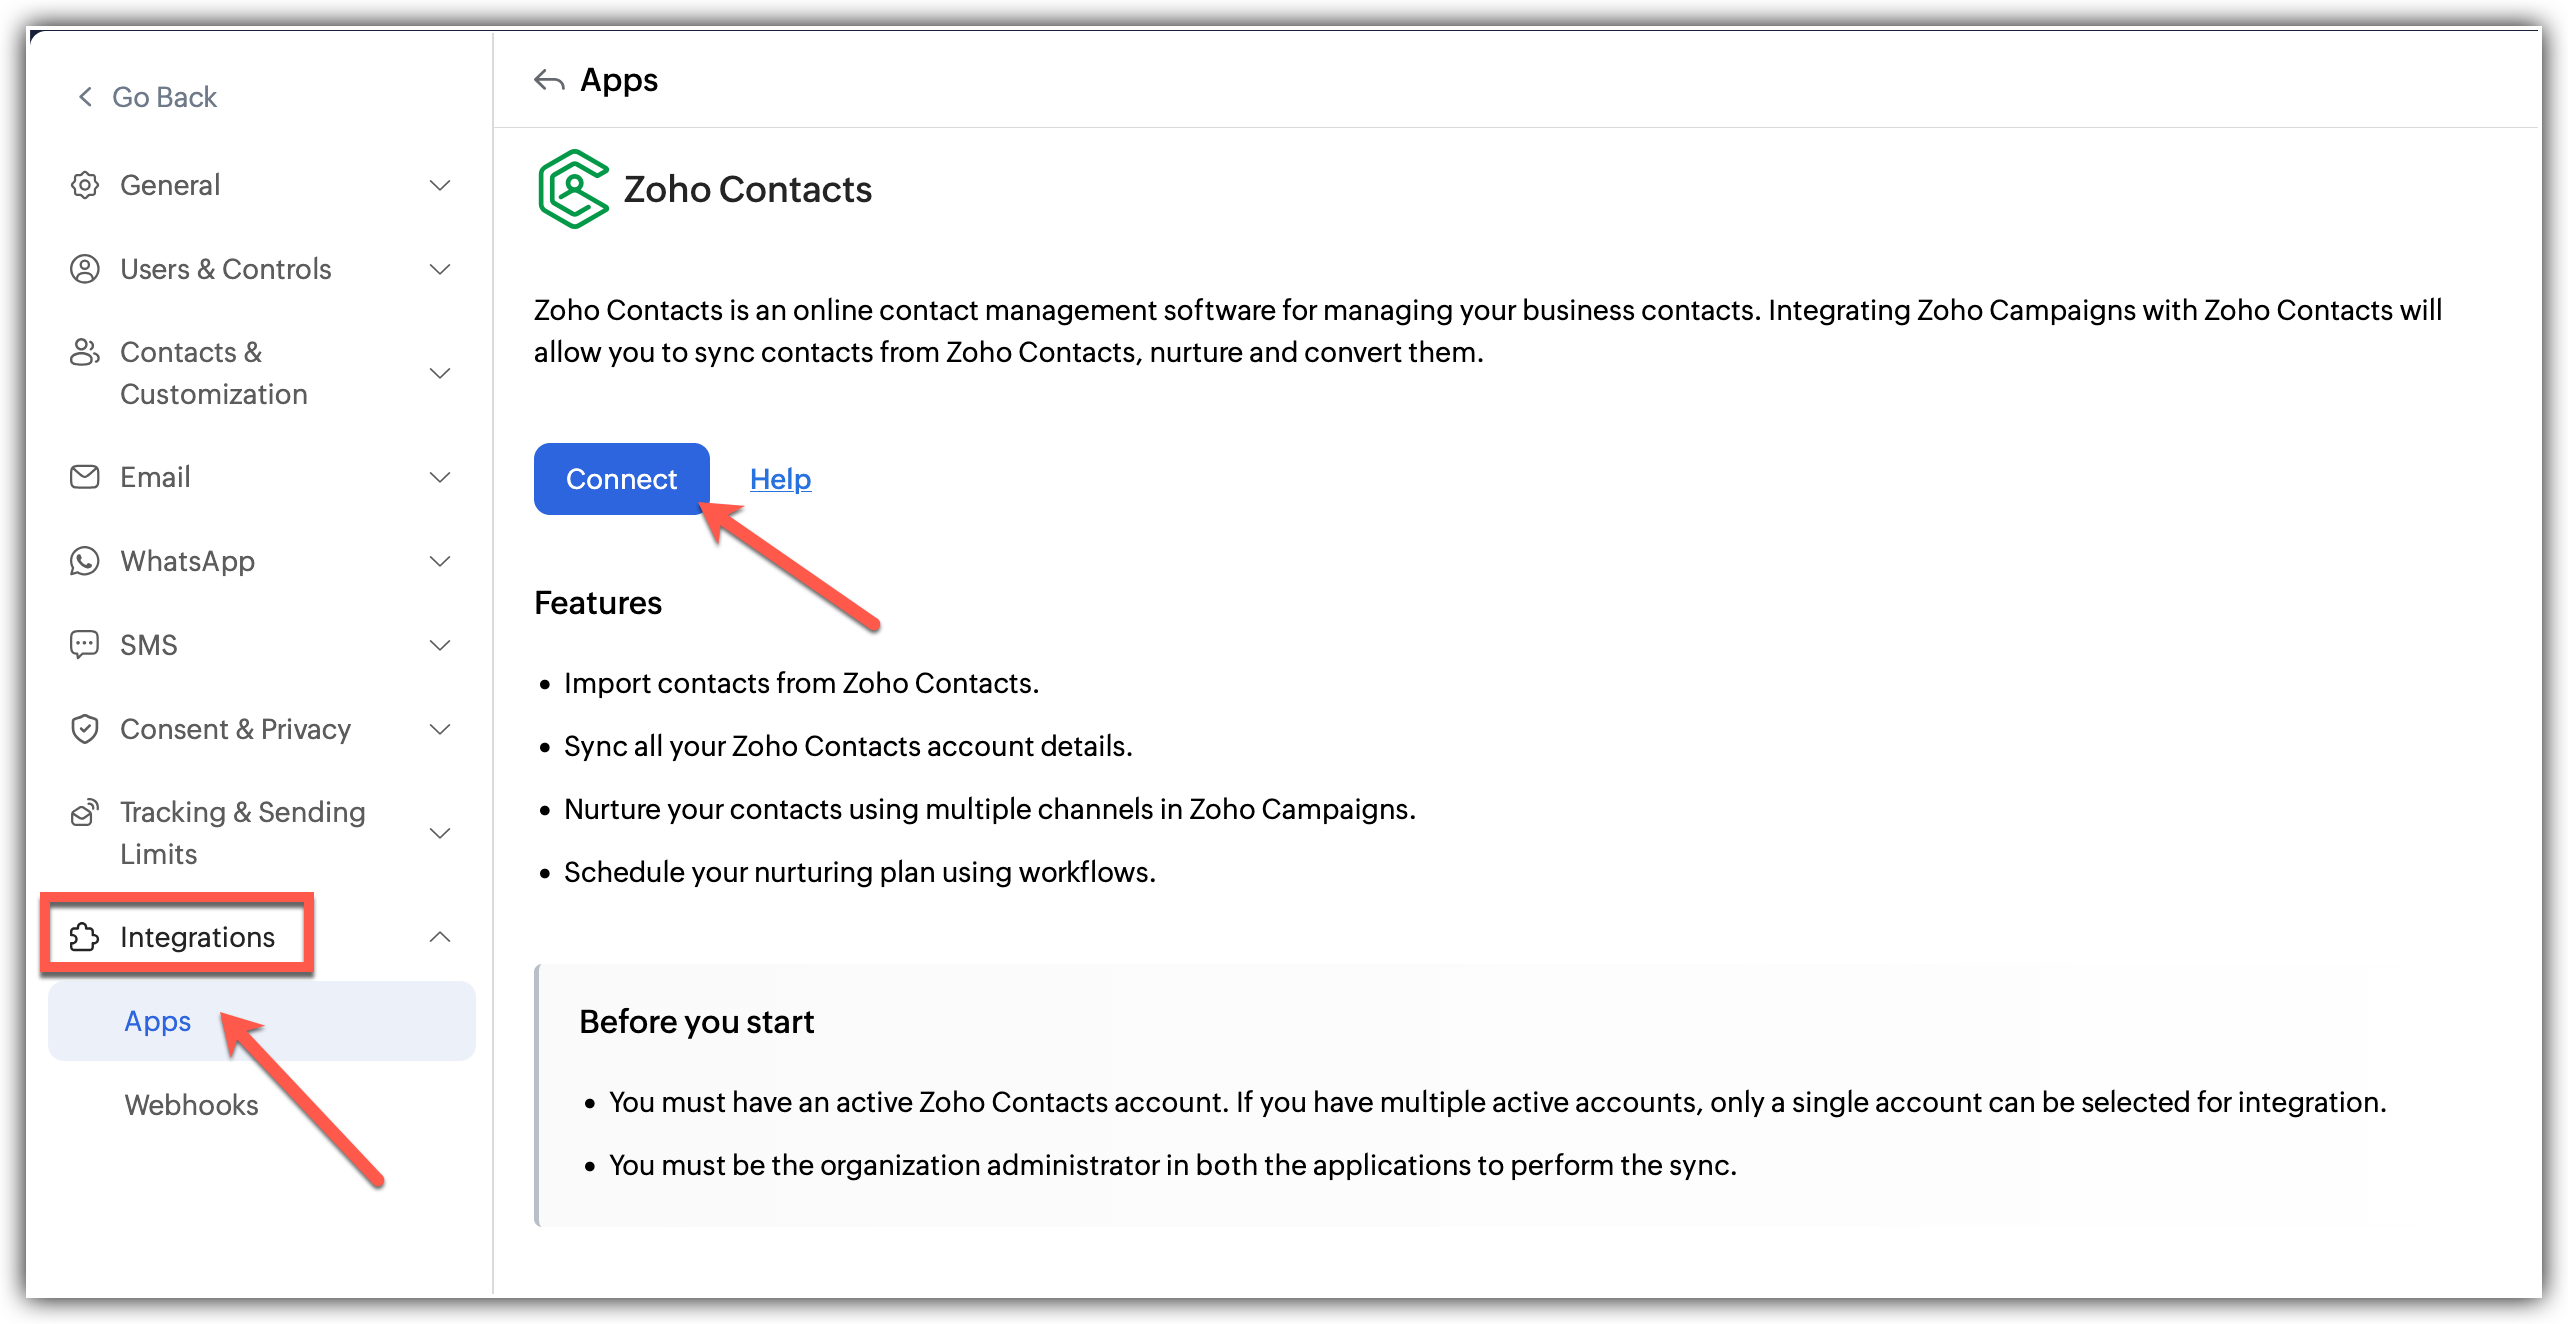
Click Settings icon on the top-right corner of the screen.
Choose Apps under Integration.
Select Zoho Contacts under Zoho Apps and click Connect
A pop up appears to create a new sync.
Fill in the details of the sync:
1. Select the workspace you want to sync.
2. Choose the Table Name and Select the Workspace under it.
3. Select the list you want to sync with(optional).
4. Select the subscription type.
5. Choose a topic for the imports if required(optional).
6. Configure the Sync Date, Sync frequency and the exact condition for it.Click Initiate once you are done
Learn how to import contacts from Zoho Contacts.
What happens if I deny my Zoho Contacts account Integration?
If you deny this integration,
All active syncs will be disabled.
You cannot import contacts from Zoho Contacts.
You cannot send campaigns to contacts synced via this integration.
Denying access to Zoho Contacts
Click Settings icon in the top-right corner of the screen.
Choose Apps under Integration.
Under connected apps, Select Zoho Analytics.
Click the Disconnect option after clicking the three dots in the right.
A pop appears informing about the effect of disconnecting.
Click Disconnect.
Post Integration
You can always go back and edit the Sync details and Field Mapping
You can also view the Sync History which logs all the actions related to this integration including Total Records, Added, Updated, Skipped contacts.
Zoho Books
Features
- Import customer details from Zoho Books into Zoho Campaigns.
- Build campaigns based on customer activity and transactions.
- Send updates and reminders without manual follow-ups.
Prerequisites
- You must have an active Zoho books account. If you have multiple accounts, only one account can be selected for integration.
- Only users with Administrator permission in both Zoho Recruit and Zoho Campaigns can setup the sync.
Integrate with Zoho Books 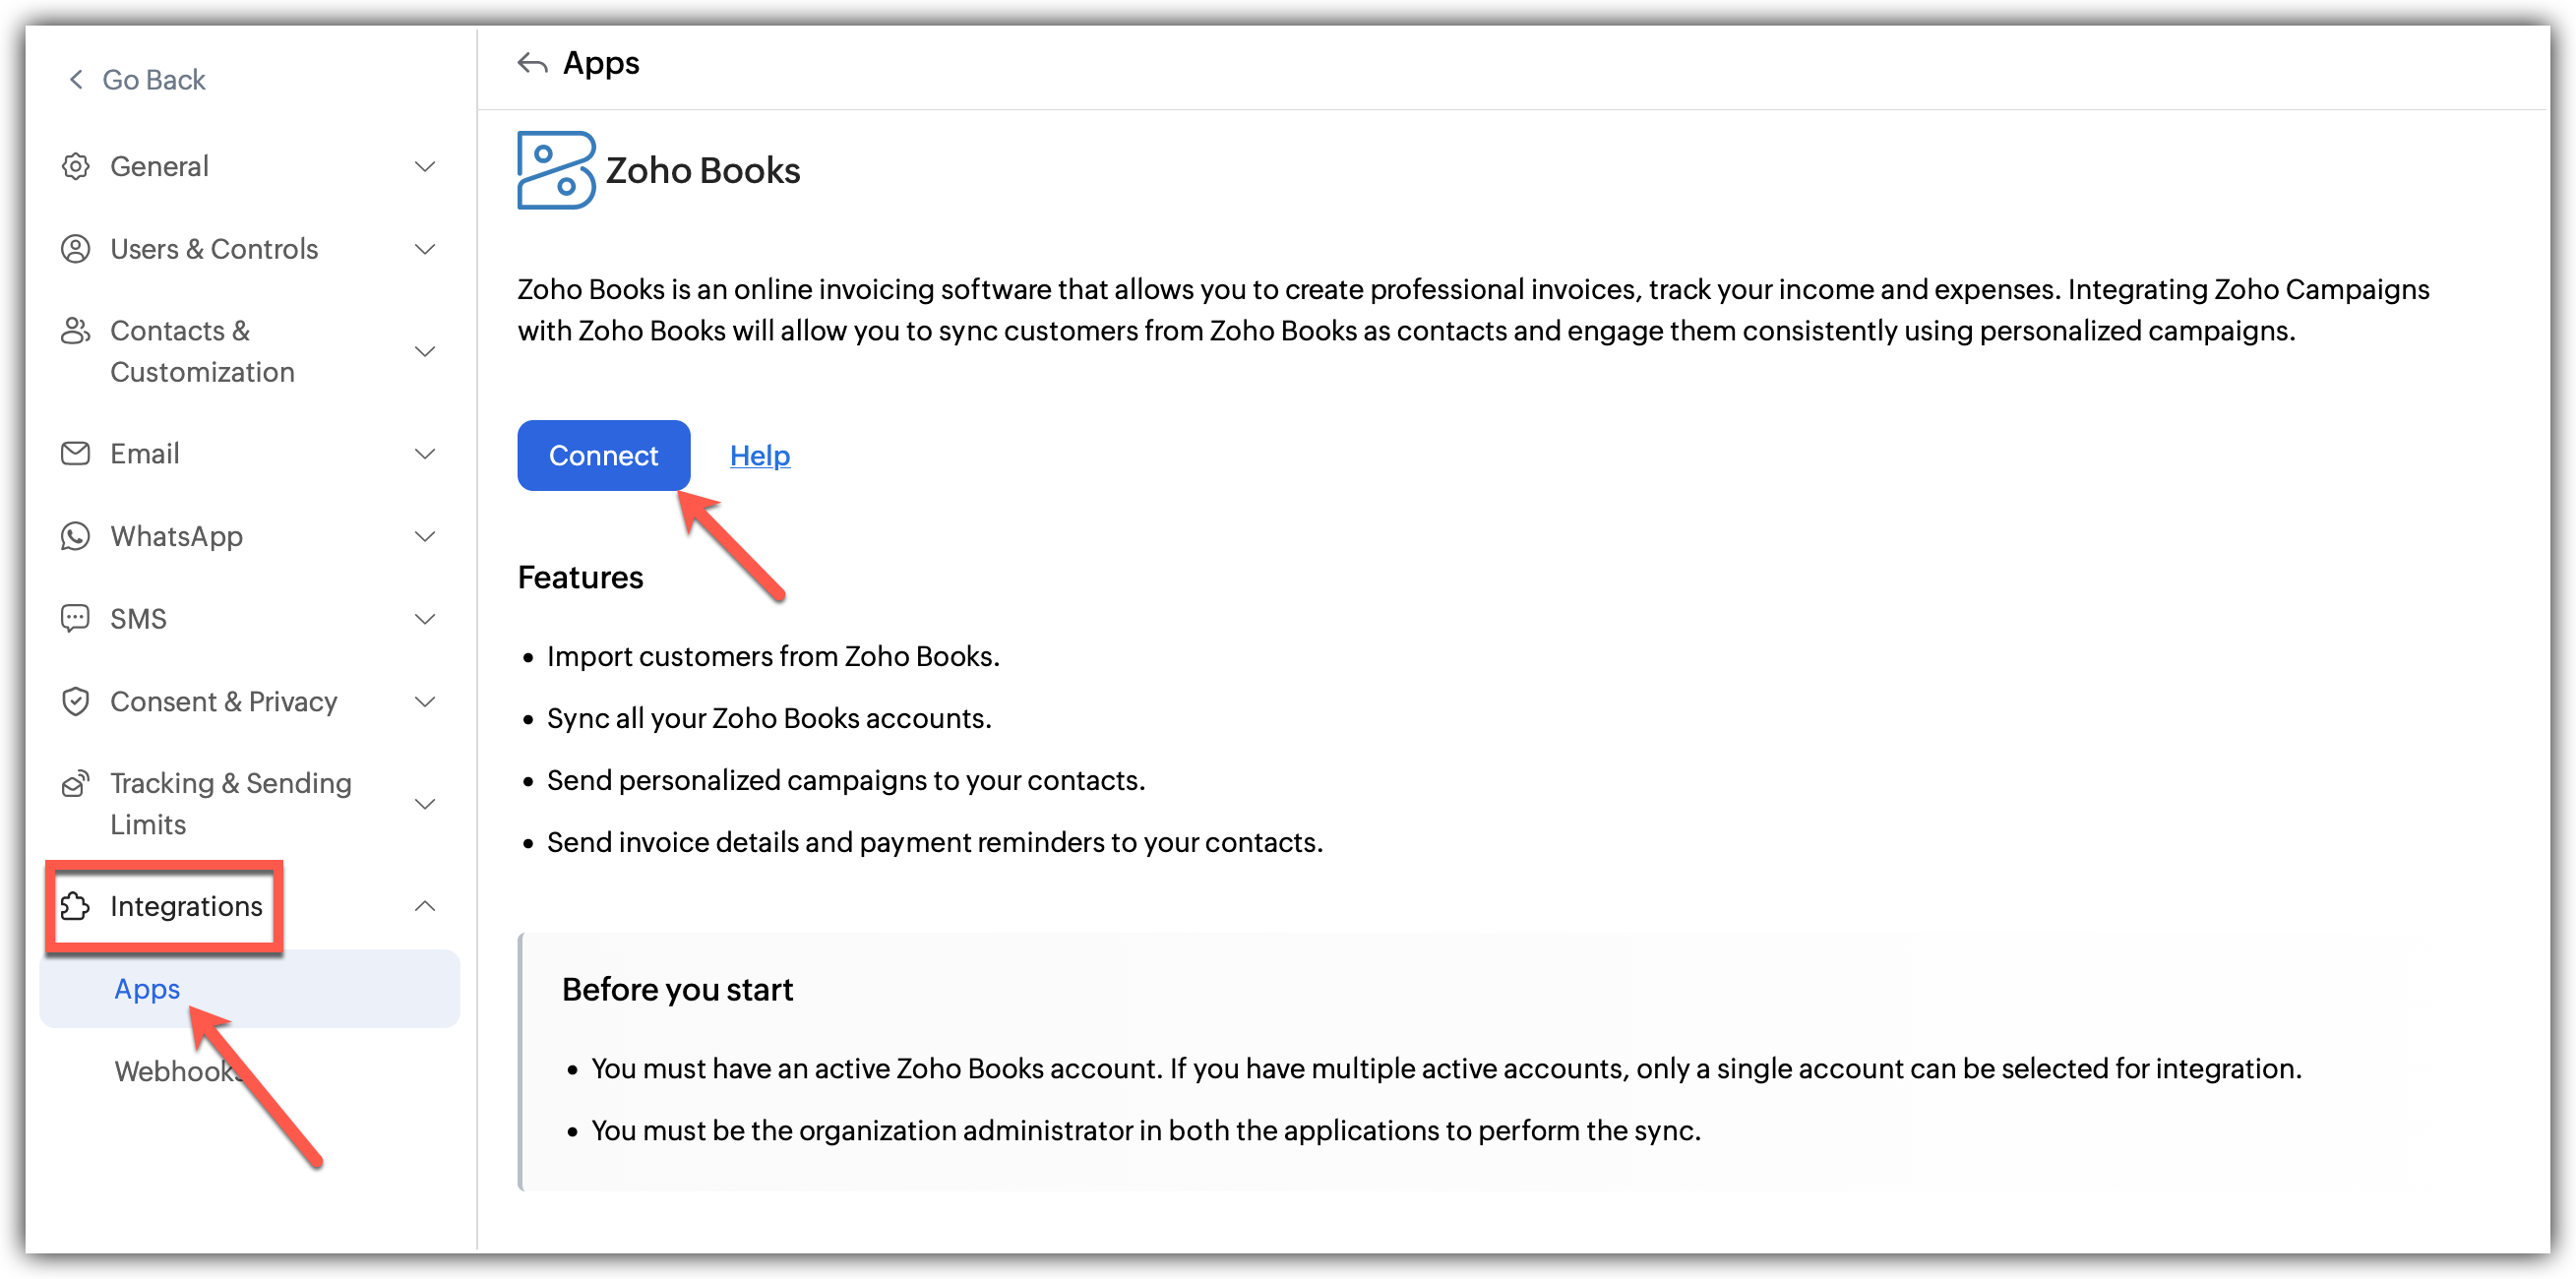
Click Settings icon on the top-right corner of the screen.
Choose Apps under Integration.
Select Zoho Contacts under Zoho Apps and click Connect.
A pop up appears to integrate and create a new sync.
After linking the account by choosing an organization to sync with Zoho Campaigns, proceed to the next step of configuring the sync.
Fill in the details of the sync:
1. Select the Books module you want to sync.
2. Select the Workspace under it.
3. Select the list you want to sync with(optional).
4. Select the subscription type.
5. Choose a topic for the imports if required(optional).
6. Configure the Sync Date, Sync frequency and the exact condition for it.
7. Toggle whether you want to update empty field value as per Zoho Books details.
8. Click Save and Next.Now, Map the fields from Zoho Analytics to Zoho Campaigns.
Click Initiate once you are done
Learn how to import contacts from Zoho Books
What happens if I deny my Zoho Books account Integration?
If you deny this integration,
All active syncs will be disabled.
You cannot import further customer data from Zoho Books.
You cannot send campaigns to synced contacts.
Denying access to Zoho Books
Click Settings icon in the top-right corner of the screen.
Choose Apps under Integration.
Under connected apps, Select Zoho Analytics.
Click the Disconnect option after clicking the three dots in the right.
A pop appears informing about the effect of disconnecting.
Click Proceed.
Post Integration
You can always go back and edit the Sync details and Field Mapping
You can also view the Sync History which logs all the actions related to this integration including Total Records, Added, Updated, Skipped contacts.
Zoho Recruit
Features
- Import candidates and contacts from Zoho Recruit.
- Use Campaigns to engage candidates at different stages.
- Sync campaign-related updates back to your recruitment workflows.
Prerequisites
- You must have an active Zoho books account. If you have multiple accounts, only one account can be selected for integration.
- Only users with Administrator permission in both Zoho Recruit and Zoho Campaigns can setup the sync.
Integrate your Zoho Recruit 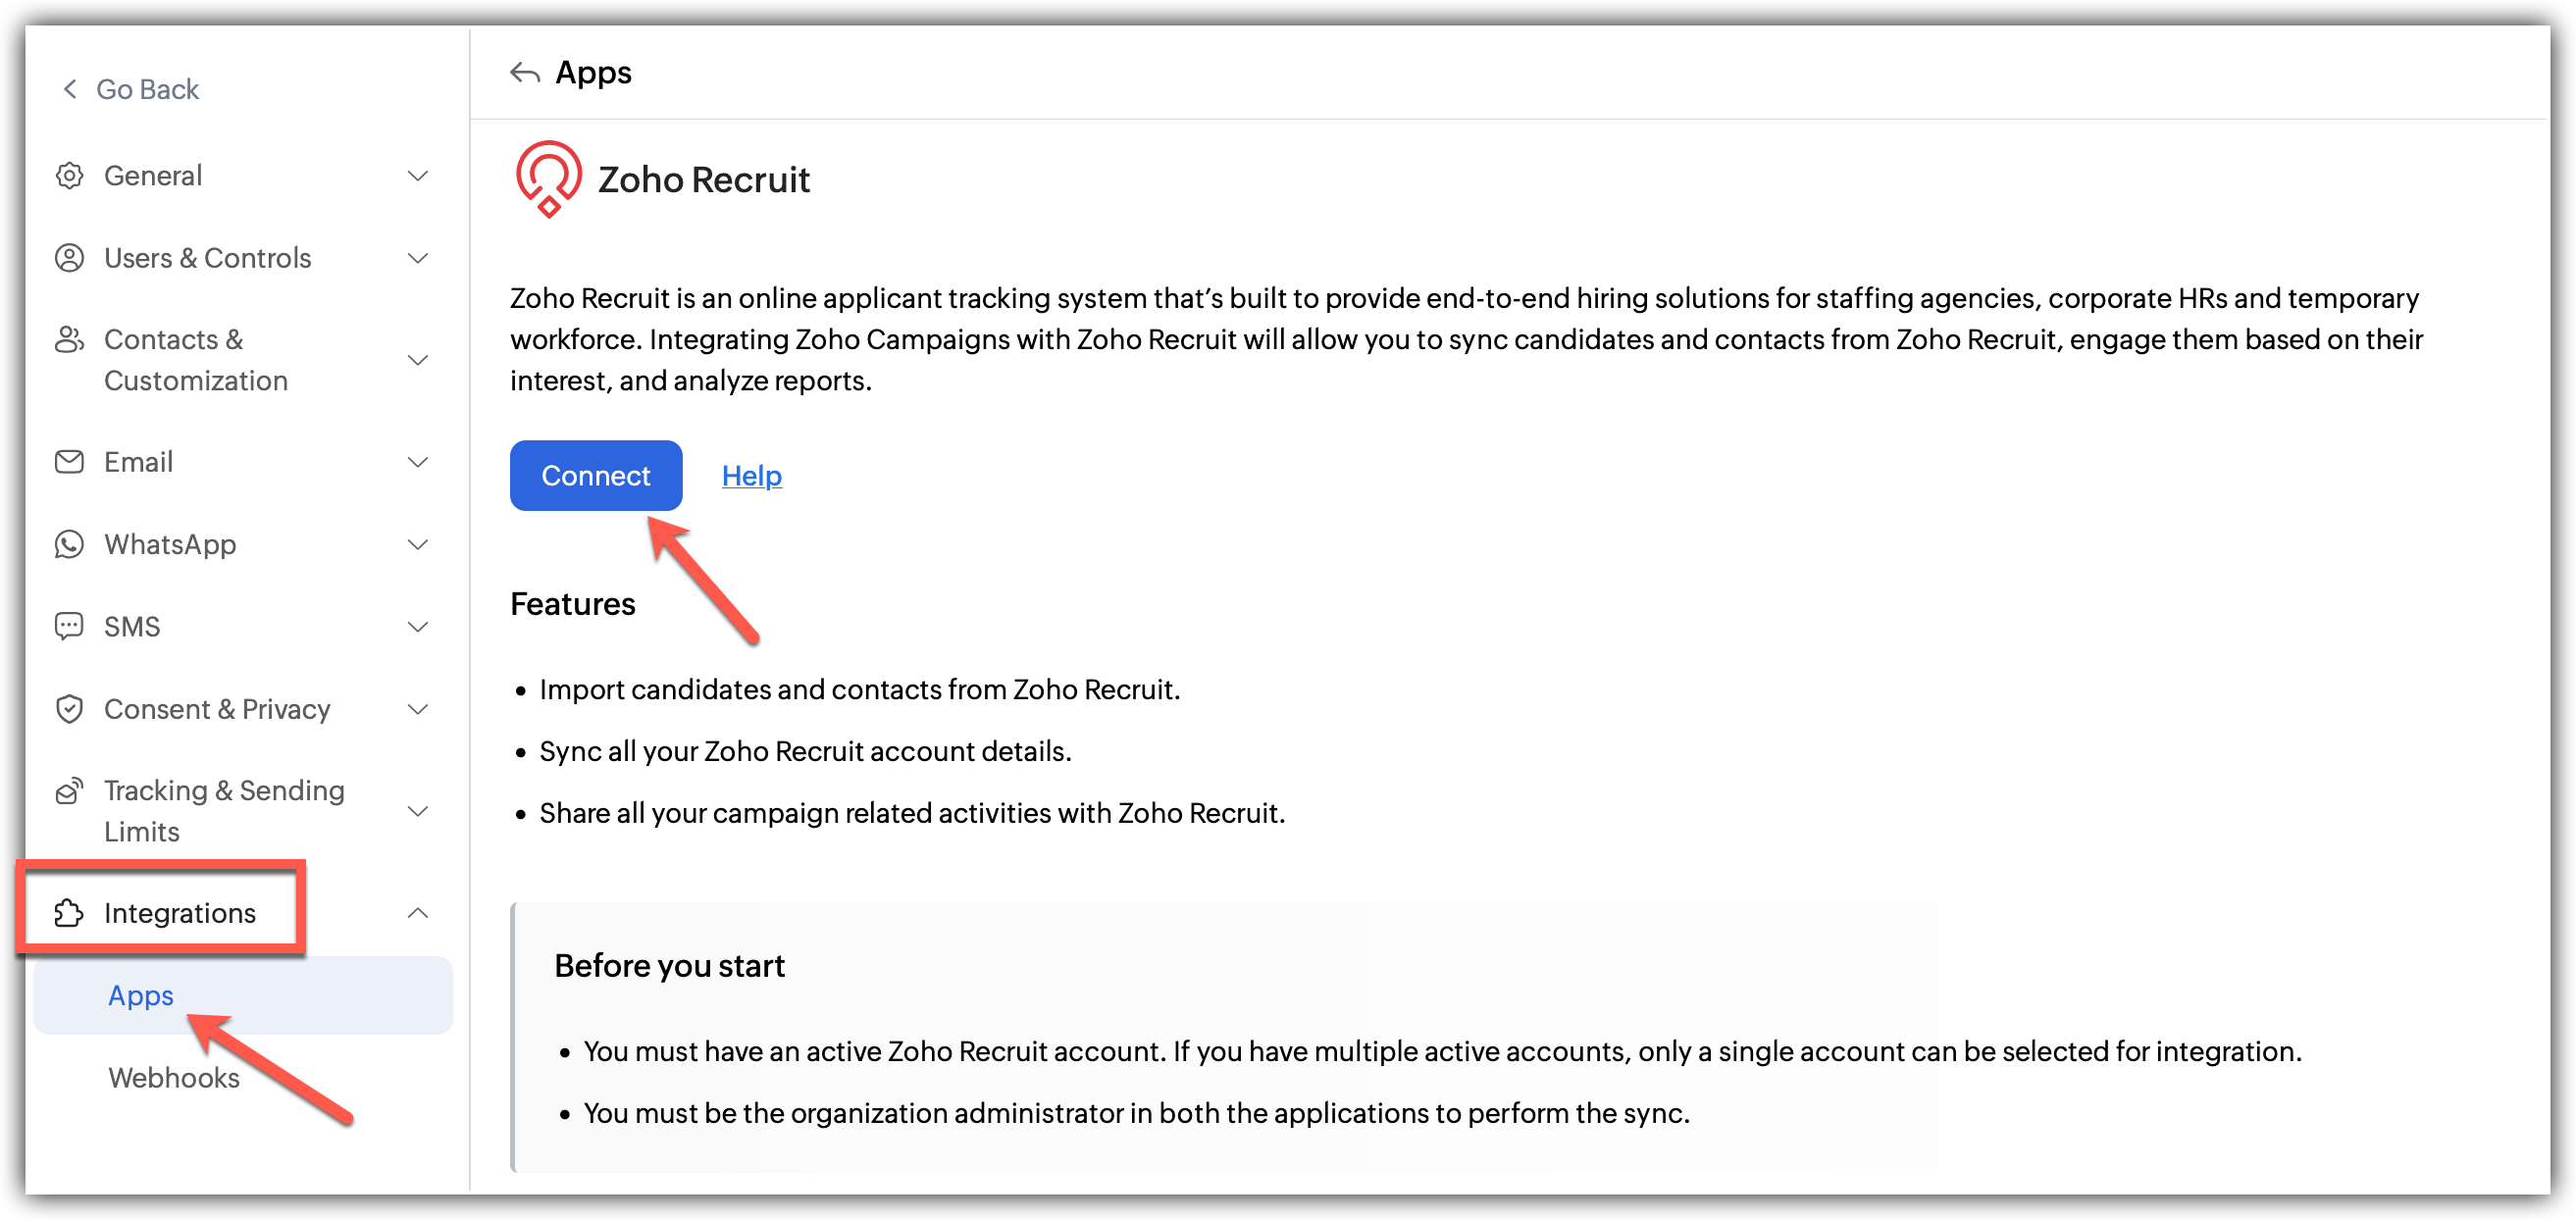
Click Settings icon on the top-right corner of the screen.
Choose Apps under Integration.
Select Zoho Recruit under Zoho Apps and click Connect
A pop up appears to integrate and create a new sync.
After linking the account by choosing an organization to sync with Zoho Campaigns, proceed to the next step of configuring the sync.
Fill in the details of the sync:
1. Select the Recruit module you want to sync.
2. Select the Workspace under it.
3. Select the list you want to sync with (optional).
4. Select the subscription type.
5. Choose a topic for the imports if required(optional).
6. Toggle whether you want to update empty field value as per Zoho Recruit details.
7. Under Advanced settings, Toggle whether to Exclude contacts who had opted-out and Remove contacts who opted out.
8. Click Save and NextNow, Map the fields from Zoho Recruit to Zoho Campaigns.
Click Initiate once you are done
Learn how to import contacts from Zoho Recruit
What happens if I deny my Zoho Recruit account Integration?
Campaign activity will no longer sync with Zoho Recruit.
You cannot import new candidates or contacts.
All active syncs will be disabled.
Denying access to Zoho Recruit
Click Settings icon in the top-right corner of the screen.
Choose Apps under Integration.
Under connected apps, Select Zoho Recruit.
Click the Disconnect option after clicking the three dots in the right.
A pop appears informing about the effect of disconnecting.
Click Disconnect.
Post Integration
You can always go back and edit the Sync details and Field Mapping.
You can view the Sync List showing all the modules running simultaneously and their details including Status, Mapped List and Last synced details.
Also, individual integrations have a pause and delete sync options for easier accessibility.
You can also make changes to the toggles excluding contacts who had opted-out and remove contacts who opted out from the dashboard.
Zoho Backstage
Features
- Import attendee and event details into Zoho Campaigns.
- Use campaigns to drive registrations and engagement.
- Set up workflows for event reminders and follow-ups.
- Track responses and campaign performance for your events.
Prerequisites
- You must have an active Zoho books account. If you have multiple accounts, only one account can be selected for integration.
- Only users with Administrator permission in both Zoho Recruit and Zoho Campaigns can setup the sync.
Set up integration with Zoho Backstage
The organization administrator performs the following procedure to integrate a portal of any user of the organization.
Click Settings icon on the top-right corner of the screen.
Choose Apps under Integration.
Select Zoho Backstage and click Connect.
A pop up appears to Integrate with Zoho Backstage
In the pop up:
1. Select the portal/Organization to Integrate
2. Choose the type of events you want to sync.
3. Enable the toggle button to Create new mailing lists for new events(Optional).
4. Select a topic to integrate (Optional).Click Initiate to complete the integration.
What happens if I deny/change my Zoho Backstage account integration?
If you deny/change Zoho Backstage integration:
All the active syncs will be disabled.
Scheduled event-based campaigns will be moved to draft.
You cannot import attendees or send campaigns to them.
Denying access to Zoho Backstage
Click Settings icon in the top-right corner of the screen.
Choose Apps under Integration.
Under connected apps, Select Zoho Backstage.
Click the Disconnect option after clicking the three dots in the right.
A pop appears informing about the effect of disconnecting.
Click Disconnect.
Post Integration
You can always go back and edit the Sync details and Field Mapping
You can also view the Sync History which logs all the actions related to this integration including Total Records, Added, Updated, Skipped contacts.
Zoho Desk
Features
- Import contacts from Zoho Desk into Zoho Campaigns.
- Send targeted communication based on support interactions.
Prerequisites
- You must have an active Zoho Desk account. If you have multiple accounts, only one account can be selected for integration.
- Only users with Administrator permission in both Zoho Desk and Zoho Campaigns can setup the sync.
Integrate with Zoho Desk 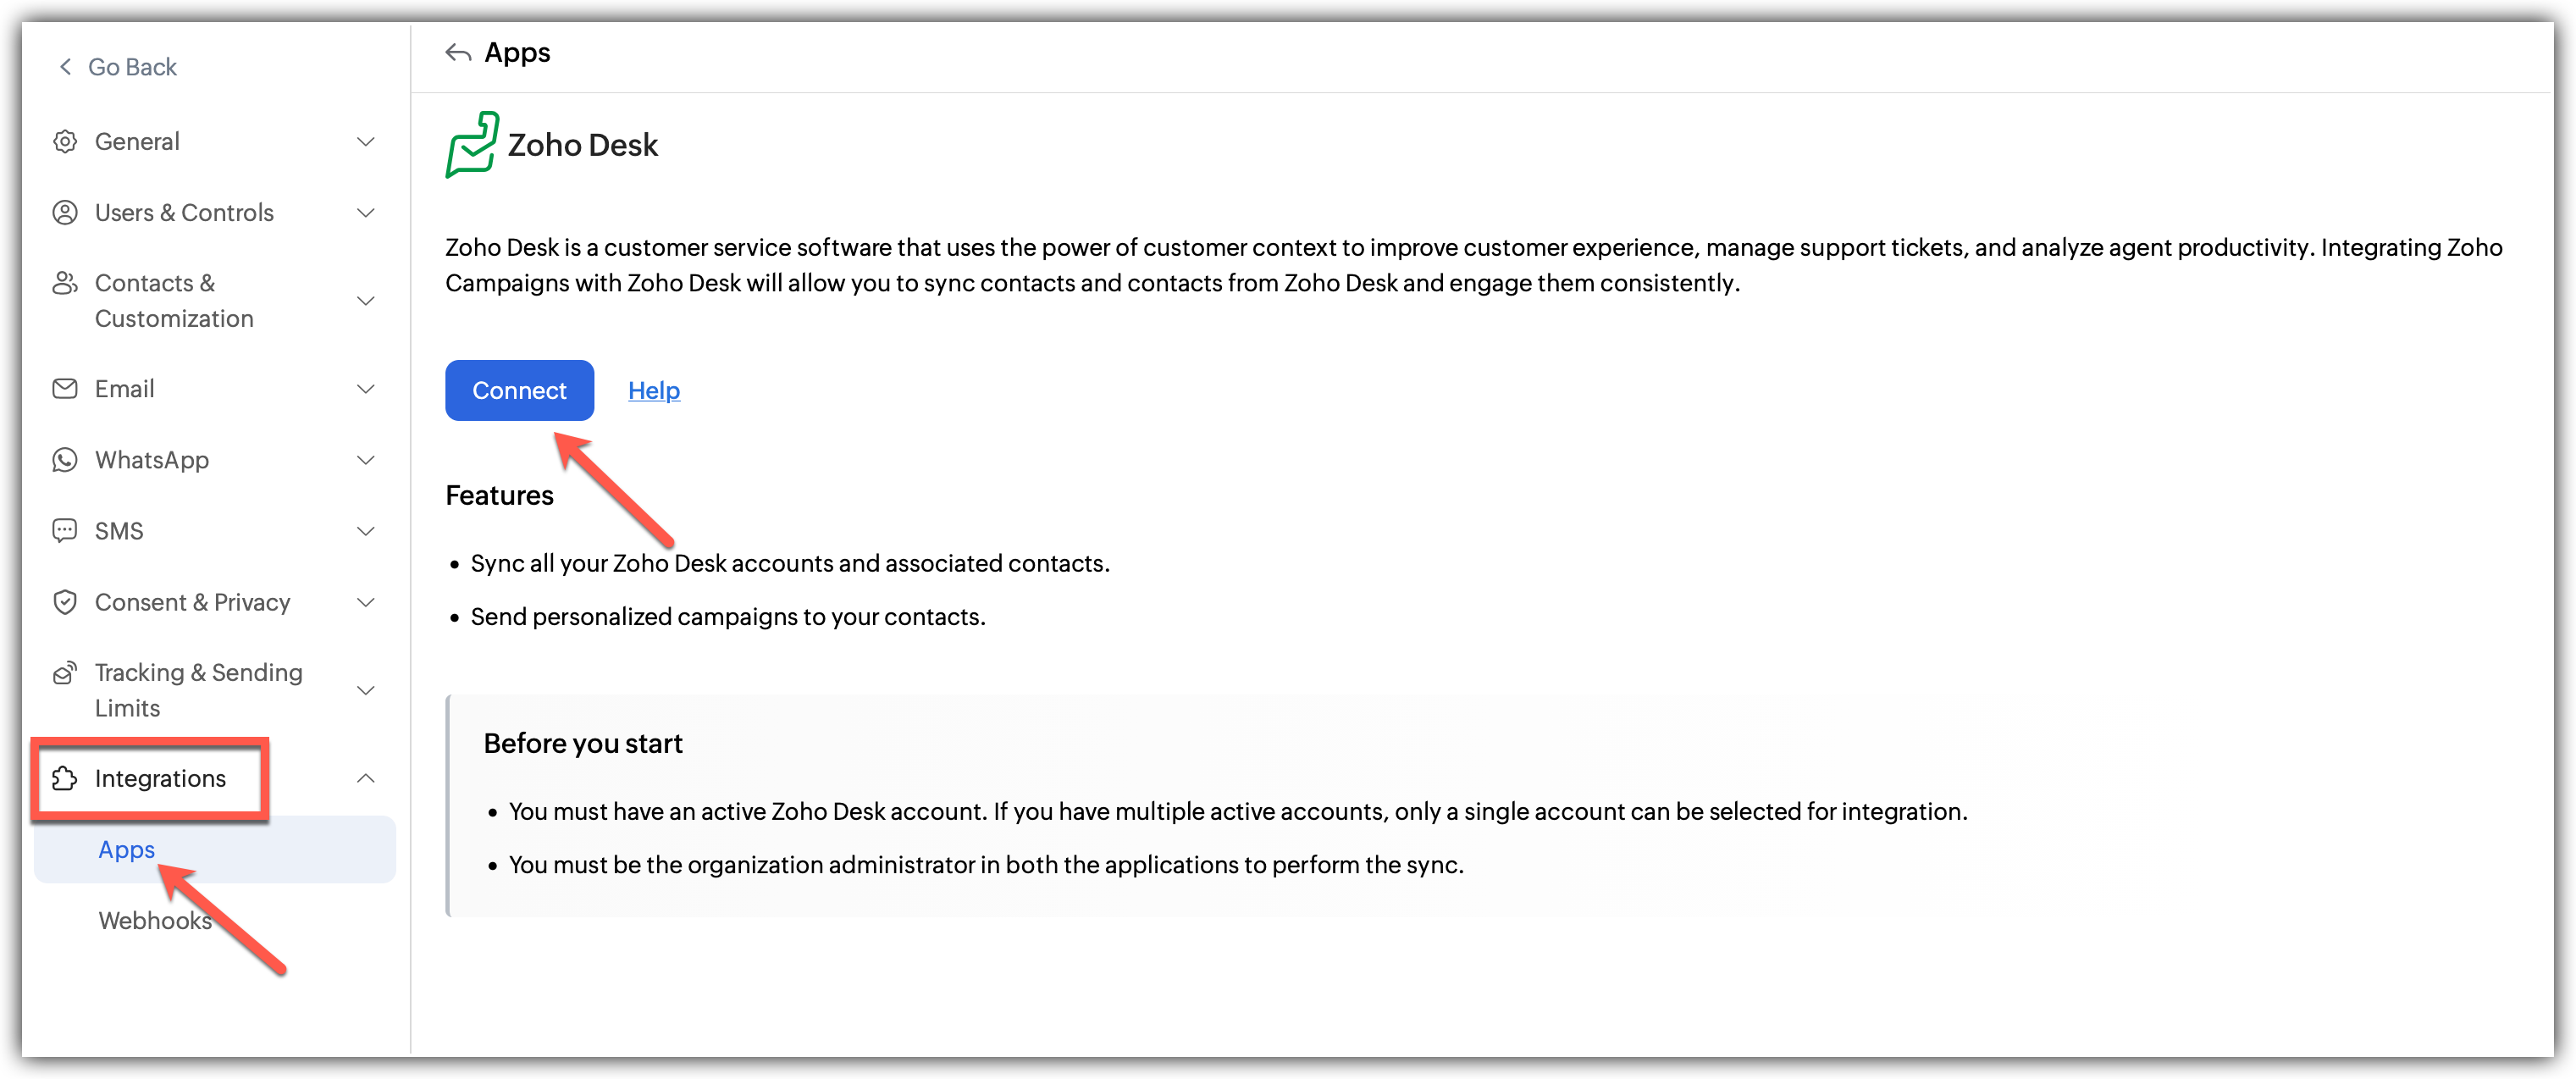
Click Settings icon on the top-right corner of the screen.
Choose Apps under Integration.
Select Zoho Desk under Zoho Apps and click Connect
A pop up appears to integrate and create a new sync.
After linking the account by choosing a desk organization to sync with Zoho Campaigns, proceed to the next step of configuring the sync.
Fill in the details of the sync:
1. Select the Desk module you want to sync.
2. Select the Workspace under it.
3. Select the list you want to sync with(optional).
4. Select the subscription type.
5. Choose a topic for the imports if required(optional).
6. Configure the Sync Date, Sync frequency and the exact condition for it.
7. Toggle whether you want to update empty field value as per Zoho Desk details.
8. Click Save and NextNow, Map the fields from Zoho Desk to Zoho Campaigns.
Click Initiate once you are done
Learn how to import contacts from Zoho Desk
What happens if I deny my Zoho Desk account Integration?
If you deny this integration,
All active syncs will be disabled.
You cannot import contacts from Zoho Desk.
You cannot send campaigns to synced contacts.
Denying access to Zoho Desk
Click Settings icon in the top-right corner of the screen.
Choose Apps under Integration.
Under connected apps, Select Zoho Desk.
Click the Disconnect option after clicking the three dots in the right.
A pop appears informing about the effect of disconnecting.
Click Proceed.
Post Integration
You can always go back and edit the Sync details and Field Mapping
You can also view the Sync History which logs all the actions related to this integration including Total Records, Added, Updated, Skipped contacts.
Zoho Flow
Features
- Integrate Zoho Campaigns with a wide range of third-party apps.
- Create workflows to automate data movement between systems.
- Track execution and performance of your workflows.
Prerequisites
- You must have an active Zoho books account. If you have multiple accounts, only one account can be selected for integration.
Integrate with Zoho Flow
Click Settings icon on the top-right corner of the screen.
Choose Apps under Integration.
Select Zoho Flow under Zoho Apps and click Explore.
You will be re-directed to Zoho Flow's page from where you can sign up and start utilizing Zoho Flow's workflow models and automations for Zoho Campaigns.
1. Click the + icon
2. Click the integration you want to connect .
3. Click Access Zoho Flow and start using the workflowsYou can also Create your own customized flows with Zoho Flow.
Denying access to Zoho Flow
The integration is fully handled through the Zoho Flow website and the integration or any active workflows can be denied only from the Zoho Flow website.
Bigin by Zoho CRM
Features
- Import contacts along with associated deal information.
- Engage contacts through campaigns and move them through your pipeline.
- Update campaign-related details for records in Bigin.
Prerequisites
- You must have an active Zoho Bigin account. If you have multiple accounts, only one account can be selected for integration.
- Only users with Administrator permission in both Zoho Bigin and Zoho Campaigns can setup the sync.
To integrate with Zoho Bigin 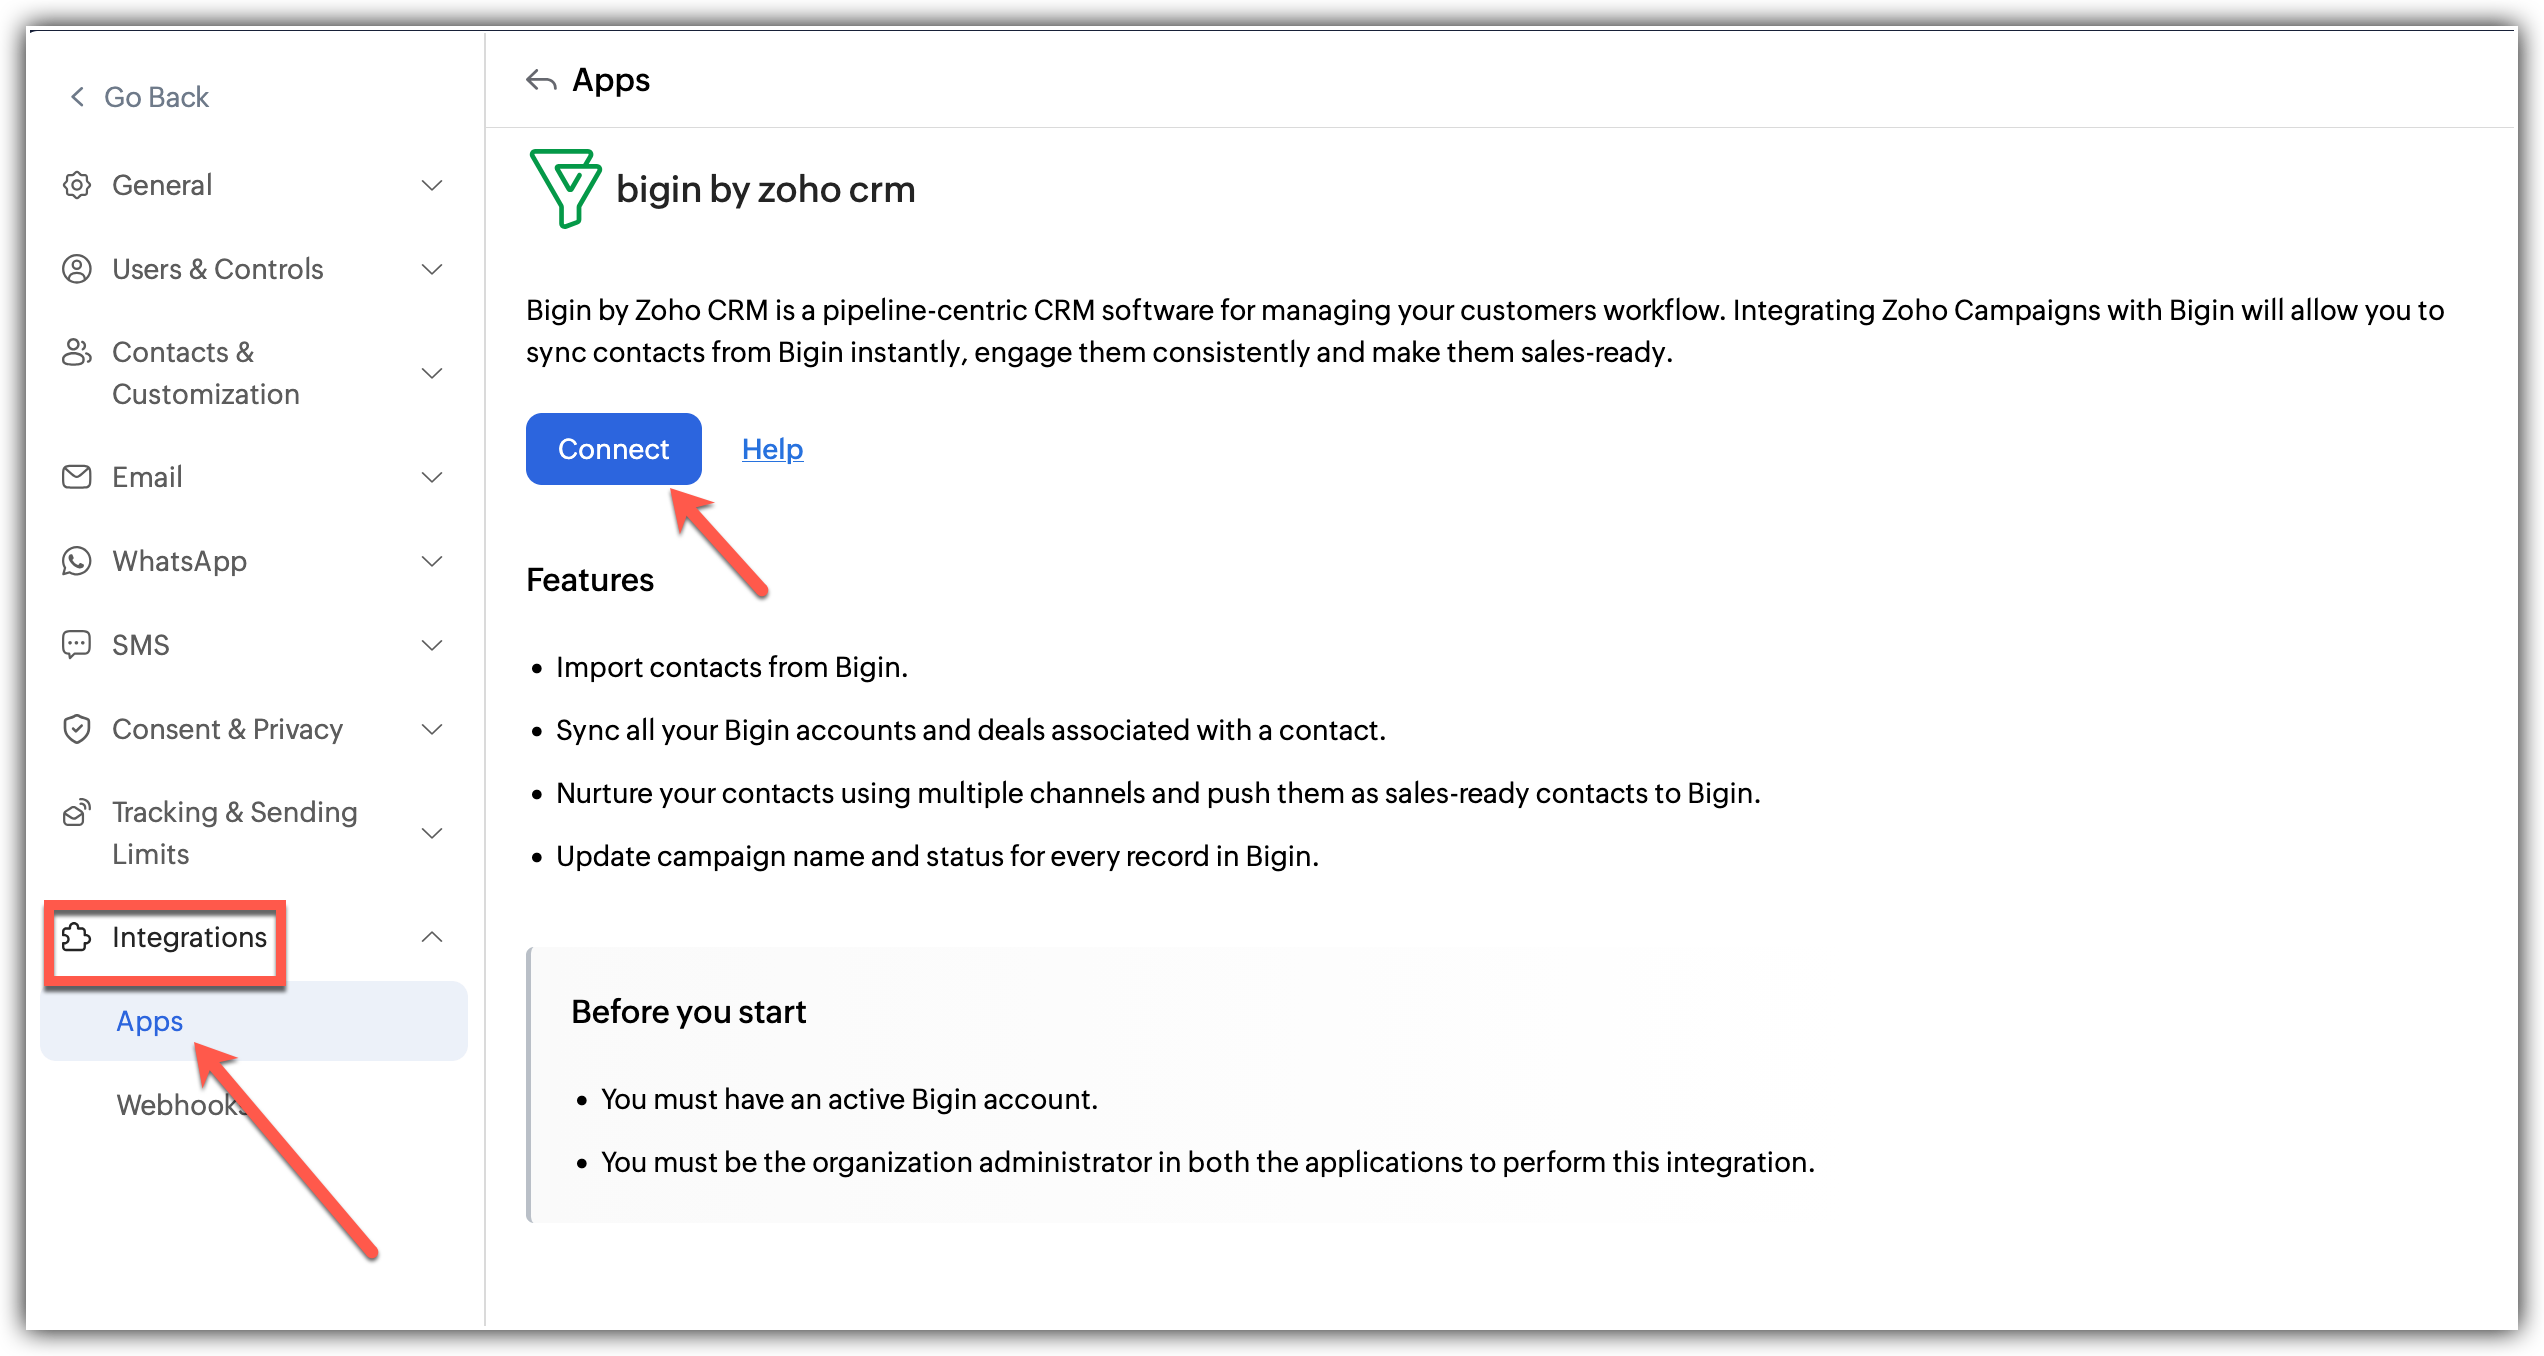
Click Settings icon on the top-right corner of the screen.
Choose Apps under Integration.
Select Zoho Bigin under Zoho Apps and click Connect
A pop up appears to integrate and create a new sync.
After linking the account by choosing an organization to sync with Zoho Campaigns, proceed to the next step of configuring the sync.
Fill in the details of the sync:
1. Select the Bigin module you want to sync.
2. Select the Workspace under it.
3. Select the list you want to sync with(optional).
4. Select the subscription type.
5. Choose a topic for the imports if required(optional).
6. Toggle whether you want to update empty field value as per Zoho Recruit details.
7. Under Advanced settings, Toggle whether to Exclude contacts who had opted-out and Remove contacts who opted out.
8. Click Save and NextNow, Map the fields from Zoho Bigin to Zoho Campaigns.
Click Initiate once you are done.
What happens if I deny my Zoho Bigin account Integration?
If you deny this integration,
You cannot import further contacts from Bigin.
All active syncs will be disabled.
Your existing syncs and settings may be deleted.
Denying access to Zoho Bigin
Click Settings icon in the top-right corner of the screen.
Choose Apps under Integration.
Under connected apps, Select Zoho Bigin.
Click the Disconnect option after clicking the three dots in the right.
A pop appears informing about the effect of disconnecting.
Click Proceed.
Post Integration
You can always go back and edit the Sync details and Field Mapping.
You can also view the Sync History which logs all the actions related to this integration including Total Records, Added, Updated, Skipped contacts.
Zoho Survey
Features
- You can fetch the surveys created in Zoho Survey and send them out to your target audience using survey-based campaigns in Zoho Campaigns.
- The survey merge tags available in Zoho Campaigns allow to bring in the survey name and survey links to the email campaign content.
- You can automate survey campaigns in Journeys.
- Analyze survey reports using different sub-categories like survey completed contacts, survey not started, survey started, and survey sent.
- Only account details are shown in the integration page since there is no contacts sync in this integration.
- This integration is only for campaign creation and sending survey based campaigns.
Prerequisites
- You must have an active account in Zoho Survey. If you have multiple active accounts, only a single account can be selected for this integration.
- You must be the organization administrator in both Zoho Survey and Zoho Campaigns to initiate the integration.
- You must have at least one active survey in your Zoho Survey account.
Integrate with Zoho Survey
Follow the steps given below to integrate your Zoho Survey account with Zoho Campaigns.
Click the Settings icon in the top-right corner.
Click Apps under Integrations.
Click either Zoho, or Marketing, or Survey under Categories, then select Zoho Survey.
Read the features and pre-requisites first.
Click Connect.
How to disconnect the Zoho Survey integration
Follow the steps given below to disconnect your Zoho Survey account.
Click the Settings icon in the top-right corner.
Click Apps under Integrations.
Select Zoho Survey under Connected Apps.
Click Disconnect.
Click Disconnect in the pop-up that appears.
What happens if I deny my Zoho Survey account Integration?
The following changes will take place when you disconnect your Zoho Survey integration with Zoho Campaigns:
You won't be able to view the surveys created using Zoho Survey in your campaign creation flow.
All the scheduled survey campaigns in your Zoho Campaigns account will be moved to drafts.
All the survey campaigns in the in progress status will be stopped.
You won't be able to use the survey merge tags in your campaigns.
You won't be able to use the survey-based actions in workflows.