Shopify Campaigns

Disclaimer: This is the help page for users who have already associated their Shopify store and want to import contacts and send email campaigns. If you’re looking for ecommerce solutions for Shopify, click here.
Zoho Campaigns integrates with Shopify and allows you to send newsletters to your store's customers. With this integration, you can select your products for your email newsletters, import contacts from your Shopify account, and track the recipients who've purchased your products.
Connect Shopify
To connect your Shopify account:
- From the Navigation toolbar, click Settings.
- Choose Apps under Integration.
- Mouse over Shopify and click Connect.
-
Enter Your Shopify store URL and API credentials. Click Proceed.
 Note : Click here to learn how to get the API credentials for your Shopify store.
 -
To comply with GDPR, we inform the activities that will be performed after integration,
- Sync contacts from your Shopify account.
- Send campaigns about your Shopify products.
- Track the recipients who have purchased your product.
- Generate E-commerce reports and the summary of your campaigns.
- Sync contacts from your Shopify account.
- Click Continue.
Create Shopify campaign
Once you connect Shopify and Zoho Campaigns, you can easily add products to your campaigns.
To create a Shopify campaign:
- From the navigation toolbar, choose Advanced Campaigns.
- Click Create Campaign in the top-right corner of the screen.
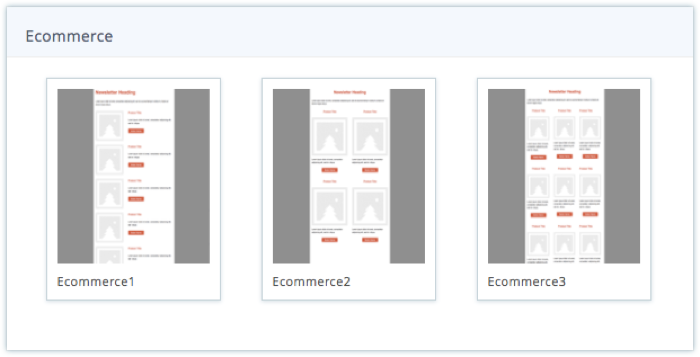
- Scroll down to the Ecommerce section and click Create New dropdown.
- Select either Regular campaign or A/B test based on your choice.
- Select the store for which would you like to create an email campaign.
- Fill in all the details and click Next.
- Choose any of the following options:
- All Products
- Smart Collections
- Custom Collections
- Select the products you want to show in your email campaign.

- Select one of our specially designed Shopify templates for sending an invite to your mailing list. These templates are tailor-made to cater to your e-commerce based email campaigns.
-
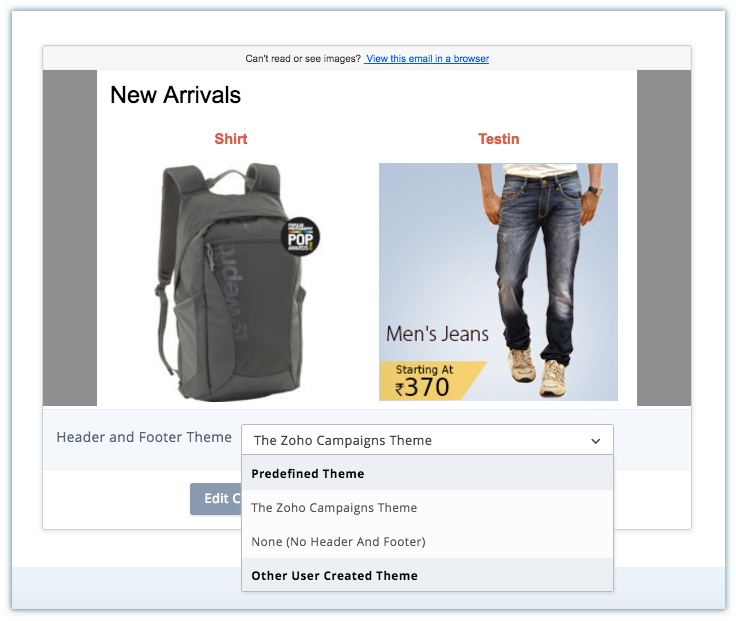
Select a campaign theme which matches your template design and click Next.
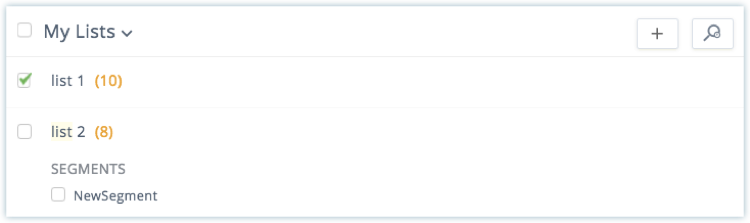
- Select a mailing list or segment to receive your campaign, and click Proceed.
The Shopify campaign will be sent for review. Once the review is complete, you'll be able to send the campaign.
View Shopify reports
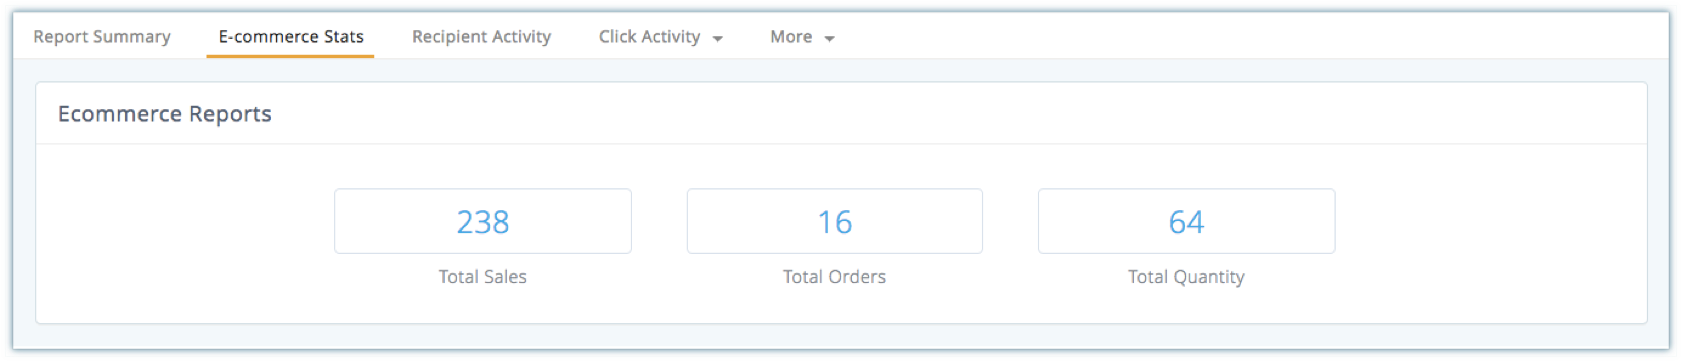
Once your campaign is sent, you can view the campaign results in the Report Summary. The Campaign report shows the number of surveys delivered, opened, and clicked. In addition, we also show Ecommerce Stats, which highlights the following:
- Total sales resulting from this email campaign
- Number of orders placed by the email campaign's recipients.
- Total quantity sold of each item
- List of order details for each customer, including order date, order number, quantity, and price.
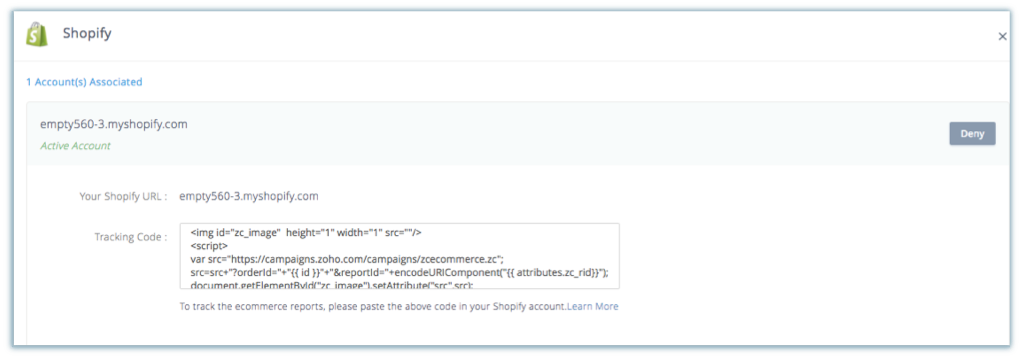
Where can I view the Shopify tracking code?
You can view these Ecommerce stats by embedding the Shopify Track Code in your Shopify account.
To view the Shopify Track Code:
- From the Navigation toolbar, choose Settings and select Apps under Integrations.
- Click the Show Details link corresponding to the Shopify icon.
- Select and copy the Shopify tracking code.
To paste the Shopify Track Code:
- Login to your Shopify account.
- Click Settings in the left panel, then select Checkout.
- Navigate to the Order Processing section.
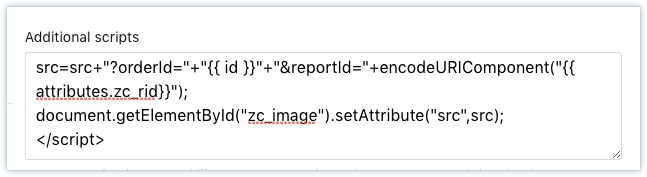
- Paste the Shopify track code in the box below Additional Content & Scripts.
- Click the Save Changes button to confirm.