DLT Registration on Vodafone Idea
Entity registration
The steps are as follows:
- Visit the VILPOWER DLT registration portal and click Signup.
- Select Area of Operation: As Enterprise or As Telemarketer. You need to choose the As Enterprise option to register your business and get the entity ID.
- In the next screen, select whether you've registered with any other mobile operators previously. If yes, you can directly enter your previous Entity ID. If not, enter your business PAN number. Click Verify and Continue.
- You'll receive an OTP to the registered mobile number, enter it and click Verify.
- Enter the following data:
- Business type
- Industry
- Business PAN
- Business name
- Owner / registrant's name
- Business Address
- You need to attach proof of business (Business PAN card) and your proof of address. Click Continue.
- You need to pay the registration fee and create an account.
You will be notified via email once your data is verified and registration is approved. This email will also contain information about your account activation details.
Header registration
The steps are as follows:
- Visit the VILPOWER DLT registration portal and click Login.
- Select Area of Operation: As Enterprise.
- Sign in with the credentials you set in the entity registration process.
- Enter the OTP to authenticate and click Verify to login.
- Click Header and then click Add icon in the top-right corner.
- Enter the following information:
- Header type (Promotional to send marketing bulk SMS)
- Choose a category based on the type of your business and the industry it falls under.
- Enter the header or sender ID that is necessary. Promotional headers should be six digit numbers and the first number would vary based on your industry. You can choose a number that will represent your company.
- Select an attachment as a proof of your business and also prove that you've chosen a relevant header according to your industry and also aligns with your company along with an explanation.
- Click Submit for Approval after filling out the data.
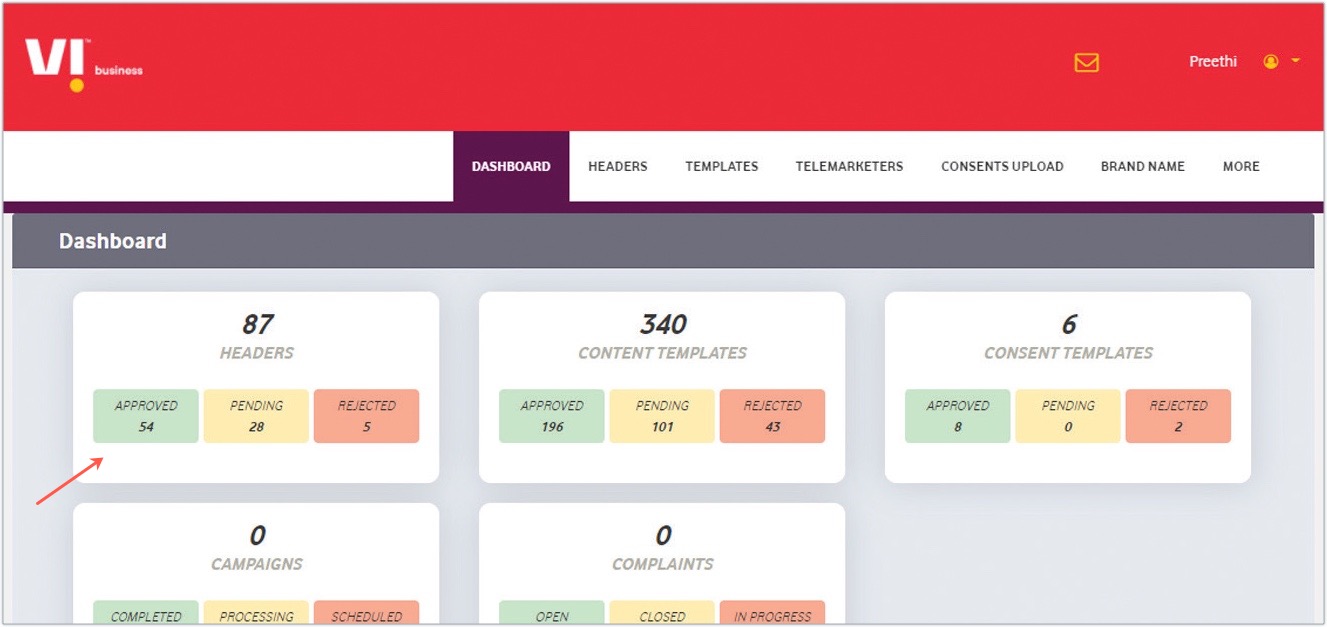
After submitting the form, your data will be verified and approved. Until then, the status will be "Pending". You can check the status of approval in the Header tab or from the portal dashboard.
Content template registration
The steps are as follows:
- Visit the VILPOWER DLT registration portal and click Login.
- Select Area of Operation: As Enterprise.
- Sign in with the credentials you had set in the entity registration process.
- Enter the OTP to authenticate and click Verify to login.
- Click Templates and click Content Templates.
- Click Add icon on the top-right corner.
- You can either opt for a pre-approved template or custom content template.
- Enter the following information:
- Choose the Template Type as Promotional.
- Choose the Category or Industry of your business.
- Select from one of the approved headers in the drop-down.
- Select the Message type: Text/Regional.
- Select your brand name from the drop-down.
- You can choose either pre-approved or custom content template.
After submitting the form, your data will be verified and then approved. Until then, the status will be "pending". You can check the status of approval in the Templates tab dashboard.