Custom widgets in Dashboard
Feature Availability
Overview
Custom widgets can be used to share specific information with your network members in the form of text, images, and videos. For example, using the notification bar widget, you can share a piece of important news and pin it on the top of the Dashboard.
This document covers the list of available custom widgets and a brief explanation of how to use them.
Embed
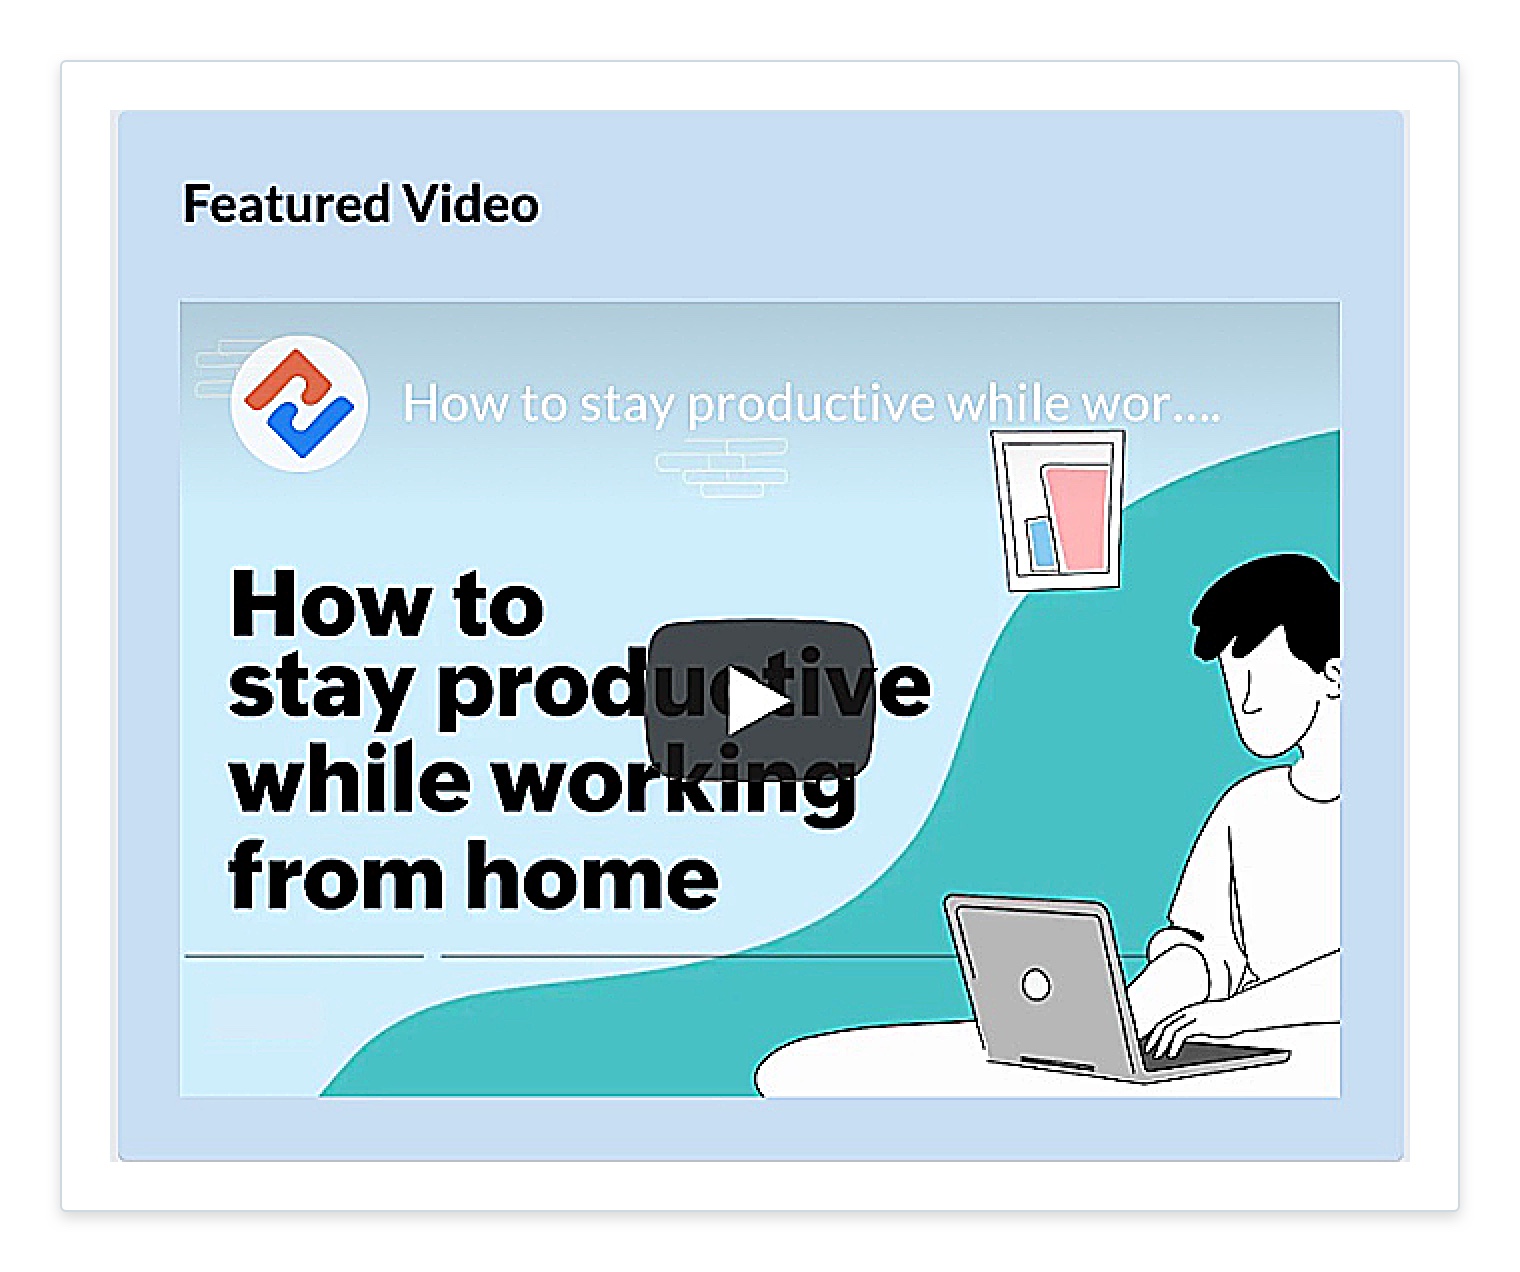
Display content from any website that allows embedding (for instance, YouTube) by copying and pasting the site's web address/embed code.
Example: Add the link to your latest YouTube video or news featuring people from your organization.
To add the embed widget to the Dashboard follow the steps below:
- Make sure you are in the Dashboard's edit mode.
- Scroll to the Embed Widget in the Edit menu on the left, then drag and drop it to the preferred position on the Dashboard.
- Enter the title in the Widget Title field, or click the eye icon [
] to hide the title.
- Go to the required website and copy the link of the content you want to embed. To do this, select the address provided in the address bar and click Copy.
- Navigate back to Connect and paste the link in the Embed Code or URL field. Once done, the content from the link will be displayed within the widget.

Content from the link is displayed on the Dashboard only when the specific service allows content embedding using links. If the link does not work, you can try using the embed code.
An embed widget with a YouTube video looks as follows:
Quick Links
Using the quick links widget, you can add links that are useful for everyone in your organization to the Dashboard. You can also add links to any page within your network.
For example, you can share links to the payroll portal or company policies manual.
To add the quick links widget:
- Make sure you are in the Dashboard's edit mode.
- Scroll to the Quick Links widget in the Edit Menu on the left, then drag and drop it to the preferred position on the Dashboard.
- Enter the title in the Widget Title field, or click the eye icon [
] to hide the title.
- Select the required view type (List, Button, and Grid).
- Click Add Link.
- Enter the link title and add a description, if required.
- Switch to the required website and copy its URL to the clipboard.
- Navigate back to Connect and paste the in the URL field.
- You can also add a custom icon specific to the link. To do this, click Change next to the icon field and upload the required image.
You can add multiple links in the Quick Links widget.
The following is an example of the quick links widget in grid view:

To edit or delete a link:
- Make sure you are in Dashboard's edit mode.
- Navigate to the required quick links widget on the Dashboard.
- Hover above the widget and click the pencil icon [
] in the top-right corner of the widget. You'll see the properties tab of the widget in the edit menu on the left.
- From the list of links, hover above the required one and click the pencil icon [
] to edit it, or click the delete icon [
] to remove it from Dashboard.
Additional Options:
If you scroll down to the bottom of the quick links widget's properties tab, you'll see the following options:
- Show icon
Each link has a default or custom icon. Use this option to show or hide the icon displayed next to each link.
- Show description
Each link has a small description to help the users understand what content can be found in the link. Use this option to show or hide the description.
- Title position
Use this option to determine the link title position in the list view.
Sliding Banner
You can use the sliding banner to share and bring visual focus important news or messages as slides. Slides also add an aesthetic view to your Dashboard. You can add slides with images, text, or both.
For example, use a media-with-text slide to share details of an upcoming webinar with its poster by the side.
To add a sliding banner widget:
- Switch to the Dashboard's edit mode.
- Scroll to the Sliding Banner widget in the Edit Menu on the left, then drag and drop it to the preferred position on the Dashboard.
- Enter the title in the Widget Title field, or click the eye icon [
] to hide the title.
- Click Add Slide in the properties tab.
- Enter the title for the slide.
- Select the type of slide you want to add (Media only, Text only, and Media with text).
- Upload the image/video from your device or embed using the image/video URL.
[Supported video formats- MP4, M4V, MOV, WEBM, OGV] - If you've used the text only or media with text slide, enter the message in the description box.
The following is an example of a sliding banner with the media and text slide.
To edit, delete, or reorder a slide:
- Make sure you are in Dashboard's edit mode.
- Navigate to the required Sliding Banner widget on the Dashboard.
- Hover above the widget and click the pencil icon [
] in the top-right corner of the widget. You'll see the properties tab of the widget in the edit menu on the left.
- From the list of slides, hover above the required one and click the pencil icon [
- If you have multiple widgets and want to reorder them, hover above the required slide. Click the reorder icon [
], then drag and drop it to the required position.
Additional Options
The following additional options are found in the sliding banner's Advanced tab.
- Turn off auto-scroll
Uncheck this box if you'd like to disable auto-scroll between each slide.
- Scrolling speed
Drag the slider to determine the speed at which the slides move. This option is applicable only when the auto-scroll option is enabled.
- Time delay
Drag the slider to determine the time spent on a slide before switching to the next one. This option is applicable only when the auto-scroll option is disabled.
- Show navigation controls
Enabling this option will show the arrow buttons in the slides, allowing users to switch between different slides manually.
- Show page controls
Enabling this option will show a dot for each slide added below the widget enabling users to switch between slides quickly.
To access these options:
- Hover above a sliding banner widget and click the pencil icon [
- Switch to the Advanced tab. You'll see the options listed.
Text
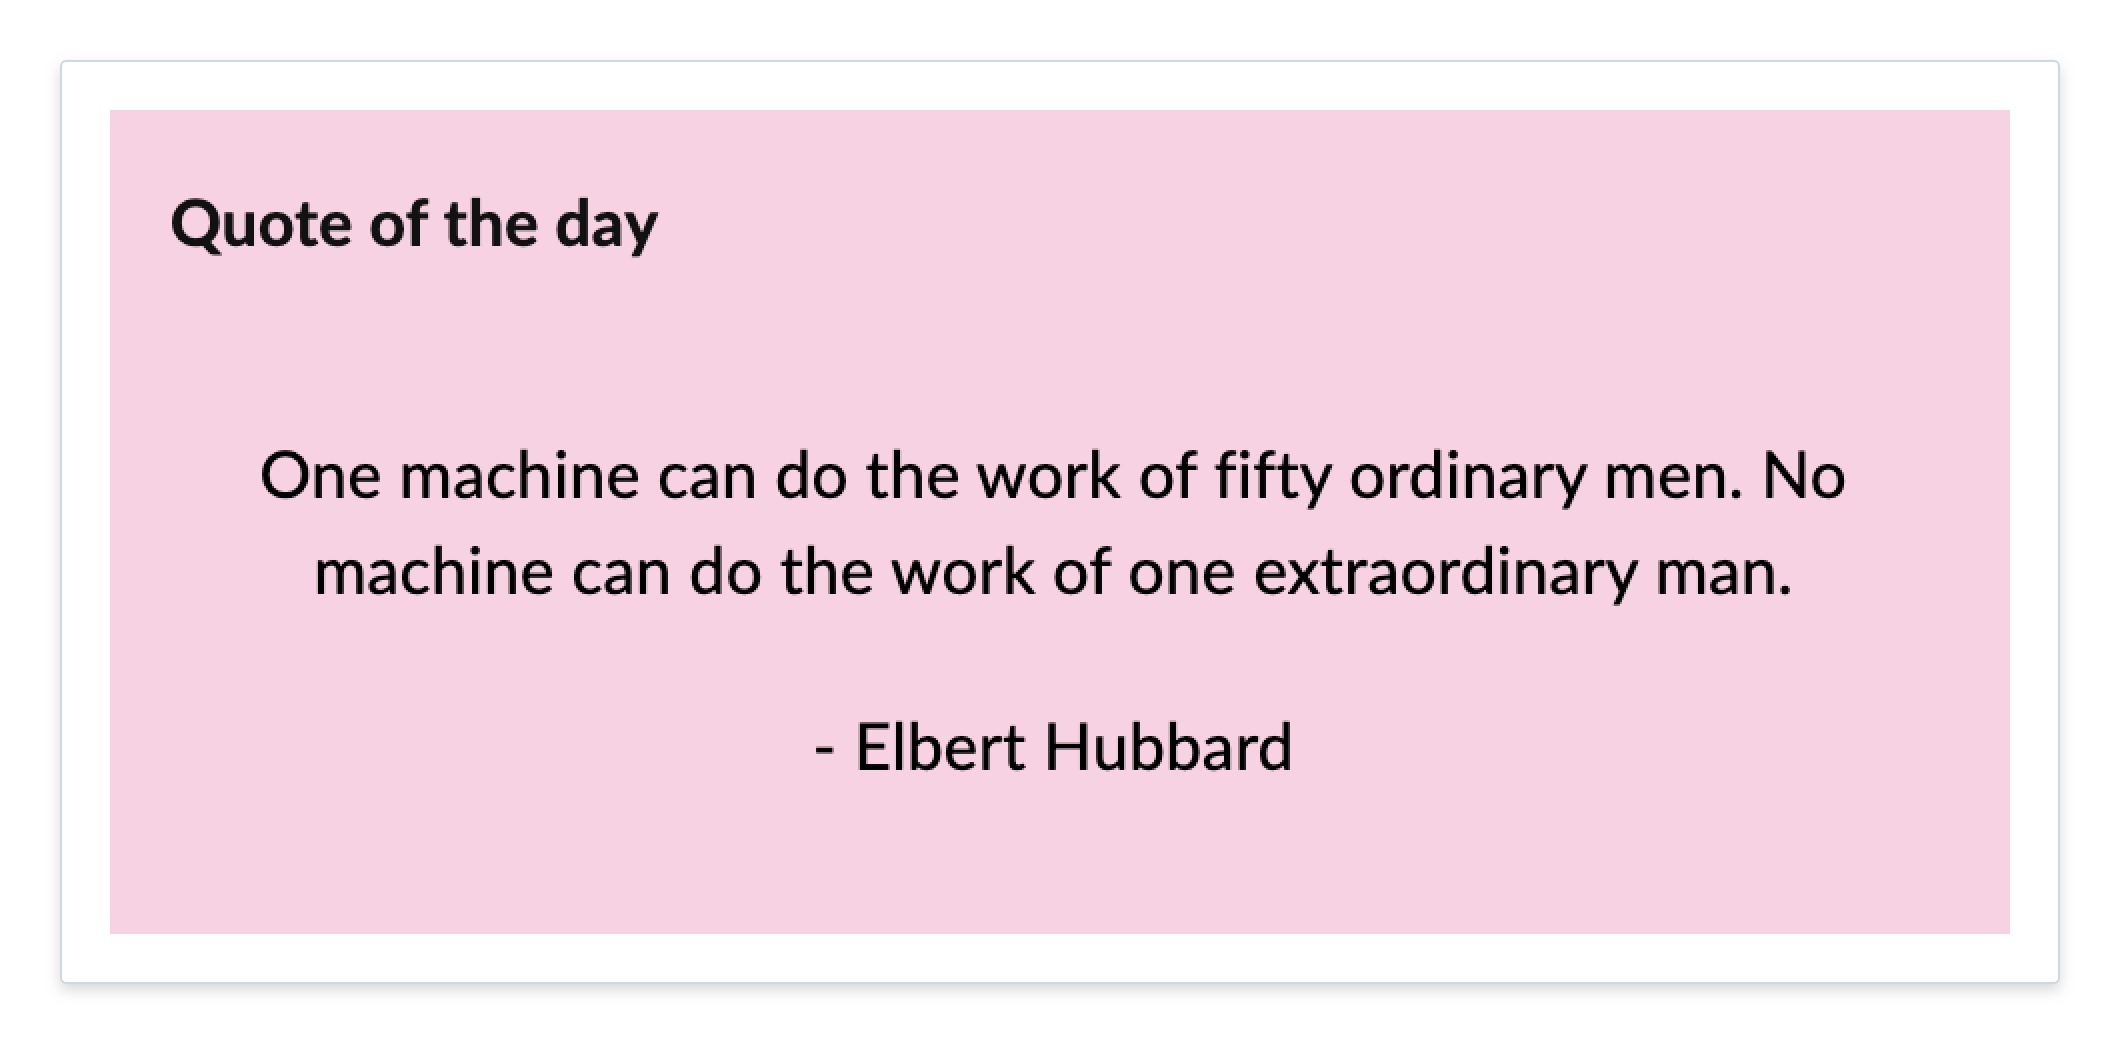
Use the Text widget to add important text or code for others to view or learn from. Use this to share important code enhancements or any notice that you would like employees to read.
To add the Text widget:
- Make sure you are in Dashboard's edit mode.
- Scroll to the Text widget in the edit menu on the left, then drag and drop it to the preferred position on the Dashboard.
- Enter the title in the Widget title field, or click the eye icon [
- Enter your content in the Message field and use the built-in formatting options, if required.
This is how the message appears on the Text widget:
Gallery
You can use the Gallery widget to share a collection of images with your network members. You can use this widget to feature images from one of your meetings or an organization event.
To add Gallery widget:
- Make sure you are in the Dashboard's edit mode.
- Scroll to the Gallery widget in the edit menu on the left, then drag and drop it to the preferred position on the Dashboard.
- Change the Widget Title, if required, or, click the eye icon [
- Click Upload and select the images using the file picker from your device.
- If required, reorder the images to the preferred order.
The size of an individual image should not exceed 10 MB.
An example for the gallery widget is as follows:
To delete an uploaded image:
- Navigate to the Gallery widget's properties tab. You'll see the list of uploaded images.
- Click the delete icon [
Countdown Timer
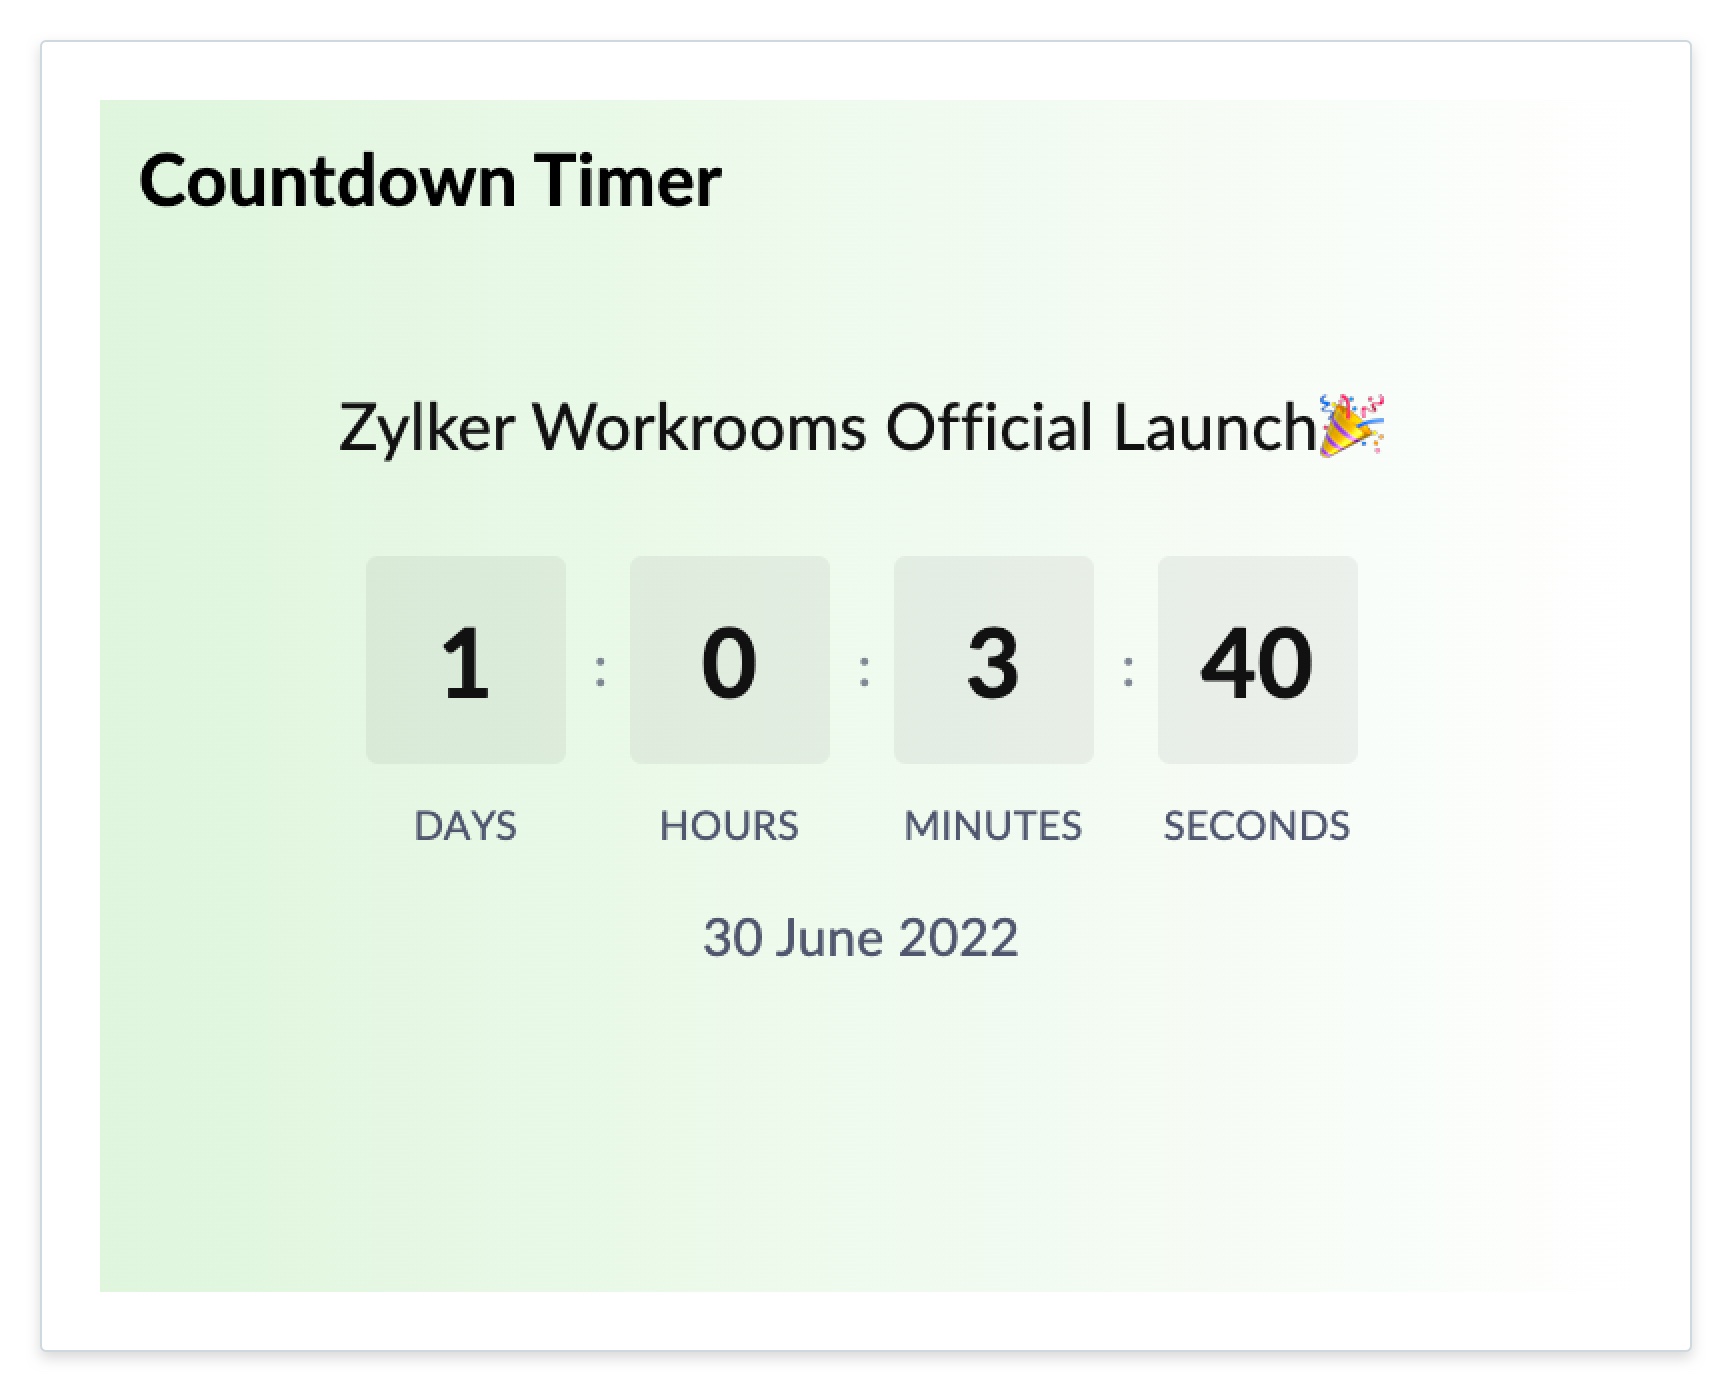
You can use the Countdown Timer widget to add a timer to start a count down to an event. You can also add a description briefing what the timer is about, and a message that should be displayed once the timer ends. For example, you can use this widget to set a timer and build excitement for an important event like the annual performance awards or a sports tournament, or special webinars and meetings.
To add a Countdown Timer:
- Make sure you are in the dashboard's edit mode.
- Scroll to the Countdown Timer widget in the edit menu on the left then drag and drop it to the preferred position on the Dashboard.
- Change the Widget Title, if required, ore click the eye icon [
- Set the end date and time.
- Enter the description and message.
A Countdown Timer widget on the Dashboard looks as follows:
Notification Bar
Announce important notices or changes and keep them pinned to the top using the Notification Bar widget. You can also add a Call to Action text and URL to the message.
You can add only one Notification Bar to your Dashboard.
To add a Notification Bar:
- Make sure you are in the Dashboard's edit mode.
- Scroll to the Notification Bar widget in the edit menu on the left, then drag and drop it to the top of the Dashboard.
- Enter the title in the Widget Title field. Or, click the eye icon [
- Enter the message you'd like to display.
- You can also add a call to action link and call to action text (for example, "Learn more").
A Notification Bar widget on the Dashboard looks as follows:

File Viewer
Keep important files within reach by inserting them on the Dashboard using the File Viewer widget. File types you can insert include Excel, Word, PowerPoint, and PDF. You can display only one document per widget. If you want to add multiple files, you can add one file viewer widget for each file.
You cannot add image and video files to this widget. For image files, you can use the image gallery widget.
To add file viewer widget:
- Make sure you are in the Dashboard's edit mode.
- Scroll to the File Viewer widget in the edit menu on the left, then drag and drop it to the preferred position on the Dashboard.
- Change the Widget Title, if required, or click the eye icon [
- Click Upload and select the required file from your device.
If you have questions regarding the Dashboard or its widgets, reach out to us at support@zohoconnect.com. We're happy to help!