Managing roles and role hierarchy
What does this page cover?
Learn to create a new role from the Roles tab. These roles help build the hierarchy in an organization.
Availability
- Roles is accessible in all plans of Creator. Addition of new roles is possible only in the paid plans.
- Only the super admin, admins, and developers can create and manage Roles.
1. Setting up roles
Users are assigned with a role when they are added to an application. Roles help define different positions or departments in an organization. Role hierarchy enables the access of application data, owned by the subordinates, for the superiors. Before creating a role, make sure to check out everything you need to know about roles.
1.1 Role creation flow
1.2 See how to configure
1.3 Create a role
1. Navigate to the edit mode of your application.
2. Click Settings situated in the top bar of the page.
3. Click User Permissions under the Permissions section.
4. The User Permissions page appears with the Permissions tab open. Click on the Roles tab. By default, a CEO role will be present. This role is superior to all other roles and can view all the data of the application.
5. Click Add Role. Enter a name for role.

Note:
- Alternately, hover over a role and click the + icon to the right of a role to add a role under that. These helps the easy placement of new roles in the hierarchy.
- The character limit for Name field is 100.
6. By default, Reports to is selected as CEO. Choose a different role that was previously added from the dropdown if required.
7. Enter a description for the role.

Note: The character limit for Description field is 200.
8. Click the checkbox near Share Data with Peers to enable other live users with the same role to access your records. Click Save.
2. View roles
1. Click Expand All to view all the roles displayed hierarchically in the Roles tab.

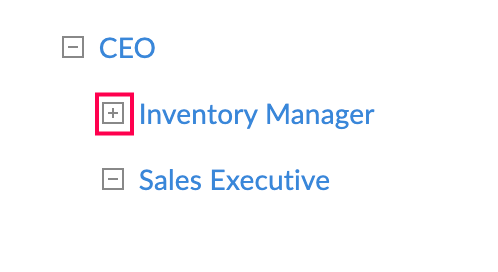
Note: You can click the + icon to the left of a role to expand and see the specific roles below that.

2. Click Collapse All to condense all the roles.

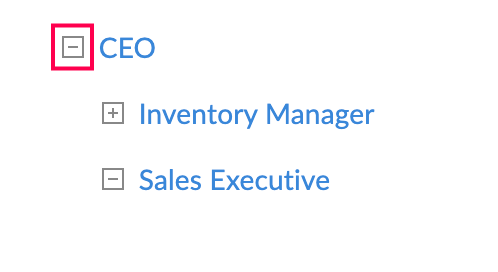
Note: You can click the - icon to the left of a role to collapse the specific roles below that.

3. Edit a role
1. Click on a role in the Roles tab. The Role Details page appears. This page displays the information on a role and also the details of the users associated to this role, if any.
2. Click Edit to modify the role's details. Click Save.
4. Delete a role
1. Hover over a role and click the bin icon to the right of a role to delete the role.

Note:
- Alternately, click on a role. The Role Details page appears. Click Delete to remove the role.
- Upon deletion of a role, its subordinates report to the CEO by default. This can be changed by editing those roles afterwards.
2. Choose the new role you want the users, who were assigned with the former role, to be assigned with after its deletion.
5. Manage role hierarchy
1. Click Manage Role Hierarchy in the Roles tab.
2. By default, role hierarchy is disabled. Click the toggle button to enable the superiors to access the records of their subordinates.

Note: After enabling role hierarchy, use the toggle button to disable and not allow superiors to access the records of their subordinates.
3. Select the Record Owner from the dropdown provided. By default, Added User is chosen. Click Save.

Note: When a Users field is added to a form, it is listed and can be chosen from the Record Owner dropdown. The user chosen in the Users field while adding the record will be recognized as the record owner.
6. Points to note
- The number of roles that can be added to an application depends on your Creator plan. See our pricing page.
- The Roles and Role Hierarchy feature will not be applicable for the integrations forms. This implies that anyone who has access to integration form's report will have access to all the data irrespective of their role.
7. Related topics
What's next
Previous
What's next
Learn how permissions, roles, and data sharing work together to control user permissions.
Previous
Zoho CRM Training Programs
Learn how to use the best tools for sales force automation and better customer engagement from Zoho's implementation specialists.
Zoho DataPrep Personalized Demo
If you'd like a personalized walk-through of our data preparation tool, please request a demo and we'll be happy to show you how to get the best out of Zoho DataPrep.
New to Zoho Writer?
You are currently viewing the help pages of Qntrl’s earlier version. Click here to view our latest version—Qntrl 3.0's help articles.
Zoho Sheet Resources
Zoho Forms Resources
New to Zoho Sign?
Zoho Sign Resources
New to Zoho TeamInbox?
Zoho TeamInbox Resources
New to Zoho ZeptoMail?
New to Zoho Workerly?
New to Zoho Recruit?
New to Zoho CRM?
New to Zoho Projects?
New to Zoho Sprints?
New to Zoho Assist?
New to Bigin?
Related Articles
Understanding roles and role hierarchy
In a nutshell Roles allow you to replicate your organization hierarchy in Creator. (For example: Admin > Manager > Staff). Enabling role hierarchy governs data visibility: It allows a user in the higher hierarchy to view their own records plus those ...FAQs: Record Owner - Role Hierarchy
This page covers the significance of 'Reports to', determination of record owners, the relationship between Users' fields and the Record Owner dropdown, sharing data with peers, changing default record owner choices, and assigning ownership in the ...Creating and managing data sharing rules
What does this page cover? Learn to create data sharing rules that allow the flow of application data from one user/role to another. Availability Data Sharing is accessible in all plans of Creator. Only the super admin, admins, and developers can ...Understanding users
This help page is for users in Creator 6. If you are in the older version (Creator 5), click here. Know your Creator version. 1. What does this page cover? Learn about users who can be added to your organization and how they can access the ...Managing environments
1. What does this page cover? This page provides a comprehensive guide on managing your application across Development and Stage environments using the environments dashboard. You'll learn how to navigate the environments dashboard, manage your ...
New to Zoho LandingPage?
Zoho LandingPage Resources


