Set image properties for image field

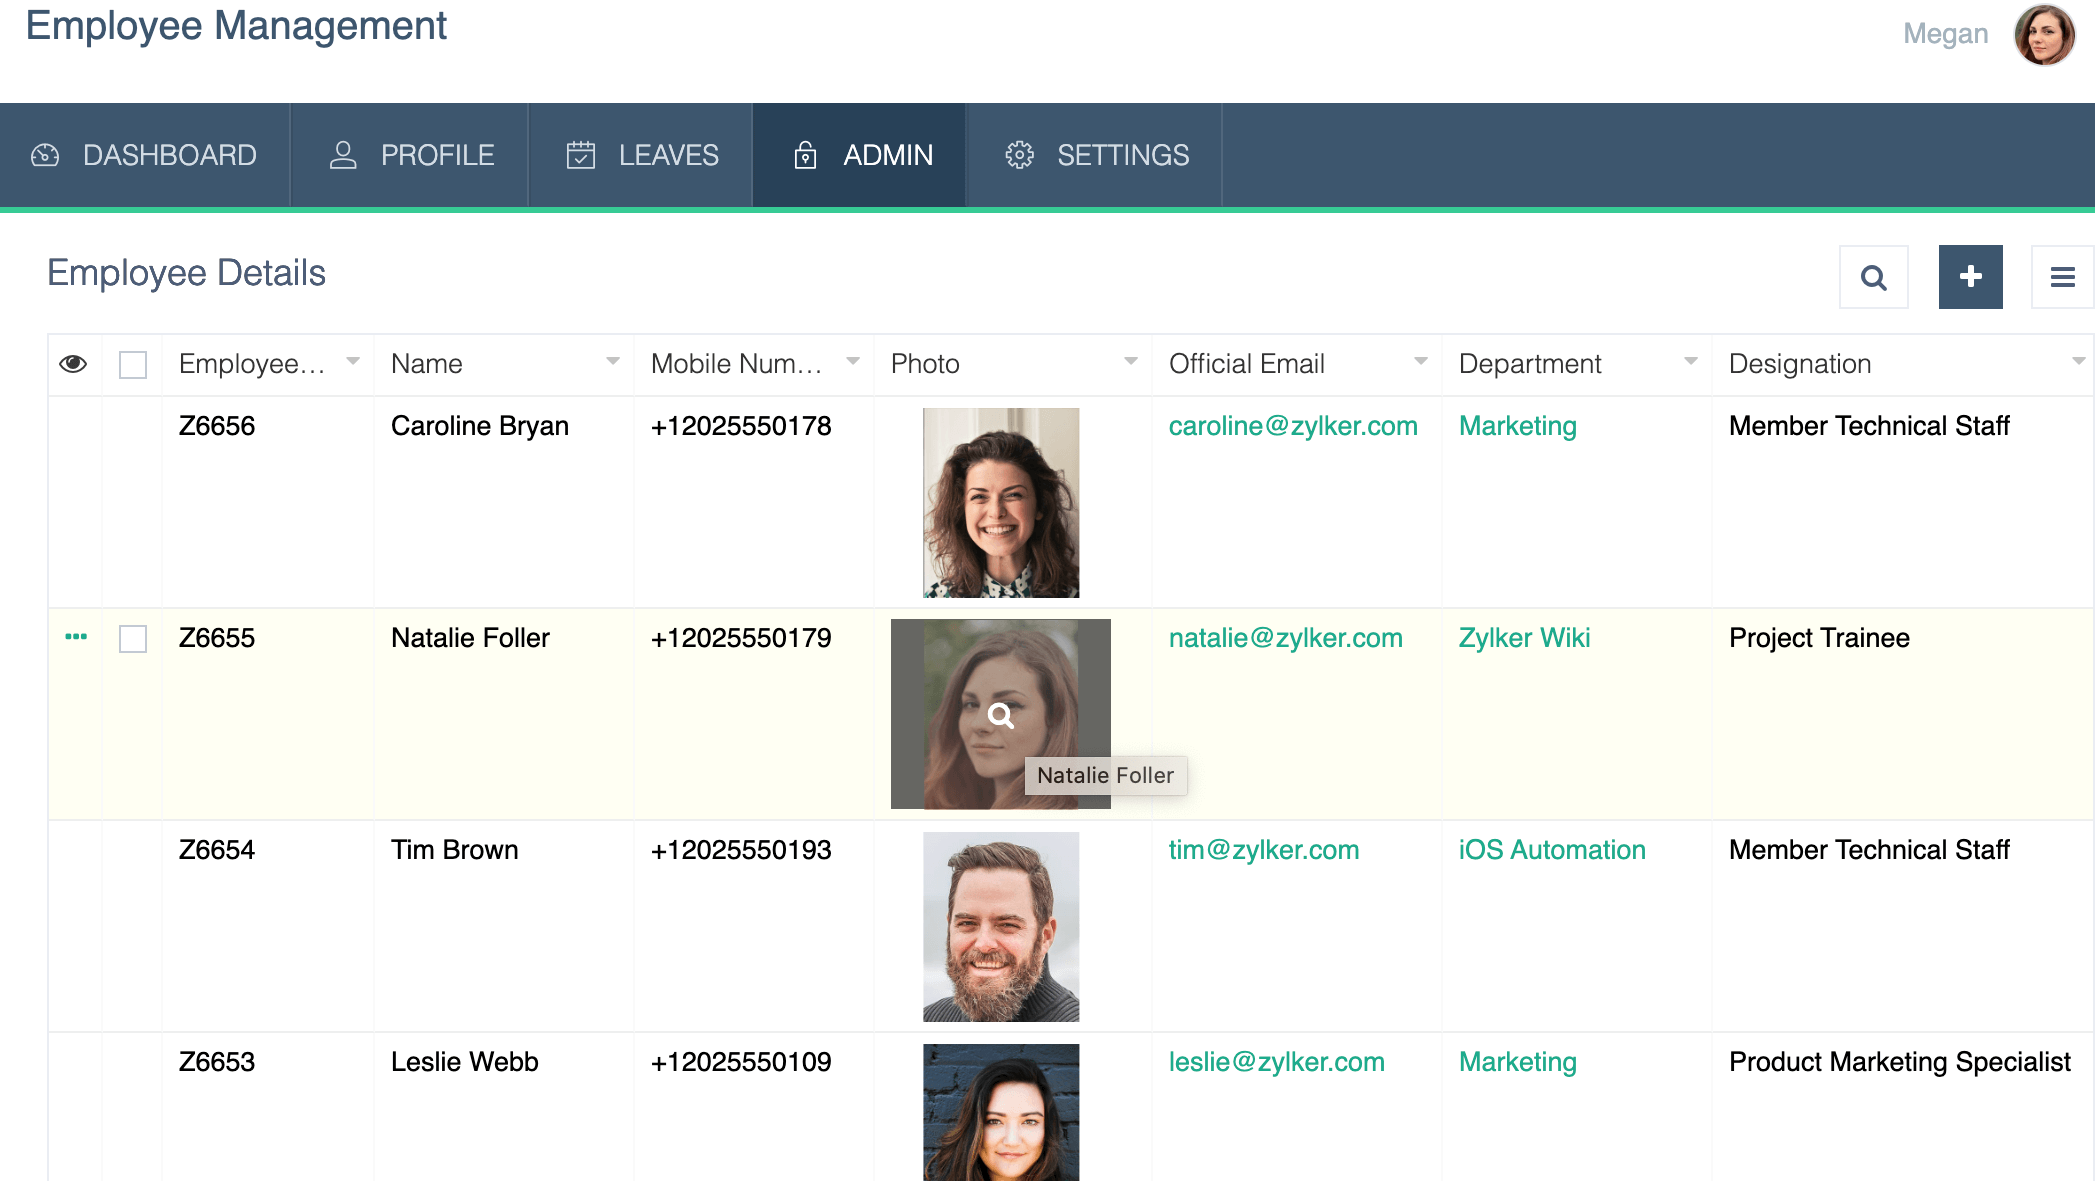
In reports, the Image field is displayed differently based on the selected upload mode:
- Single Upload – Displays one image per record.
- Multiple Upload – Displays uploaded images in a gallery or grid view.

- The carousel view is supported only in the Canvas layout. In all other multi-image supported layouts-except Image layout, Canvas layout, and Custom Quick View layout-the grid view will be displayed by default.
- Bulk image export is not supported in all formats.
Set aspect ratio
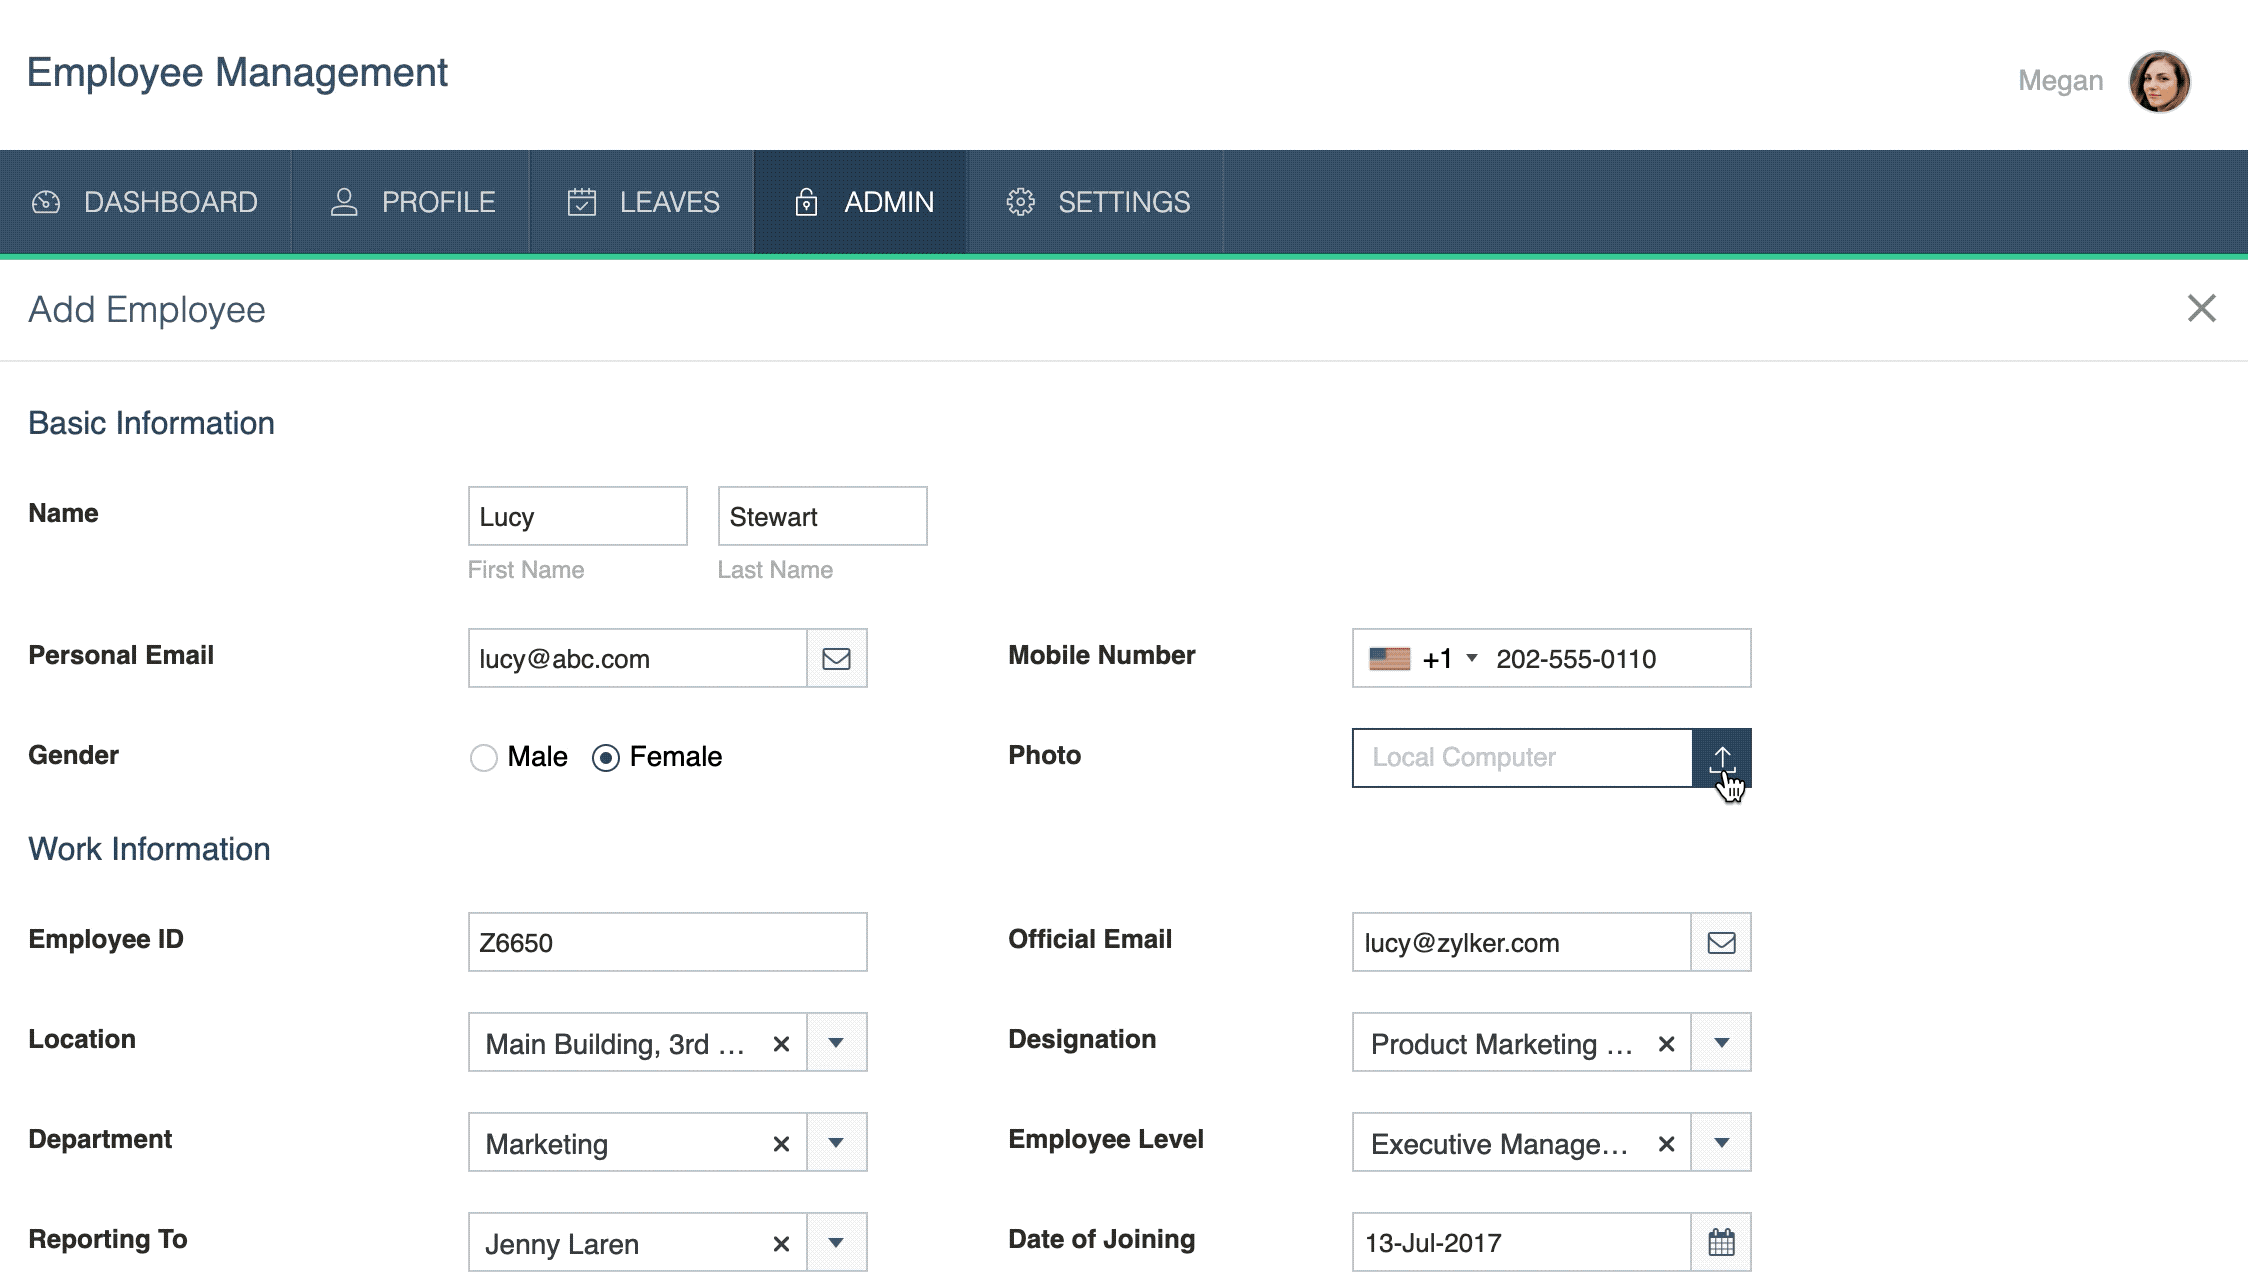
- Edit your app.
- Open the required form's builder.
- Select the required image field. Its Field Properties will appear on the right.
- Select the required value from the dropdown below Aspect ratio . The picture your end user uploads or captures will be resized to this ratio.
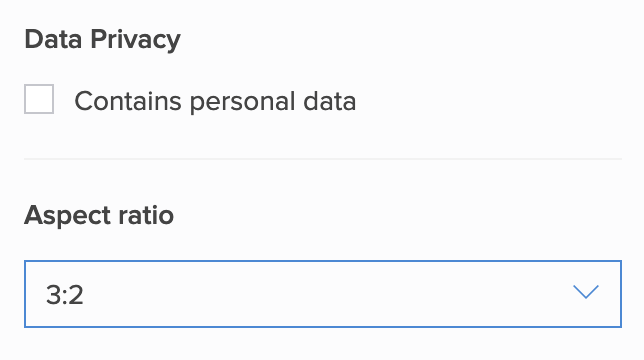
Below is how images added in the image field will look in a report with an aspect ratio of 3:2 .
Enable image compression
The image files that users upload in your form can be compressed in good resolution by enabling the Image Compression field property for the image fields. This facilitates uploading larger images without depending on any third party tools to compress the image.
Edit your app.
Open the required form's builder.
Select the required image field. Its Field Properties will appear on the right.
Under the Compression section, tick the Compress image checkbox.
After enabling this property, any image files uploaded will be compressed and stored as compressed files in JPEG format. When accessing the reports, only the compressed images can viewed and downloaded. The original images will not be retained.
- By default, uploaded images will be compressed to a dimension of 2560 pixels.
- The supported image types for compression include .jpg, .jpeg, .png, .gif, .svg, .tiff, .bmp, .psd, .webp, and .heic. If other type of files are uploaded or if the compression fails, the original file will be stored without compression.
- While PNG image inherently preserves transparency, after compression the transparency will not be retained as it is converted to JPEG format.

- Compression will be applied only when the images are uploaded through forms or added via upload file API. Compression won't be applied if the image is added through deluge statements like Insert tasks.
- Compression will be applied to images that are uploaded from your local storage or captured via device cameras. If you specify the image address URL, compression will not be applied and the link will be stored as such.
Images uploaded after the release of the image compression feature on December 11, 2023, will be compressed provided the Compress image property is enabled; Previously uploaded images will remain uncompressed.
Set browse options
- Edit your app.
- Open the required form's builder.
- Select the required image field. Its Field Properties will appear on the right.
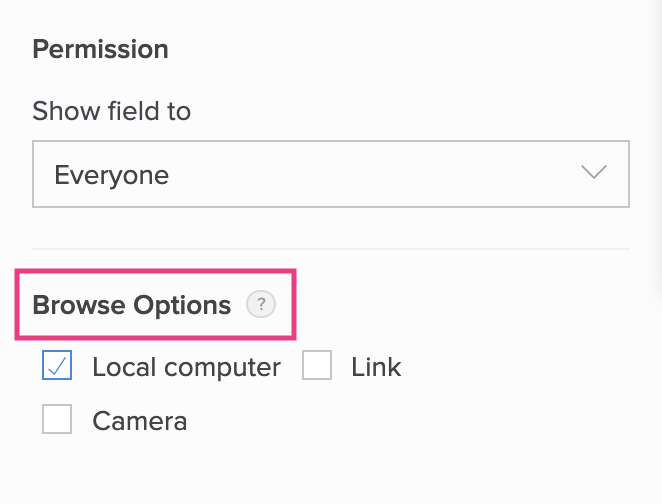
- Check the required Browse Options :
- Check Local computer to allow the end user to upload an image from their device's local storage (photo gallery in case of mobile devices)
- Check Link to allow the end user to enter the URL of an image stored in the cloud
- Check Camera to allow the end user to capture an image using their device's camera
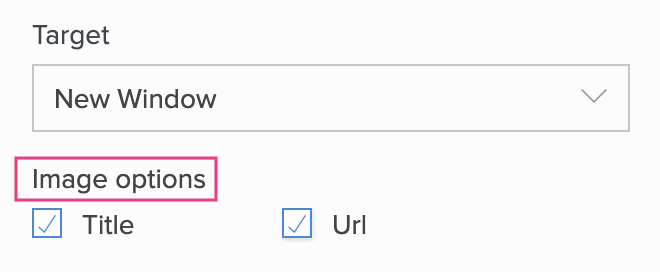
Set image options
- Edit your app.
- Open the required form's builder.
- Select the required image field. Its Field Properties will appear on the right.
- Check the required Image options :
- Title : The title allows your users to enter additional information about the URL they input, which is displayed as a tooltip in reports.
- URL : Link name allows your users to define the landing page URL(the webpage where your users will be redirected to after clicking an image in your report) for the image they add in the image field.
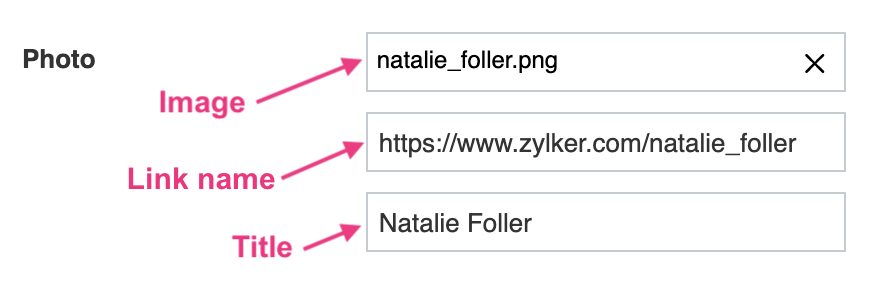
Take a look at the following example of an image field that accepts an input for the image's title and URL in the browser:
The below image shows how a title for the image field in a report looks: