You can add email addresses to your Zoho Creator account and send emails from them upon verification.
To add a sender email

Note: To enhance email deliverability, we have made authentication of custom domains mandatory. Emails sent from unauthenticated domains or public domains(like Gmail, Yahoo) will be rerouted through Zoho Creator's authenticated domains( notifications@mailer.zohocreatormail.com for paid users and notifications@trial.zohocreatormail.com for trial users). Learn more
- Navigate to Operations on the left pane and select Email Management under Applications .
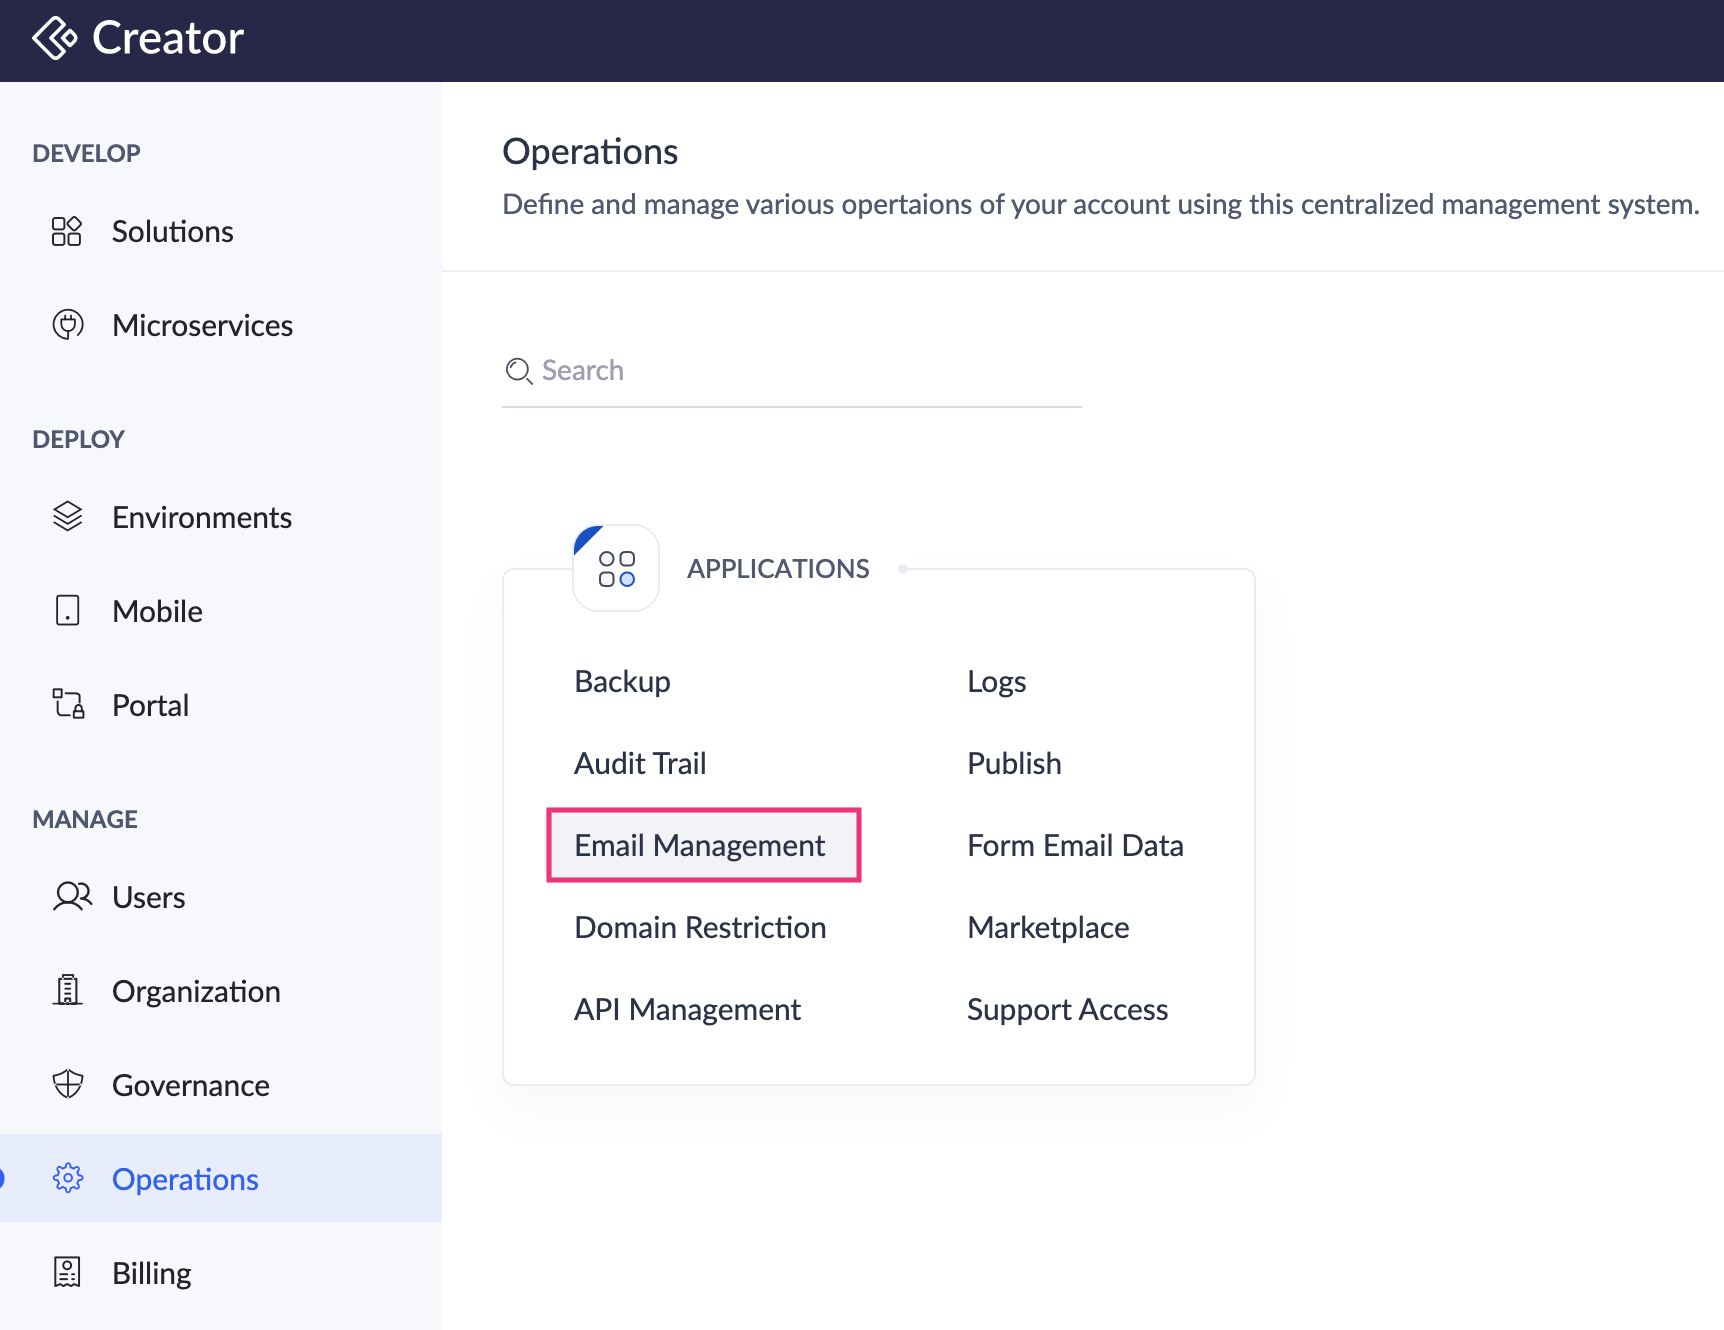
- Click the Sender Email tab. This allows you to add From addresses for emails sent from your Creator app.
- To add an email,
- If you’re adding a sender email for the first time, click Create New. A pop-up window will appear.
- If you’ve already added sender email addresses, click Add Email at the top-right. A pop-up window will appear.
- In the Add Email Address pop-up, enter the email address that you want to add as a sender email, then click Send Code. A verification code will be sent to this email address.
 Note: Email addresses with public domain (Eg. abc@google.com, xyz@outlook.com) cannot be added here as sender email. Only email addresses with a custom domain (eg. xyz@yourcompany.com) can be added.
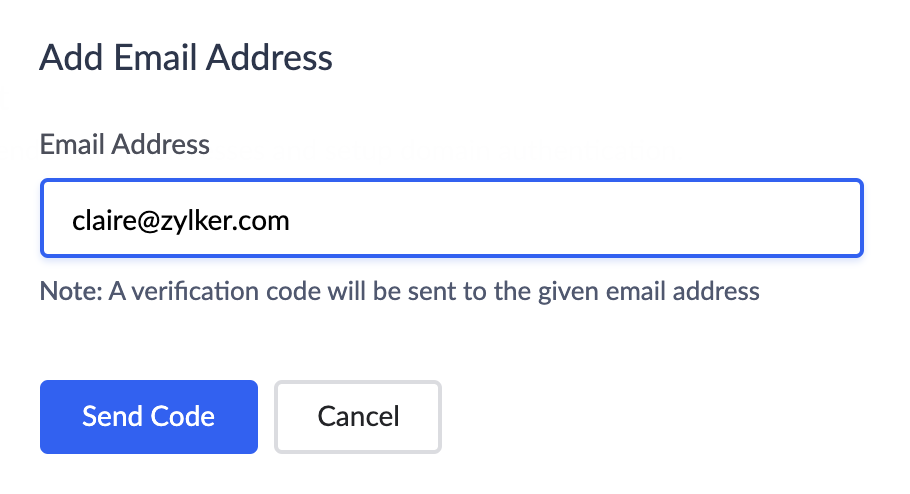
- Enter the verification code in the Verify Email Address pop-up and click Verify .
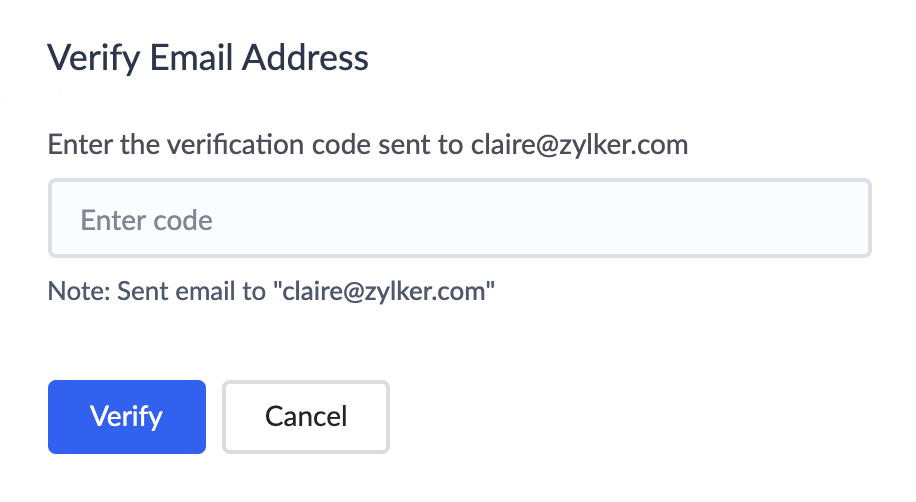
- The email address will appear in the Sender Email tab, with the status as Verified.
- You don't need to verify a sender email immediately after adding it. It can also be done later. In this case, its status will be Unverified .
- Click on the horizontal ellipsis (three-dots) icon present at the right corner of the record to find the Enter Code and Resend options. Click the required option and follow the steps from step 4 to complete verification.
To activate/deactivate an email address

Note : Only verified email addresses can be activated and inactivated.
- Navigate to Operations on the left pane and select Email Management under Applications .
- Under the Sender Email tab, every email address will have an Active/Inactive toggle button present next to it. All verified email addresses are ' Active ' by default.
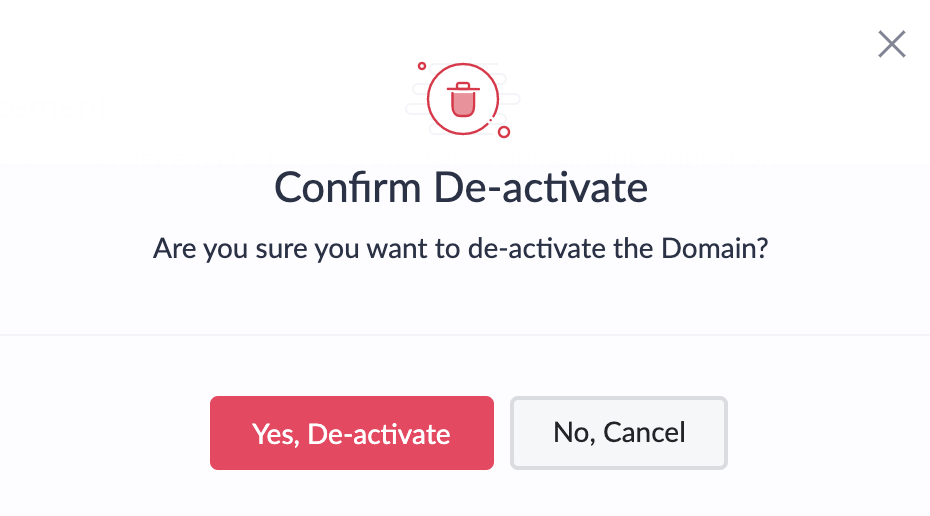
- To deactivate an email address, toggle the Active/Inactive button.
- Click yes, De-activate in the popup. The email will now be deactivated.
To delete an email address
- Navigate to Operations on the left pane and select Email Management under Applications .
- Under the Sender Email tab, click on the horizontal ellipsis icon (three dots) in the top-right corner of the record and click Delete.
Things to know
- The number of sender emails that you can add is subject to your subscription. This information is displayed near the bottom-right corner of the Sender Email tab.
- The emails will be sent based on the emails addresses from the sender emails tab.
- Adding new email addresses, post integration with ZeptoMail, can be done only once the domain is verified in the ZeptoMail.