Verify Custom Domain of Portal
 This help page is for users in Creator 6. If you are in the older version (Creator 5), click here. Know your Creator version.
Please verify your unverified domains before Feb 10th, 2025 to ensure uninterrupted portal access and maintain security compliance.
1. Domain Verification
Domain verification for a custom portal can be done through three methods:
- Add a CNAME (Canonical Name) record in the custom domain's DNS (Domain Name System).
- Add a TXT (Text) record in the custom domain's DNS.
- Add an HTML file in the custom domain's web server.
1.1. CNAME Record
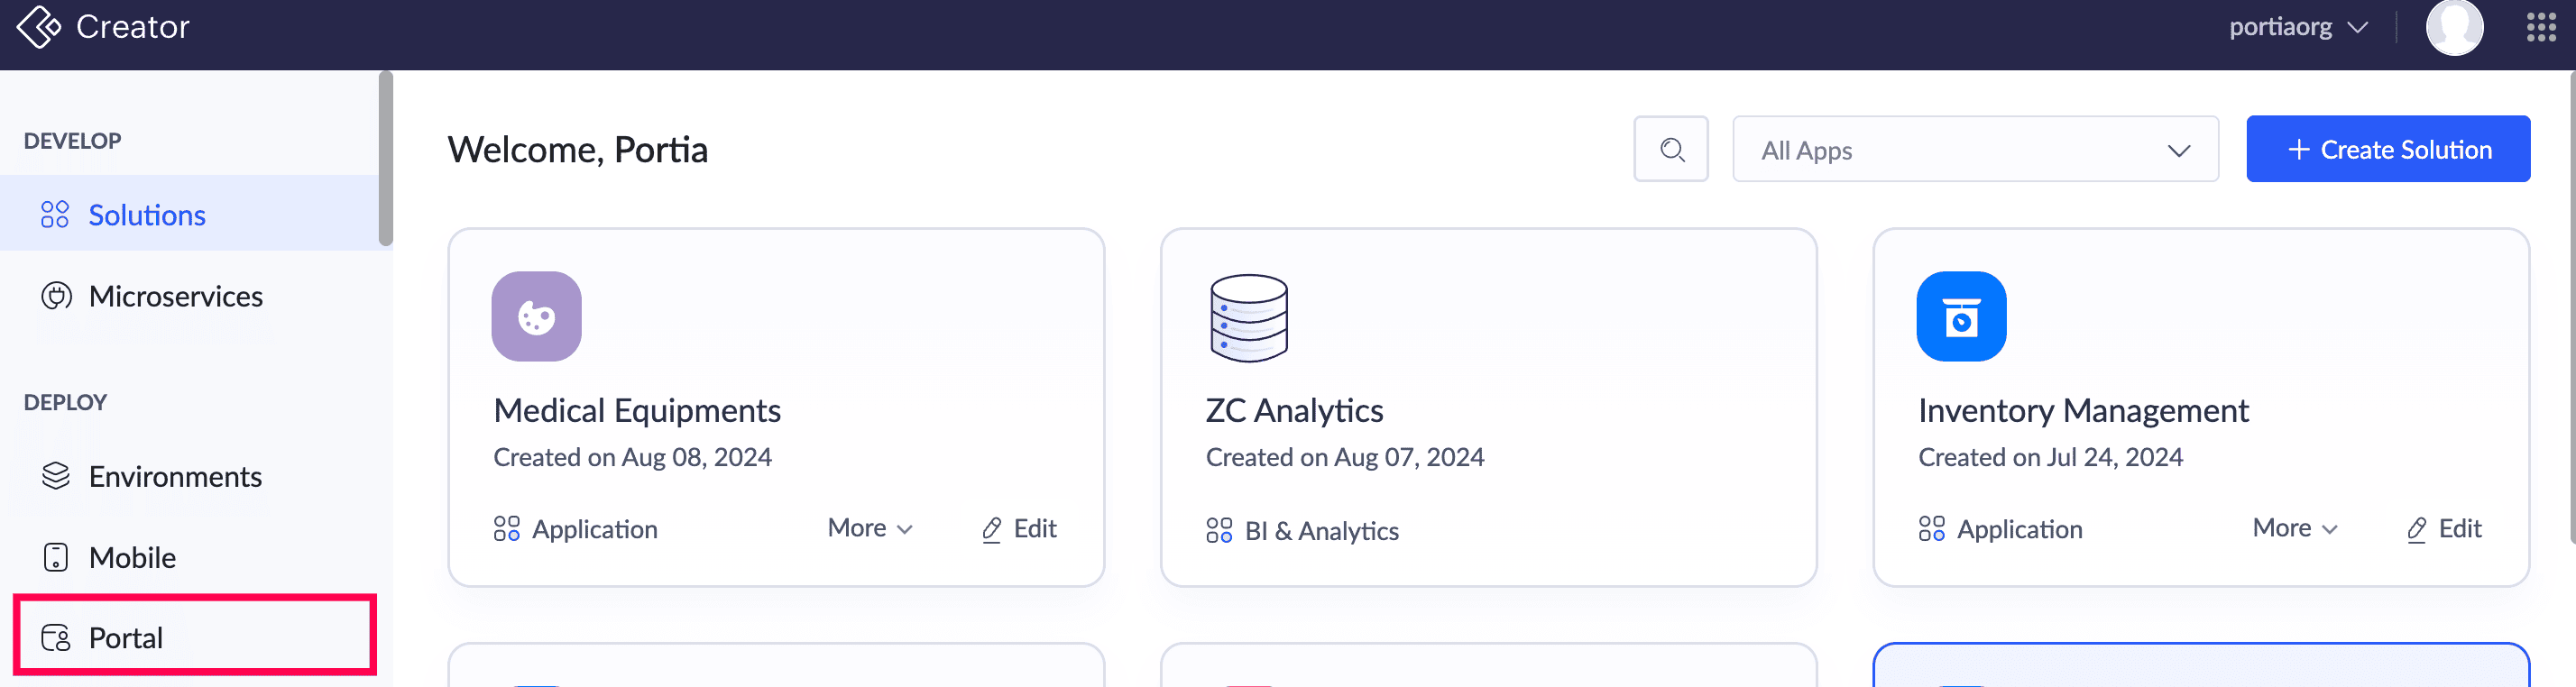
1. Click Portal under the Deploy section.
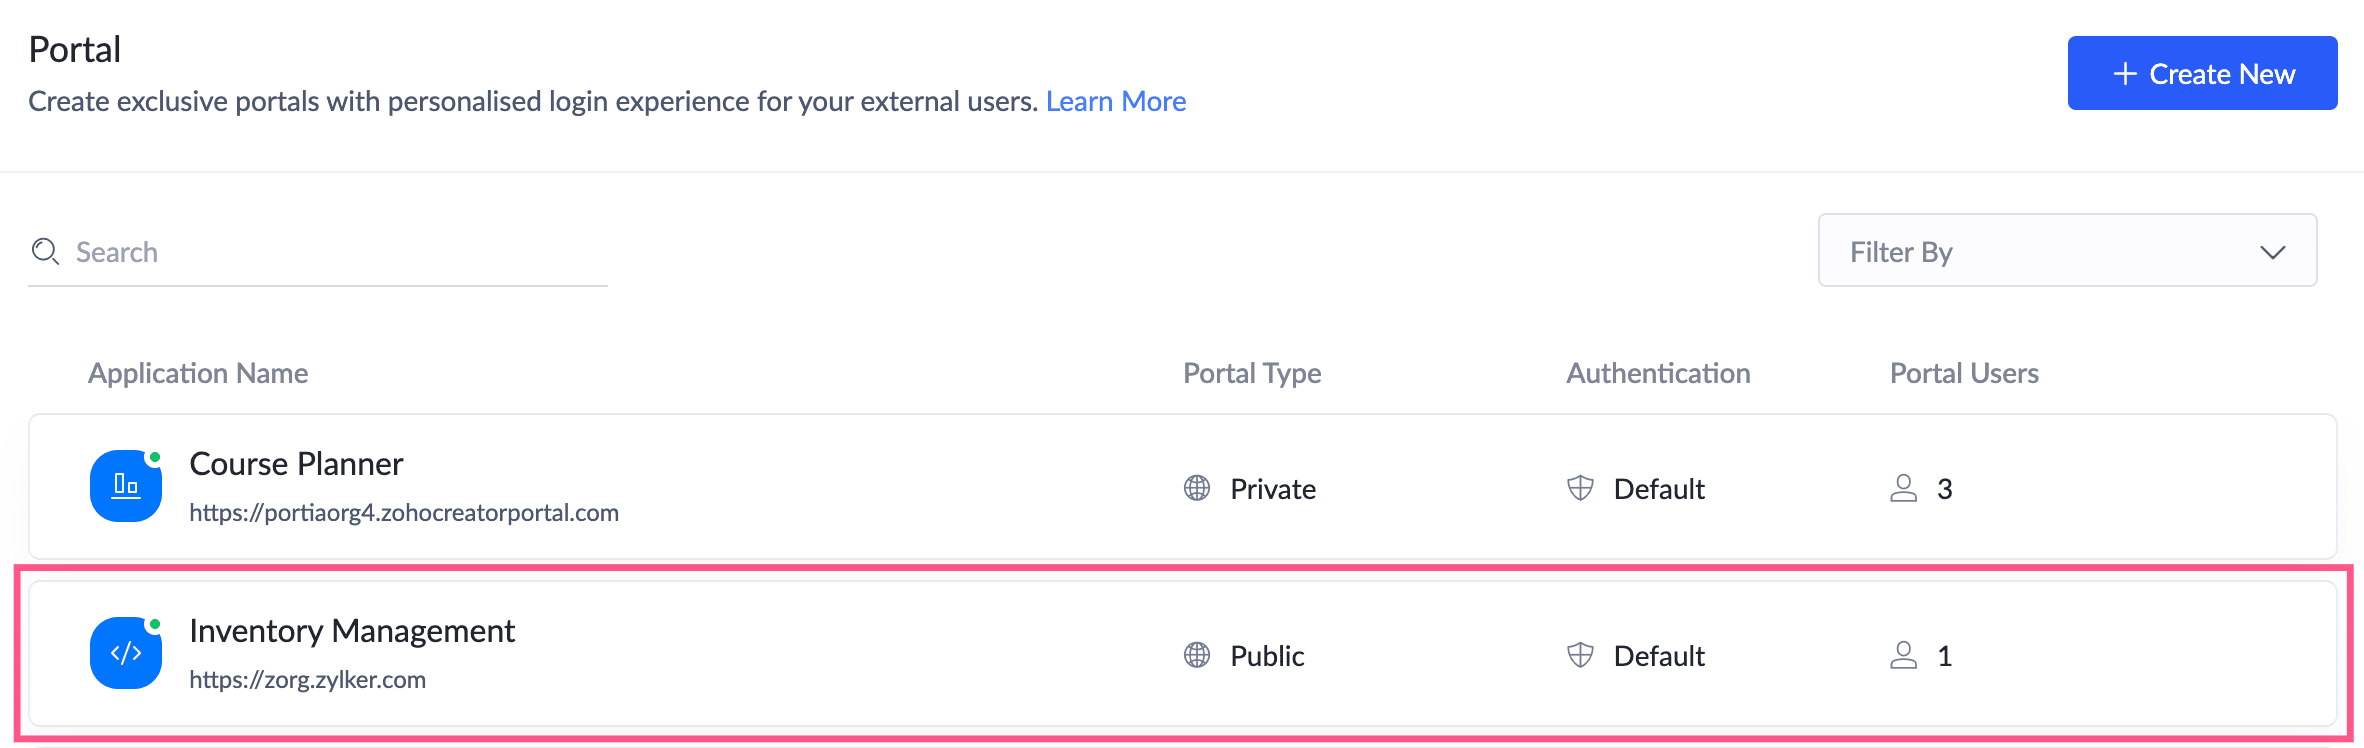
2. Click on the required portal from the displayed list if you've already created portals. If not, create a portal with a custom domain before continuing.
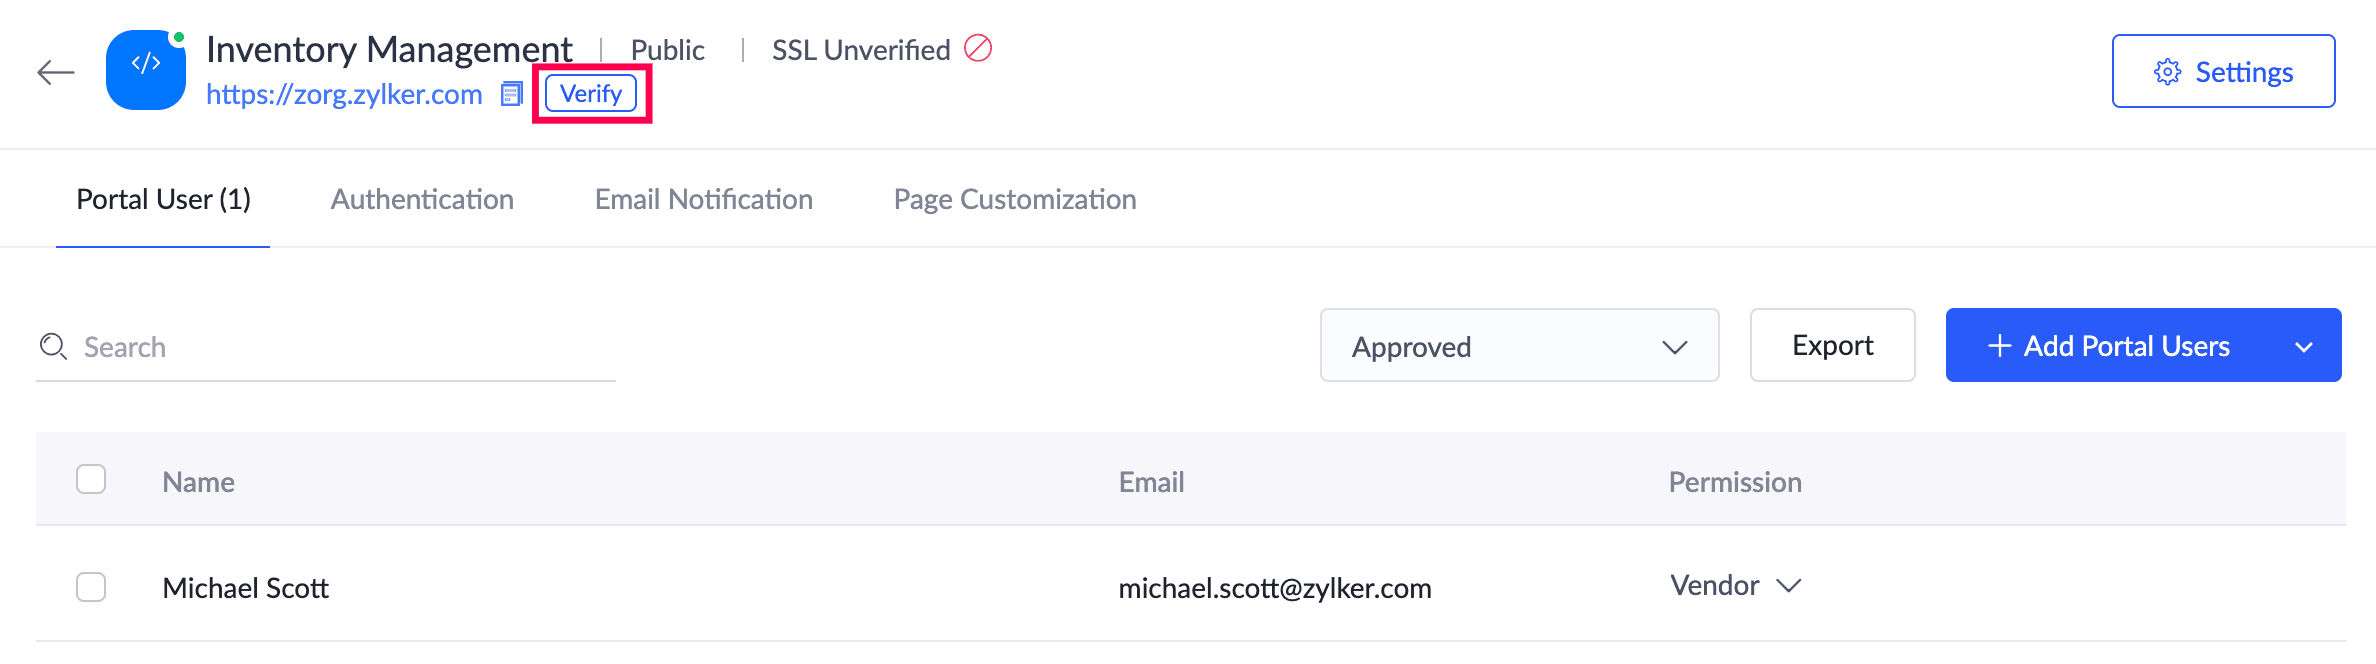
3. Click Verify to authenticate the domain.
The Domain Verification pane will slide in from the right and you'll land in the Add CNAME tab by default.
4. Access your domain's DNS in a new tab or window of your web browser.

Note: DNS records may be present in pages named "DNS Manager", "DNS Control Panel", or "Advanced DNS Editor".
5. Add a DNS record of type CNAME for the subdomain. For example, assume that the custom domain is home.zylker.com. Add new CNAME record for the subdomain by giving the host name as home and paste the value shown under Value/Points To/Destination/CNAME as its value.

6. Next, add a DNS record of type CNAME:
- Copy the value shown under Name/Host/Alias/CNAME in the Domain Verification pane, then paste it in the DNS's CNAME record.
- Copy the value shown under Value/Points To/Destination/CNAME in the Domain Verification pane and paste it in the DNS's CNAME record.
- Optionally, set the TTL (Time to Live) to 300 seconds or the minimum value that your domain registrar recommends.
7. If your custom domain doesn't have a subdomain then you need to add another DNS CNAME record with the host name 'www' and point it to the Value/Points To/Destination/CNAME value.
Note:
- The admin or super admin must point the CNAME Records according to their DCs:
- US - creator.cs.zohohost.com
- EU - creator.cs.zohohost.eu
- CN - creator.cs.zohohost.com.cn
- IN - creator.cs.zohohost.in
- AU - creator.cs.zohohost.com.au
- JP - creator.cs.zohohost.jp
- CA - creator.cs.zohohost.ca
- SA - creator.cs.zohohost.sa
8. Ensure that this CNAME is in effect in your domain's DNS. Switch back to the Domain Verification pane, then click Verify. Upon successful verification, you'll see a pop-up with the message Domain verified successfully.

Note: After setting up the CNAME records, you may see a safety warning when accessing the domain. If you proceed, a "400 Bad Request" message will appear. This confirms that the domain is set up correctly and ready for SSL certification.
1.2. TXT record
1. Click Portal under the Deploy section.
2. Click on the required portal from the displayed list if you've already created portals. If not, create a portal with a custom domain before continuing.
3. Click Verify to authenticate the domain.
4. Select Add TXT in the Domain Verification pane.
5. Access your domain's DNS in a new tab or window of your web browser.
Note: DNS records may be present in pages named "DNS Manager", "DNS Control Panel", or "Advanced DNS Editor".
6. Add another DNS record of type TXT for the subdomain. For example, assume that the custom domain is home.zylker.com. Add new TXT record for the subdomain by giving the host name as home and paste the value shown under Value/Points To/Destination/TXT as its value.
7. Next, add another DNS record of type TXT:
- Copy the value shown under Name/Host/Alias/TXT in the Domain Verification pane and paste it in the DNS's TXT record.
- Copy the value shown under Value/Points To/Destination in the Domain Verification pane and paste it in the DNS's TXT record.
- Optionally, set the TTL (Time to Live) to 300 seconds or the minimum value that your domain registrar recommends.
8.Ensure that this TXT is in effect in your domain's DNS. Switch back to the Domain Verification pane, then click Verify. Upon successful verification, you'll see a pop-up with the message Domain verified successfully.
1.3. HTML file
1. Click Portal under the Deploy section.
2. Click on the required portal from the displayed list if you've already created portals. If not, create a portal with a custom domain before continuing.
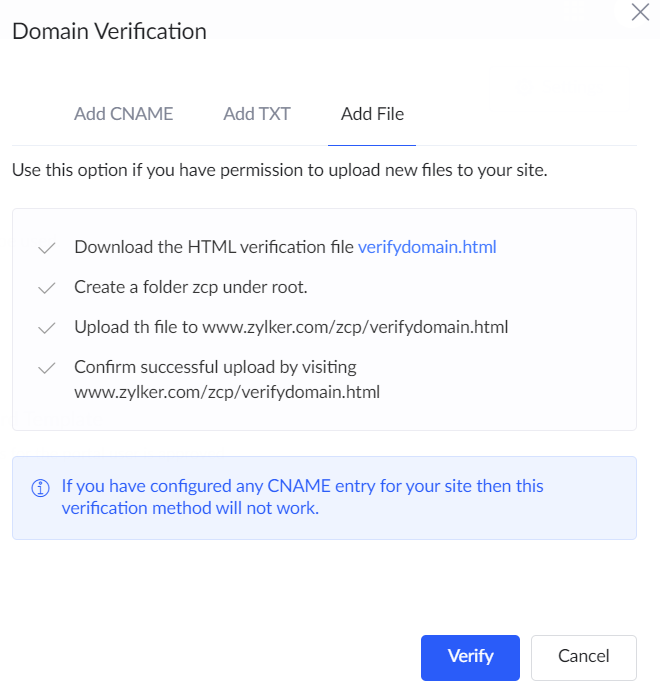
3. Click Verify to authenticate the domain and select Add File in the Domain Verification pane.
4. Click verifydomain.html to download the HTML verification file. The content of the file will vary for each domain and is usually a unique string of numbers.
5. Access your domain's web server in a new browser tab and create a folder named 'zcp' inside the web server's root folder.
6. Upload the HTML verification file in the zcp folder.
7. Confirm the HTML verification file by visiting "http://<your_hostname>/zcp/verifydomain.html". You should be able to view the code.
8. Switch back to the Domain Verification pane, then click Verify. Upon successful verification, you'll see a pop-up with the message Domain verified successfully.
2. SSL Verification
SSL verification examines the validity of a SSL certificate, checks if it is legitimately issued by a trusted authority, and if it correctly encrypts data for secure communication between a client and server.
Use the Chat option in the Help widget (bottom-right corner of the app’s edit mode) to request SSL certificate installation for your custom domain. The support team will assist you promptly. Alternatively, you can also write to support@zohocreator.com with your request.