Manage Application Summary
-
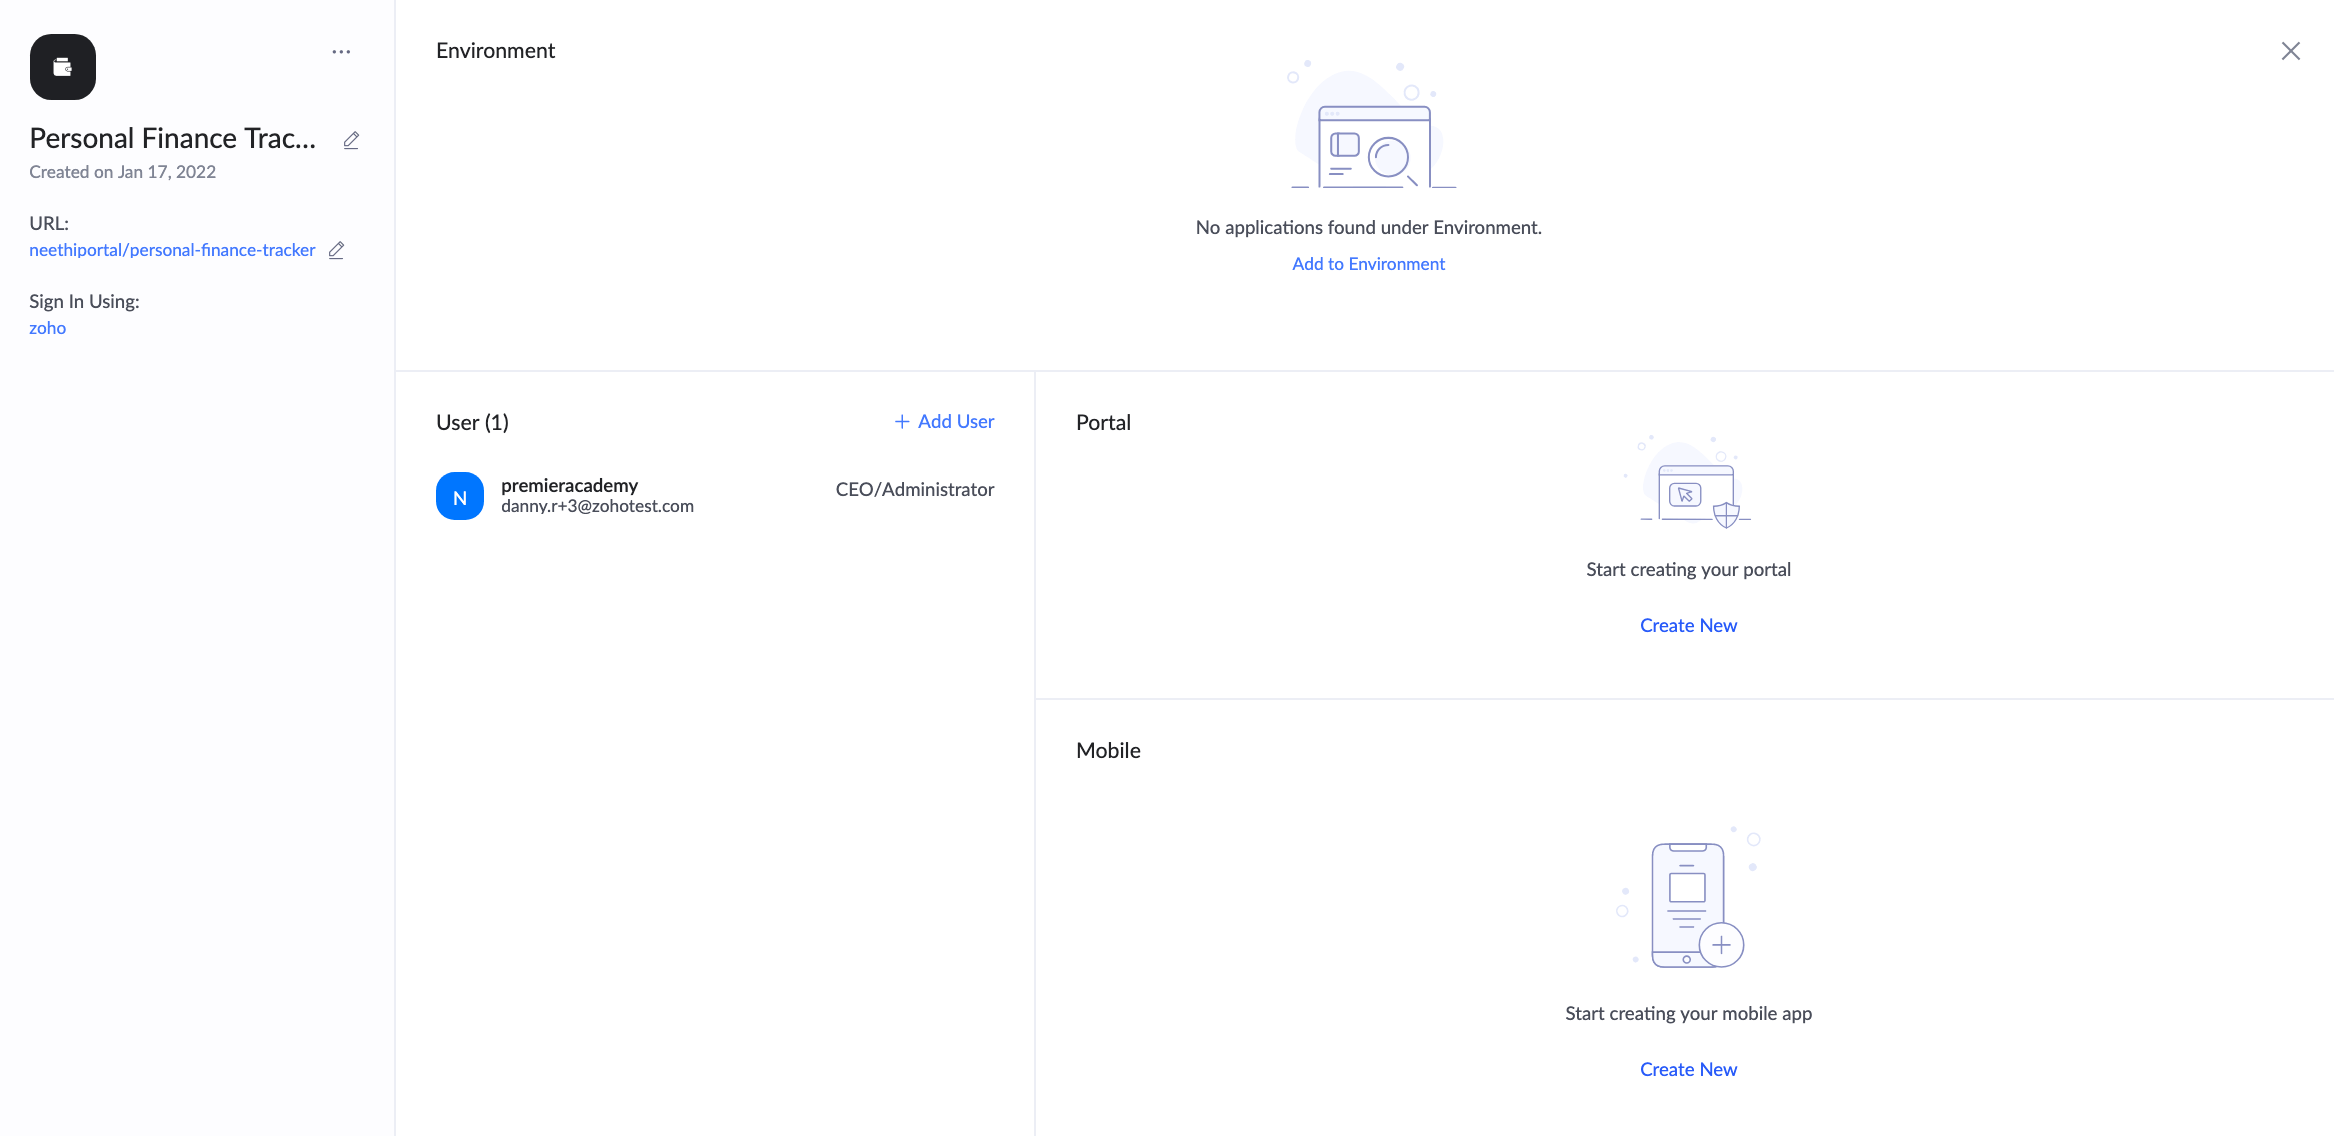
Application Details - You can rename the application, change the icon and its color, edit the application URL, and set sign-in options in this section.
-
Environment details - You can enable environments for the application, which lets you manage the application in different environments like development, stage, and production. Learn more
-
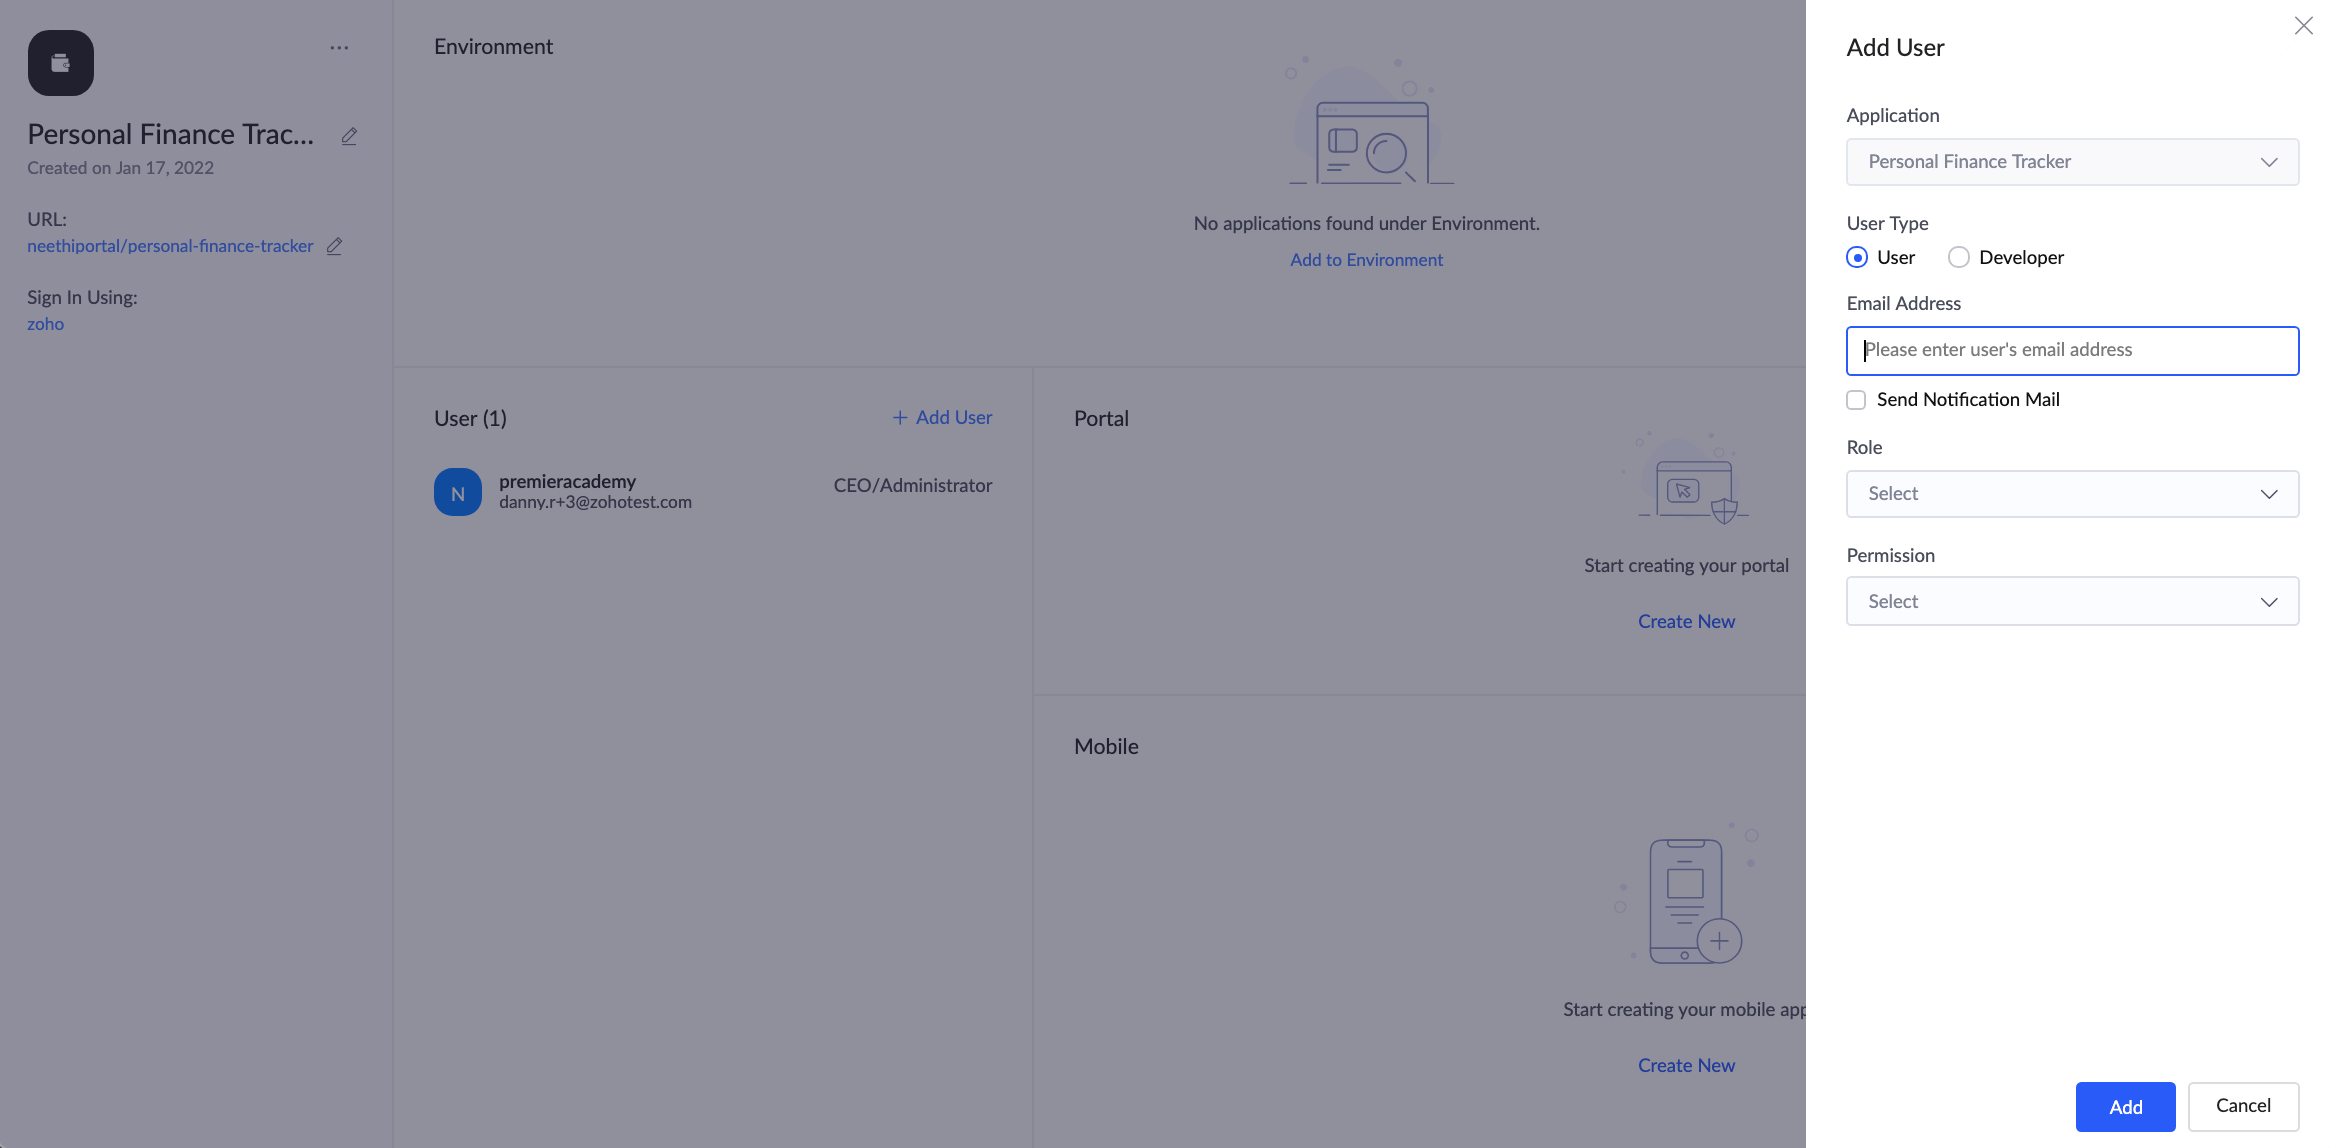
User details - You can add users to access your applications and set roles and permissions for them in this section.
-
Portal details - You can create a customer portal for your application, using which external users can log in and access applications shared with them. Learn more
-
Mobile application details - You can create a mobile app version for your Creator application in this section. Learn more

-
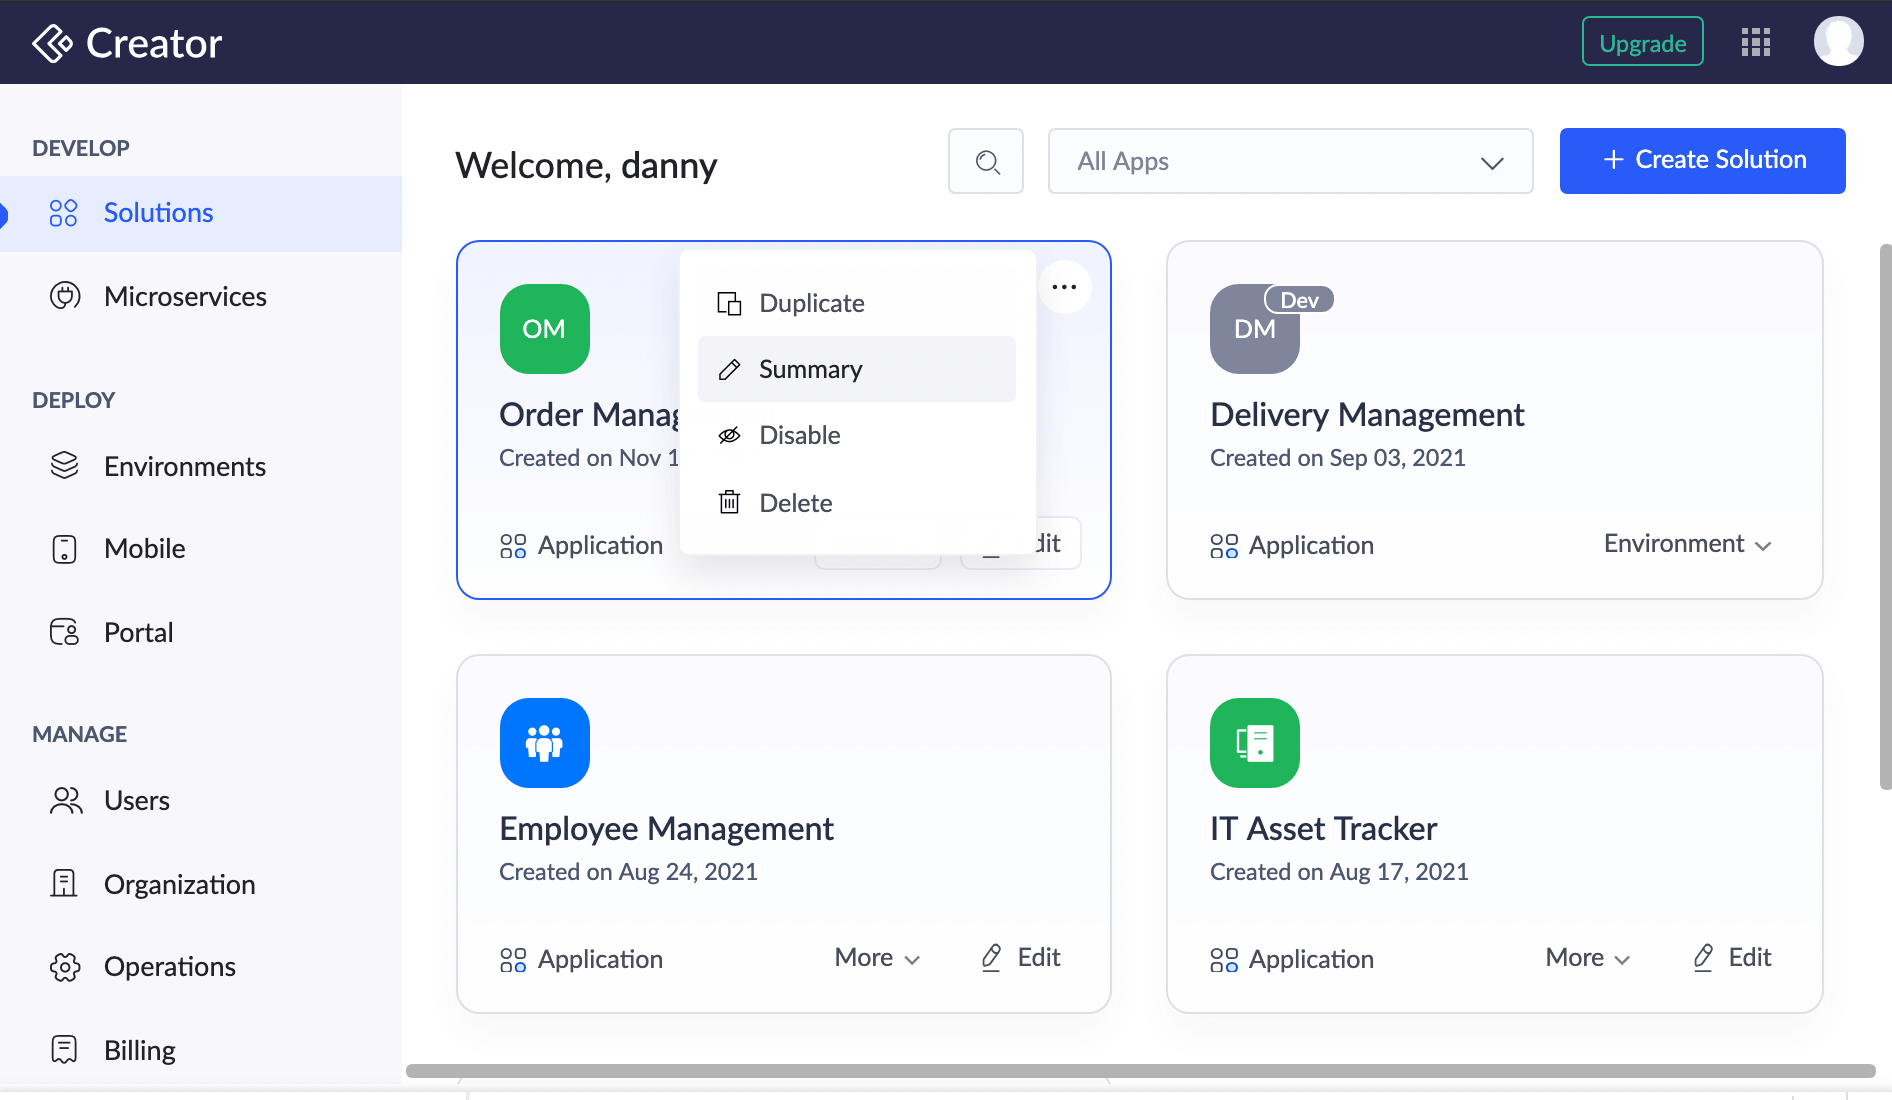
Go to the Solutions tab where the application is listed.
-
Hover on the required application.
-
Click the ellipsis icon.
-
Click on Summary .

The application summary page will appear. You can perform the following actions here:
Edit application details
Logo
- Hover over your app logo and select the Pen icon to edit.
- Choose from the following options for customization:
- Preset: Select an icon from various industries.
- Custom:
- Text: Enter text to create a text-based logo.
- Upload: Upload an image file to use as your logo.
- Change Colors: Customize the background and foreground colors of your logo.
- Preset: Click on a preset color or use the Hex code to fine-tune your selection.
- Palette: Select More Colors and use the color picker to explore more color options.
- Hex: Input the specific Hex code for your desired color.
- Select Apply.
Click on the edit button beside the current application name.

Navigate to Solutions > Click the ellipsis icon near the required application > Summary.
Click the option shown below Sign In Using.
In the pop-up that appears, choose the required sign in option from the Select account dropdown and click Add.
When Zoho is chosen, you can choose whether to allow federated logins and new sign ups.
Show federated logins
If Yes is chosen, federated sign in options will be shown on the sign in page as displayed in the above image.
If No is chosen, other sign in options will not be shown; only Zoho users can sign in.
Show signup link
If Yes is chosen, the sign up link will be shown; this allows new users to sign up.
If No is chosen, the sign up option will not be shown.
If an option other than Zoho is selected, the corresponding service's sign-in page will be displayed upon signing into their account. On successful sign-in, the user will be redirected to their account's homepage. Eg. if Google is chosen as the sign in option, then on accessing the application url, the Google sign in page will be shown. Once the user signs in to google with their credentials, they will be redirected to the required application.
Users' whose email addresses have been added in the Users section can only sign in and access the application shared with them.
When a new user creates an account using the sign-up link, they can successfully create an account. However, to access the application, the admin must add them as a user in the specific application afterwards.
To change URL

To change the Sign In option
To set your preferred sign-in option:

Things to Know
Enable environment

Add user
Zoho CRM Training Programs
Learn how to use the best tools for sales force automation and better customer engagement from Zoho's implementation specialists.
Zoho DataPrep Personalized Demo
If you'd like a personalized walk-through of our data preparation tool, please request a demo and we'll be happy to show you how to get the best out of Zoho DataPrep.
All-in-one knowledge management and training platform for your employees and customers.
You are currently viewing the help pages of Qntrl’s earlier version. Click here to view our latest version—Qntrl 3.0's help articles.
Zoho Sheet Resources
Zoho Forms Resources
Zoho Sign Resources
Zoho TeamInbox Resources
Related Articles
Modes of an application
Overview Zoho Creator has two modes through which you can establish an application from start to finish. You can create an application from scratch or from a template and customize it according to your needs in an app-building space. During that ...FAQs: Zoho Creator - Starter Guide
This page covers essential insights into Zoho Creator, a low-code platform offering support for multiple languages, shared responsibility models, and the unique Deluge coding language, providing comprehensive assistance for your business needs. What ...Adding applications to environments
What does this page cover Learn to add applications in environments. Make sure you have a comprehensive understanding of environments before you continue. Availability Available only on Creator 6 version and all paid plans. Super admins and admins ...FAQs: Basic Application Actions
This page covers everything about working with applications – from mastering low-code applications to efficiently editing, accessing summaries, duplicating, and deleting applications, all while ensuring a seamless environment for enhanced ...Create an Application by Importing Data
1. Preparing your source file Zoho Creator supports importing data that's present in the following formats. However, it's best you prepare your data by referring to the guidelines below for a smooth import. Importing data from spreadsheet and tabular ...


