Configuring notification action
Steps to configure a notification action
To add a notification action:
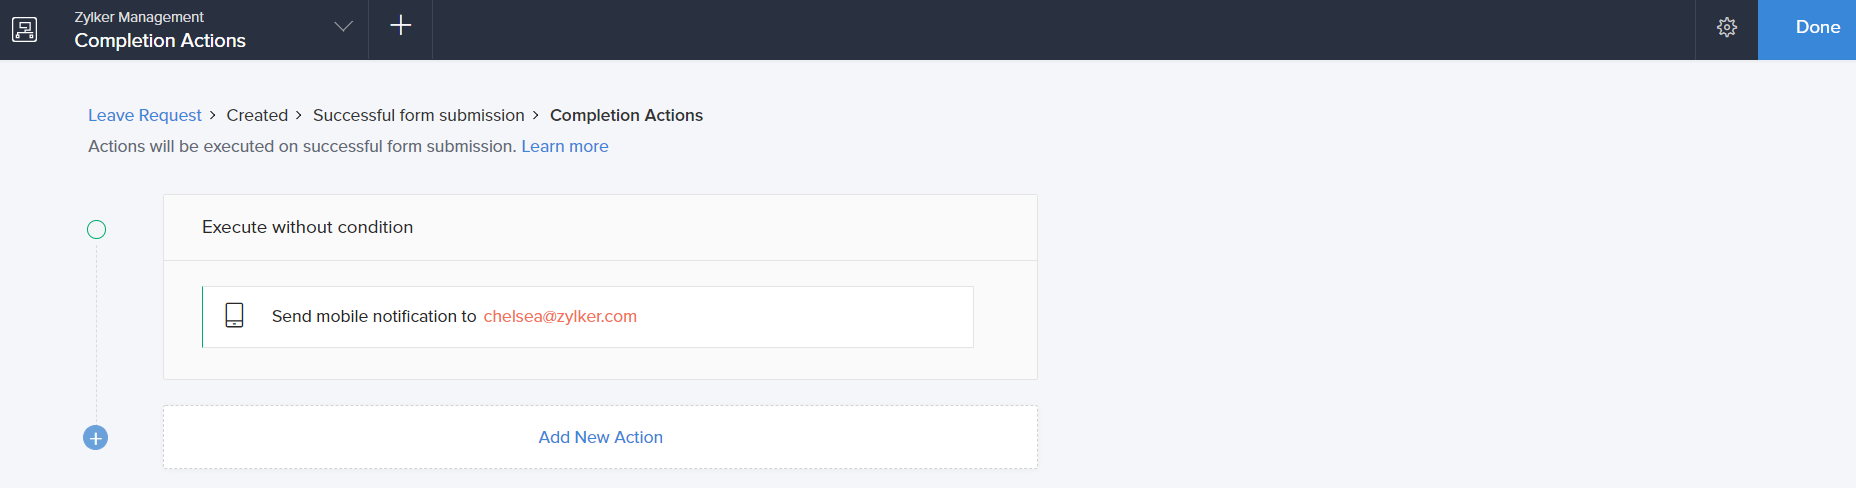
1. While creating a new workflow choose Successful form submission in the When to trigger workflow dropdown.
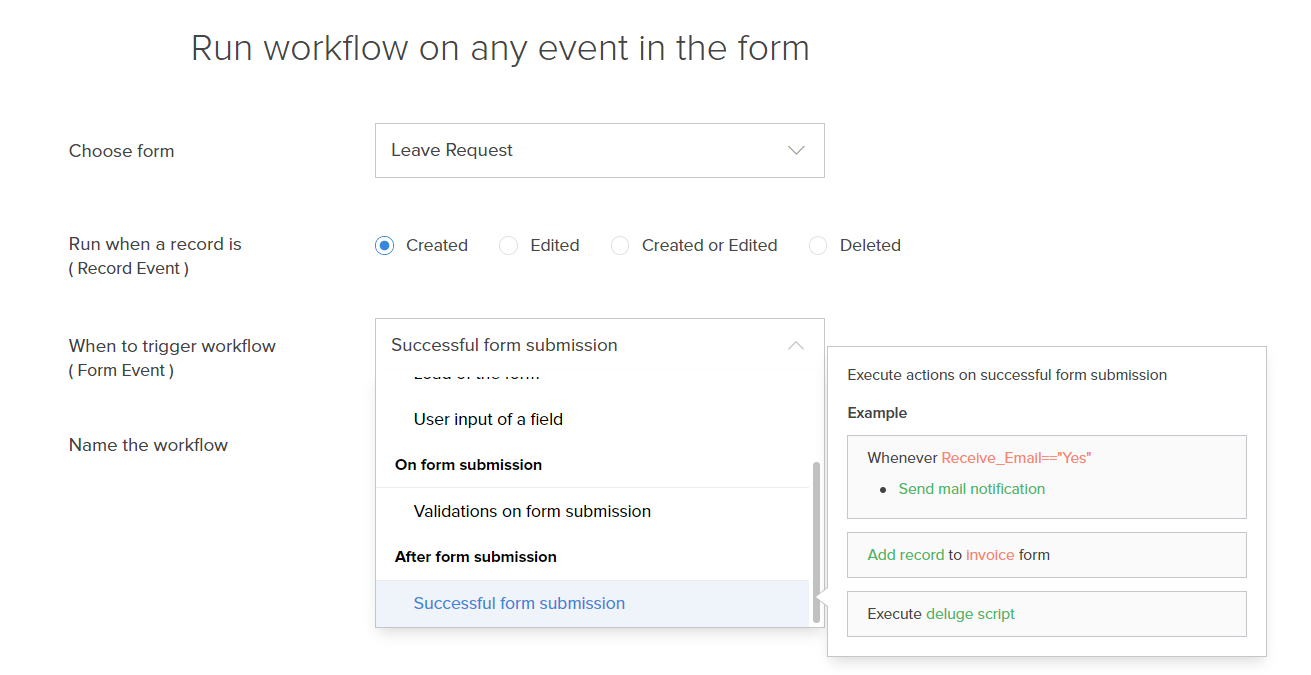
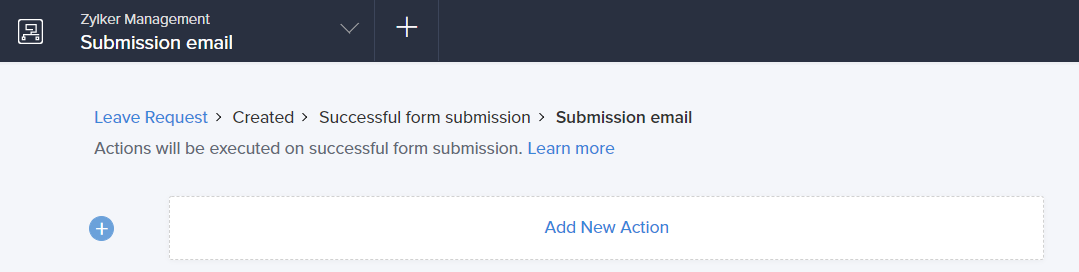
2. Click the Add New Action block. The Add New Action window will slide in from the right.
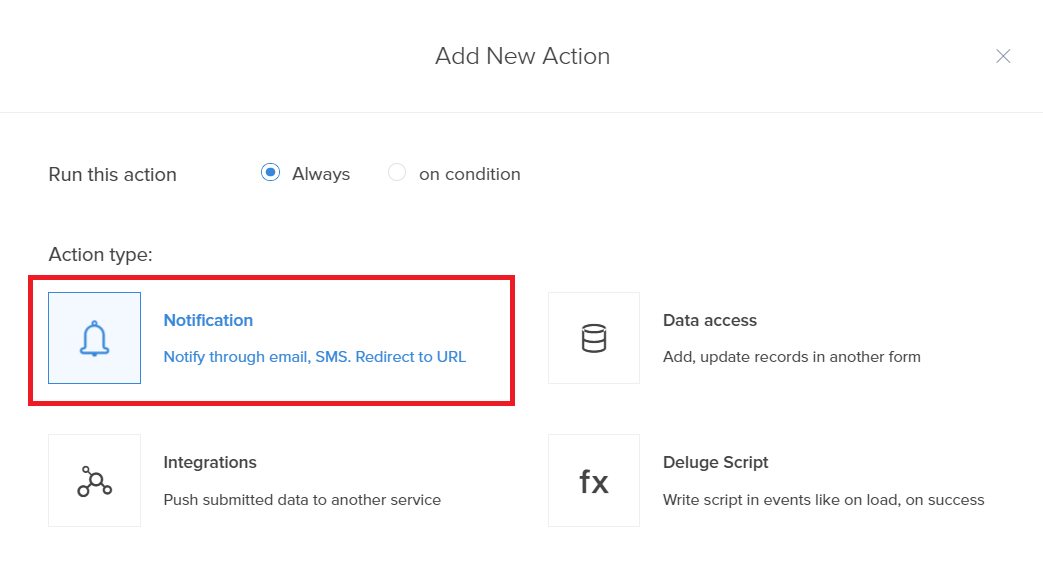
3. Zoho Creator executes the action whenever there is an activity on the form. You can run the action for selected records by setting the criteria. Refer to the Set criteria page to learn more about setting criteria in a workflow.

4. Choose the Notification action type.
5. Select the Send notification action from the action list.
6. Specify the users that you want to deliver notifications to. Select Users list to choose shared users or select User fields to choose from system fields or Users fields added in the form, containing user information.
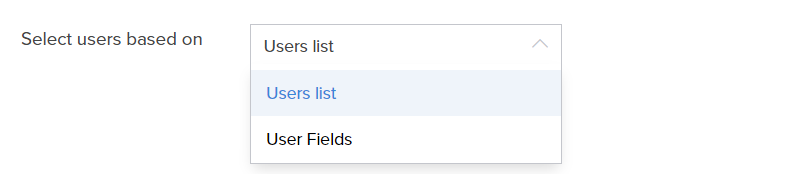
7. Based on your previous selection, this field allows you to select shared users or form fields containing user information that mobile notifications will be delivered to.

8. Specify a title for your push notification, which will appear as a header for your message.


Note: The title can have a maximum limit of 200 characters.
9. Specify the message content that needs to be displayed in your notification.
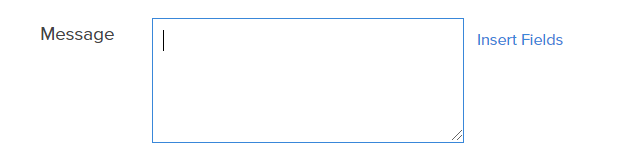
Note: The message can have a maximum limit of 500 characters.
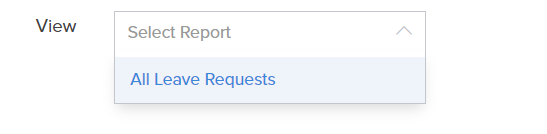
10. Select the report for which the push notifications need to be sent. In the above section, form actions and criteria are applied to the report selected here. Click Save.
Troubleshooting if intended recipient does not receive notification
To ensure recipients receive notifications triggered by a workflow, they must have access to the target record. Ensure that the following instances are resolved so that the selected recipients receive the configured notifications without any hindrances.
- No access to report - The recipient should have access to the report for which the notification is triggered. User added to the application can be granted access through user permissions in the Application Settings tab of an application.
- Target record not displayed in a filtered report - If a filter has been applied to a report, only the records that satisfy the filter will be listed in it. The target record needs to be displayed in the report in order to receive notifications regarding it.
- No access to target record - Users added to the application will only have access to the records added by default and receive it's related notifications.
- If role hierarchy is enabled, the recipients will receive notifications for the records they have access to, based on the hierarchy and the assigned record owner.
- If you want them to get notifications regarding all records added by everyone, the user needs to be assigned with the View all permission in the Application Settings tab.
Note: By default, developers in an application (when environments is disabled) and admins will have access to the application, report, and records.
- Environments is enabled - While developers can't get notifications of the production environment, they or admin can be configured to receive notifications while testing the application in the development and stage environments. By doing so, you can avoid unnecessary spam notifications being sent to the preconfigured recipient in those actions. This can be configured from the development and stage environments' settings.