Configure Schedules Based on a Date Value
1. What Does This Page Cover?
Learn to configure and manage schedule workflows that can be periodically executed on a specific date and time.
2. Availability
- Form-based schedules can be created in all plans of Creator, while custom schedules can only be created in the paid plans.
- The super admin, admins, and developers can create and manage schedules.
3. Setting Up Schedule Workflows
Schedule workflows can perform actions on specific date and time values. They can run once or repeatedly in equal intervals, over a period of time. The two types of schedule Creator offers are:
- Custom Schedules - Starts to run on a specific date and time you provide.
Example - An e-mail can be sent to all organization users reminding them to submit claims on the 10th of every month. - Form Schedules - Starts to run on the date and time values recorded in a Creator field.
Example - A notification can be sent to employees on a day before their onboarding, prompting them to collect their assets and access cards. It will be sent based on the onboarding date mentioned by the employee in a Creator form.
3.1. Schedule Workflow Creation Flow
3.2. See How to Configure
3.3. Steps to Create a Custom Schedule
To create a custom schedule where you provide a date and time for the schedule to start running:
1. Navigate to the edit mode of your application and click the + icon in the top-left corner of the page.

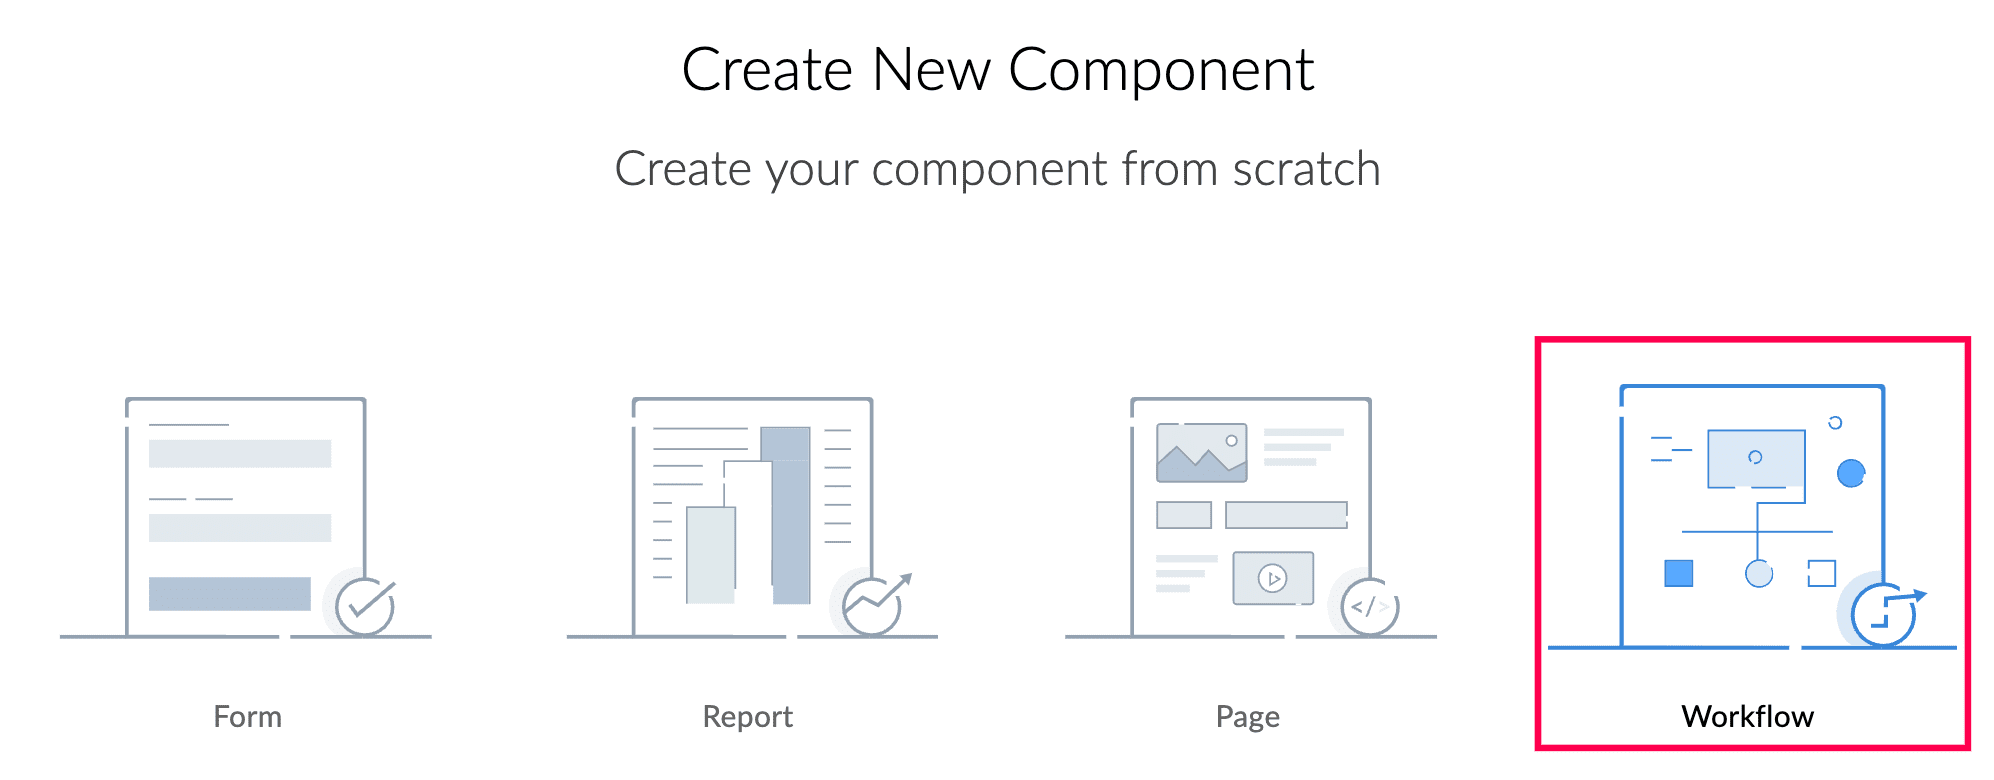
2. Click Workflow to create an automation from scratch.
3. Choose On a scheduled date to create a schedule workflow.


Note : Alternately, you can navigate to the Workflow tab and shift to the Schedules section. Afterwards:
- If you are creating a schedule for the first time, click Create Workflow in the center or click New Workflow in the top-right corner.
- If you've already created schedules, click New Workflow in the top-right corner to create a new schedule.
4. You will land in the Specify Date and Time section. Here, you configure a custom schedule to run on a date and time that you provide.
- Start date and time - Choose a date and time when the schedule needs to start running.
- Run - Choose from Daily, Weekly, Monthly, Yearly, or Once. This decides the period in which the schedule needs to be repeated.
- Name the workflow - Enter a name for the workflow.
The scheduler will start to run on the custom date and time and might continue to run on a regular interval as specified.
According to the configuration depicted in the above image, the schedule will start at 15:30:00 hours on 29/02/2024 and send a notification to the user every month on the same day and time.
3.4. Steps to Create a Form Schedule
To create a form schedule where you select a Creator application's form field based on which the schedule starts running:
1. Navigate to the edit mode of your application and click the + icon in the top-left corner of the page.
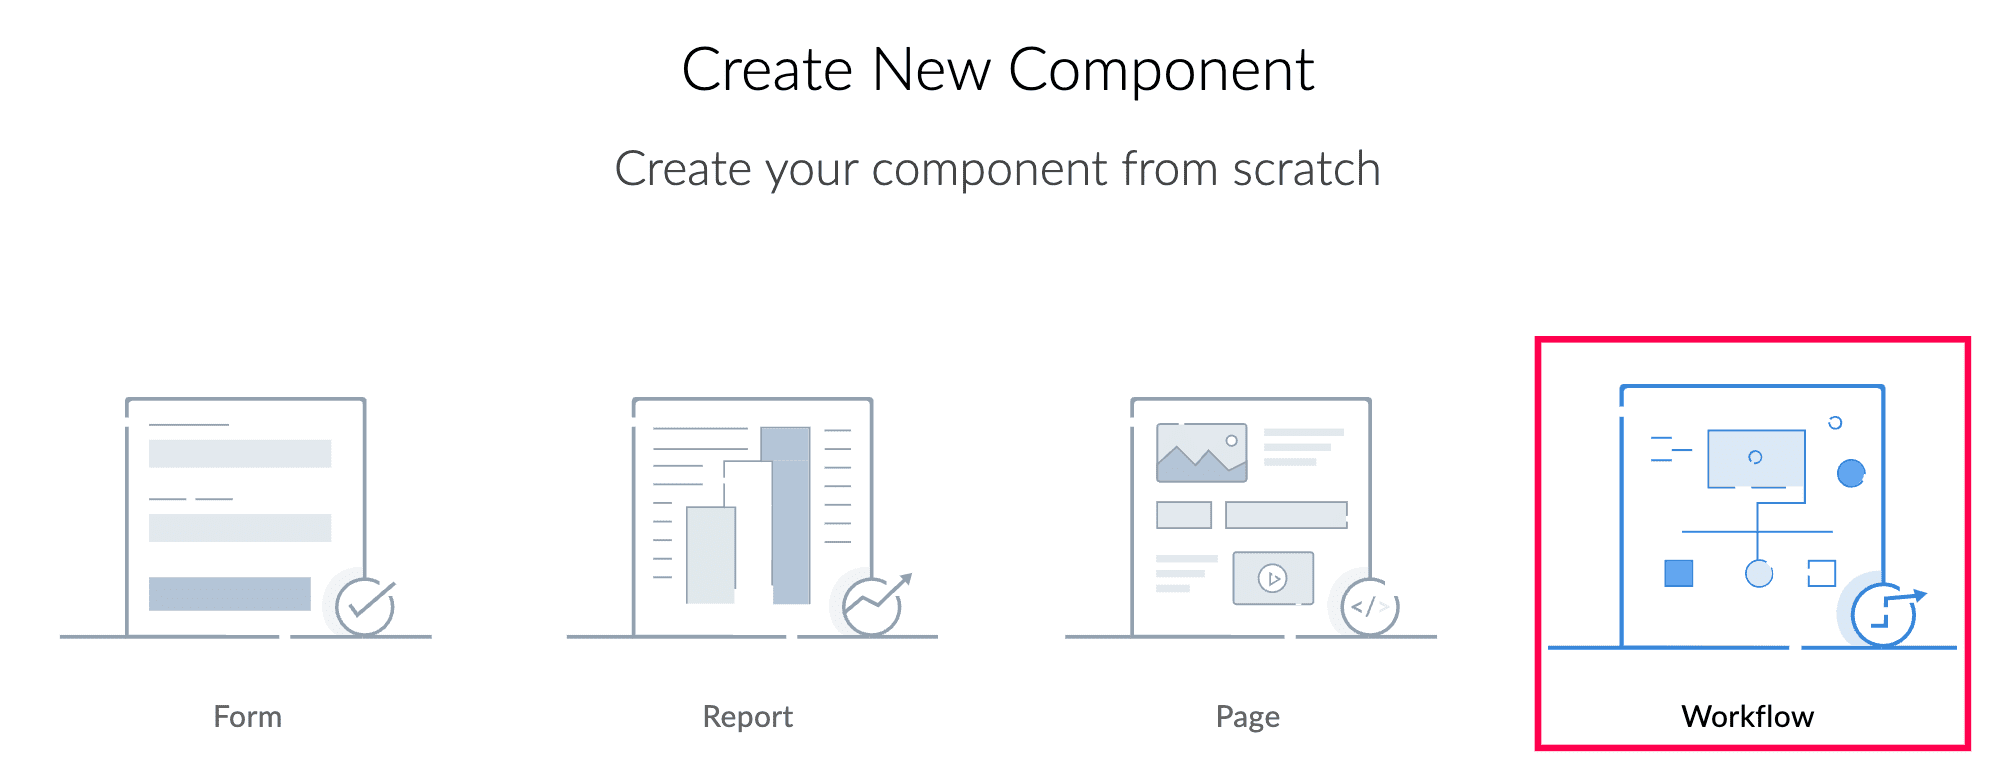
2. Click Workflow to create an automation from scratch.
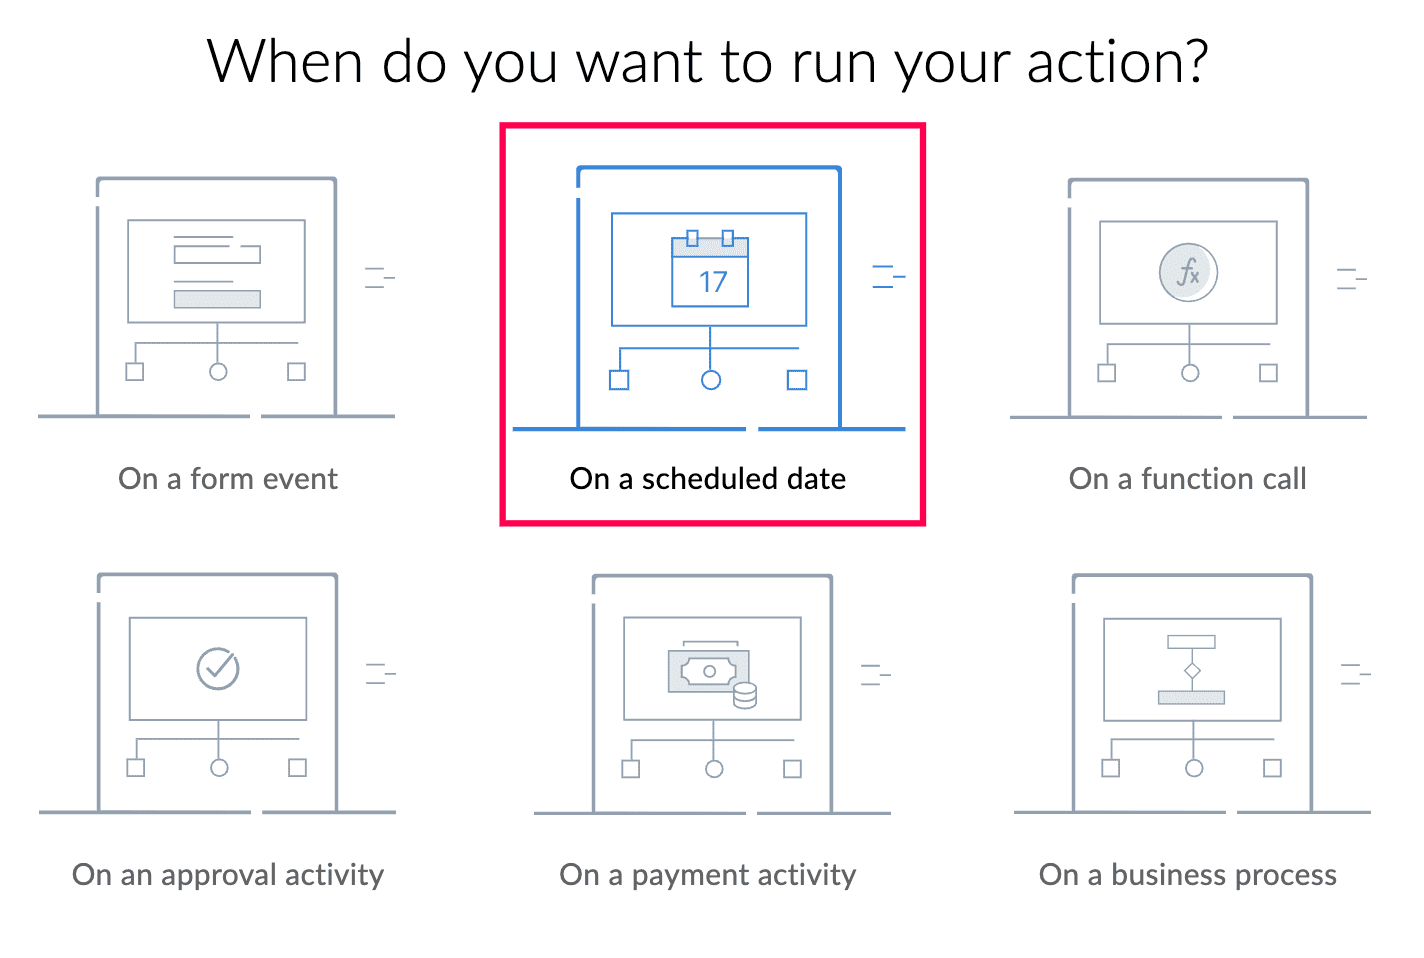
3. Choose On a scheduled date to create a schedule workflow.

Note: Alternately, you can navigate to the Workflow tab and shift to the Schedules section. Afterwards:
- If you are creating a schedule for the first time, click Create Workflow in the center or click New Workflow in the top-right corner.
- If you've already created schedules, click New Workflow in the top-right corner to create a new schedule.
4. Select the Choose a Date Field tab to schedule a workflow based on the input value of a Creator field.
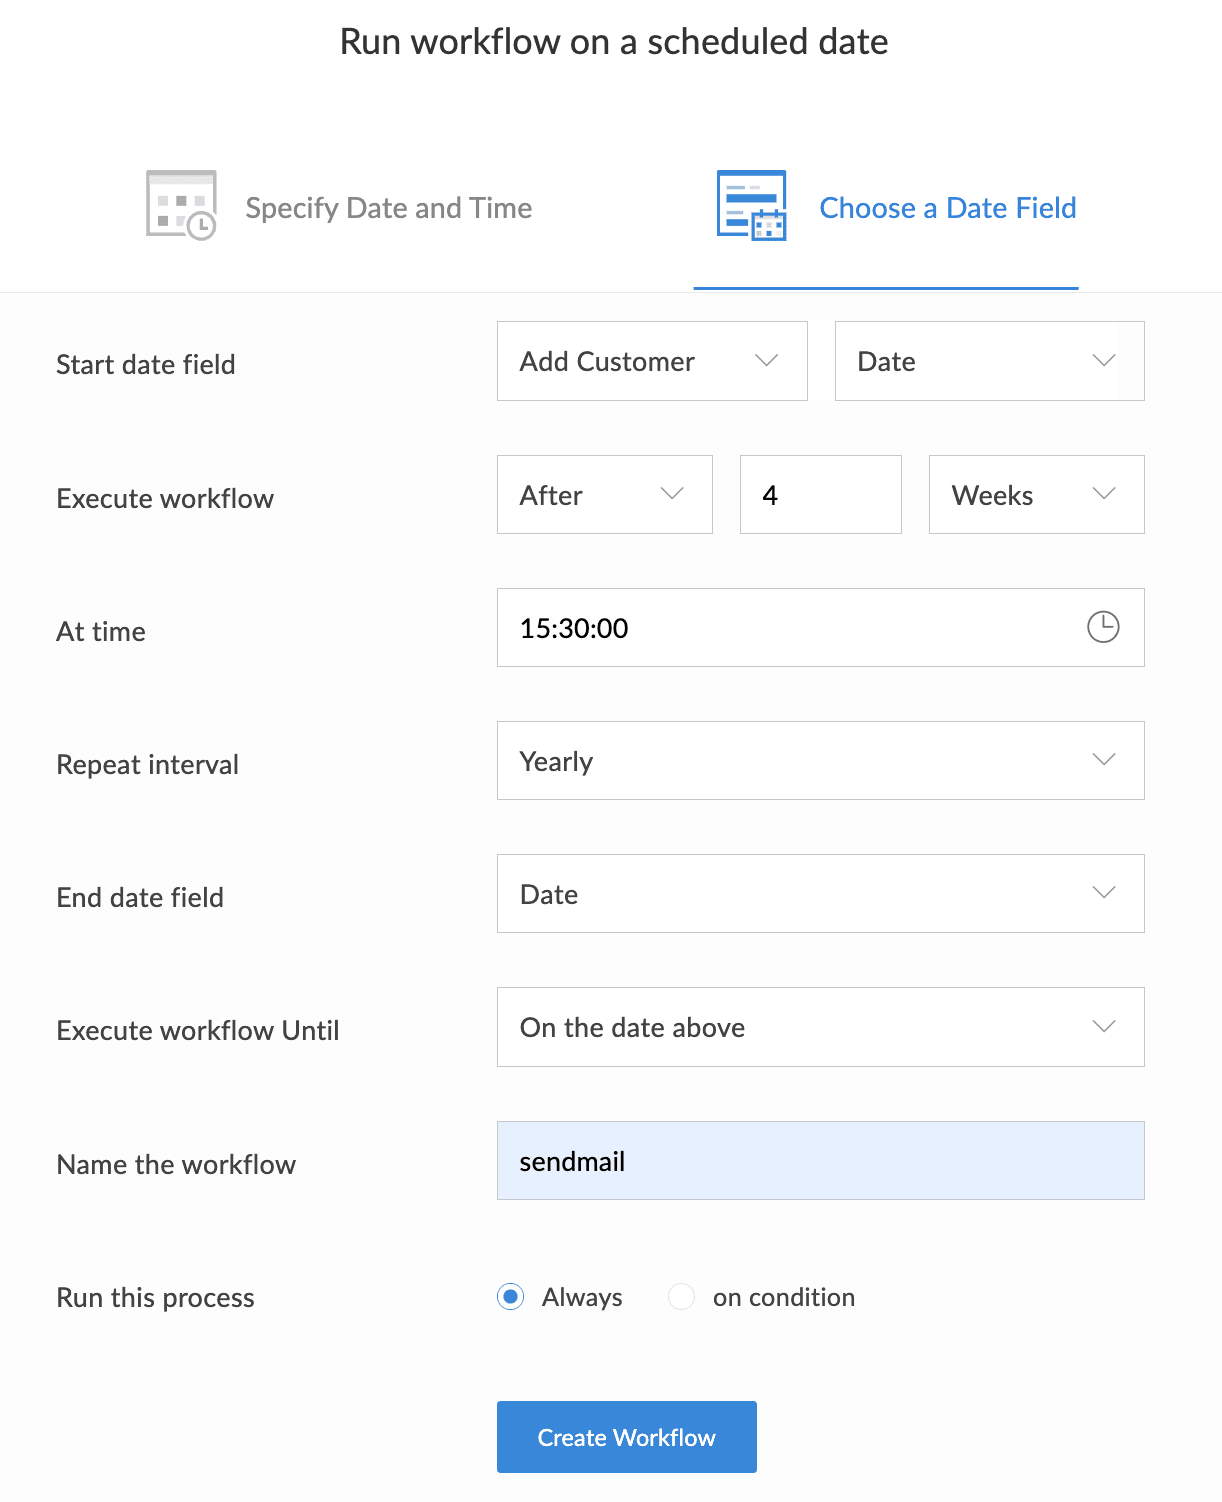
- Start date field - Select a form and a compatible field. The schedule runs based on the date and time that this field provides.

Note:
- Compatible fields are Date, Date-Time, and the system fields Added Time and Modified Time. For the system fields, the schedule runs based on the date and time at which the record is created or edited respectively.
- If the chosen field is a Date field, separately choose a time at which the schedule should run.
For the Date-Time field and the Added Time, Modified Time system fields, the time stamp present along with the date value will be considered.
- Execute workflow - Choose a configuration from the below table that suits your needs:
- On the date above - Start the first schedule on the date mentioned in the Creator field.
- After - Start the first schedule after a specified number of minutes, hours, days, or weeks from the date mentioned in the Creator field.
- Before - Start the first schedule before a specified number of minutes, hours, days, or weeks from the date mentioned in the Creator field.


Example - Say the Start date field value is 24/02/2001 and the scheduler is configured to start 4 weeks after this date. The actual date on which the schedule will start is 24/03/2001.
- After field - Select a single line field. The schedule will run on the final date derived by counting the input from the single line field forwards after the Creator's field's value.
Input values: <count> minute, <count> minutes, <count> min, <count> mins, <count> hour, <count> hours, <count> day, <count> days - Before field - Select a single line field. The schedule will run on the final date derived by counting the input from the single line field backwards after the Creator's field's value.
Input values: <count> minute, <count> minutes, <count> min, <count> mins, <count> hour, <count> hours, <count> day, <count> days
 Example - Say the selected single line field's value is "3 days" for a record. The schedule will run after 3 days from the Start date field value for that particular record.
Configurations to execute the schedule workflow on a date based on the Start date field:
Start Date Field Type | Execute Workflow | Time Period (schedule the workflow to start before or after the Start date field) |
Date | On the date above | - |
After, Before | Days and Weeks | |
Date-Time/Added Time/Modified Time | On the date above | - |
After, Before | Minutes, Hours, Days, and Weeks | |
After Field, Before Field | Minutes, Hours, Days |

Note: The maximum count value for the minutes, hours, days and weeks are 1000.
- Repeat Interval - Choose from Once, Daily, Weekly, Monthly, Yearly. This decides the time period in which the schedule needs to be repeated.

Note: If Daily, Weekly, Monthly, Yearly is selected:
- End date field - Select the necessary Creator field, whose input value up to which the schedule will run. Compatible fields are Date, Date-Time, and the system fields Added Time and Modified Time. For the system fields, the schedule runs based on the date and time at which the record is created or edited respectively.
- Execute workflow Until - Choose On the date above, After, or Before to run the last schedule on the date mentioned in the Creator field or on a date that comes before or after it.If After or Before is chosen, mention the specific Count of Days or Weeks after or before the chosen field's value, to execute the last schedule.The maximum count value for the days and weeks are 1000.
- Name the workflow - Enter a name for the workflow.
- Run this process - Choose to run the schedule always or on a condition. If on condition is selected, specify the condition further.
3.5. Edit, Disable, and Delete a Schedule Workflow
- To edit a schedule, click on a workflow in the Workflow tab and click the Properties icon on the top-right corner.
- To Enable or Disable the schedule, use the toggle present across each schedule.
- To delete the schedule, hover over a schedule workflow in the Workflow tab and click the bin (
) icon.
4. Points To Note
- The number of custom schedules that can be executed per user per month depends on your Creator plan. See our pricing page.
- If you set the schedule to repeat monthly but the chosen date doesn't occur in the current month, the schedule will not run. Instead, it will wait until the next month with the same day number to execute. For example, if the start date value is 31-Mar-2024, the next monthly schedule will be on 31-May-2024.
- A schedule workflow set to repeat 'once' based on a Date-Time field will not reschedule for the newly modified time, if the record's input date-time (based on which the schedule is configured) is updated during its own execution. Rescheduling such 'one-time Date-Time' based schedule workflows within their own execution is no longer supported.
5. Related Topics
Zoho CRM Training Programs
Learn how to use the best tools for sales force automation and better customer engagement from Zoho's implementation specialists.
Zoho DataPrep Personalized Demo
If you'd like a personalized walk-through of our data preparation tool, please request a demo and we'll be happy to show you how to get the best out of Zoho DataPrep.
Centralize Knowledge. Transform Learning.
All-in-one knowledge management and training platform for your employees and customers.
New to Zoho Writer?
You are currently viewing the help pages of Qntrl’s earlier version. Click here to view our latest version—Qntrl 3.0's help articles.
Zoho Sheet Resources
Zoho Forms Resources
New to Zoho Sign?
Zoho Sign Resources
New to Zoho TeamInbox?
Zoho TeamInbox Resources
New to Zoho ZeptoMail?
New to Zoho Workerly?
New to Zoho Recruit?
New to Zoho CRM?
New to Zoho Projects?
New to Zoho Sprints?
New to Zoho Assist?
New to Bigin?
Related Articles
Conditions to filter records based on Creator fields
In a nutshell Learn about the criteria that you can set to filter records and run workflows within the Creator application. 1. Overview Conditions help in filtering records from a Zoho Creator report. Based on the criteria set in a condition, actions ...Understanding schedules
Schedules let you create timed actions without any user input. These timed actions can be executed periodically based on the date and time values present in your form or on fixed date and time. You can set up a schedule to send automated emails, ...Functionality-based URLs
Overview In the topic Zoho Creator URL Patterns we learned about the default URLs to access a Zoho Creator application and its forms, reports and pages. In this topic, we will learn about the functionality based URLs to set default values for form ...How to access the selected value from integration fields
The values selected in an integration field of a form can be easily accessed and utilized within Deluge workflows. By leveraging Deluge scripting, you can retrieve these values to streamline your application processes. Prerequisites Configure the ...Display different colors based on record value
Requirement Display different colors of the record in a report or page based on its value. Use Case In a sales management application, the business owner wants to track the purchases and the sales. As a new purchase is made, the corresponding ...
New to Zoho LandingPage?
Zoho LandingPage Resources


