Add and Configure Check-in/Check-out Extension on Your Zoho Creator Page
Requirement
Include a Check-in/Check-out widget in your Zoho Creator application to track the attendance and working hours of your employees in your organization.
Use Case
Consider a Zoho Creator employee management application designed for managing employee-related activities. To keep track of employee attendance and working hours, the Check-in/Check-out extension can be installed and embedded it into the application dashboard. This allows employees to register their arrival and departure times, calculate their daily working hours, and log work-from-home activities.
Pre-requisites
Installing the Check-in/Check-out for Zoho Creator
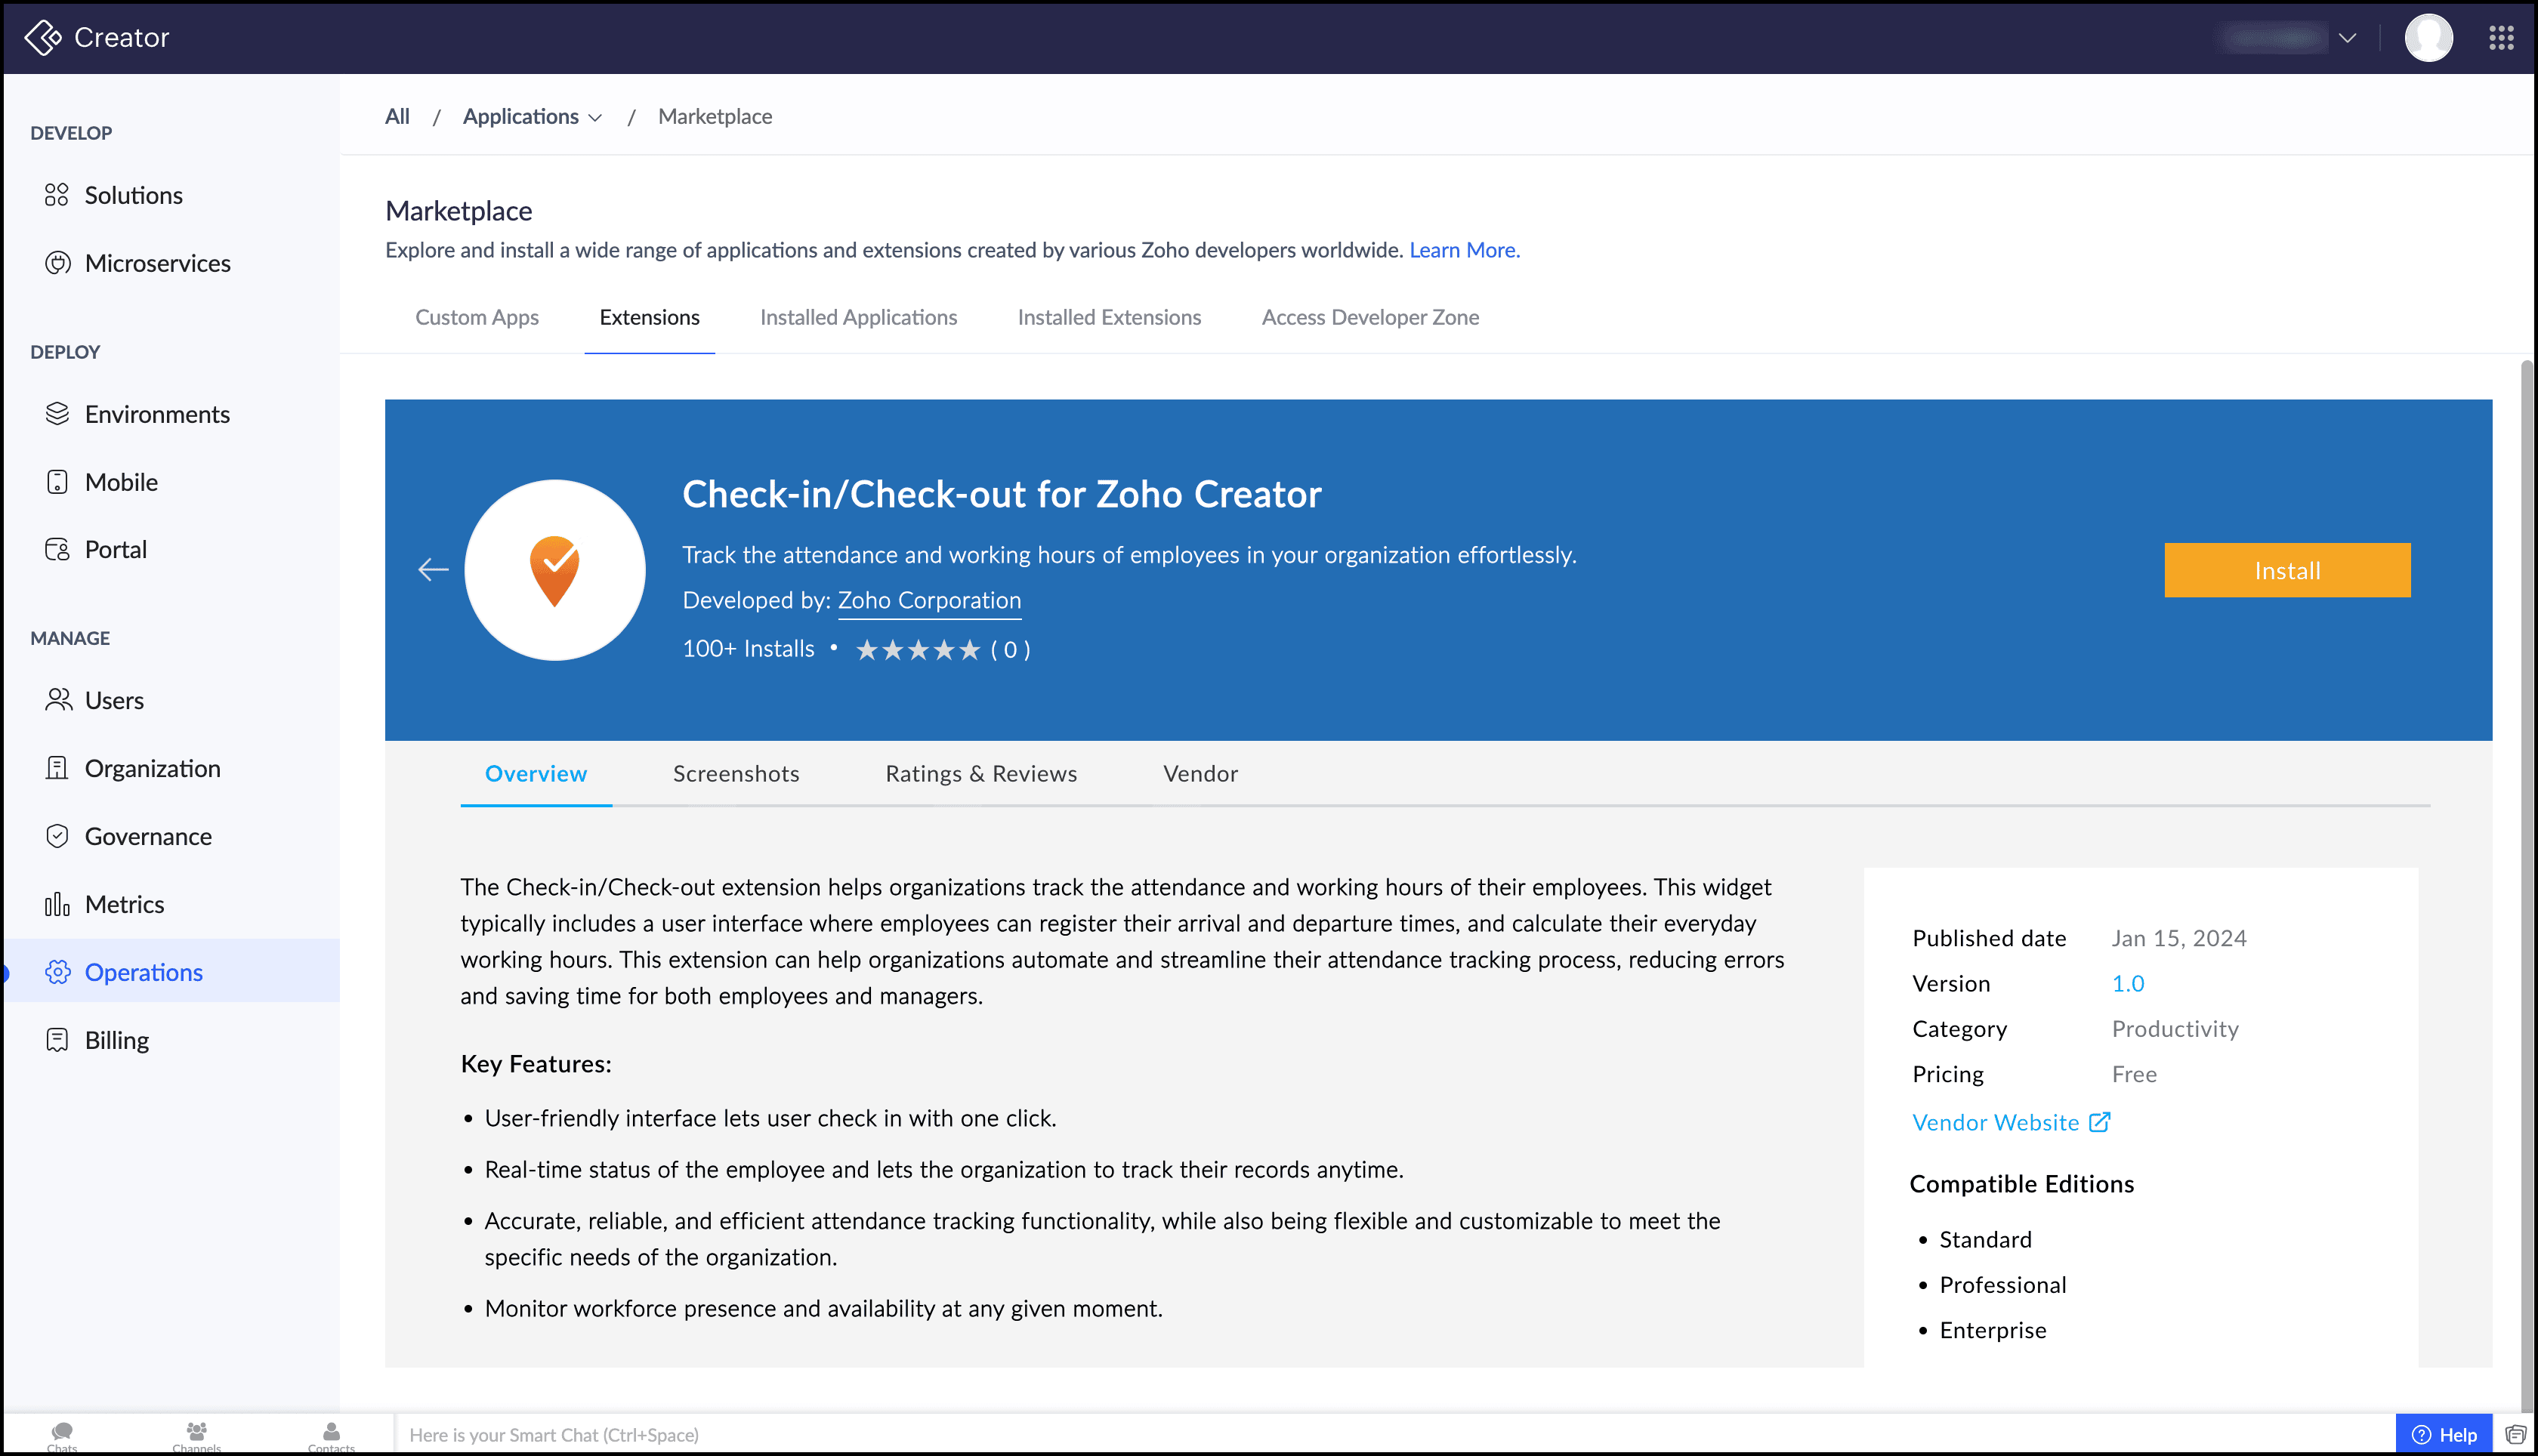
- Search and install the Check-in/Check-out for Zoho Creator extension from Zoho Marketplace. Learn how to Install and Manage Extensions.
Alternatively, you can also install Check-in/Check-out for Zoho Creator extensions directly from the Zoho Creator. Navigate to the Operations section > Application > Marketplace > Extensions and install it.
Steps to Follow
- Create a form with the following details to record the employee's details and check-in and check-out time.
Form Name
Form Link Name
Field Type
Field Name
Field Link Name
Employee Details
Employee_Details
Name
Employee Name
Employee_Name
Email
Email
Email
Phone
Phone
Phone
Address
Address
Address
Date
Date of Birth
Date_of_Birth
Image
Photo
Photo
Employee Attendance
Employee_Attendance
Name
Employee Name
Employee_Name
Email
Email
Email
Date-Time
Check-In Time
CheckIn_Time
Date-Time
Check-Out Time
CheckOut_Time
Single Line
Status
Status
- Create a page to add the Check-in/Check-out extension and add the required elements. For demonstration purposes here, we will be including the extension in our 'Dashboard' Page. Refer to this link to know how to build a dashboard.
- Drag and drop the Check-in Check-out Widget extension listed under the Installed category under the Widgets section in the left pane.
- Navigate to the page variables on the page and add the following page variables to include required parameters for the extension.
Variable
Data Type
appname
TEXT
reportname
TEXT
checkintime
TEXT
checkouttime
TEXT
criteria
TEXT
dateformat
TEXT
timezone (optional)
TEXT
status
TEXT
- Configure Page Script by adding the following script to the editor to supply data to the extension's parameters.
- //Define values for the page variables.
- input.appname = "task-management"; //Link name of the application.
- input.reportname = "Employee_Attedance_Report"; //Report link name of the Employee Attendance form's report.
- input.checkintime = "Check_In_Time"; //Field link name of the Check-In Time field in Employee Attendance form.
- input.checkouttime = "Check_Out_Time"; //Field link name of the Check-Out Time field in Employee Attendance form.
- input.criteria = "Email=\""+zoho.loginuserid+"\"" + "&Added_Time=\'" + today + "\'"; //Set criteria.
- input.dateformat = "dd-MMM-yyyy"; //The date format specified in the date and time settings in your application settings.
- input.timezone = "IST"; //Preferred time zone code.
- input.status = "Status"; //Field link name of the Status field in Employee Attendance form.
- Create a schedule to run on the preferred date and time to add the employee attendance entries for the day and to mark the status as 'Absent' for the absentees. Here, we have created a schedule to run daily at 00:00:01 hrs.
- Click Add New Action > Deluge Script and add the following code in the Deluge editor.
- //Fetch the records from the Employee_Details form.
- fetch_employees = Employee_Details[ID != 0];
- //Add empty entries with the Employee_Name and Email in the Employee_Attendence form's report 'Employee Attendance Report' using the Deluge Add Records task
- for each data in fetch_employees
- {
- add_entry = insert into Employee_Attedance
- [
- Added_User=zoho.loginuser
- Employee_Name=data.Employee_Name
- Email=data.Email
- ];
- }
- //Fetch the absentees of the previous day ane mark the Status as 'Absent'.
- fet_absentees = Employee_Attedance[Added_Time == today.subday(1) && Status == ""];
- if(fet_absentees != null)
- {
- for each absent_rec in fet_absentees
- {
- absent_rec.Status="Absent";
- }
- }