Import data from cloud storage services
DataPrep supports import from the following cloud storage services.
- Google Drive
- One Drive
- Box Storage
- Dropbox
- Zoho WorkDrive
- Amazon S3
With these connectors, you can streamline your ETL workflows, enable smooth data movement, and simplify data integration between various cloud storage services and Zoho DataPrep.
To import data from a cloud storage service
1. Open an existing pipeline or create a pipeline from the Home Page, Pipelines tab or Workspaces tab and click the Add data option.
 Info: You can also click the Import data
 2. Choose the Cloud storage category from the left pane and click the required cloud storage service. You can also search cloud storage services in the search box.
 Note: If you had already added a connection earlier, click the Saved connections category from the left pane and proceed to import. To learn more about Saved connections, click here.
2. Select an account from the saved connections or connect a new account using Add new option.
3. Authenticate your Google account. You will need to authorize DataPrep to access your files when you do this for the first time.

Note: The connection configuration will be saved for importing from the cloud storage in the future. Credentials are securely encrypted and stored.
4. Select the files you want to import. You can also select files from the Shared with me tab.
5. Click the Import button.
You can incrementally import the files using the Advanced selection link. You can also use this option for bulk import of files based on the file pattern. Click here to know more about advanced selection from GoogleDrive and incremental fetch.
6. If the file is password protected, enter the password, click the  right arrow and then click Import.
Note: Supported file formats are CSV, TSV, JSON, HTML, XLS, XLSX, and XML.
If the file is of HTML, XLS, XLSX file, you can click the Preview option to view a sample of the data.7. For other cloud storage options, authenticate the cloud service and authorize DataPrep to access the files.
Note: In the case of Zoho WorkDrive, all folders and files will be directly fetched from your account using which you have logged into Zoho DataPrep. Here's a snapshot below.
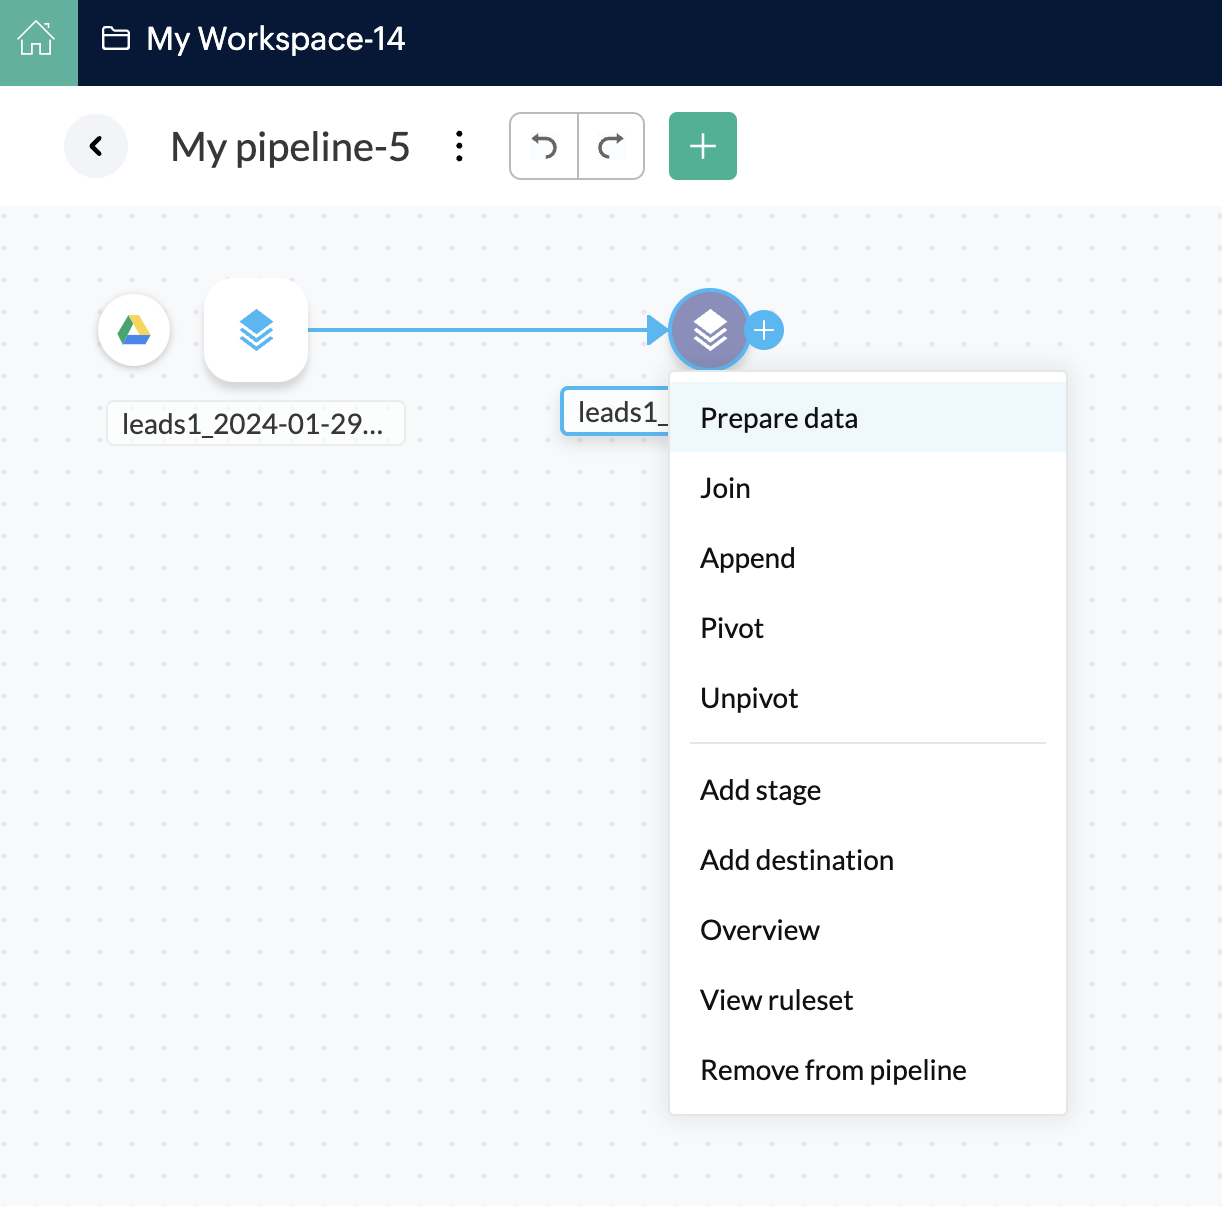
8. Once you have completed importing data, Pipeline builder page opens and you can start applying transforms to the ETL pipeline. You can also right-click the stage and choose the Prepare data option and prepare your data in the DataPrep Studio page. Click here to know more about the transforms.
9. Once you are done creating your data flow and applying necessary transforms in your stages, you can right-click a stage and add a destination to complete your data flow.
You can also import files from shared folders in Google Drive, DropBox, Box, OneDrive, Zoho WorkDrive.

Important notes on Amazon S3
Prior to connecting your Amazon S3 data with Zoho DataPrep, you need to enable the below permissions from your Amazon S3 account:
1. ListAllMyBuckets
2. Get BucketLocation
3. ListBucket
4. GetObject
Please refer to Amazon S3 help pages to provide these permissions.