Importing data from Zoho Analytics
DataPrep supports importing data from Zoho Analytics. Zoho Analytics is a self-service BI and data analytics software that lets you visually analyze your data, create stunning data visualizations and discover hidden insights from your data. With this connector, you can streamline your ETL workflows, enable smooth data movement, and simplify data integration between Zoho Analytics and Zoho DataPrep.

Note: You can import up to 10 tables at a time from a Zoho Analytics workspace.
To import data from Zoho Analytics
1. Open an existing pipeline or create a pipeline from the Home Page, Pipelines tab or Workspaces tab and click the Add data option.
 Info: You can also click the Import data
 2. Choose the Zoho Apps category from the left pane and click Zoho Analytics. You can also directly search the option in the search box.
3. Choose your organization from the Choose organization dropdown and select one of the available workspaces from the Choose workspace dropdown.
4. Choose tables to import into DataPrep by selecting the check boxes. All the tables including query tables which are present in the workspace will be displayed by default. You can filter tables and query tables using the filter menu besides the search icon.
 Query table is a feature in Zoho Analytics that enables you to prepare data for easy reporting and analysis. You can combine data from one or more tables in a database to facilitate easy reporting. Click here to know more about Query tables.
 5. Click the Import button.
6. Once you have completed importing data, Pipeline builder page will open from where you can start applying transforms to the ETL pipeline. You can also right-click the stage and choose the Prepare data option to prepare your data in the DataPrep Studio page. Click here to know more about the transforms.
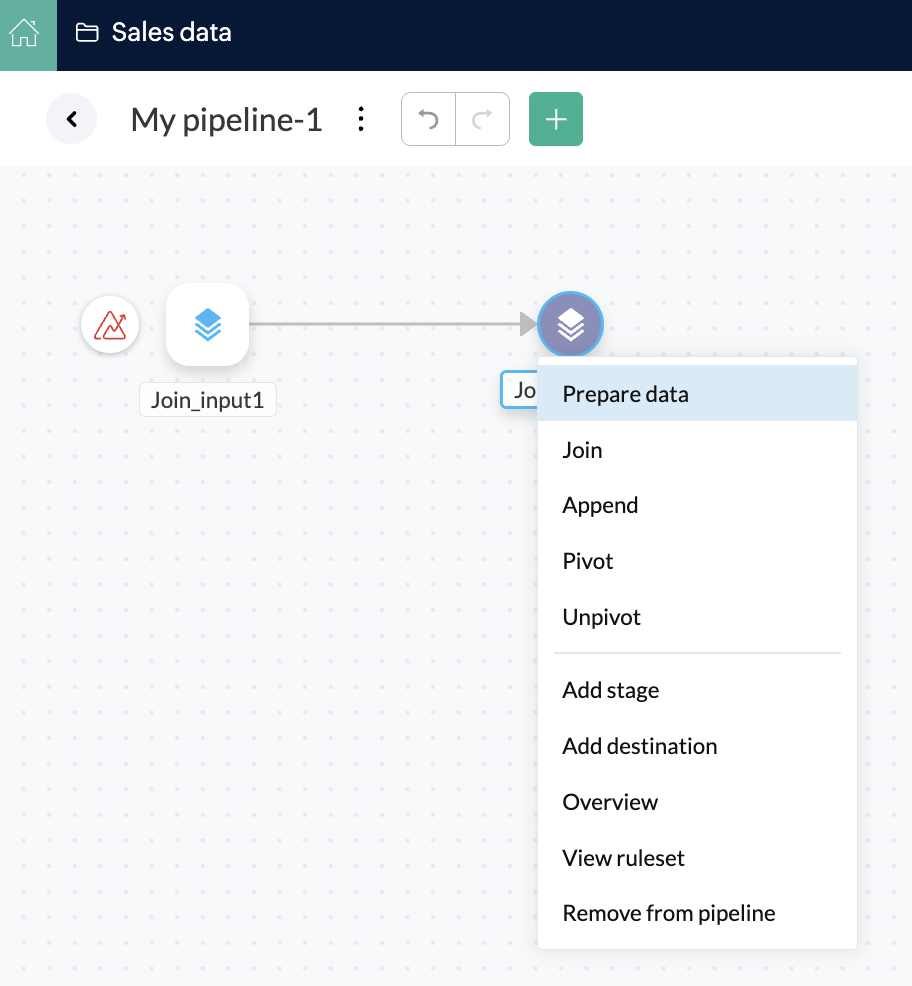
7. Once you are done creating your data flow and applying necessary transforms in your stages, you can right-click a stage and add a destination to complete your data flow.

7. Once you are done creating your data flow and applying necessary transforms in your stages, you can right-click a stage and add a destination to complete your data flow.
Note: After adding a destination to the ETL pipeline, you can try executing your pipeline using a manual run at first. Once you make sure manual run works, you can then set up schedule to automate the pipeline and data movement or select the run you want to execute. Learn about the different types of runs here.
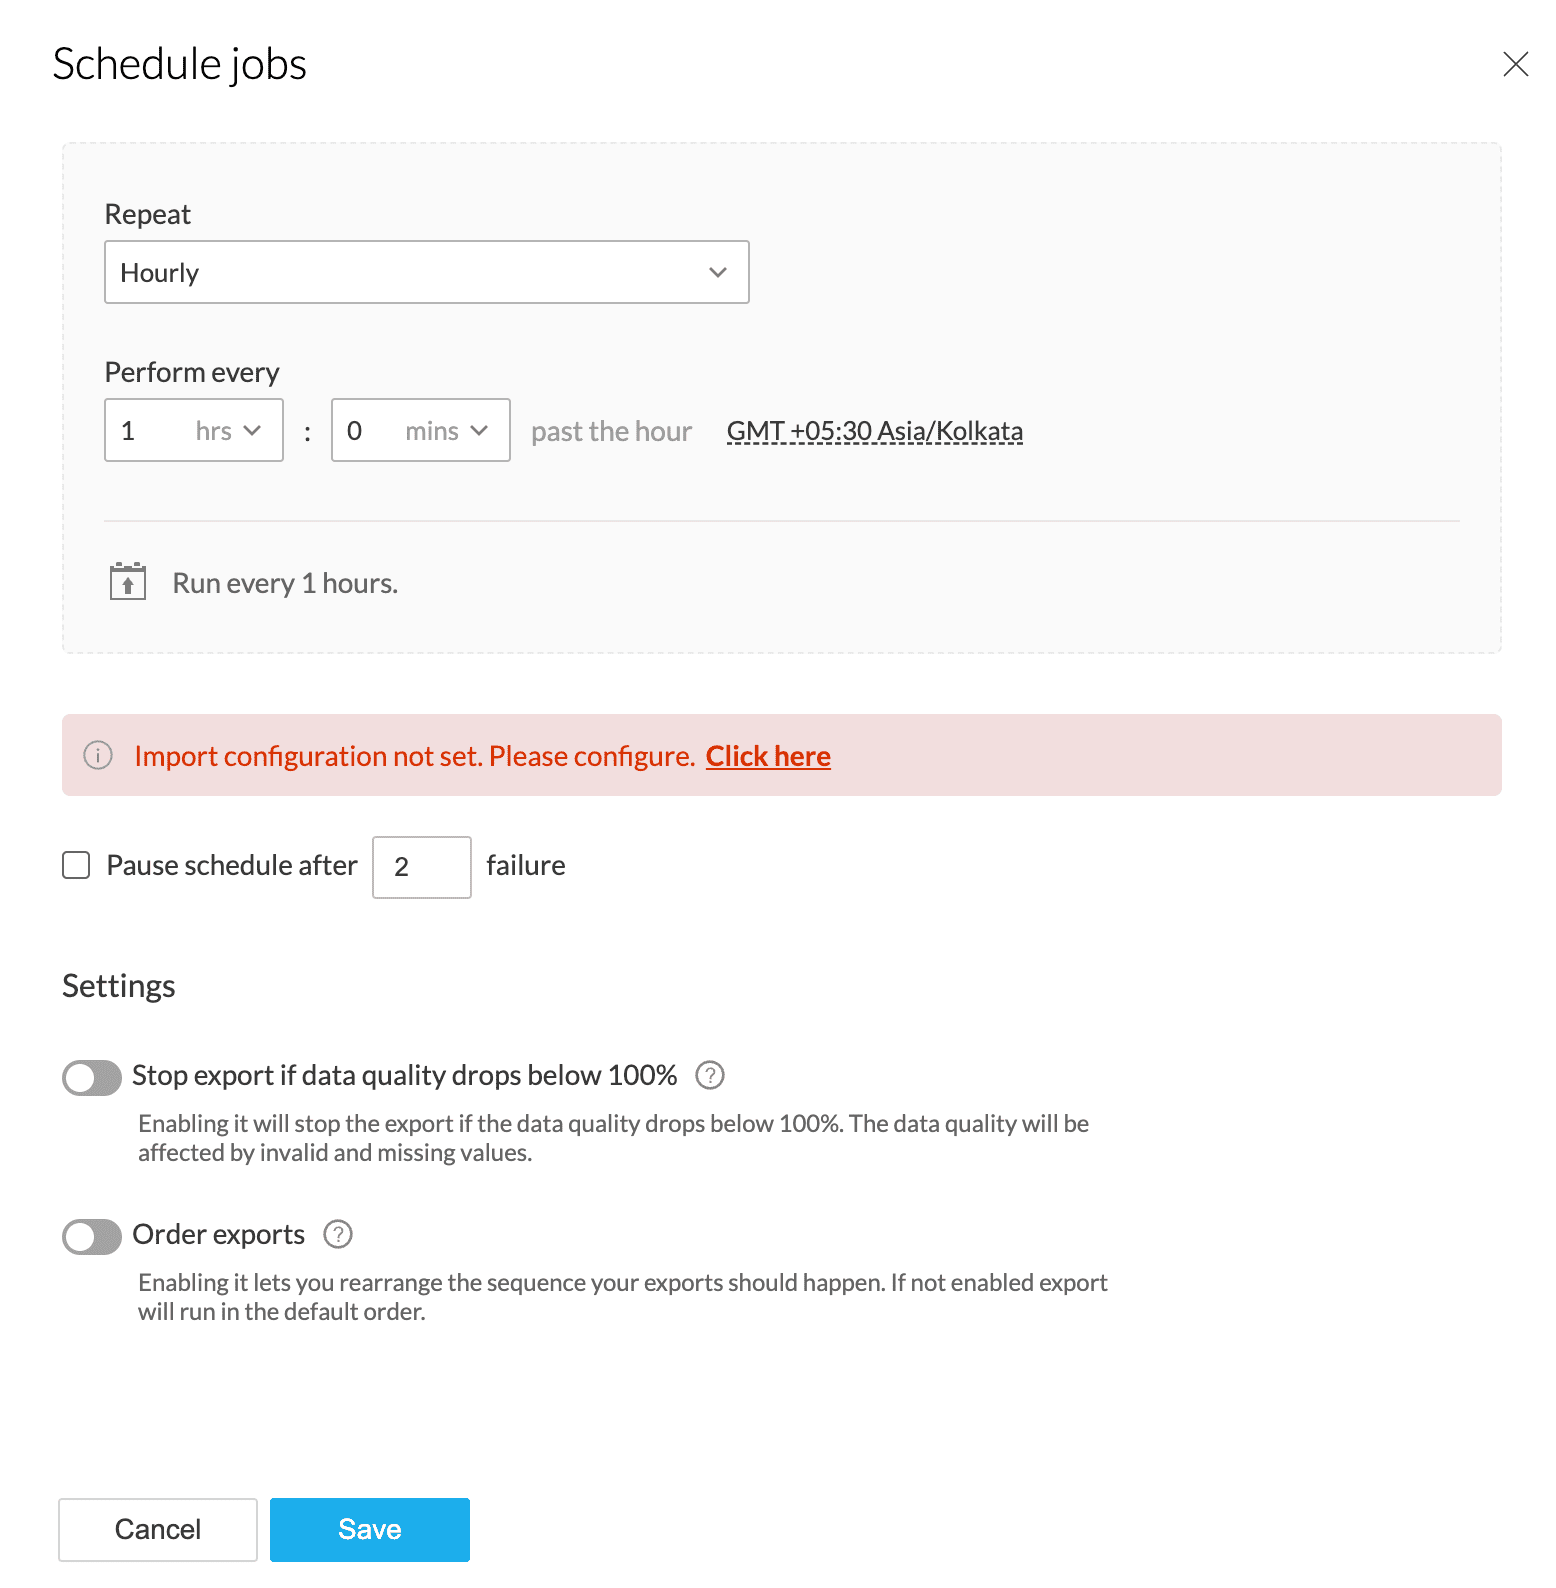
While configuring the Schedule, Backfill, Manual reload, Webhooks, or Zoho Flow, the import configuration needs to be mandatorily setup for all the sources. Without setting up the import configuration, the run cannot be saved. Click here to know more about how to set up import configuration.
8. After configuring a run, a pipeline job will be created at the run time. You can view the status of a job with the granular details in the Job summary. Click here to know more about the job summary.
8. After configuring a run, a pipeline job will be created at the run time. You can view the status of a job with the granular details in the Job summary. Click here to know more about the job summary.
Import configuration for Zoho Analytics
For any type of run, the import configuration needs to be mandatorily setup for all the sources in the pipeline. You can configure how to import and fetch incremental data from Zoho Analytics using the Import configuration option.
Note: Without setting up the import configuration, any type of run cannot be saved.
1. Select the run you want to execute from the Schedule dropdown in the pipeline builder and select the Click here link to set the import configuration.
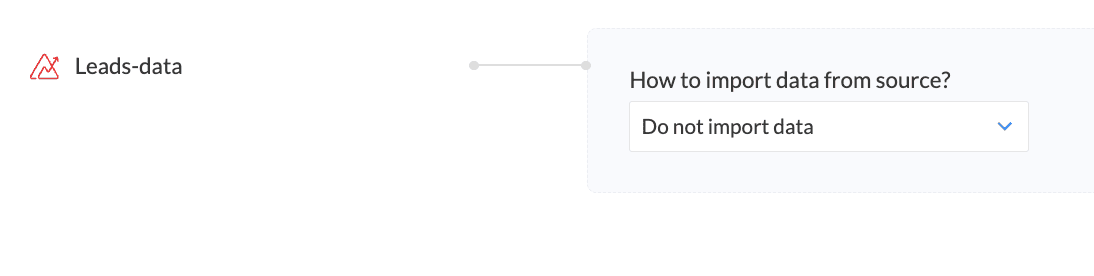
2. Select the required option from the How to import data from source? drop down. You can choose to import all data, modified and new data, or only new data using this option.
Import all data
This option will import all available data from the source for every run.
Incremental data fetch
Incremental data import is a method used to import new or modified records in a specific data interval.
Only modified and new data
To import the modified and new data incrementally in the specified data interval, select Only modified and new data option from the drop-down. Enter the date-time column name using which the new or modified data is fetched incrementally. In Zoho Analytics, the date-time column is always shown in GMT.

When importing a Date-Time column with a time zone into Zoho Analytics, the time will be adjusted to GMT+00:00.
For example: Nov 24, 2014 10:00 GMT+9:00 (or) Nov 24, 2014 10:00 JST will be saved as Nov 24, 2014 01:00 GMT.
If no time zone is provided, the value is treated as GMT by default.
For example: Nov 24, 2014 10:00 GMT+9:00 (or) Nov 24, 2014 10:00 JST will be saved as Nov 24, 2014 01:00 GMT.
If no time zone is provided, the value is treated as GMT by default.
Use existing data if new data is not available:
During incremental import,
- If the checkbox is checked: When there is no new data in the source, the last fetched data will be imported again.
- If the checkbox is unchecked: When there is no new data in the source, the import will fail and no files will be imported. This will, in turn, cause the entire pipeline job to fail.
Do not import data
The data is imported only once. The second time, the rules gets applied on the same data and gets exported.
10. Click Save to save the import configuration.
Settings
Stop export if data has invalid values: Enabling this will stop the export when prepared data still has invalid values.
Order exports
You can use this option when you have configured multiple destinations and would like to determine in what order the data has to be exported to destinations.
If not enabled, export will run in the default order.
If not enabled, export will run in the default order.
Note: This option will be visible only if you have added more than one destination in your pipeline.
To rearrange the order of your export destinations
1) Click the Order exports toggle
2) You can drag and drop to change the order of the destinations and then click Save.
Note: Click the Edit order link if you want to rearrange the order again.
11. After you configure the schedule or any other run, click Save to execute the run. This will start the pipeline.
Limitations
You can import a maximum of 10 million records at a time