Setting Task Status, Due Date, and Priority
Task Status
An important aspect of customer support is to keep track of all the tasks that are created on your help desk. Task status accurately reflects the current stage of your tasks, from start to finish. With task status, you can neatly track and organize the numerous tasks, initiate and report pending action items, and expedite the support process.
Note:
- By default, the support administrator has permission to set a task's status, due date, and priority.
- Agents with appropriate Tasks permissions can edit task status, due date, and priority. Only administrators can assign profile permissions to agents.
To set the status for a task
- In Zoho Desk, navigate to the Activities module.
- On the Activities Home page, click Tasks at the bottom of the left menu.
- Open the desired task to set the status.
- In the Task Details page, click the Status field on the left area.
- Select a Status from the status drop-down.
- You can choose between: Not Started, Deferred, In Progress, Waiting on Someone, Canceled, or Completed.
The task is updated with the chosen status.
Task Due Date
Set a due date or time to let your colleagues know when their tasks should be completed. Your agents can sort their tasks by due period to prioritize completion.
To set the due date for a task
- Navigate to the Activities module.
- On the Activities Home page, click Tasks at the bottom of the left menu.
- Open the desired task to set the due date.
- In the Task Details page, click the Due Date field on the left area.
- Select the desired date and time from the calendar.
- Click Set.
Task Priority
Priority defines the importance of a task. You can change the priority of a ticket to High, Medium, or Low from the Priority menu upon opening a ticket. There are five values for task priority: Highest, High, Normal, Low, and Lowest.
To set the priority for a task
- In the Activities module, open the desired task to set priority.
- On the Task Details page, click the Priority field on the left area.
- Select the desired priority from the drop-down.
The task gets updated with the chosen priority.
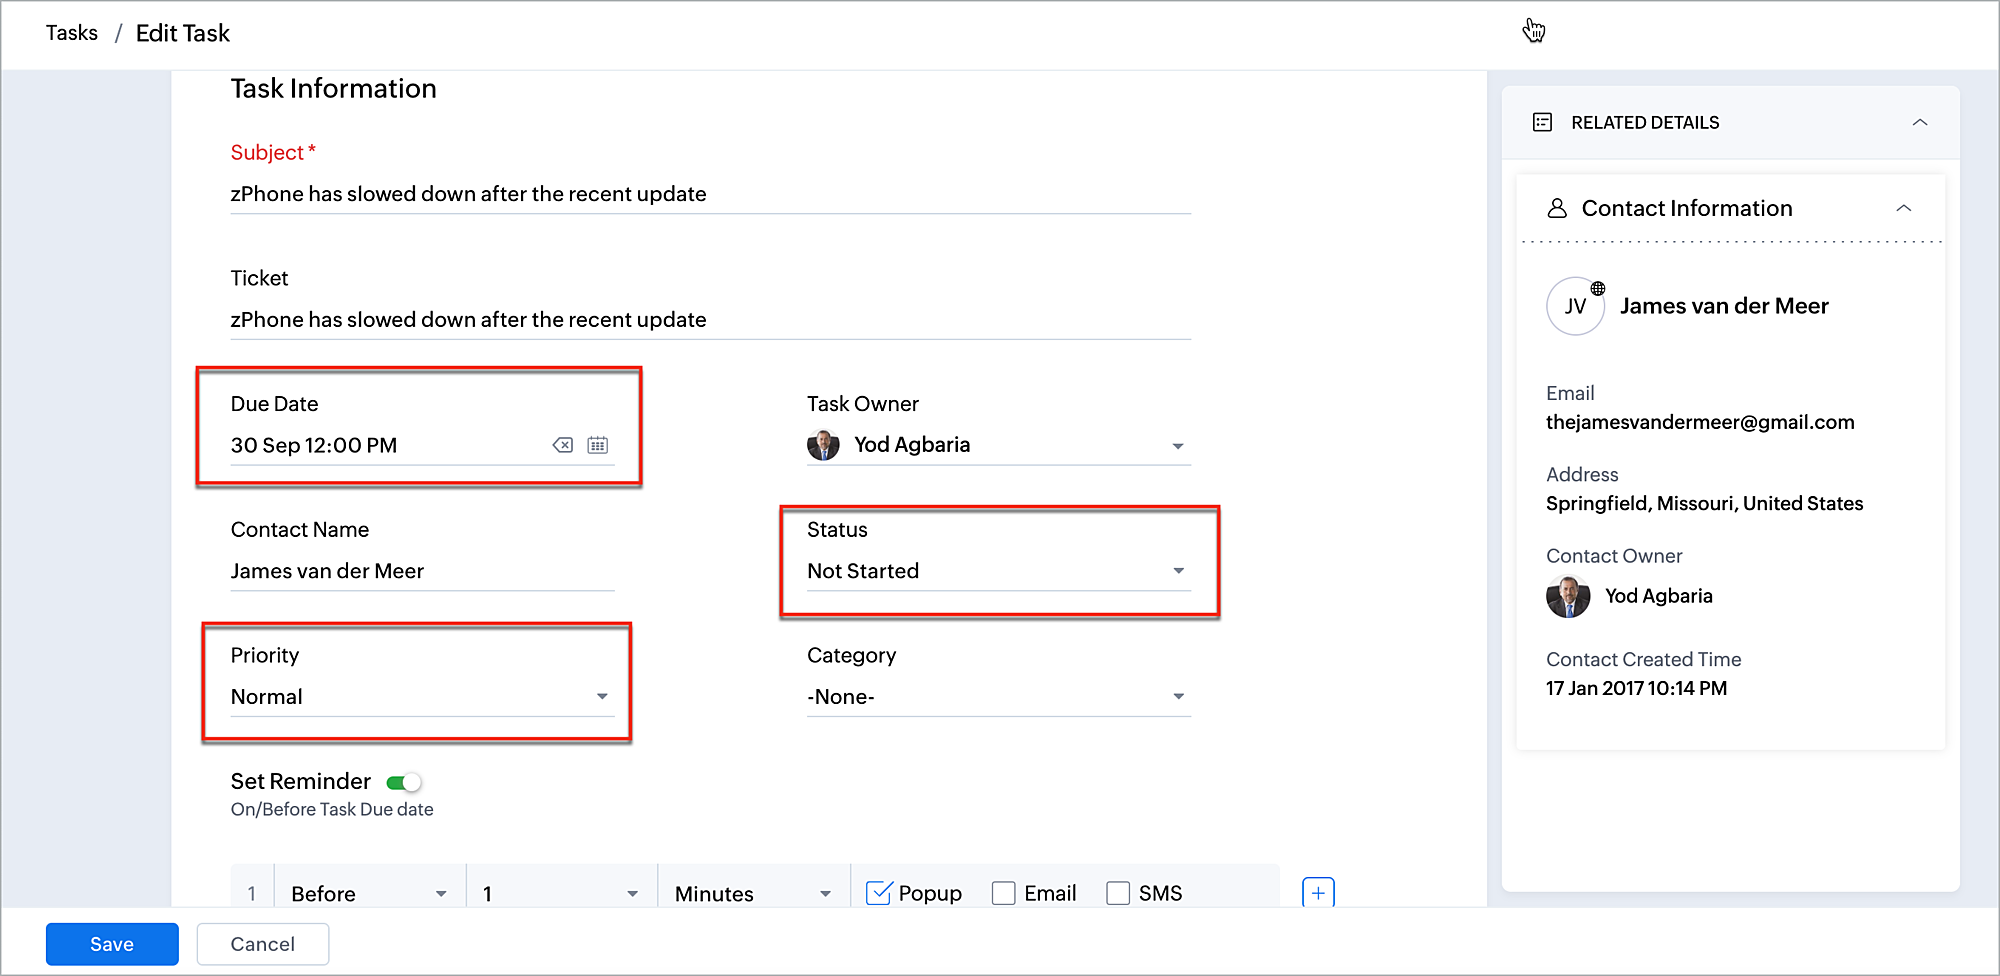
Note: You can also edit a task's priority, status, and due date by using the Edit option under More (…) on the Task Details page. On the Edit Task page, make the desired changes and click Save.