Using the Recycle Bin
The Recycle Bin in Zoho Desk serves as a centralized location where all deleted records from across the modules, including Tickets, Contacts, Accounts, Activities, Contracts, and custom modules, are stored temporarily. It enables authorized users to view, restore, and permanently delete records as required.
For example, if a critical customer ticket or an important contact is mistakenly deleted, users can retrieve the lost information using the Recycle Bin. Instead of losing the data permanently, they can navigate to the Recycle Bin, locate the deleted record, and restore it. This feature helps prevent data loss and ensures continuity in record management.
Accessing the Recycle Bin
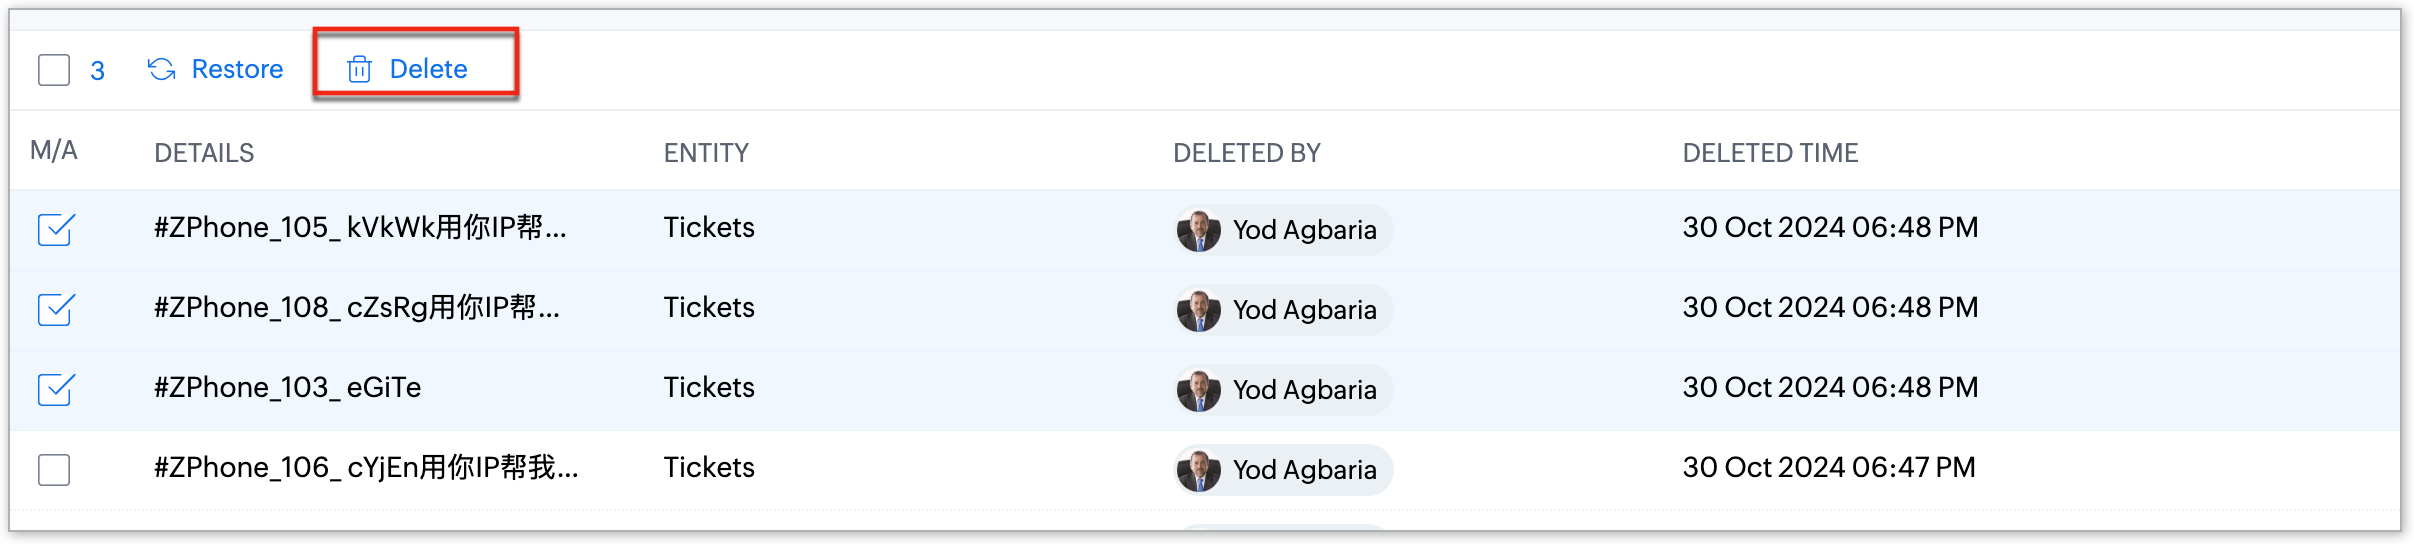
Users can view the deleted records from the Recycle Bin, where they will find a detailed list of all deleted records. The Recycle Bin provides the following key information for each record:
- Details: Displays the name or title of the deleted record.
- Entity: Indicates the module to which the record belongs (e.g., Tickets, Contacts, Accounts, etc.).
- Deleted By: Identifies the user who deleted the record.
- Deleted Time: Shows the exact date and time when the record was deleted.
To access the recycle bin
- Navigate to Setup > Data Administration > Recycle Bin.
- Select the desired module from the Module selection drop-down.
Restoring deleted records
If users accidentally deleted a record and need to recover it, they can restore it from the Recycle Bin within 60 days by following these steps:
- Navigate to Setup > Data Administration > Recycle Bin.
- Hover over the records that need to be restored.
- Click the Restore icon to reinstate the selected records.

Note:
- Users with the Recycle Bin permission can access the recycle bin and restore or delete the records within 60 days from the time of deletion.
- Deleted records remain in the Recycle Bin for 60 days, after which they are automatically and permanently deleted from the Desk account.
- Users can also restore multiple records at once by selecting the desired records and clicking the Restore option.
- Restored records will be reinstated based on the role hierarchy and user permissions defined in Zoho Desk. This means that only users with the necessary access rights will be able to restore and view certain records after restoration. For example, if a support agent deletes a ticket and an administrator restores it, the restored ticket will only be visible to the administrator based on their original permissions. If the agent did not have access to the ticket due to role-based restrictions, they would still be unable to view it after restoration.
- All restore and delete actions are processed in a queue. This means actions are executed one at a time in the order they were initiated. For example, If you first click Delete on Record A, then Restore on Record B, and finally click Empty Recycle Bin, all three actions will be queued in the order you performed them. As a result:
- Record A will be deleted.
- Record B will be restored.
- The Empty Recycle Bin action will begin only after the first two actions are completed.
- Lookup relationships will only be restored if they have not been replaced with new association. For example, if a contact was linked to Account A but was later reassigned to Account B and Account A was deleted and restored later, the contact will remain linked to Account B even though Account A is restored.
- Deleted articles and sections from the Knowledge Base module can be accessed and managed through the Recycle Bin folder within the respective module.
Permanently deleting records
Users who wish to remove deleted records before the 60-day retention period can manually delete them. Note that once records are permanently deleted, they cannot be recovered under any circumstances.
To delete records permanently
- Navigate to Setup > Data Administration > Recycle Bin.
- Hover over the record that needs to be permanently deleted.
- Click the Delete icon, followed by Delete to confirm the action.
Note: Users can also delete multiple records at once by selecting the desired records and clicking the Delete option.
Emptying the Recycle Bin
For bulk deletion of all records stored in the Recycle Bin at once:
- Click Empty Recycle Bin located at the top-right corner of the page.
- Click Empty to confirm the deletion to proceed with permanently erasing all deleted records.