Setting up Connections
Connections enable you to integrate Zoho Desk with other cloud-based third-party services to access authenticated data. To establish a connection, you will have to provide a Connection Name, Authentication Type, amongst other details.
Why Connections?
Zoho Desk offers integration support for a wide range of third-party applications. However, some services cannot be integrated directly with your help desk. In such cases, you can use a connector to expand your help desk's integration capabilities. For example, you can create a connection to log in to a particular service and access your data stored in those services.
 Permission Required
Users must have either the Helpdesk Automation or Manage Marketplace permission enabled in their Zoho Desk profile.
Check Feature Availability and Limits
Types of Connections
There are two types of connections in the create connections page:
- Predefined Connections: Choose from an existing list of services, provide your credentials, and establish a connection.
- Custom Connections: Configure the desired service on your own and connect to it.
Creating a New Connection
You can create a connection with a default service or set up a custom one from scratch. Here's how:
- Click the Setup icon (
) in the top bar.
- Click Connections under the Developer Space menu.
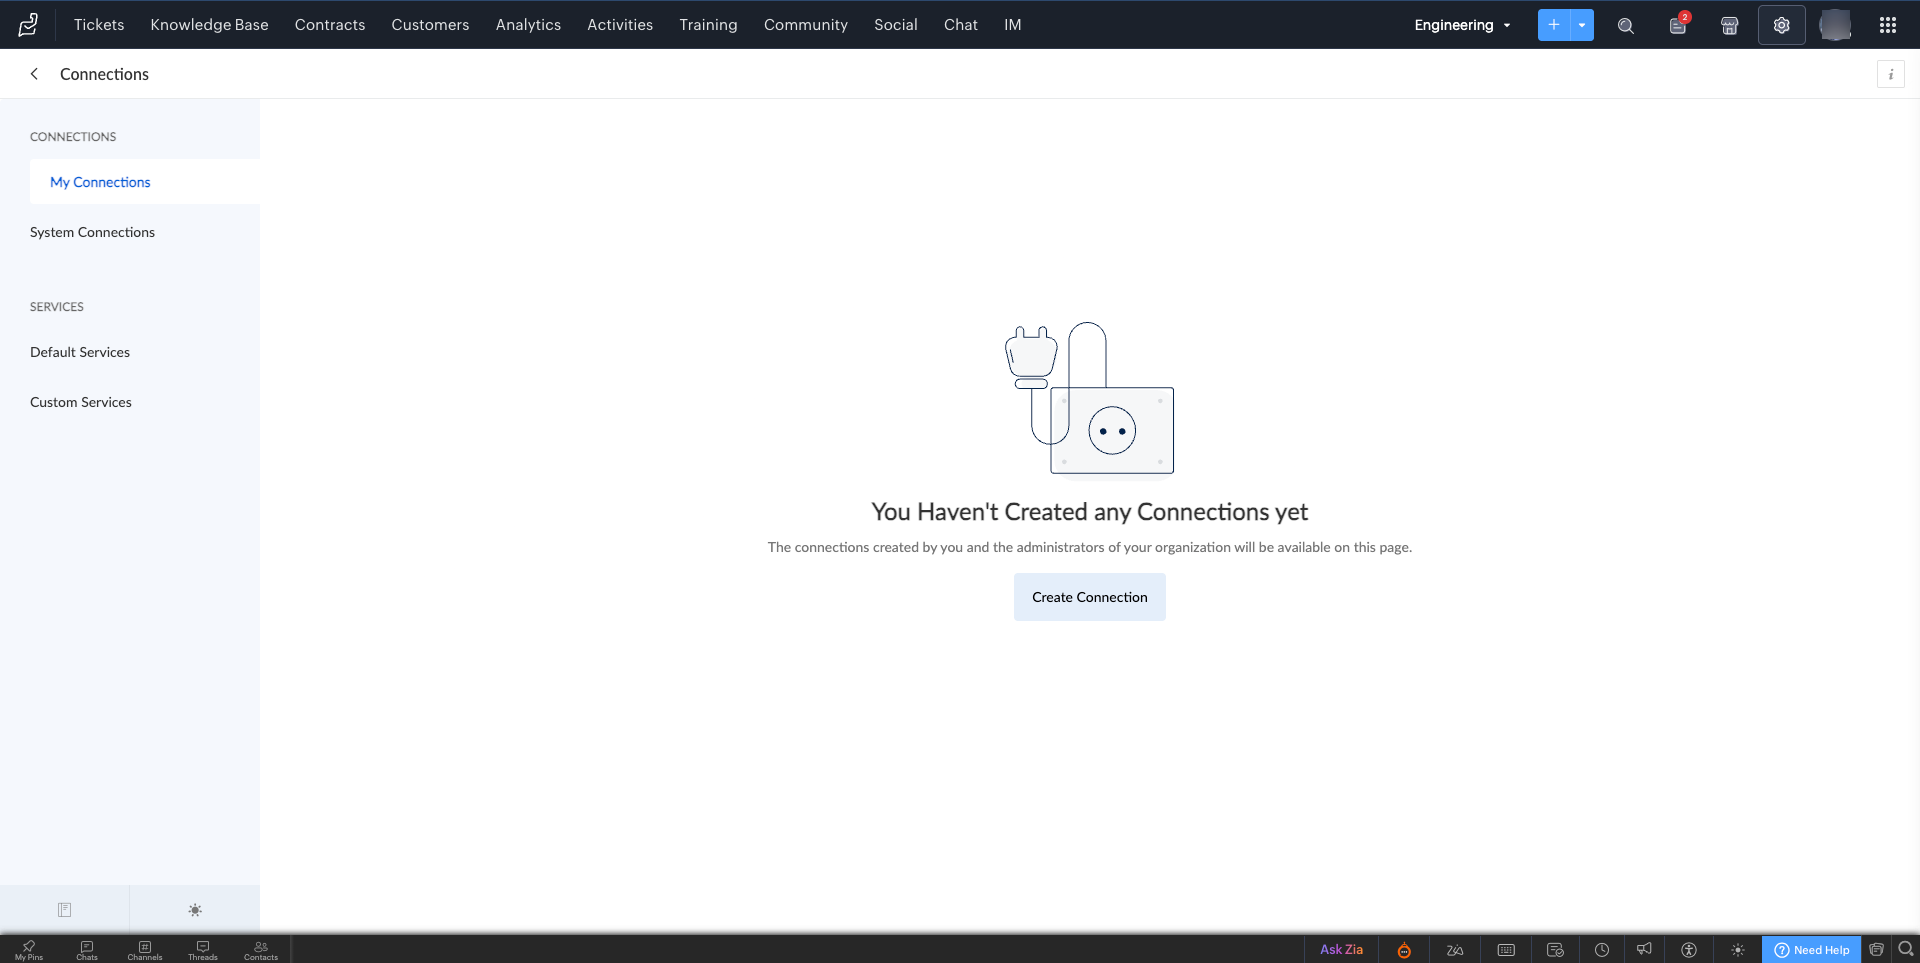
You will land on the My Connections page, which will list the connections created by you. - Click the Create Connection button in the top right corner of the page.
- On the Create Connection page, do either of the following:
- Select and configure a predefined connection in the Pick Your Service section. Predefined connections are the third-party services that Zoho Desk is already connected with. You will have to enter only the basic details required to set up the connection.
(or) - Create a custom connection under the Custom Services tab. You will have to enter specific details such as the Authentication Type, Authentication Specific details, and Connection Name of the application that has to be connected.
Sample Connection
Let's take a look at creating a connection with Zoho Desk.
1. Click the Setup icon ( ) in the top bar.
2. Click Connections under the Developer Space menu.
You will land on the My Connections page.
You will land on the My Connections page.
3. Click the Create Connection button
4. Select Zoho Desk from the Pick your Service tab.
You will land on the Connection Details
You will land on the Connection Details
section.
5. Under the Connection Details section, do the following:
- Enter the Connection Name and the Connection LinkName you intend to have.
- Note: Link name must be unique as it will be used in Deluge integration tasks and invoke URL scripts to establish authentication.
- Select the Scope if required, depending on the application’s prerequisites.
Refer to our API documentation to identify the scopes for each API. - Click Create and Connect.
6. A login page or a page requesting further details will appear.
7. Click Connect for the connection to take place.
8. A summary page displaying the Link name, Service Name, and Status of the Connection is shown.

Additionally, the code to be used in a function to invoke the connection is also given in a box.
You can use the above block of code in Deluge invoke URL scripts or use connection in Integration tasks to access data from the third-party services.
Creating a Custom Connection
If the desired service is not available in the default services list, you can configure it on your own and connect to it.
To create a custom connection:
- Go to Setup > Developer Space > Connections.
- Click Create Connection in the top right corner of the page.
- On the Create Connection page, click the Custom Services tab.
- Click Create New Service and do the following:
- Enter the Service Name and ServiceLink Name to identify your custom service.
- Select the Authentication Type. You can choose between Basic, OAuth 1, or OAuth 2.
- Select the Param Type to determine how the authentication parameters will be sent along with the URLs specified in the invoke URL scripts.
You can choose between Query string, Form Data, or Header. - Add Actual Parameter and Parameter Display Name.
You can add as many parameters as required. - Provide the Connection Name and Connection Link Name.
- Click Save.
Upon successful authorization, your connection will be created and listed on the connections page.