Formatting Knowledge Base Articles Using WYSIWYG Editor
Zoho Desk’s built-in WYSIWYG ("What You See Is What You Get") content editor allows businesses to create quickly and edit their knowledge base articles to a preferred style. The simple interface provides basic and advanced formatting options along with HTML editing functionalities that are essential for most authors to control the content style and format.
The common rich text formatting options available are:
- Font style - Bold, Italics, Underline
- Font and background coloring
- Heading - Normal text, Heading 1, Heading 2 and so on applicable for creating a TOC in the article. Click the TOC tab from the right panel to view the TOC structure.
- Text alignment - Left, right, justify, or center.
- Text direction - Left to right or right to left.
- Numbered and bulleted lists
- Increase or decrease the indent of a text.
- Line Spacing - 1.0 (Single), 1.2 (Normal), 1.5, and 2.0 (Double)
- Insert image from the desktop, gallery, or URL.
- Clearing existing formatting of the text.
- Format painter - Copy the style or formatting of the text on a new text.
- Insert article as link within an article and set whether the article can be accessed by the agent or users.
- Insert links (an URL or email address), remove links, embed video, insert tab or accordion, insert HTML (article content can be entered in HTML format), insert table, insert horizontal rule, and more.
Using the Insert HTML option, you can customize or format even the background color of a text. - Content Analysis powered by BluePencil scans the article content and measures the following parameters:
- Spelling Errors - Identifies typos and provides correct spelling suggestions.
- Grammar suggestions - Identify grammatical errors and provides the correct spelling and grammar suggestions.
- Ease of reading - Provides the readability score of the article. It helps to determine if the content is easy to read and user-friendly. It also points out any sentences that are hard to understand.
- Word Cloud - Displays the total number of words and characters used in the article. The words that are used the most and the number of times used in the article are also displayed.
- Writing Quality:
- Wordy phrases - The sentences with multiple words than required.
- Improper word choices - Words that are out of context or unclear.
- Rephrasable sentences - The sentences that could be shortened or rephrased for better understanding.
- Informal writing - Colloquial words or sentences used for formal audience.
- Non-inclusive languages - Sentences or words that are stereotypical and not gender neutral.
- Incomplete sentences - Sentences that are missing certain words.
- Passive sentences - Sentences written in passive voice that can be changed to active voice.
- Adverbs - Adverbs that are over used in a sentence.
- Cliché - Phrases that are used frequently and lost its originality.
- Switch between normal and edit view.
- Switch between rich text and plain text, mainly used to remove all formatting from text that is copied from elsewhere.
Click Ctrl+F (Windows) or Cmd+F (Mac) to find existing text, then replace it with the new text.
 Table formatting
Users can select the number of rows and columns along with formatting the table with different styles and colors. Some of the additional functionalities are mentioned below; these options are also available upon right clicking on the table.
- Insert rows/columns - before or after a selected cell
- Resize table - drag to resize the table and its cells
- Style the table - dashed borders, alternate rows, no borders
- Style the cells - padding (normal, narrow, custom margin, etc.), text alignment (left, right, center).
- Adding table background color
- Adding a table theme - colors, dotted borders, etc.
- Modify rows and columns - insert or delete rows and columns.
 Inserting code
Select this option to add a code. You can add code snippets with actual examples of how a function, class, or library is used. This can be helpful for testers or developers who need clarification on the codes used.
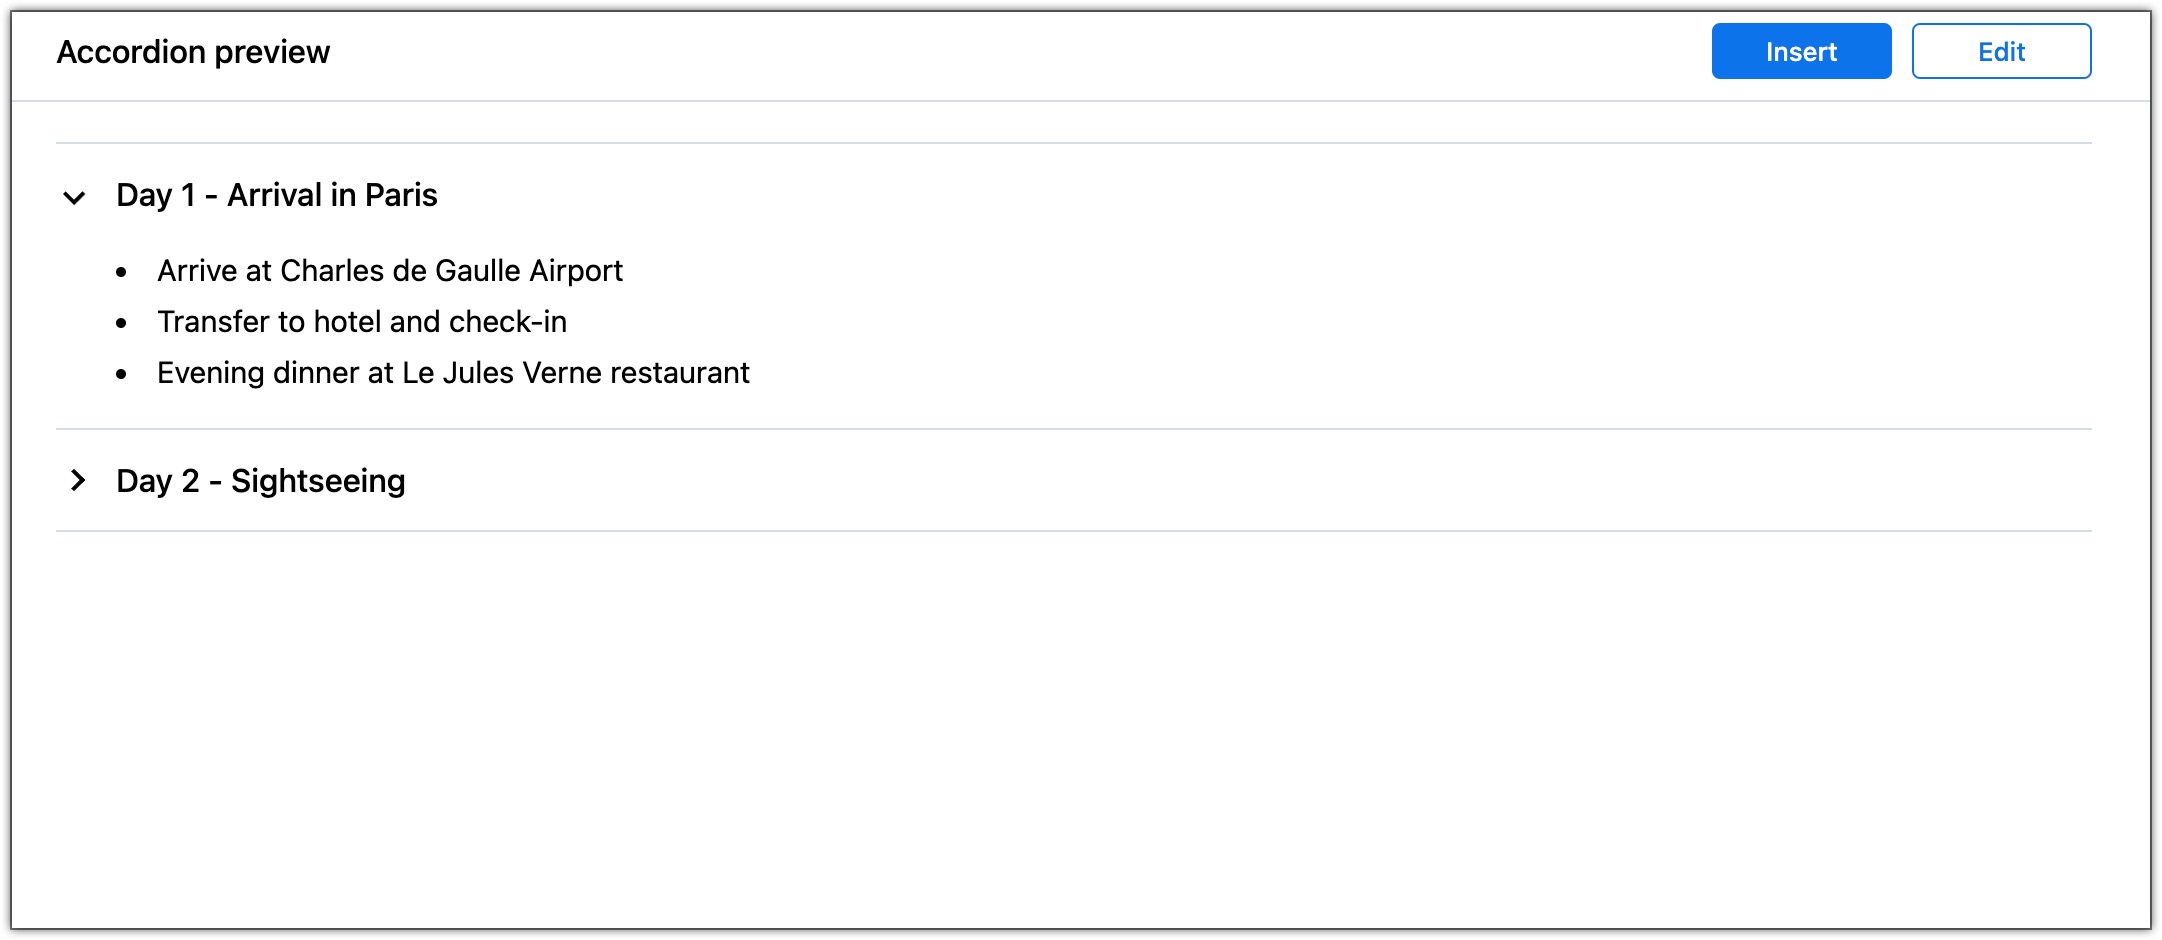
 Inserting Accordion
Provides an option to display a large amount of content in Card or List view for a more organized and structured display. Readers can minimize and expand the content to their preference, which ensures the scroll is reduced and the content is not spaced out.
Card view
The card view organizes the content into various rows or cards that give a more distinguished look. Each card can be expanded, collapsed, and rearranged.
List view
The content can be added in a list format, particularly useful for short content such as troubleshooting tips, FAQs, and so on, where the heading is visible and the readers can expand to read the entire content.
To insert an accordion
- Go to the Knowledge Base module and choose the category, folder, or subfolder.
- Select an article to edit or add a new article.
- Click Insert > Insert accordion.
- In the accordion title, enter the title to be displayed and enter the description in the next tab.
- Click + Add accordion item to add more accordions.
- Click Preview to view the output and click Insert.
- To edit the inserted accordion, hover over it and click the Edit icon.
- To change the card view to a list view, edit the accordion, select List View, and click Preview.
 Inserting Tabs
The article content on the page can be organized in different tabs. Each topic can be inserted as a tab with a static heading. Readers can click on the tab to read further. Tab views are of two types.
Card view
Line view
To insert a tab
- Go to the Knowledge Base module and choose the category, folder, or subfolder.
- Select an article to edit or add a new article.
- Click Insert > Insert tab.
- In the Tab title, enter the title to be displayed and enter the description in the next tab.
- Click + Add tab item to add more tabs.
- Click Preview to view the output and click Insert.
- To edit the inserted tab, hover over it and click the Edit icon.
- To change the card view to a list view, edit the tab, select Line View, and click Preview.

Note:
When there are multiple tabs, it will be clubbed and displayed under the More ( ) icon. You can click the icon and select the tab you want to view. One of the existing tabs will be moved under more, and the selected tab will replace the existing tab.
Text Styles
Imagine you are creating a technical document, and there are some important points to be highlighted. For example, to install a screen capture tool, it might require Windows 10 and 8 GB of RAM. If the prerequisites are not met, then the user will not be able to install the tool. In this scenario, you can use the text styles 'Alert' or 'Warning' to highlight these important details. This will help users understand what’s crucial and ensure they don’t miss it.
The text styles available in the Kb editor are Notes, Warning, Alert, Info, Idea, and Quote.
Organize KB content in TOC

Note: To display the table of contents (TOC) in the articles, you must enable the Display table of contents (TOC) for Articles option in the Manage KB settings.
The Table of Contents (TOC) will be populated based on the Font style and heading provided in the content editor. You can apply header styles to the content to organize a long article with headings so that readers can locate and navigate to the relevant information instantly. It uses hyperlinks to point to anchors (or bookmarks) for navigation.
There are three heading levels available. The top-level in the TOC is Heading 1 and the sub-levels are Heading 2 and Heading 3.
The title and paragraph style are not added in the TOC.
Disable TOC for KB articles
If you prefer not to include a TOC in the KB articles, you can disable it in the Manage KB settings.
- Navigate to the Knowledge Base module > Manage KB.
- Disable the Display table of contents (TOC) for Articles option.
Import Articles in KB editor
Assume there is an existing document in your cloud storage or computer. Copying and pasting or retyping the entire content into the KB editor could be time-consuming. To avoid this rework, use the Import Article option.
The following file formats are supported: