Managing User Roles
Every organization has a role hierarchy that can be replicated in your Zoho Desk account to extend the relevant permissions for the agents to access the data and customer information. For example, a Support Manager needs access to all the tickets that their team agents work, while support representatives need access to only their tickets and at times their peers' tickets.
Setting up the organization-wide hierarchy using roles is easy and useful to make sure the users higher in the hierarchy always have access to all the records belonging to the users below in the hierarchy. Since you need to assign a role and a profile to each agent in your Desk account, it is recommended that you plan and create the role hierarchy before you start inviting users.
Key Features
-
Users with a CEO role have access to the entire database within your organization.
-
Users at a higher role can access other users’ data below their hierarchy. For example, a support manager can access their subordinates' data.
-
Managers in the role hierarchy cannot view or edit their subordinates' records if they do not have the Read or Edit profile permissions for that record type. For example, if the Manager does not have the relevant profile permission for Tickets, they cannot access their subordinate's tickets.
-
By default, users of the same role cannot access each other's data. For example, the Customer Success Manager cannot access the Customer Operations Manager's data and vice versa though they are at the same hierarchy. You can use the Share Data with Peers option to allow data sharing between users of the same role.
- Users must have read/write access to the primary record to make use of the option to add comments, upload attachments or send email.
Creating Roles
By default, the CEO and Manager roles are enabled for your Zoho Desk account. You can start building the hierarchy from there and add roles as per your organizations needs.
To create new role
-
Click the
Setup
>
User Management >
Roles.
-
In the
Roles
page, click
New Role.
-
In the
New Role
page, do the following:
- Enter the Role Name .
- Select the immediate superior's role from the Reports To lookup.
If you do not select the superior's role, the new role will be created under the CEO role.- Enable the Share Data with Peers toggle if users at the same level in the role hierarchy need to access each other's data.
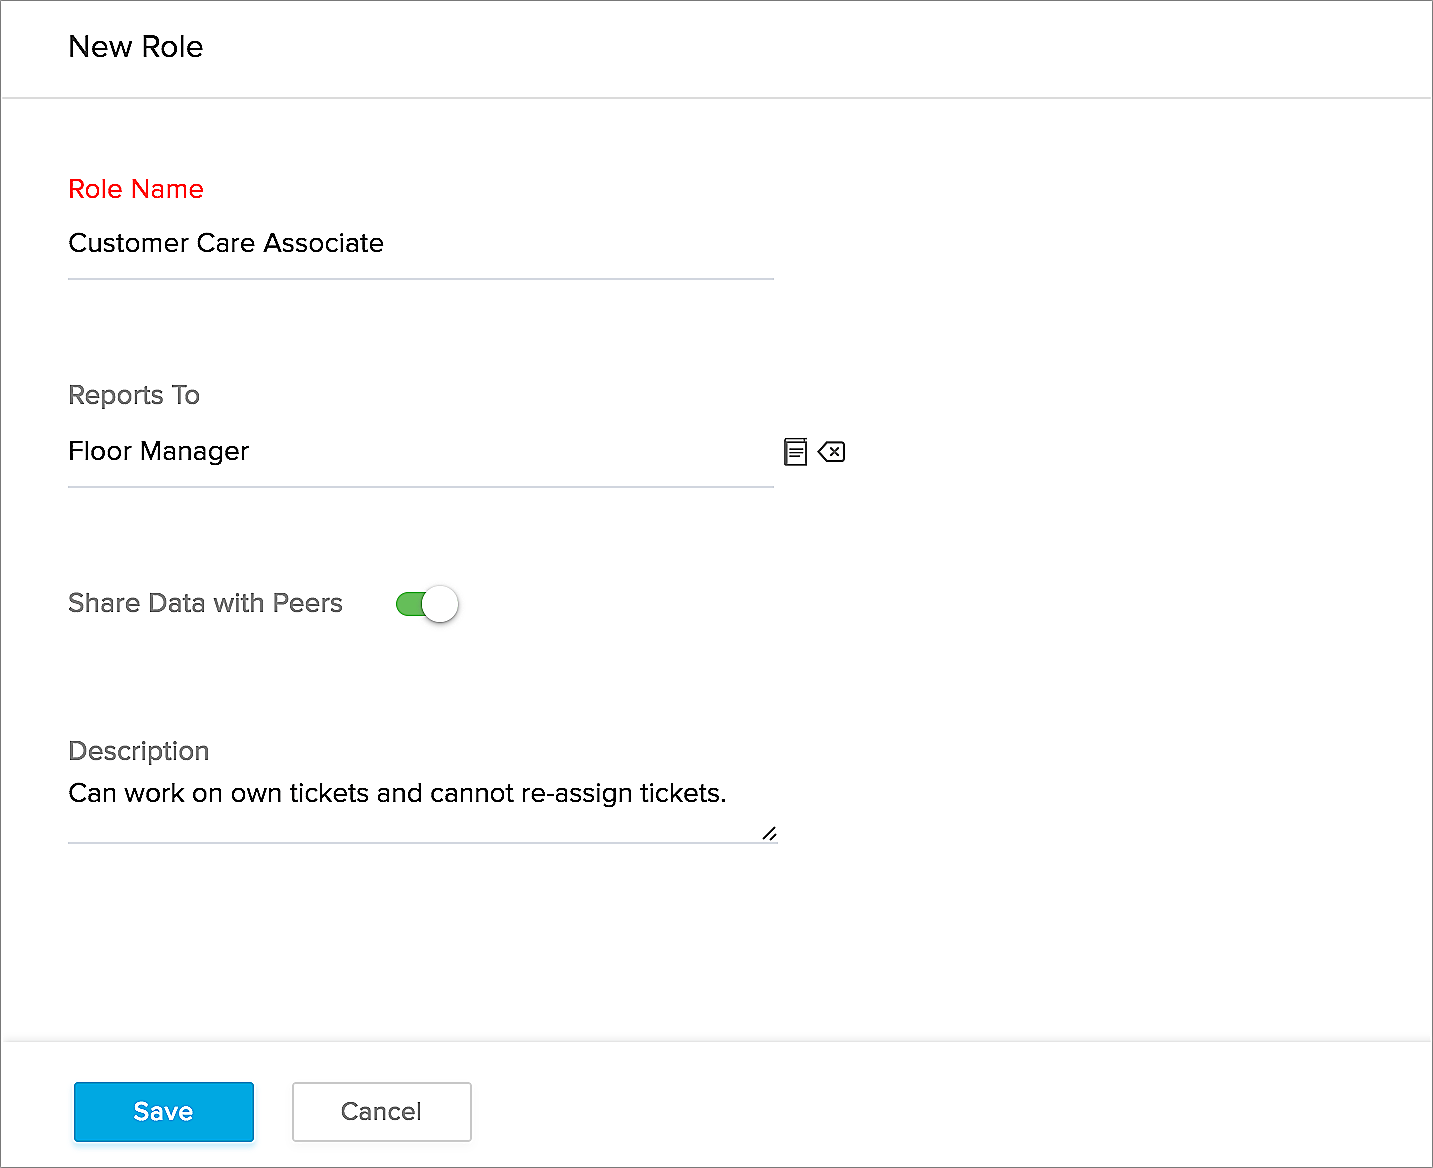
- Specify the Description for the role.
- Click Save .
Assigning Roles
After creating roles, you will be ready to assign them to the agents when you add them to your organization's Desk account.
To edit and assign a new role to user
-
Navigate to
Setup
>
User Management >
Agents.
-
In the
Agents List
page, click the agent's name.
-
On the
Agent Details
page, click
(the Edit icon).
-
In the
Edit Agent Information
page and under
Roles and Permissions
, select the specific
Role
from the lookup box.
- Click Save .
Editing Roles
You can modify the user roles as per changes in your organizational hierarchy. You can perform the following modifications:
-
Rename the role
-
Change the Superior Role
-
Change the setting for sharing data with Peers
While changing the role names, all the data sharing rules will be updated automatically.
To edit a role
-
Navigate to
Setup
>
User Management >
Roles.
-
Select a role from the
Roles
List
.
-
In the
Role Details
page, click
Alternatively, hover on role name and click the Edit icon. -
In the
Edit Role
page, update the new properties for the role.
- Click Save .
Deleting Roles
Since there is a restriction to the number of roles that you can create, it is always recommended to delete the roles that you no longer use and assign to agents in your organization. Note that if you are deleting a role that is assigned to agents, you will be asked to transfer the users to a new role first.
To delete a role
- Navigate to Setup > User Management > Roles.
-
In the
Roles List
, click on a role.
-
In the
Role Details
page, click
(the Delete icon).
Alternatively, hover on to a role name and click the Delete icon. -
In the
Delete Role
page, click on an existing role to transfer the child-roles to the selected role.
-
Click
Transfer & Delete
.