Zoho Inventory
What is Zoho Inventory?
Zoho Inventory is an inventory management software application that lets you manage all your orders. You can manage your contacts, bills, and reports, and generate invoices easily.
How to connect your Zoho Inventory account to Zoho Flow
- Select the required trigger or action. If you select a trigger, click Next.
- If there are no other Zoho Inventory connections in your account, click Connect. Otherwise, click New connection. Alternatively, you can create a new connection by navigating to Settings, then Connections. Click Create connection and choose Zoho Inventory.
- Enter a Connection name and click Authorize.
- Click Accept to allow Zoho Flow to access your Zoho Inventory account.
API documentation
How to migrate to the latest version?
To ensure a smooth transition to the latest version, we strongly recommend you to follow these steps:
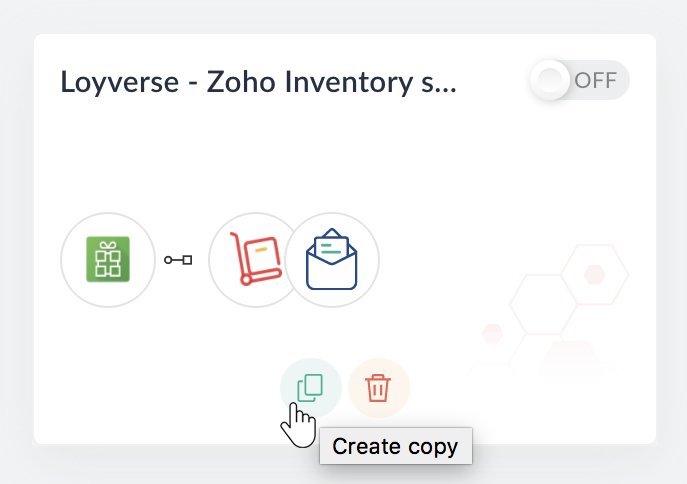
- Switch off the flows that include Zoho Inventory triggers and actions.
- Create a copy of the flows by clicking the Create copy button. You can use the original flows as a reference in case something goes wrong.
- Create a new Zoho Inventory connection from Settings > Connections > Create Connection > Zoho Inventory.
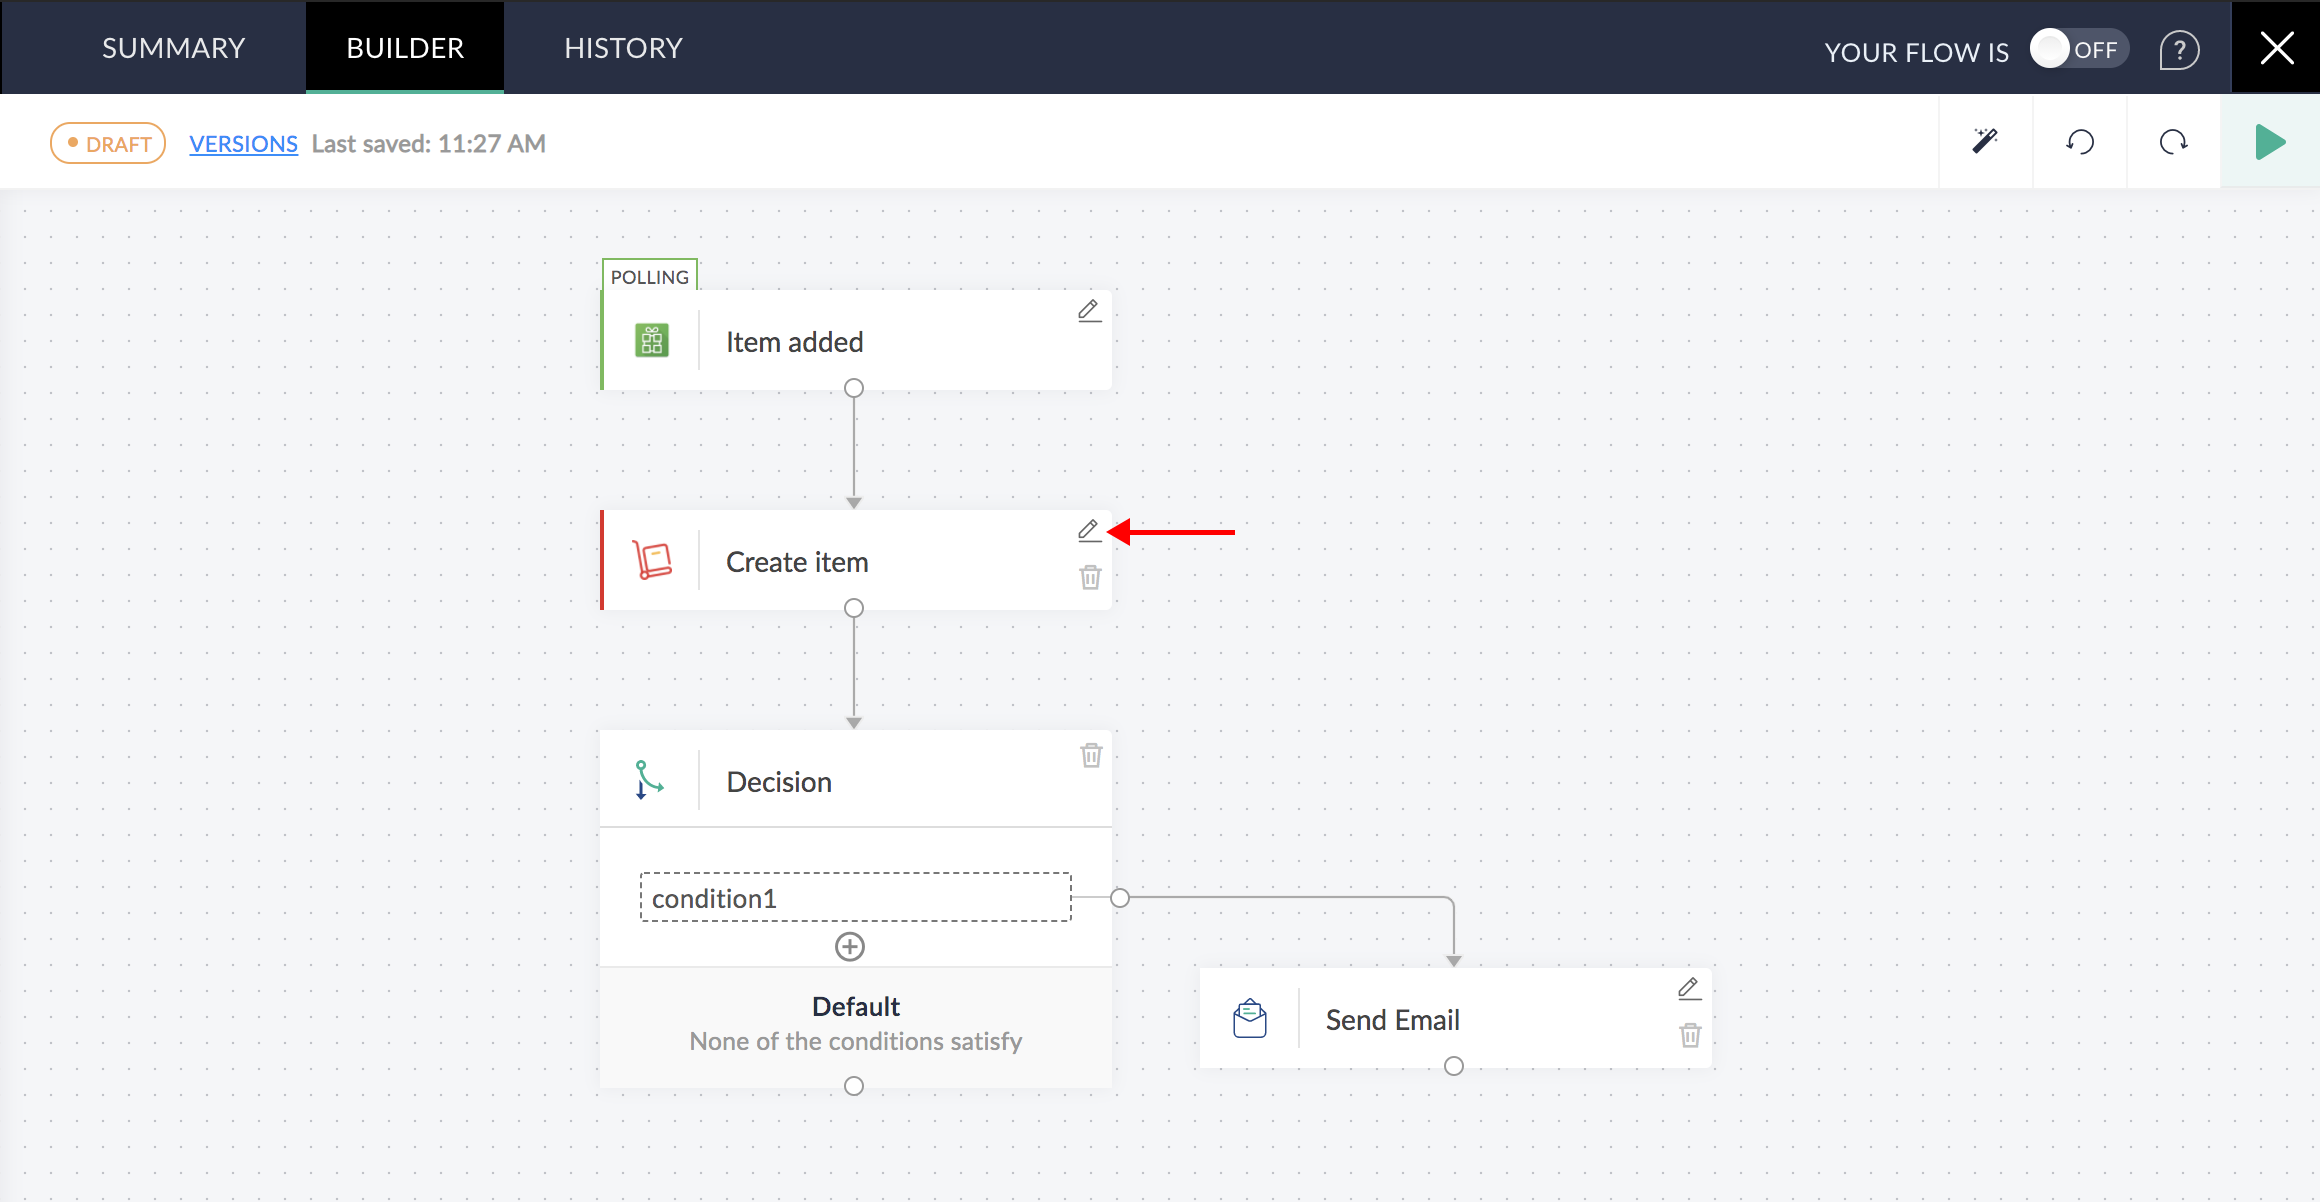
Note: The new connection will utilize the latest OAuth V2 authentication scheme. Keep your previous Zoho Inventory connections undisturbed until you've ensured that all your reconfigured triggers and actions that use them are working fine. - In the copied flows, reconfigure the Zoho Inventory trigger and actions by clicking the Edit button. Use the newly created connection while reconfiguring.
- Even though most of the data mappings will be unaffected, we strongly recommend that you remove the existing mapping and insert variables to the desired fields again.
Note: Because you are working on a copy of your flow, you can always refer to the original setup to verify if you have mapped the fields correctly. - Switch on the new flows.
Major changes from the previous version
Authentication
The authentication scheme has changed from API based to OAuth V2.Separate actions for Customer and Vendor
Create contact, Fetch contact, and Update contact is now separated into Create customer, Fetch customer, Update customer, Create vendor, Fetch vendor, and Update vendor.Add address action
You can now add new shipping and billing addresses separately for contacts.Send actions added
Send invoice, Send credit note, Send sales order, and Send purchase order actions added.Status change actions added
Mark shipment as delivered action added.Using custom values in Fetch actions
Fetch actions now allow you to search for records using unique custom fields associated with records.
Let's take an example of fetching an invoice using the value of one of its custom fields.
- In the Fetch invoice action, select Use a custom value in the Search by dropdown menu.

- Custom value for Search by is the key that is required to identify which custom field you are referring to. Enter the value in the field provided.
- Suppose you want to search for an invoice using the value of Custom field 2. First, log in to Zoho Inventory. Navigate to Preferences > Invoices > Field customization > Select field. Copy the value of API Field Name and paste here.

- Now, you can either map a value from the trigger or enter a value yourself in the Search value field to search for an invoice associated with the provided value in the specified custom field.