Zoho Sheet
What is Zoho Sheet?
Zoho Sheet is an online spreadsheet application that lets you create, share, collaborate, and publish spreadsheets from anywhere. You can control access to your sheets, change language preferences, and add visuals to better represent your data.
How to connect your Zoho Sheet account to Zoho Flow
- Select the required trigger or action. If you select a trigger, then click Next.
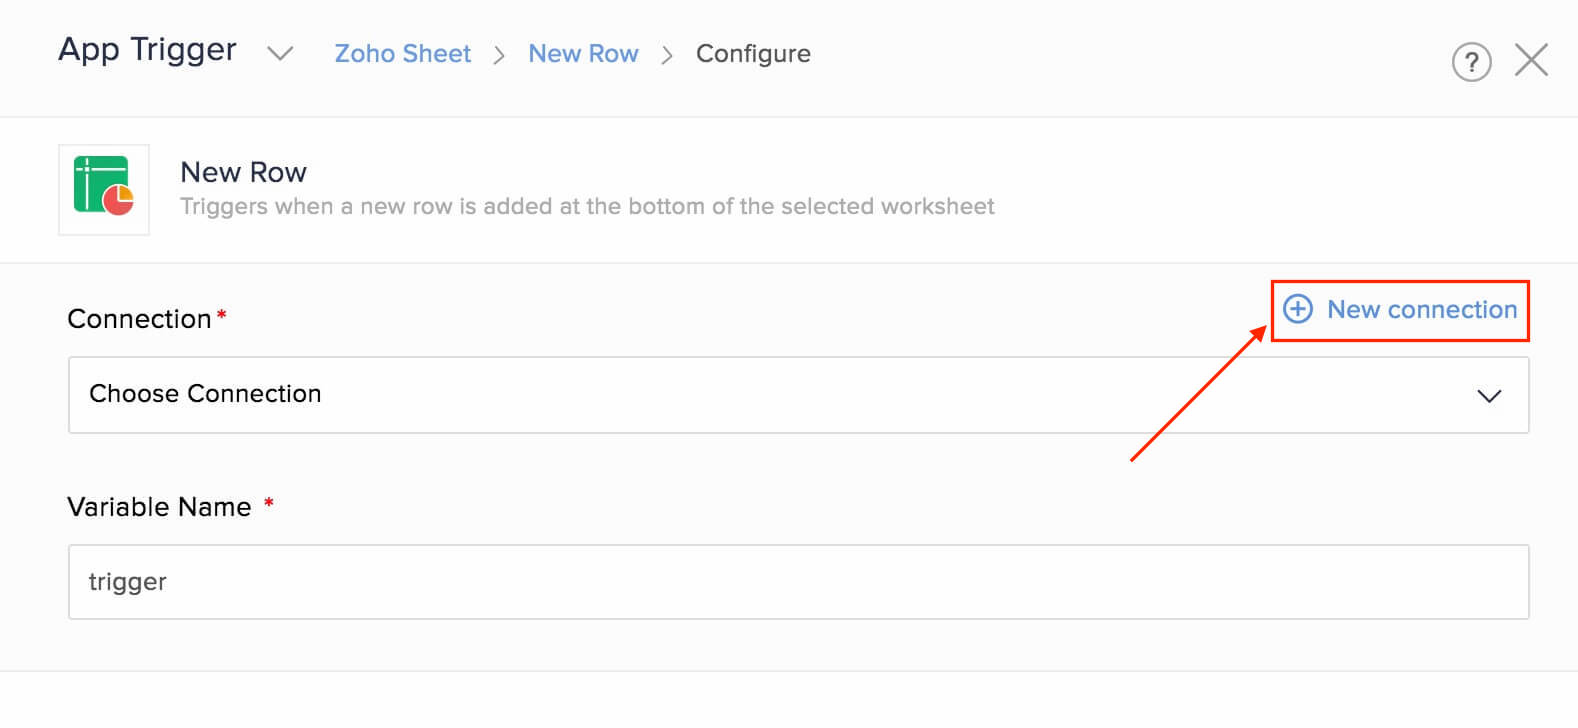
- If there are no existing Zoho Sheet connections in your account, click Connect. Otherwise, click New connection.
Alternatively, you can create a new connection by navigating to Settings, then Connections. Click Create connection and choose Zoho Sheet. - Enter a connection name, then click Authorize.
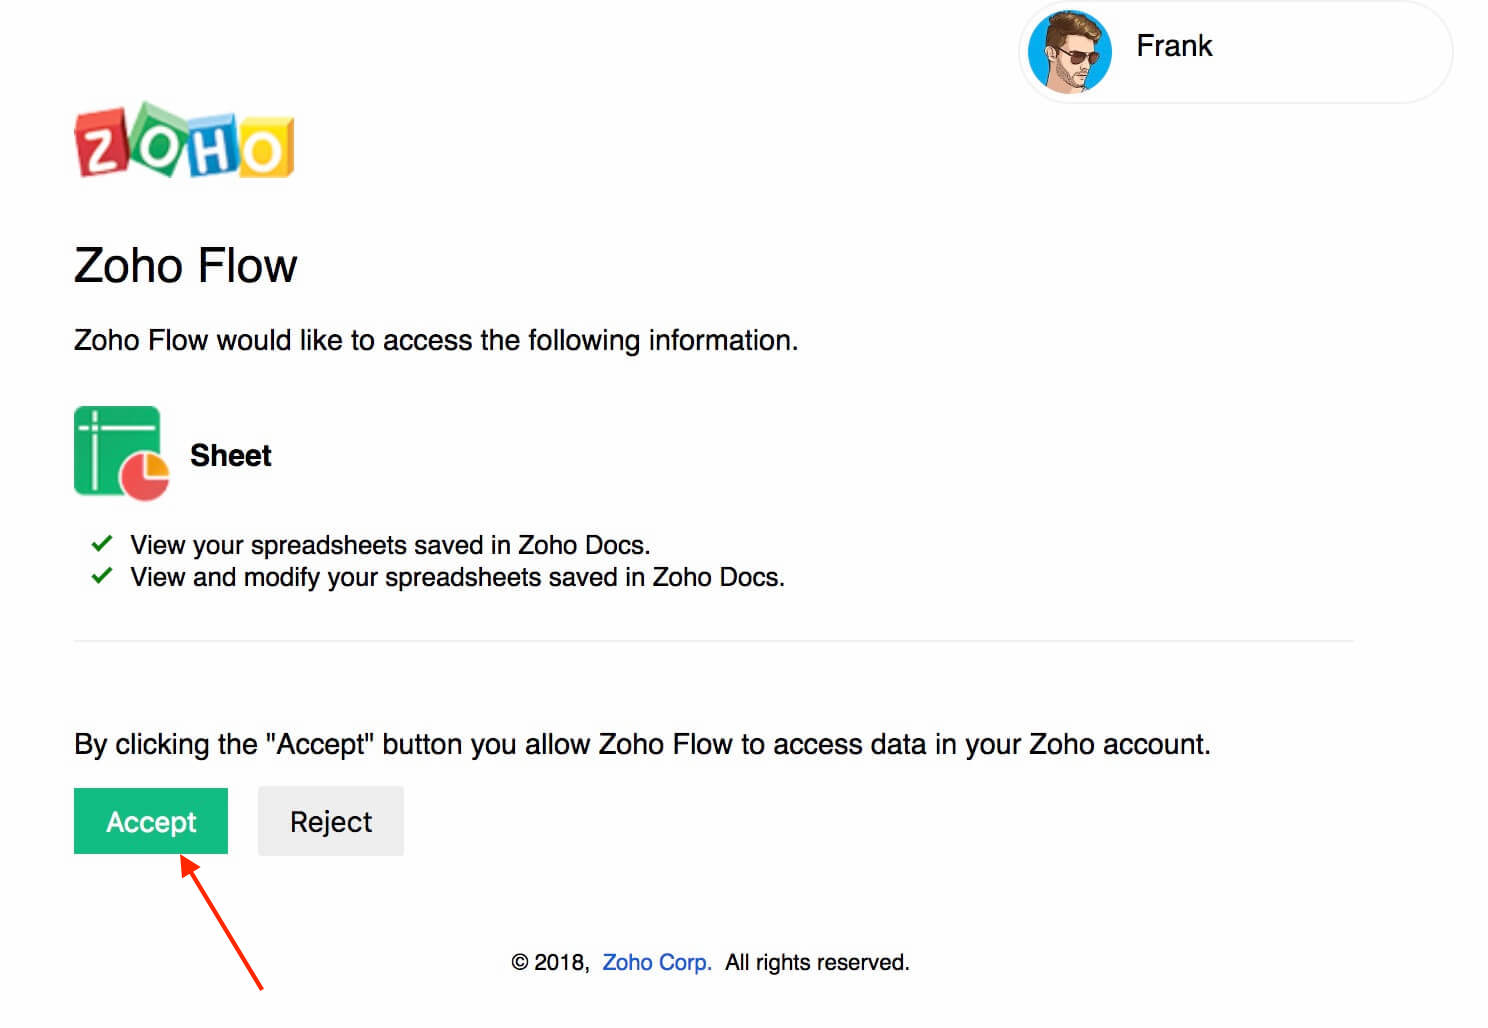
- Click Accept to allow Zoho Flow to access your account.
API documentation
Triggers and actions available in Zoho Flow
Triggers
New or updated row
With this trigger, you can notify yourself in chat and keep data updated in your CRM or accounting applications.
New row
This trigger lets you add CRM contacts, create support tickets, or add product details to your inventory when a new row is added.
New spreadsheet
Use this trigger to create projects, events, or launch campaigns based on a new spreadsheet.
New worksheet
When a new worksheet is created, use this trigger to create to-do lists, tasks, or notes.
Actions
Create row
Create rows based on email subjects that match a certain condition, starred messages in your team chat, or bookmarked articles.
Create spreadsheet
This action allows you to create new spreadsheets every time a new employee is added, a deal is finalized, or a task is added to your to-do list.
Create worksheet
Use this action to create worksheets when you send out a survey or based on a schedule (e.g. Every month).
Delete row
Deletes a row in your sheet based on form entries or emails.
Fetch row
Fetches all data in the specified row. You can use this data in the following actions of your flow.
Update row
Updates the details of a row when data is updated in database records, form entries, or your contact management application.
Working with the Create row action
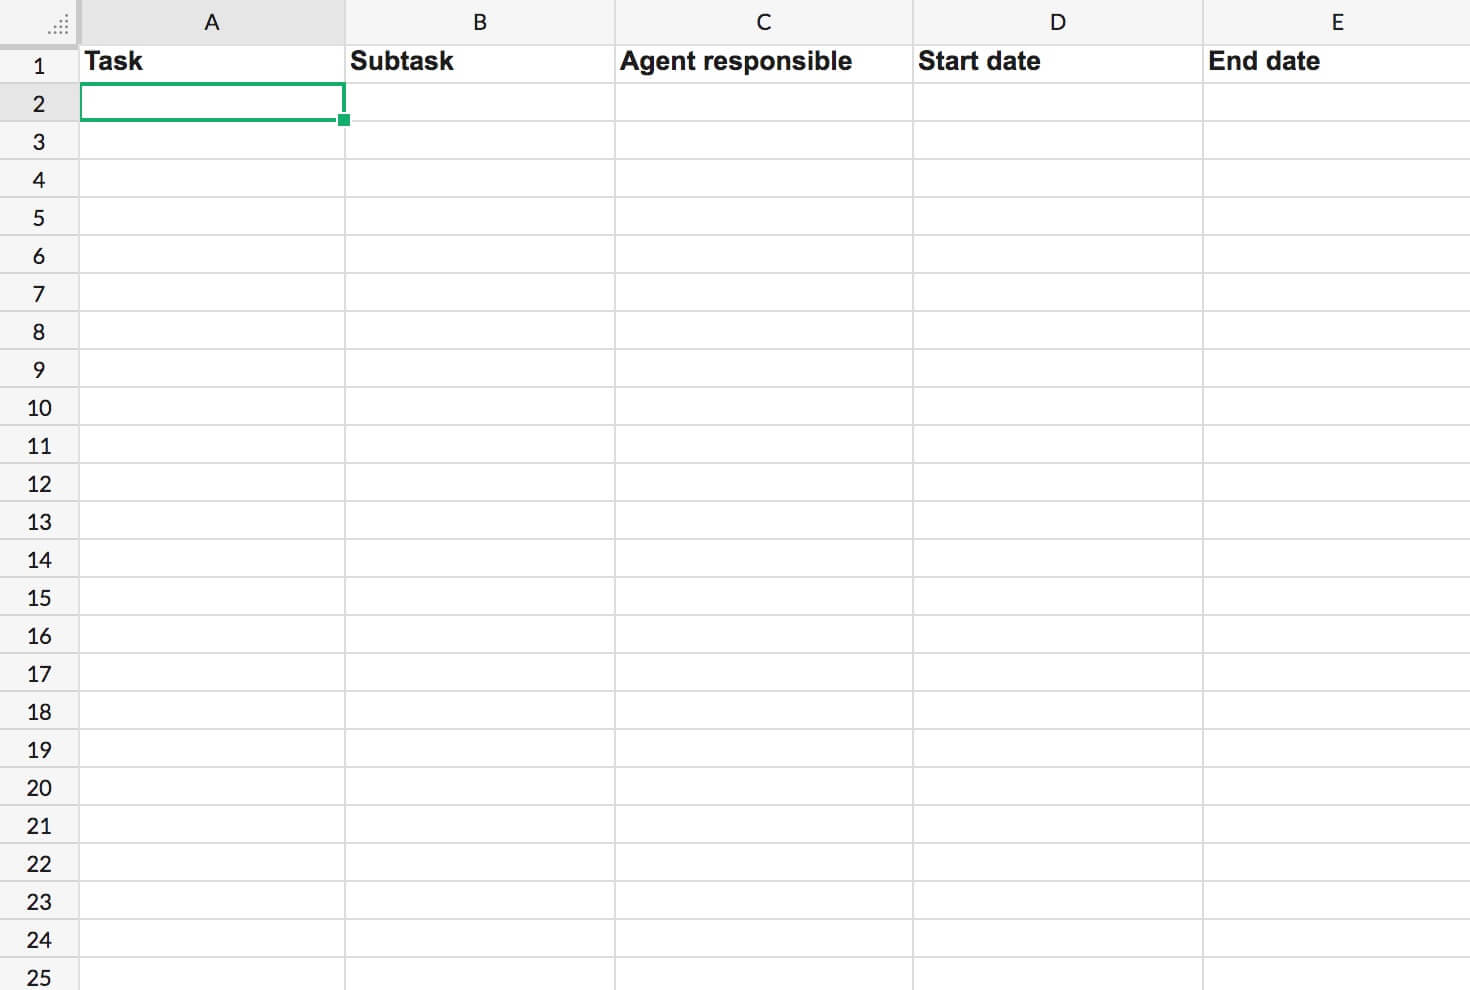
Make sure that the columns in your worksheet are properly labeled before configuring the Create row action in Zoho Flow.
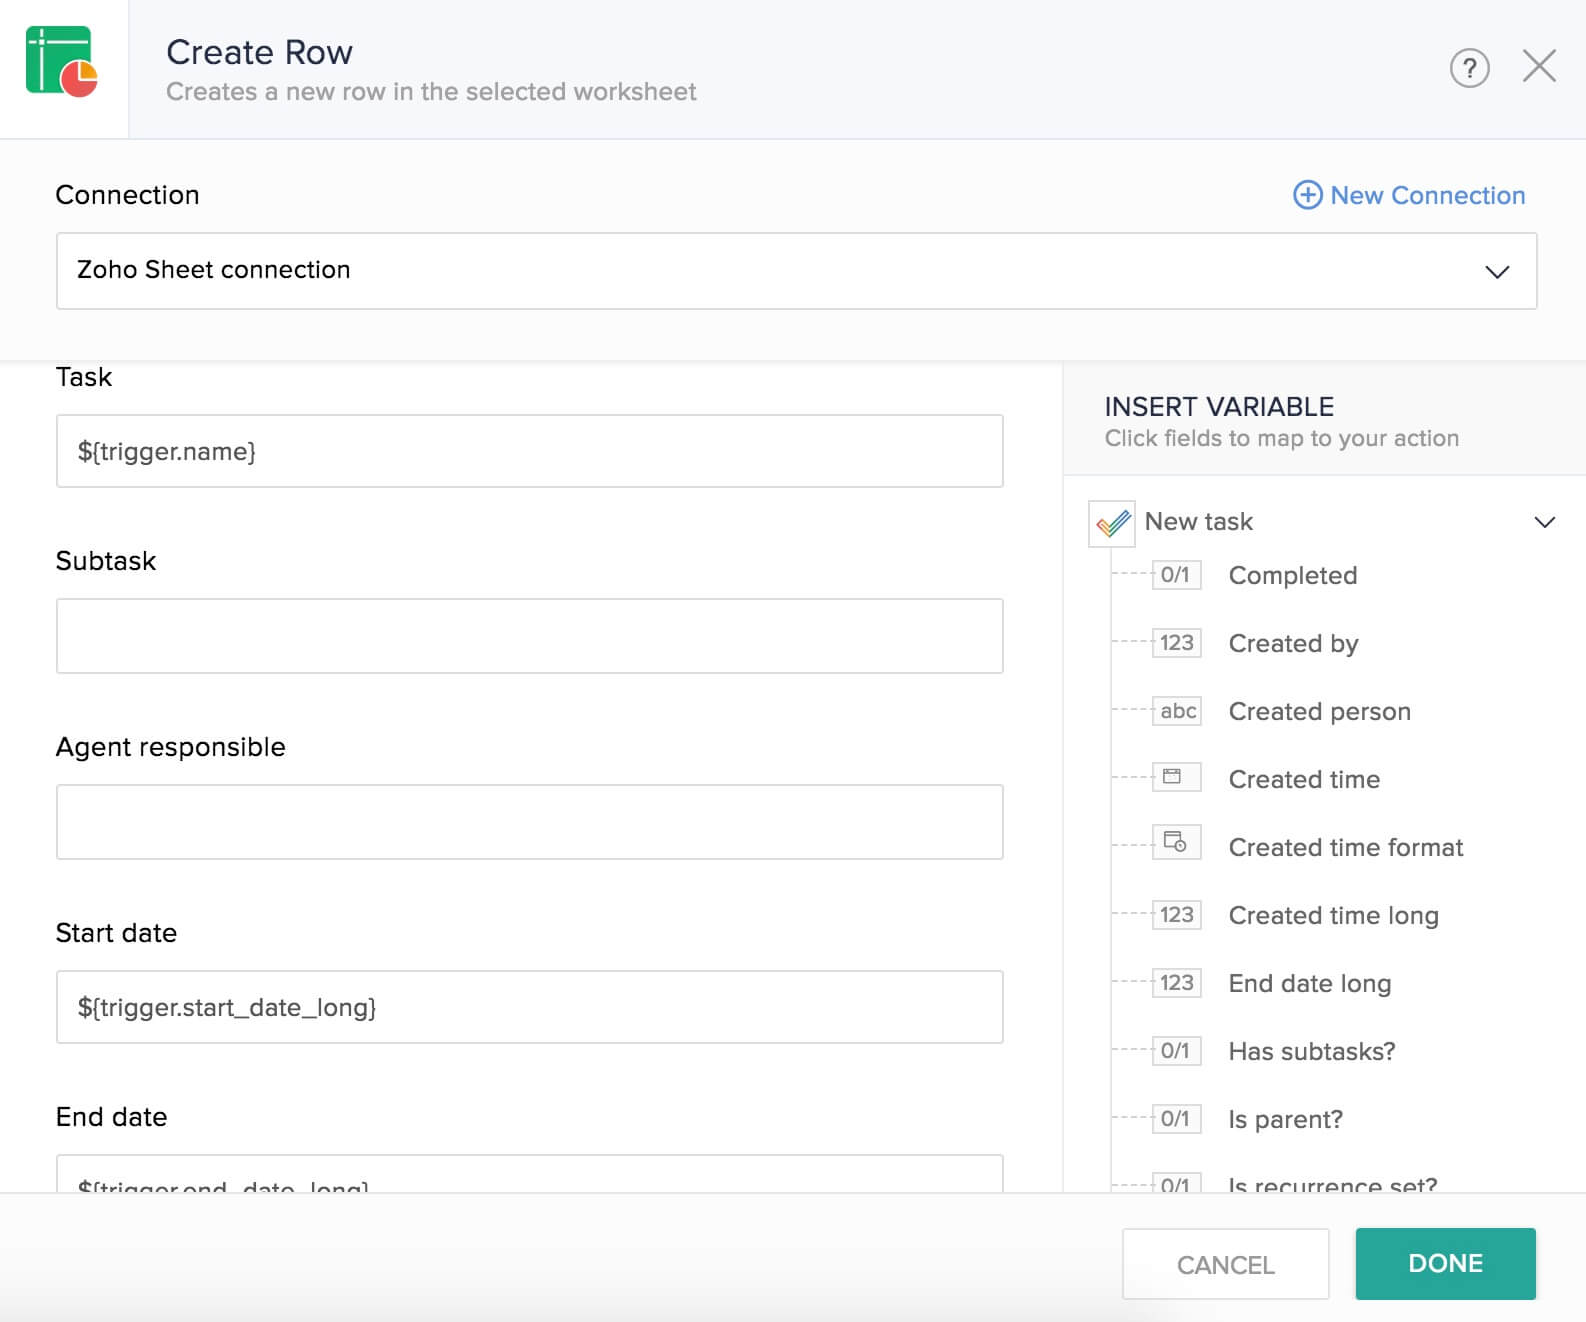
When you set up this action, Flow will fetch the names of your columns as configuration fields. You can map the respective values from the previous step, or enter a static value. Every time the flow executes, these values will be used to create a new row in Zoho Sheet.
What is row index?
In triggers
The New or updated row and New row triggers have row index as an input field.
By default, the first row in the worksheet that contains data is considered to have the column headings. If you have merged cells or subheadings, and want the flow to monitor data only from a certain row, enter a value in the row index field. Let's look at an example to understand this better.

Here, actual data is entered only from row 11. Enter '11' in the Row index field while configuring the trigger. Your flow will now monitor data starting from row 11, and not trigger for changes in the rows above.
In action
The Update row action has row index as an input field. This specifies the particular row that has to be updated. For example, if you enter the value as 5, data in the fifth row will be updated.