Settings
The Settings section contains 6 sub-sections:
Organization Profile
Under the organization profile you can view and edit various details such as the organization name, time zone, and date format.
Note that the organization name can be edited by the owner or admins only.
The time zone of your organization is taken into consideration when you configure a schedule trigger or include a delay in your flows. The flow will execute based on your organization's time zone.
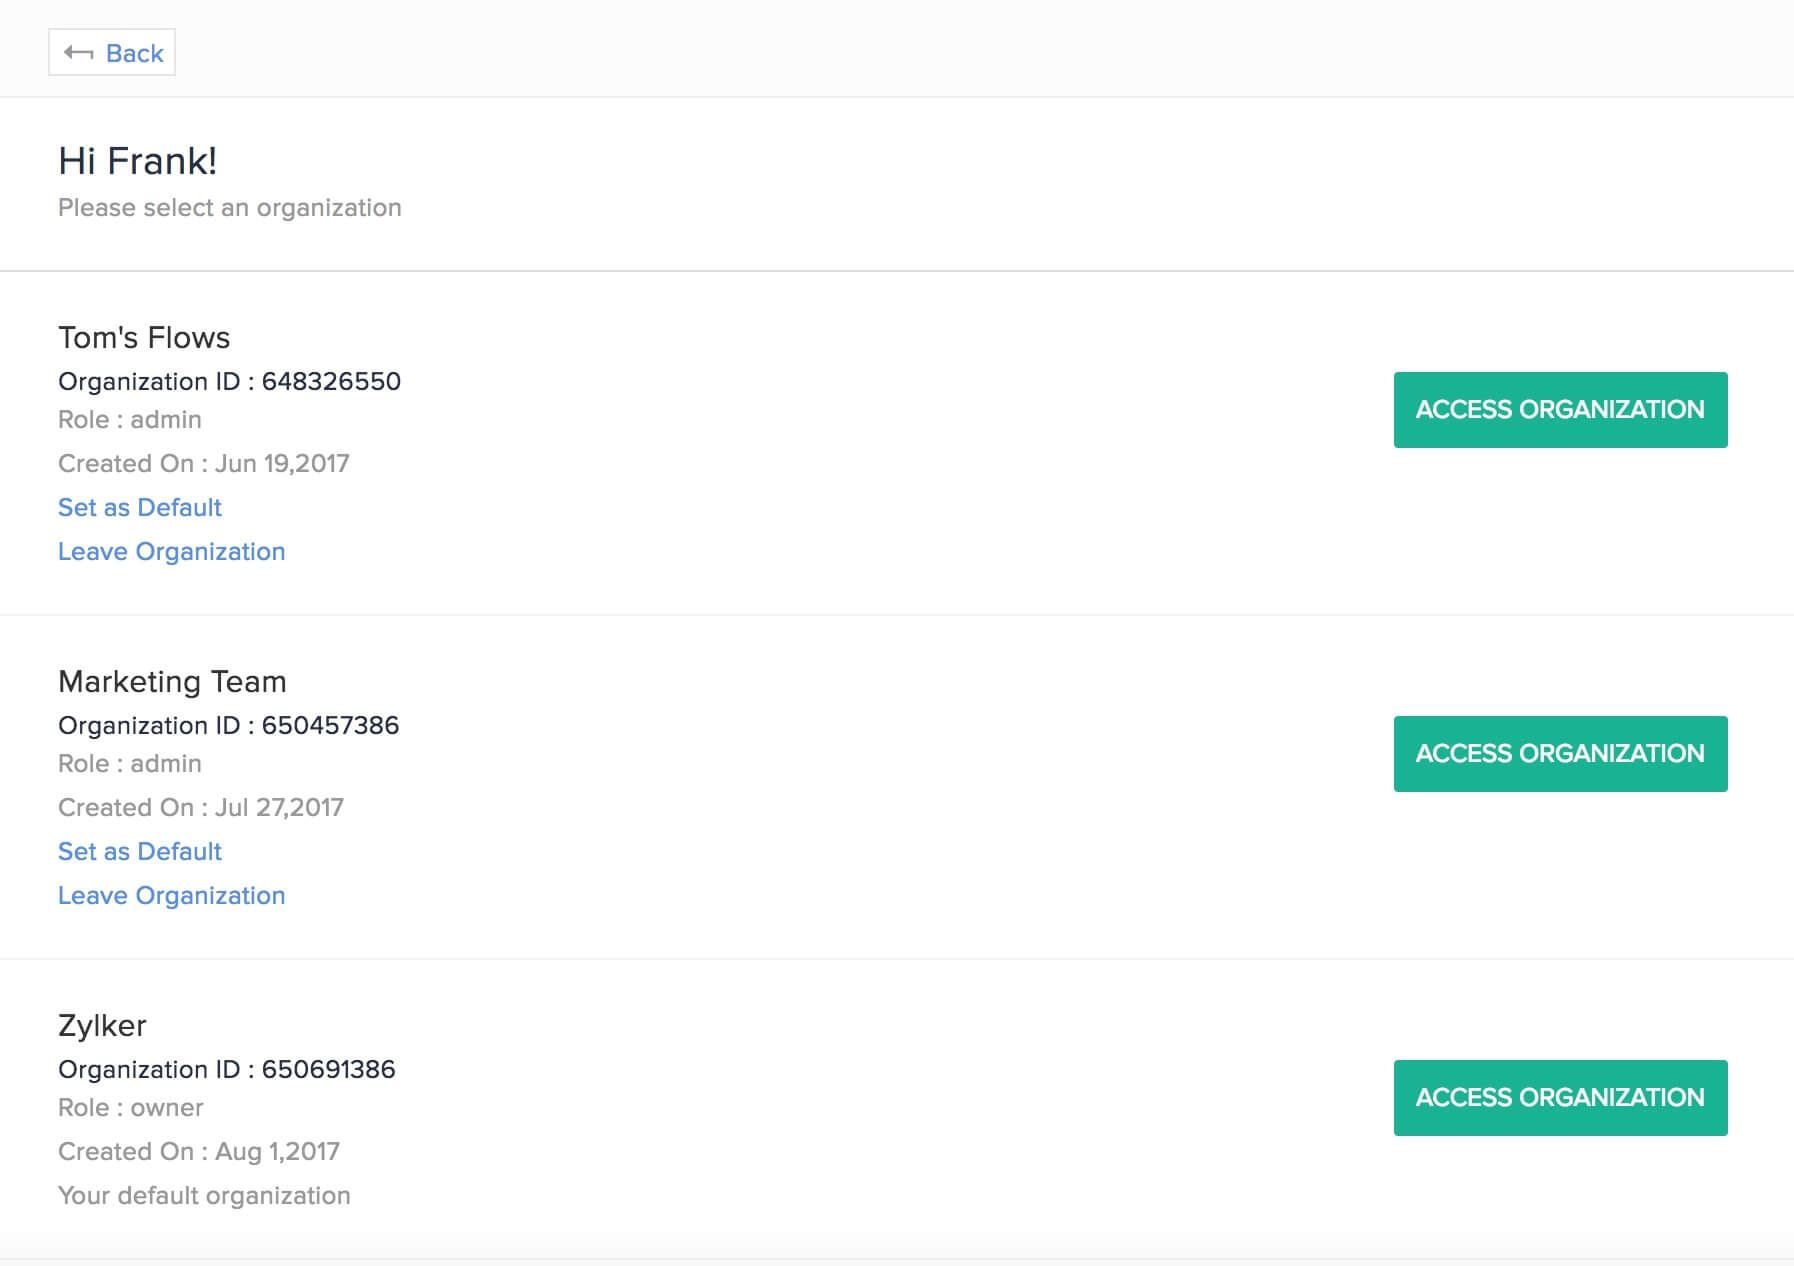
If you are part of multiple organizations, you can switch to another organization by clicking the organization name on the top bar.
Alternatively, click your profile picture in the top right corner. In My Organizations, click Manage. Here, you can view more details such as all the organizations that you are part of, your role, organization ID, and created date. You can:
Access Organization
Set as Default
Leave Organization
Delete Organization
History
View the history of all flow executions in your organization here. Click a particular execution to see all the steps of the flow and their input and output details.
The filters on the right allow you to view a customized list of executions sorted by flows, status, and date.
Understanding execution statuses
Connections
A connection is an app account that Zoho Flow has permission to exchange data with. For example, you can connect your Trello account or your team's Gmail account to Zoho Flow.
Create a connection
To create an app connection:
- Go to Settings > Connections.
- Click Create Connection.
- In the configuration window that appears, choose an app and click Next.
- Enter the connection name. This is the name of your app account on Zoho Flow. E.g.: HubSpot team account, My Trello account
- You can edit your connection name any time by clicking the edit icon.
- Enter any other details required to create a connection. This varies by app as different apps have different authentication requirements.
- For some apps, you may be able to choose whether the connection can be used for all triggers and actions or only for a selected few.
- Click Authorize.
 Note: You can create multiple connections for the same app. For example, you can connect your personal and professional Gmail accounts to Zoho Flow.
Share or unshare connection
Your app connection is private by default. Sharing a connection makes it available to all members of your organization. They can access, create, and update data by using the connection in flows.
Click Share to share the connection with your organization members.
Unsharing a connection denies all other users access and makes it private again. Flows using the connection will continue to access, create, and update data using the connection.
Click Unshare to make the connection private.
Test connection
An invalid connection causes your flow to fail. Click Test to check whether your connection is working correctly. If you do not see a success message, try reconnecting or creating a new connection.
Reconnect connection
Reconnect if your connection has an issue or if you want to change the triggers and actions that can use this flow (for selected apps only).
Click Reconnect, make the necessary changes, and click Authorize.
Delete connection
Deleting a connection removes it permanently. If you delete a connection, flows using it will fail. Actions previously executed by the flow with the connection won't be affected.
Click the delete icon for the connection you want to remove from your organization.
Transfer ownership of connections
- When a member leaves your team or organization, and you need to stop using their credentials to maintain the connections used in your flows.
- When a member no longer uses an app, and another member wants to use the app account using their own credentials.
- When the app's licensing changes and access shifts to a different user.
- Navigate to Settings > Connections.
- Select the connections you want to transfer using the selection check box, then click Transfer Ownership.
- In the dialog box that follows, select the member you want to transfer the connection to and click Transfer.

Note:
- The selected connections will be listed under PENDING OWNERSHIP TRANSFER until the recipient accepts them.
- If the recipient leaves the organization before accepting the transfer, the original owner can share the connection with another member or to themselves.
Claiming ownership of a connection
- Navigate to Settings > Connections. At the top of the list, you'll find the connections that members transferred to you under PENDING OWNERSHIP TRANSFER. Click Reconfigure next to the connection you want to claim — only the recipient sees this option on their own connections page.
- In the window that opens, sign in to your account for the app and authorize the connection. Click Authorize.
After you reconfigure the connection, review every flow that uses it. Pay attention to:
Field mappings that reference account-specific values (e.g., project IDs, workspace selectors, channel names)
Trigger conditions that may filter on user-specific fields
Any custom function logic that depends on the previous owner's account

Only a connection owner/organization owner/admin can transfer or delete a connection.
Removing or deactivating a member from an organization without transferring their connections will disable any live flows using those connections, invalidate them, and delete any unused connections.
You can only transfer up to 30 connections at a time.
There are three types of organization members in Zoho Flow: owners, admins, and users. You can create an organization and belong to multiple organizations.
Roles and Permissions
Owners
By default, the person who creates an organization is the owner. As the owner, you can:
- Modify the organization name
- Add or remove members
- Change roles of members
- Create, edit, and delete flows
- Create, test, delete, and reconnect app connections
- View audit trail
Admins
As an admin, you can:
- Modify the organization name
- Add or remove members
- Change roles of members
- Create, edit, and delete flows
- Create, test, delete, and reconnect app connections
- View audit trail
Users
As a user you can:
- Create, edit, and delete flows
- Create, test, delete, and reconnect app connections
Managing Members
The owner or admin can manage the members of the organization.
Add member
To add a member to your Zoho Flow organization:
- Go to Settings > Members
- Click Add Member in the top right.
- Enter the name, email address, and role of the new member and click Send to invite them.
- You will be notified by email when the member accepts your invitation.
- To change the role of a member, click on the current role. Choose the new role from the dropdown.
- View the list of confirmed or pending members by choosing one of these options from the dropdown.
Deactivate or activate member
Deactivating a member restricts them from accessing your Zoho Flow organization.
Select the checkbox for the required user and click Deactivate. To activate the member again, select the checkbox for the user and click Activate.
Remove member
Removing a member denies them access to your organization until they are invited again. This feature is particularly useful when you want to invite a client or an employee from another team to work in your Zoho Flow organization for a limited period of time.
To remove a member or an invitee, select the checkbox for the user and click Delete.
Audit Trail
The audit trail is an organization-wide log of activities. Use it to track what is happening in your Flow organization. To view activities for a specific period only, use the filter option on the right.
Note: This subsection will only be visible to the owner and admins of the organization.
Support Access
Enabling support access allows the Zoho Flow team to use your connections to edit and debug your flows.
Click the checkbox next to Allow support access to grant the Zoho Flow team access to the connections in your organization.
Custom notifications
Custom notifications help you stay informed about important flow events and take action quickly when needed.
For example, by default, email notifications are sent when a flow fails 3 and 10 consecutive times, and the flow is automatically switched off after 20 consecutive failures. These notifications are sent to the flow owner, with the org owner and admins in cc.
With custom notifications, you can control:
Who receives notifications (To and CC)
When notifications are sent (for events like flow failure, flow switched off, or flow deletion)
Whether notifications are enabled or disabled
Key benefits
With custom notifications, you can
Quickly identify and resolve failed flows
Keep relevant stakeholders informed
Avoid workflow disruptions due to unnoticed failures
Access and configuration
- Navigate to Settings → Notificationsto view and manage notification settings.
- Org owner and admins can:
Configure notifications at the organization level
Apply settings across all flows
Users can:
Customize notifications only for flows they own
Set flow-level preferences specific to individual flows
Customize notifications
Click Customize next to a notification type to manage who gets notified and for which flows. Use this option to configure alerts for events like flow failure, flow switched off, or flow deletion.
1. Set recipients
Under Notify, the flow owner is selected by default.
Under Also notify (CC), org owner and admins are added by default.
You can add more users as needed by selecting them under Also notify.
2. Configure for flows
Scroll to Flow-specific notification settings to manage notifications for individual flows.
Use the toggle to enable or disable notifications for each flow.
Note: Notifications are enabled by default for all flows.
3. Save changes
Once you have customized the notifications, click Update to save your changes.
Note:
Flow-level settings can override organization-wide notification settings for specific flows.
Org owners and admins can view and configure all flows in the organization.
Other users can view and manage only their own flows.