Double Opt-In
Overview
How Double Opt-In works
- Respondent submits a form.
- Respondent is redirected to a Thank You page.
- Respondent receives an Opt-In email (with a link to Opt-In confirmation page).
- Respondent is redirected to Opt-In confirmation page.
-
Respondent can Opt-In or Opt-Out.

- Once a customer clicks Opt-Out from an email address, no record can be submitted with that email address. An error message will be thrown when attempting to submit a form with opted-out email address.
- If a respondent accidentally opts out but still wants to submit a form with the opted-out email address, then the record associated with that email address has to be deleted from Opted-Out Entries. This allows them to submit a form again.
Configuring Double Opt-In
-
Navigate to the Settings tab > Spam Control.
-
Click Double Opt-In and click Configure Now.
In the configuration page, you can choose where your respondents should be redirected to on submitting an entry under Thank You Page Settings and customize the default Opt-In Email and Opt-In Confirmation Page.
Thank You Page Settings
When you choose to configure Double Opt-In for your form, you can choose where your respondents should land when they submit a form entry under Thank You Page Settings. You can choose to redirect them to a message, or a website or load the same form.You can also display a Splash Message for a few seconds while the respondents are redirected after form entry.Rich Text:If you wish to display a Thank You message to acknowledge your respondents and provide them with the information to proceed further after they submit an entry, select the Rich Text option.You can change the font style of the text message from the Font Family dropdown. Note: If you wish to choose any web font other than the Default Fonts available, click Manage Fonts. Learn more about changing the font style.Redirect To Website:
If you want to take your respondents to a website to provide more information about your product or service after they submit an entry, select the Redirect to Website option. Enter the URL of the website and choose if you want the URL to open in the Same Window, a New Window, or the Parent Window.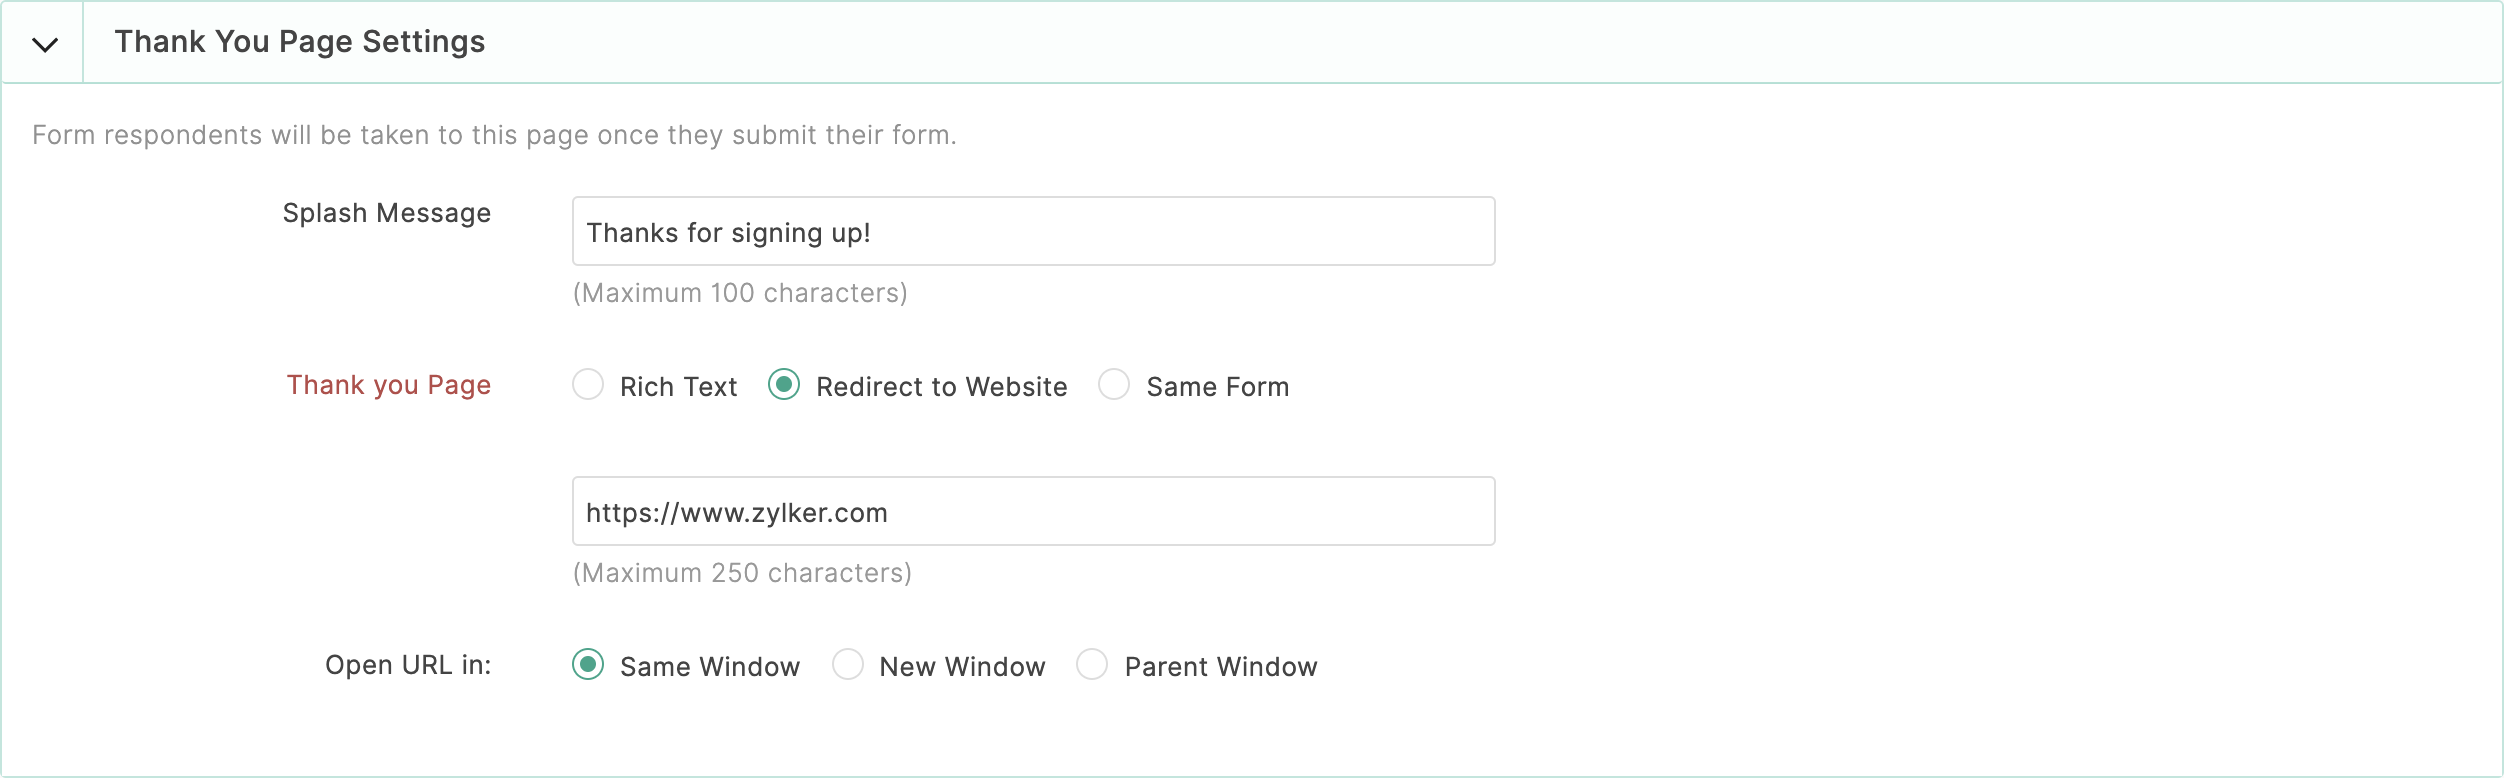 Same Form: If you want the same form to load after each form entry to collect multiple entries from a respondent, select the Same Form option.
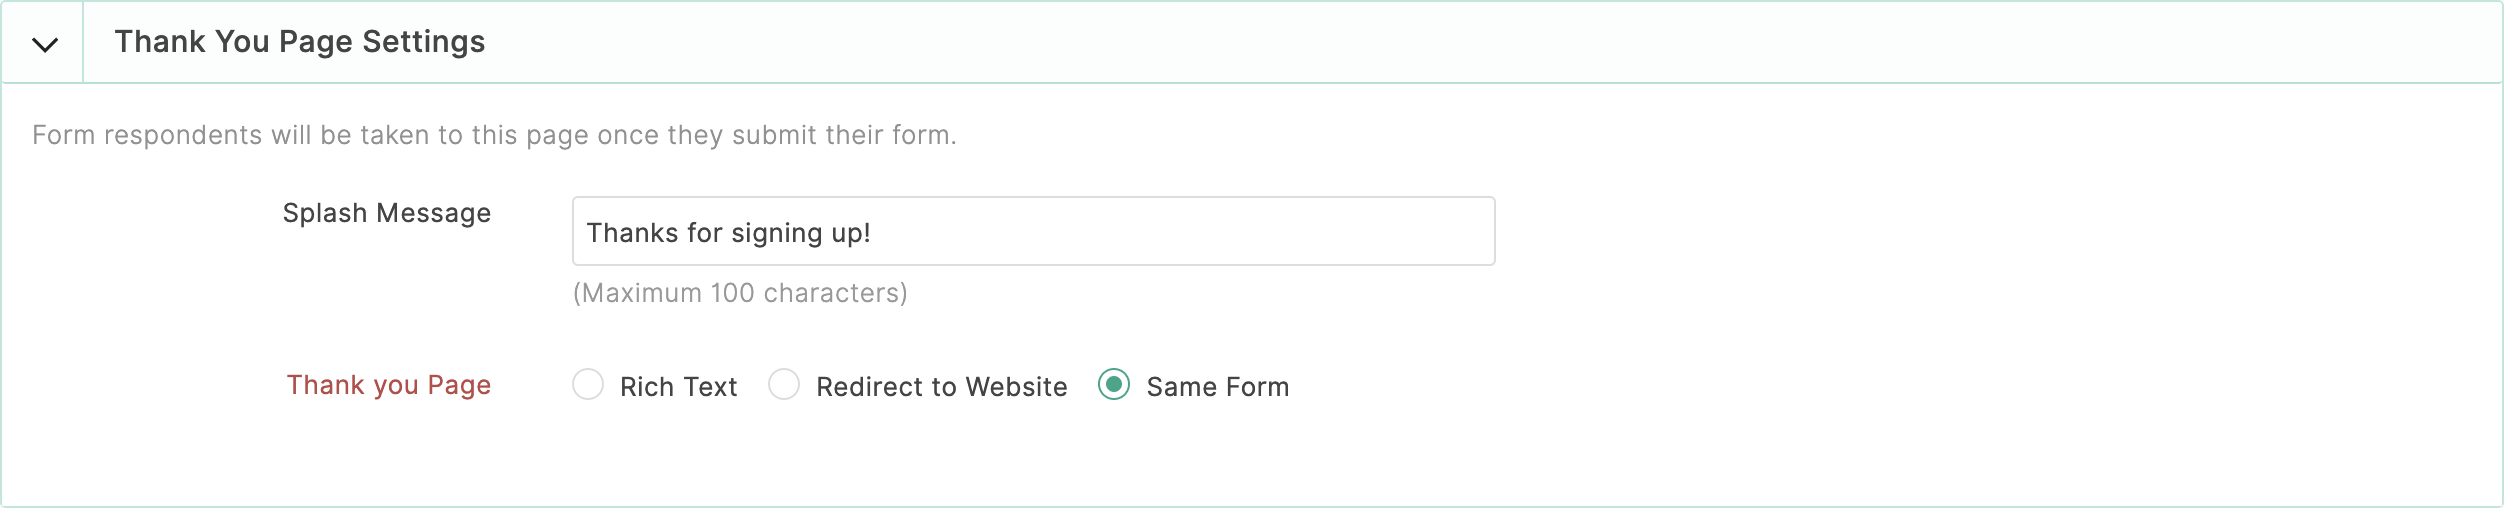 Opt-In email
When you choose to configure Double Opt-In for your form, a link to the Opt-In confirmation page will be sent to the respondents via an Opt-In email after they submit an entry.
To configure the Opt-In email template,-
Select the email address in the From section from which the respondent will receive the email. You can use the From address of your org users or any Zoho Group that you are the admin/ moderator of by clicking the Add Sender Email option in the dropdown. You can also add a From Name to this email.
-
In the To address, select the required email field added in your form. An email will be triggered to the email address entered by the respondent in this email field.
You can change the default Subject and Message as per your preference and merge values from form responses by clicking theicon and selecting the required form fields. You can change the font style of the Message's text from the Font Family dropdown.
-
Choose if the link to the Opt-In confirmation page should appear as a Button or URL in the email. If you choose Button, you can change the default button label and give a label of your choice. You can also format the style of the button and preview it.
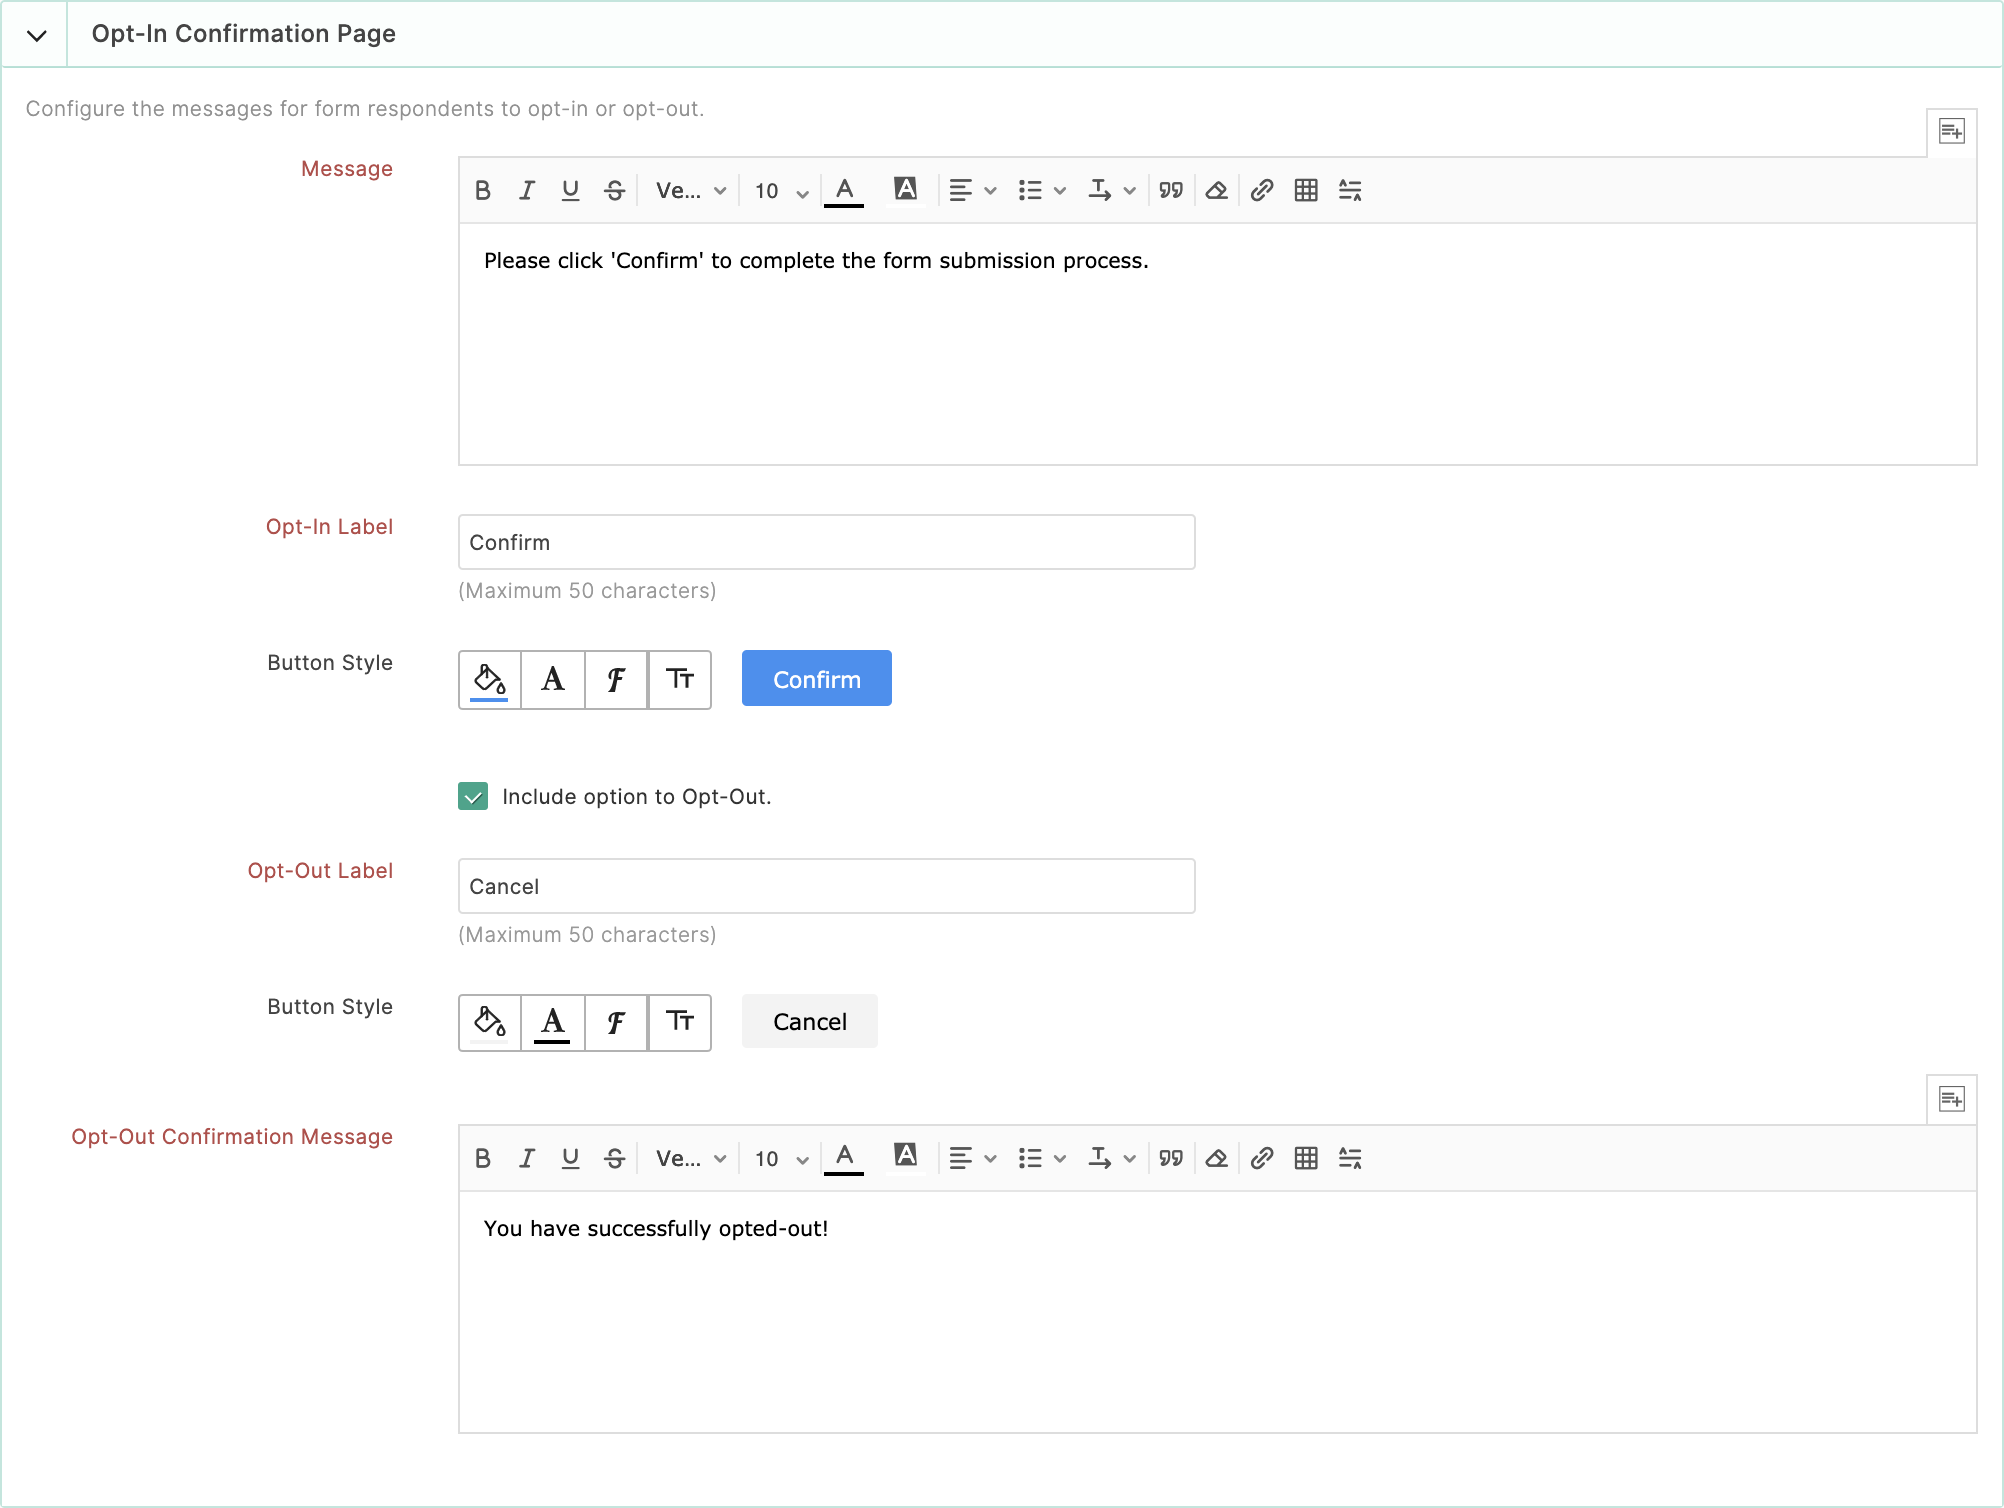
Opt-In Confirmation Page
When you choose to configure Double Opt-In for your form, the respondents will be taken to a confirmation page to confirm their form entry once they click the button or the URL provided in the Opt-In email sent to them.
You can customize the following in the opt-in confirmation page as per your requirement:
You can change the default Opt-In confirmation Message and format the text.
You can change the font style of the text from the Font Family dropdown.
Note: If you wish to choose any web font other than the Default Fonts available, click Manage Fonts. Learn more about changing the font style.-
You can also include links to Website URLs, and email addresses, insert tables and merge values from the form responses by clicking
icon to personalize the message.
You can change the default Opt-In Label to be displayed on the confirmation page. You can also customize the button and preview it.

If you wish to give your respondents the option to cancel their form entry, select Include option to Opt-Out. You can change the default Opt-Out Label and Opt-Out Confirmation Message as required.
You can change the font style of the text from the Font Family dropdown.Note: If you wish to choose any web font other than the Default Fonts available, click Manage Fonts. Learn more about changing the font style.-
You can also customize the button and preview it.
-
Once you have configured the Double Opt-In settings for your form, click Save.
To view the list of the respondents who are yet to complete Double Opt-In, navigate to All Entries section of your form and use the filter option on the top-left corner of the page to filter by Pending Entries. To view the list of respondents who have opted-out, filter by Opted-Out Entries.
