Zoho Desk Integration
Overview
Integration Setup
-
Navigate to the Integrations tab and click Zoho Desk under Services & Analytics from the left menu.
-
Click Integrate.
-
Select a Zoho Desk Portal to integrate your form with. The form entries will be pushed to the Tickets Module in the selected portal by default.
-
Select the Department and Layout.
-
Map the Zoho Desk fields with the corresponding Zoho Forms fields. You can provide custom input for a form field while mapping certain Zoho Desk Fields.
-
To map more fields, click the
icon.
-
You can add a Description to each ticket pushed to Zoho Desk. You can also merge values from your form responses with the Description by clicking the
icon.
To send form attachments to Zoho Desk along with the ticket, select Yes under the Attachment section and choose the required attachments to push.
You can choose to push the Default Template, Custom Template(s), PDFs sent in form submission workflows, and PDFs sent in approval process as attachments to Zoho Desk.If you choose PDFs in form submission workflows, the PDF template sent to the respondent after submitting the form (for example, the PDF downloaded from the Thank You page, or any PDF sent via email notification) will be pushed to Zoho Desk as an attachment.
If you choose PDFs in approval process, the PDF template sent to the respondent along with the Final Approval Email will be pushed to Zoho Desk as an attachment.
Click Integrate to save your settings.
You can configure to receive alert on integration failure.
Supported Field Types
|
S. No
|
Zoho Desk Field
|
Supported Zoho Forms Fields
|
|
1
|
Single Line
|
Single Line, Multi Line, Name, Address, Phone, Email, Website, Unique ID, Dropdown, Radio, Multiple Choice, Checkbox, Matrix Choice, Image Choices, Number, Decimal, Currency, Slider, Rating, Formula, Date, Time, Date-Time, Referrer Name, IP Address, Terms & Conditions, Added Email ID, Submitter's Location, Submitter's Latitude, Submitter's Longitude
|
|
2
|
Multi Line
|
Single Line, Multi Line, Name, Address, Phone, Email, Website, Unique ID, Dropdown, Radio, Multiple Choice, Checkbox, Matrix Choice, Image Choices, Number, Decimal, Currency, Slider, Rating, Formula, Date, Time, Date-Time, Terms & Conditions, Submitter's Location, Submitter's Latitude, Submitter's Longitude
|
|
3
|
Email
|
Email, Added Email ID
|
|
4
|
Phone
|
Single Line, Phone
|
|
5
|
Pick List
|
Single Line, Dropdown, Radio, Matrix Choice, Name - Salutation
|
|
6
|
Multi Select
|
Multiple Choice, Checkbox, Matrix Choice, Image Choices
|
|
7
|
Date
|
Date,
Single Line
|
|
8
|
Date-Time
|
Date-Time, Single Line
|
|
9
|
Decimal
|
Decimal, Number, Formula, Submitter's Latitude, Submitter's Longitude
|
|
10
|
Percent
|
Decimal, Number, Formula, Submitter's Latitude, Submitter's Longitude
|
|
11
|
Currency
|
Currency, Number
|
|
12
|
Integer
|
Number, Slider, Rating
|
|
13
|
Checkbox
|
Decision Box
|
|
14
|
URL
|
Website |
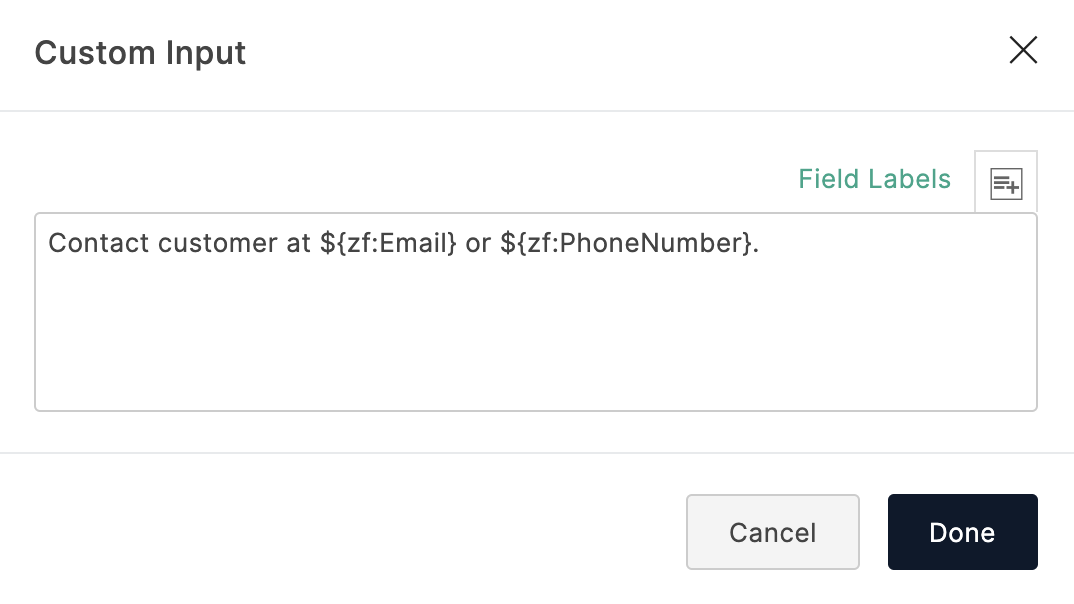
Add Input Manually while mapping fields
You can customize a form field's input value before passing it to Zoho Desk by merging form field tags or entering a value manually.
You can use this custom input option for the following Zoho Desk fields:
-
Text
-
Text Area
-
Picklist
- While mapping the above Zoho Desk fields with form fields, select the Add Input Manually option in the Zoho Forms fields column.
- You can either enter a value manually or click the
icon to merge the form fields in the input box in the popup. The input can also be a combination of both: a manual value and field tags.
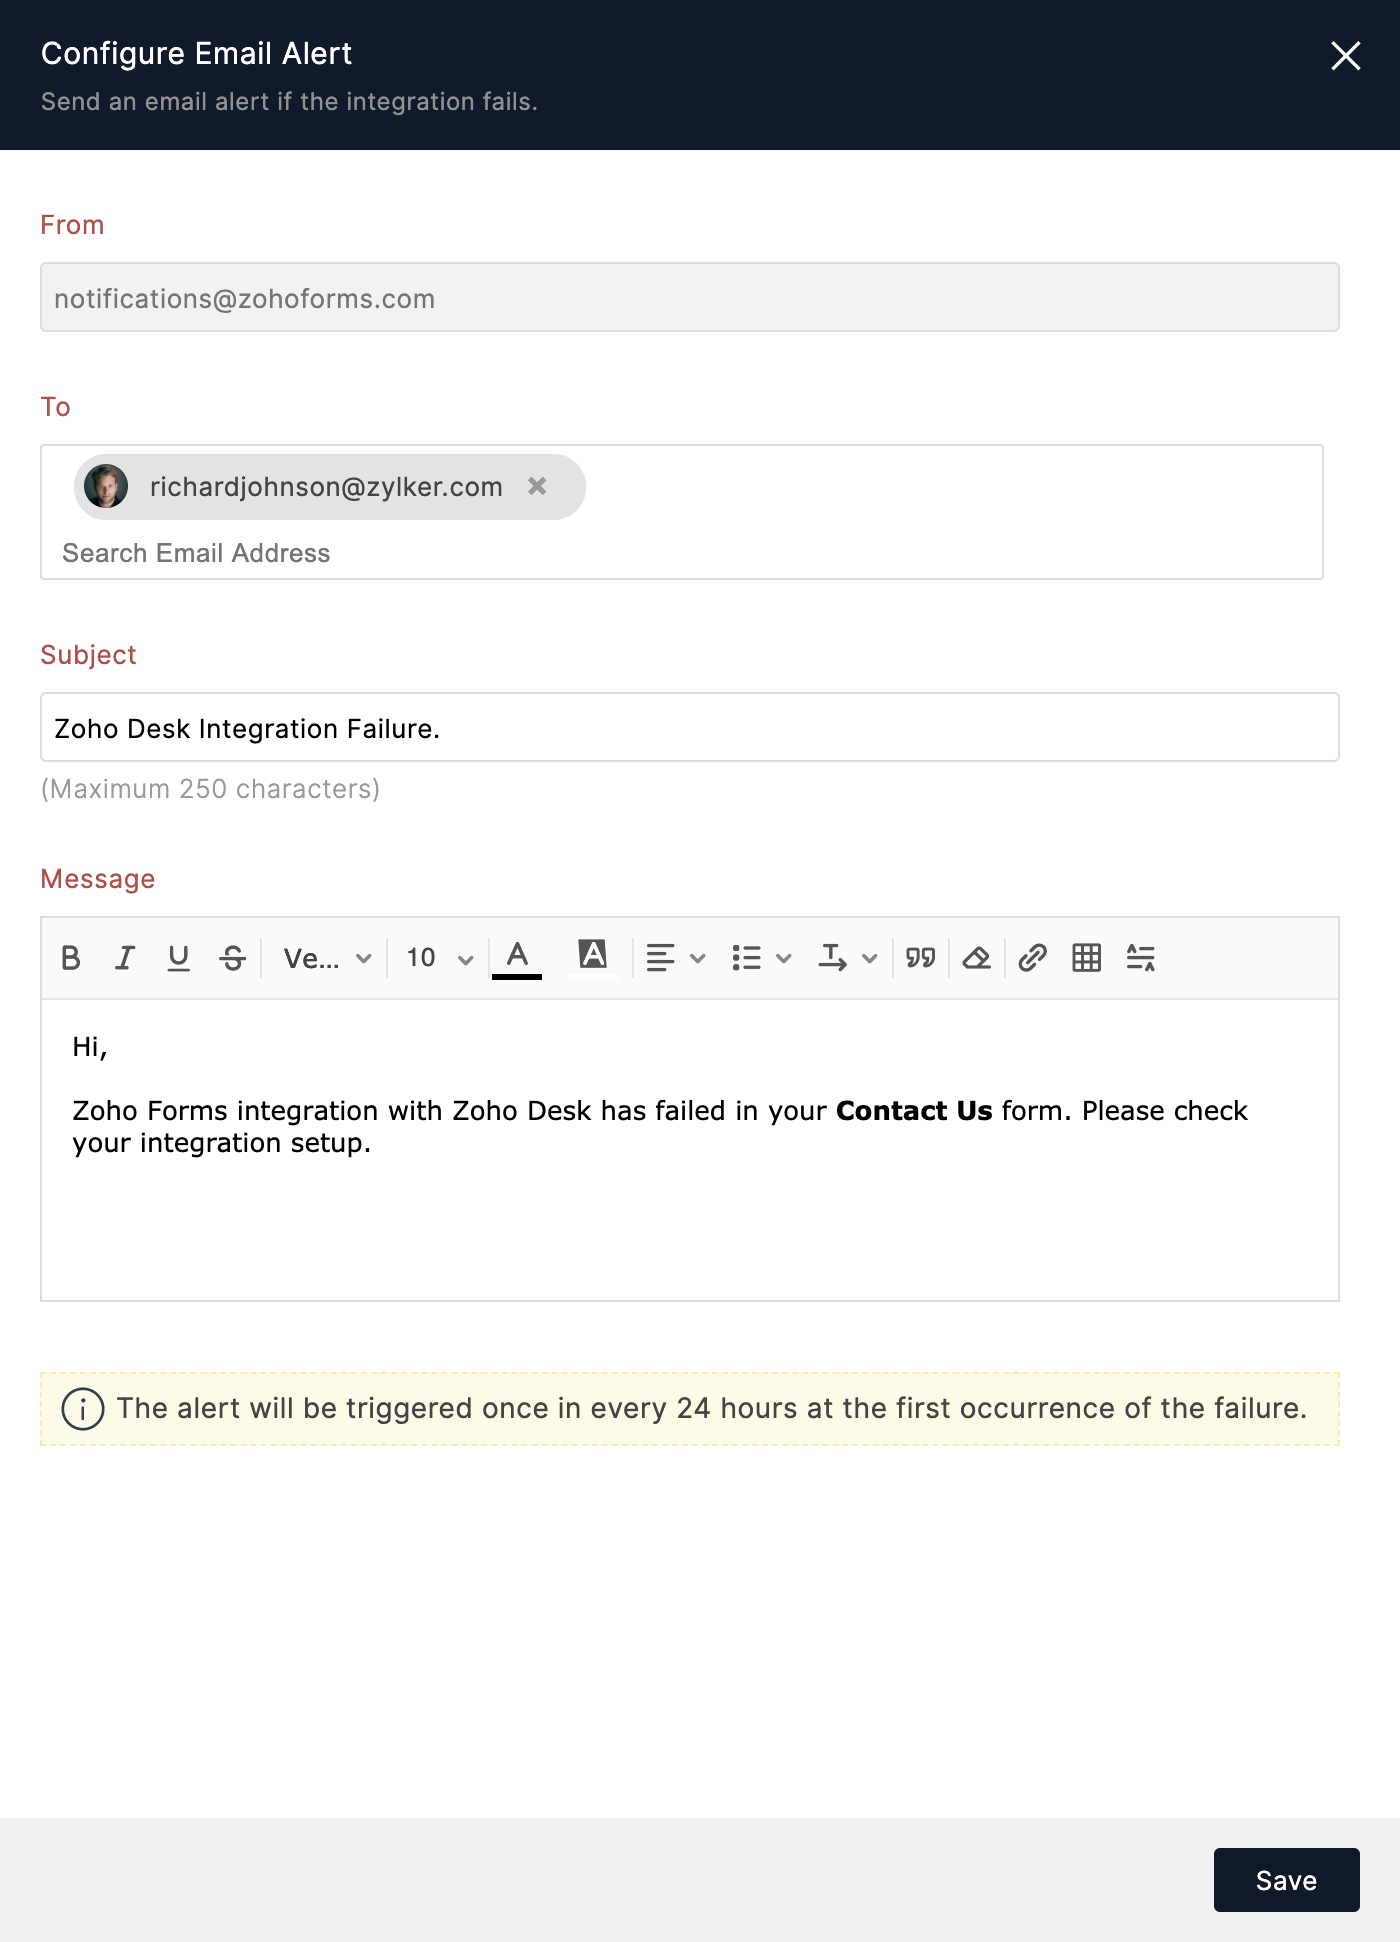
Set Alert on Integration Failure
Once your integration settings are saved, you can choose to receive an email alert if the integration fails.
To do so,
-
Click Set Alert in the top-right corner.
-
Configure the email alert template and click Save.
-
To stop receiving email alerts on integration failure, click Remove Alert.

Note:
-
The option to set an email alert on integration failure is available only in our paid plans.
-
You can send email alerts to a maximum of 5 users within your organization.
-
An email alert will be triggered only on the first occurrence of integration failure every 24 hours.