Square
If you have selected Square as your payment gateway, you must authorize Zoho Forms account to access your Square account using token-based OAuth authentication.
To configure Square as your payment gateway,
- Click Configure corresponding to Zoho Forms' Integrated Gateways.
- In the pop-up, select Square.
- Click on Authenticate to grant Zoho Forms access to connect with your Square account.
- In the pop-up, enter OAuth Name and select the Mode of Authentication to be either Sandbox or Production.
 Note :
- For your convenience and easy identification, we suggest providing a meaningful OAuth Name . This name will serve as a reference for you to recognize the OAuth associated with your integration.
- Sandbox Authentication is typically used for testing Square API calls without performing real transactions or affecting actual data. Learn more about how to create a Square Sandbox account.
- Choosing Production Mode will directly setup an actual working environment of your application where real data and transactions take place.
- For your convenience and easy identification, we suggest providing a meaningful OAuth Name . This name will serve as a reference for you to recognize the OAuth associated with your integration.
- Click Proceed.
- You will be redirected to the Square Login page. Log into your square account using your email and password.
- Click Allow to let Zoho Forms to securely access your Square account to make read/write operations while processing payments.
- Once authorized, you can view the authorized Square account in the OAuth Authorized with dropdown in your Zoho Forms Payment field configuration.
- To authorize a new Square account, click + New Connection in the dropdown.
- In the Business Location field, you can select the available location from the dropdown menu. Alternatively, you can also set up and manage business locations through the square seller dashboard. This gives you the flexibility to choose from existing location or create new ones to suit your business needs.
- The Currency field will be auto-populated to the local currency associated with the business location. You can simply select it from the dropdown.
- Enter the Payment Amount. You can either set a fixed amount for payment or autofill the Payment Amount with a value from a form field.
- Under Payment Information, you can include Respondent Email, Shipping Information and Billing Information from the form fields. This information can be prefilled from the respective form fields and will be used for processing the payment. You can customize your payment Description too.
 Since the Business Location associated with this OAuth is based out of Canada, the currency available to be selected in the dropdown is Canadian Dollars (CAD).
Note:
- Respondent Email and Billing Information will be required to successfully process payments for cards enabled with 3D Secure option.
- If you encounter the error message CARD_DECLINED_VERIFICATION_REQUIRED on your screen, it indicates that there is an issue with the payment information. This problem arises when either the Billing Information or Respondent Email fields are not mapped, or their respective values are not provided properly.
Click Done.
When configuring payment gateways, sensitive information like secret keys and tokens are encrypted before they are stored in our database and are never exposed to other third party apps.
Revoke OAuth Access Token
To unlink your Square account from your Zoho Forms account, you can remove the OAuth access token from the Control Panel.
To do so,
1. In the home page of your form builder, click Control Panel on the left pane.
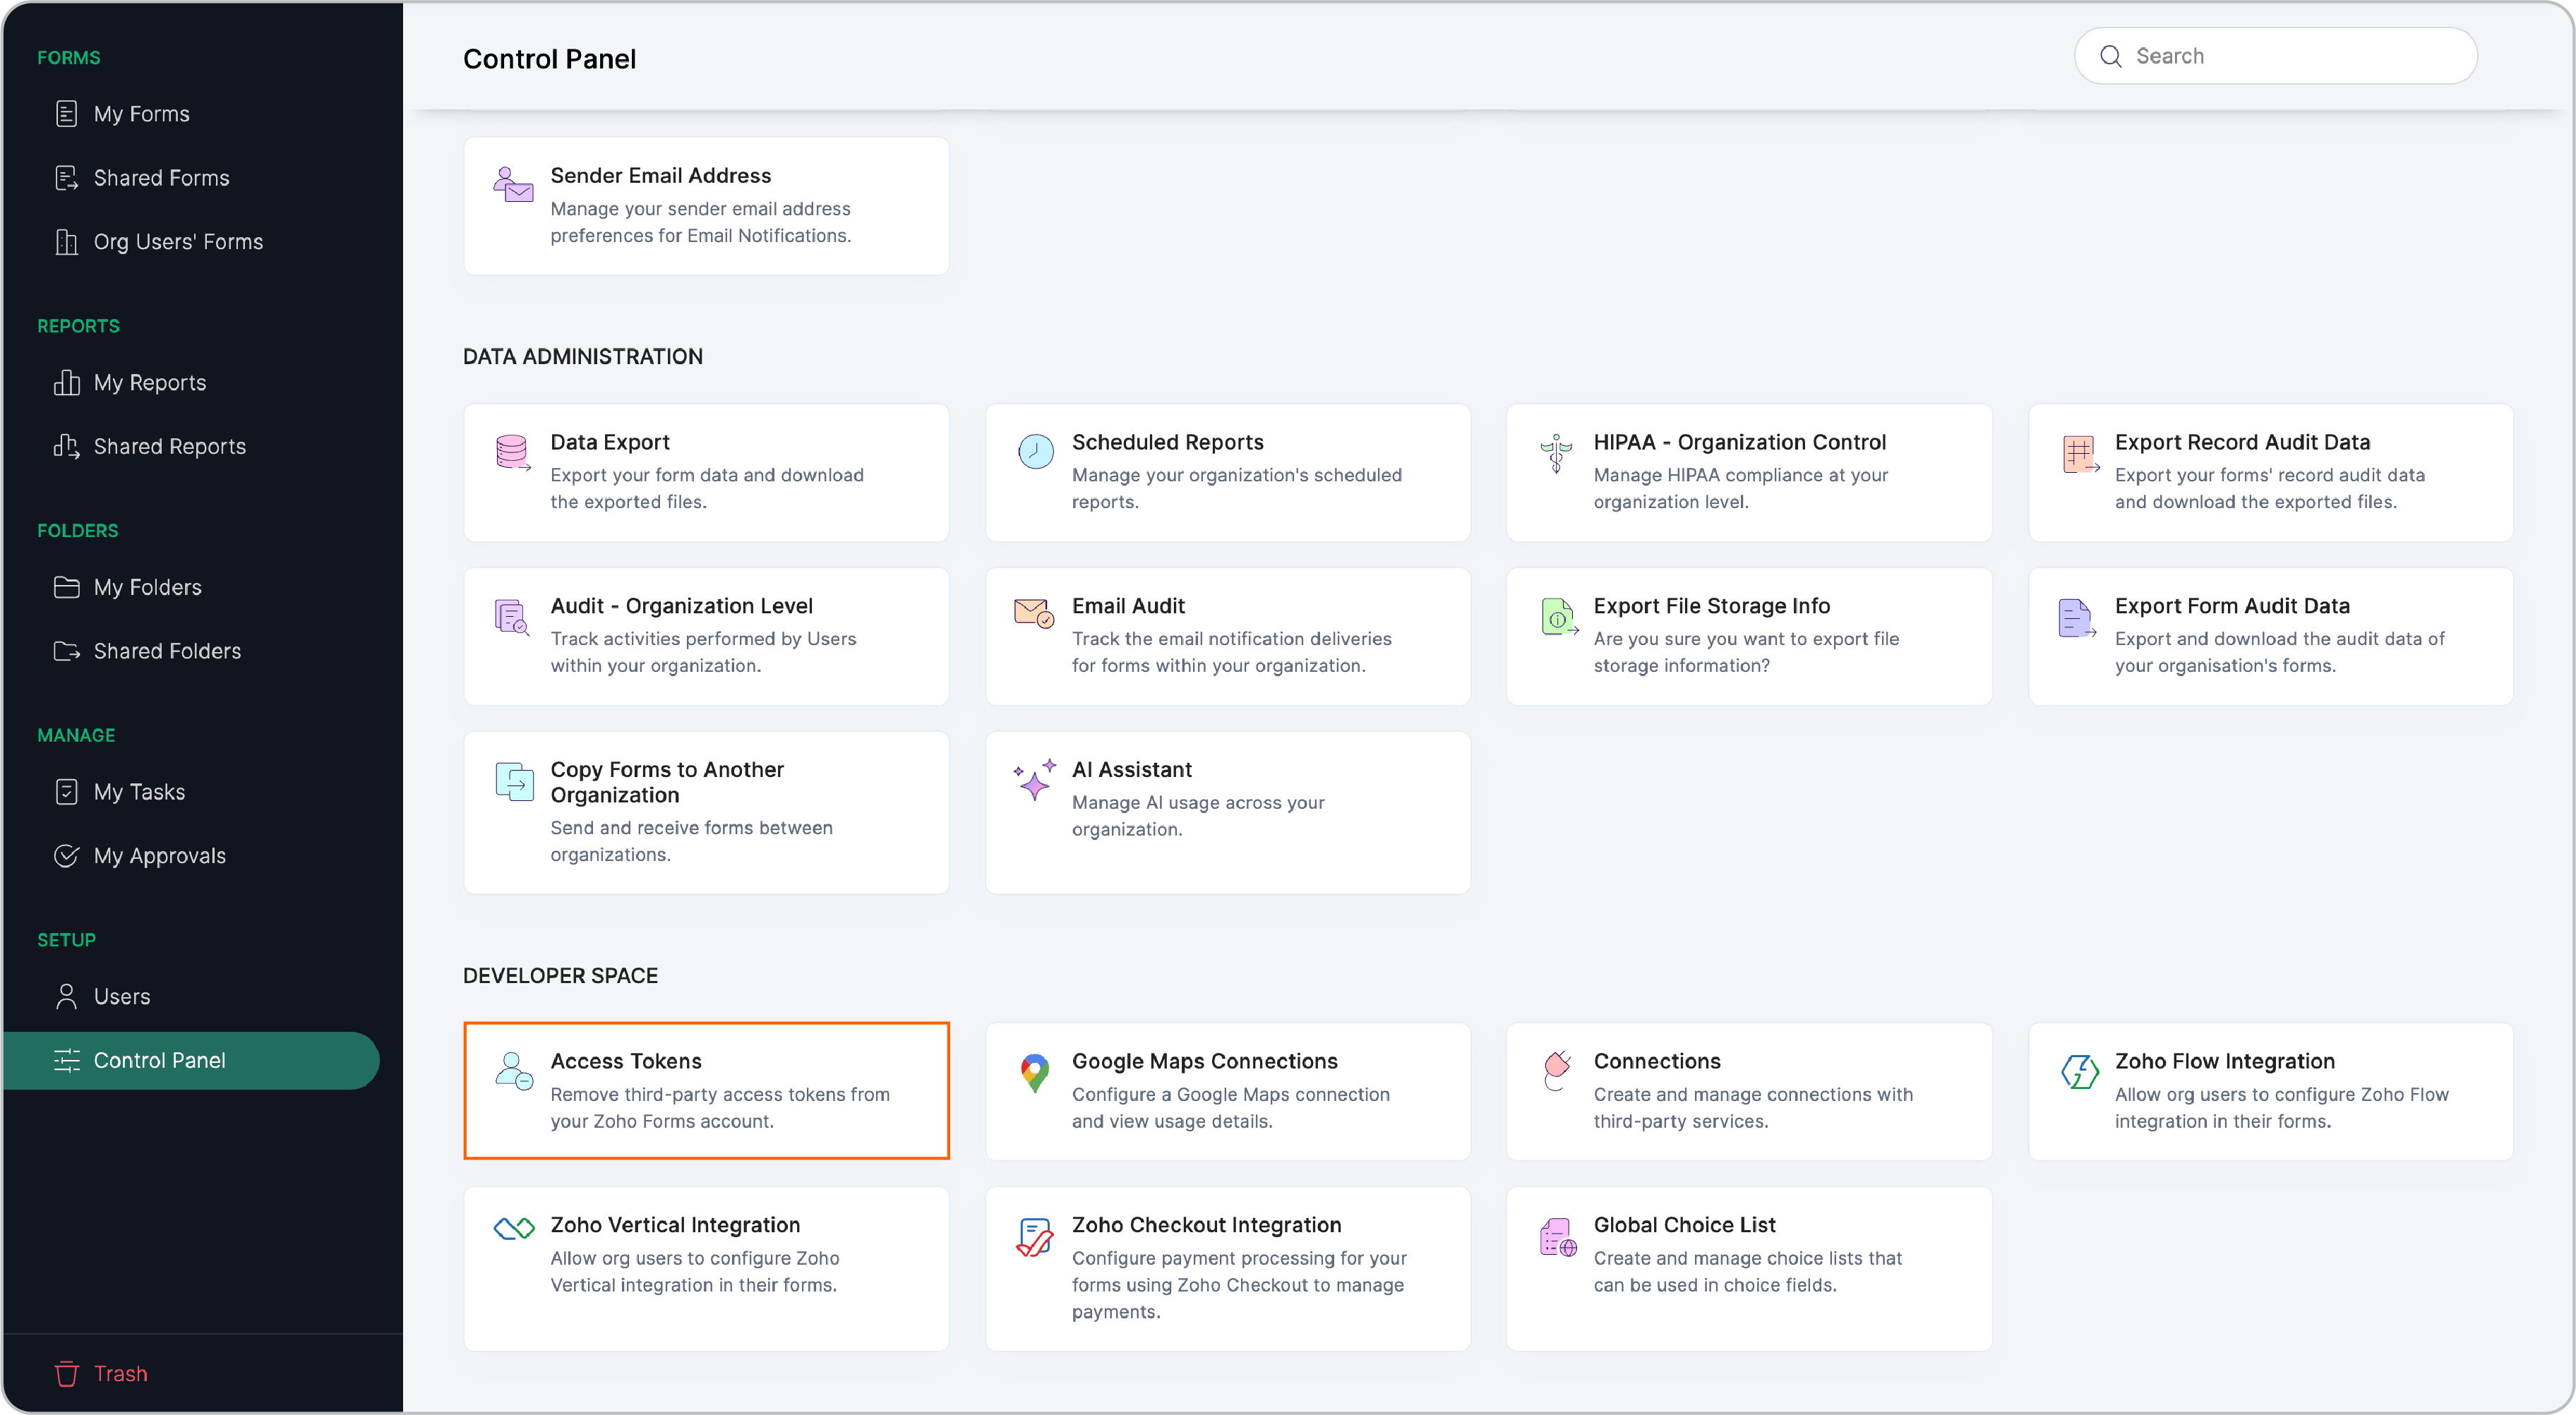
2. In the Control Panel, click Access Tokens under Developer Space.
3. Hover over Square and click the Delete icon.