Transaction Settings
Permission Required: Other Settings
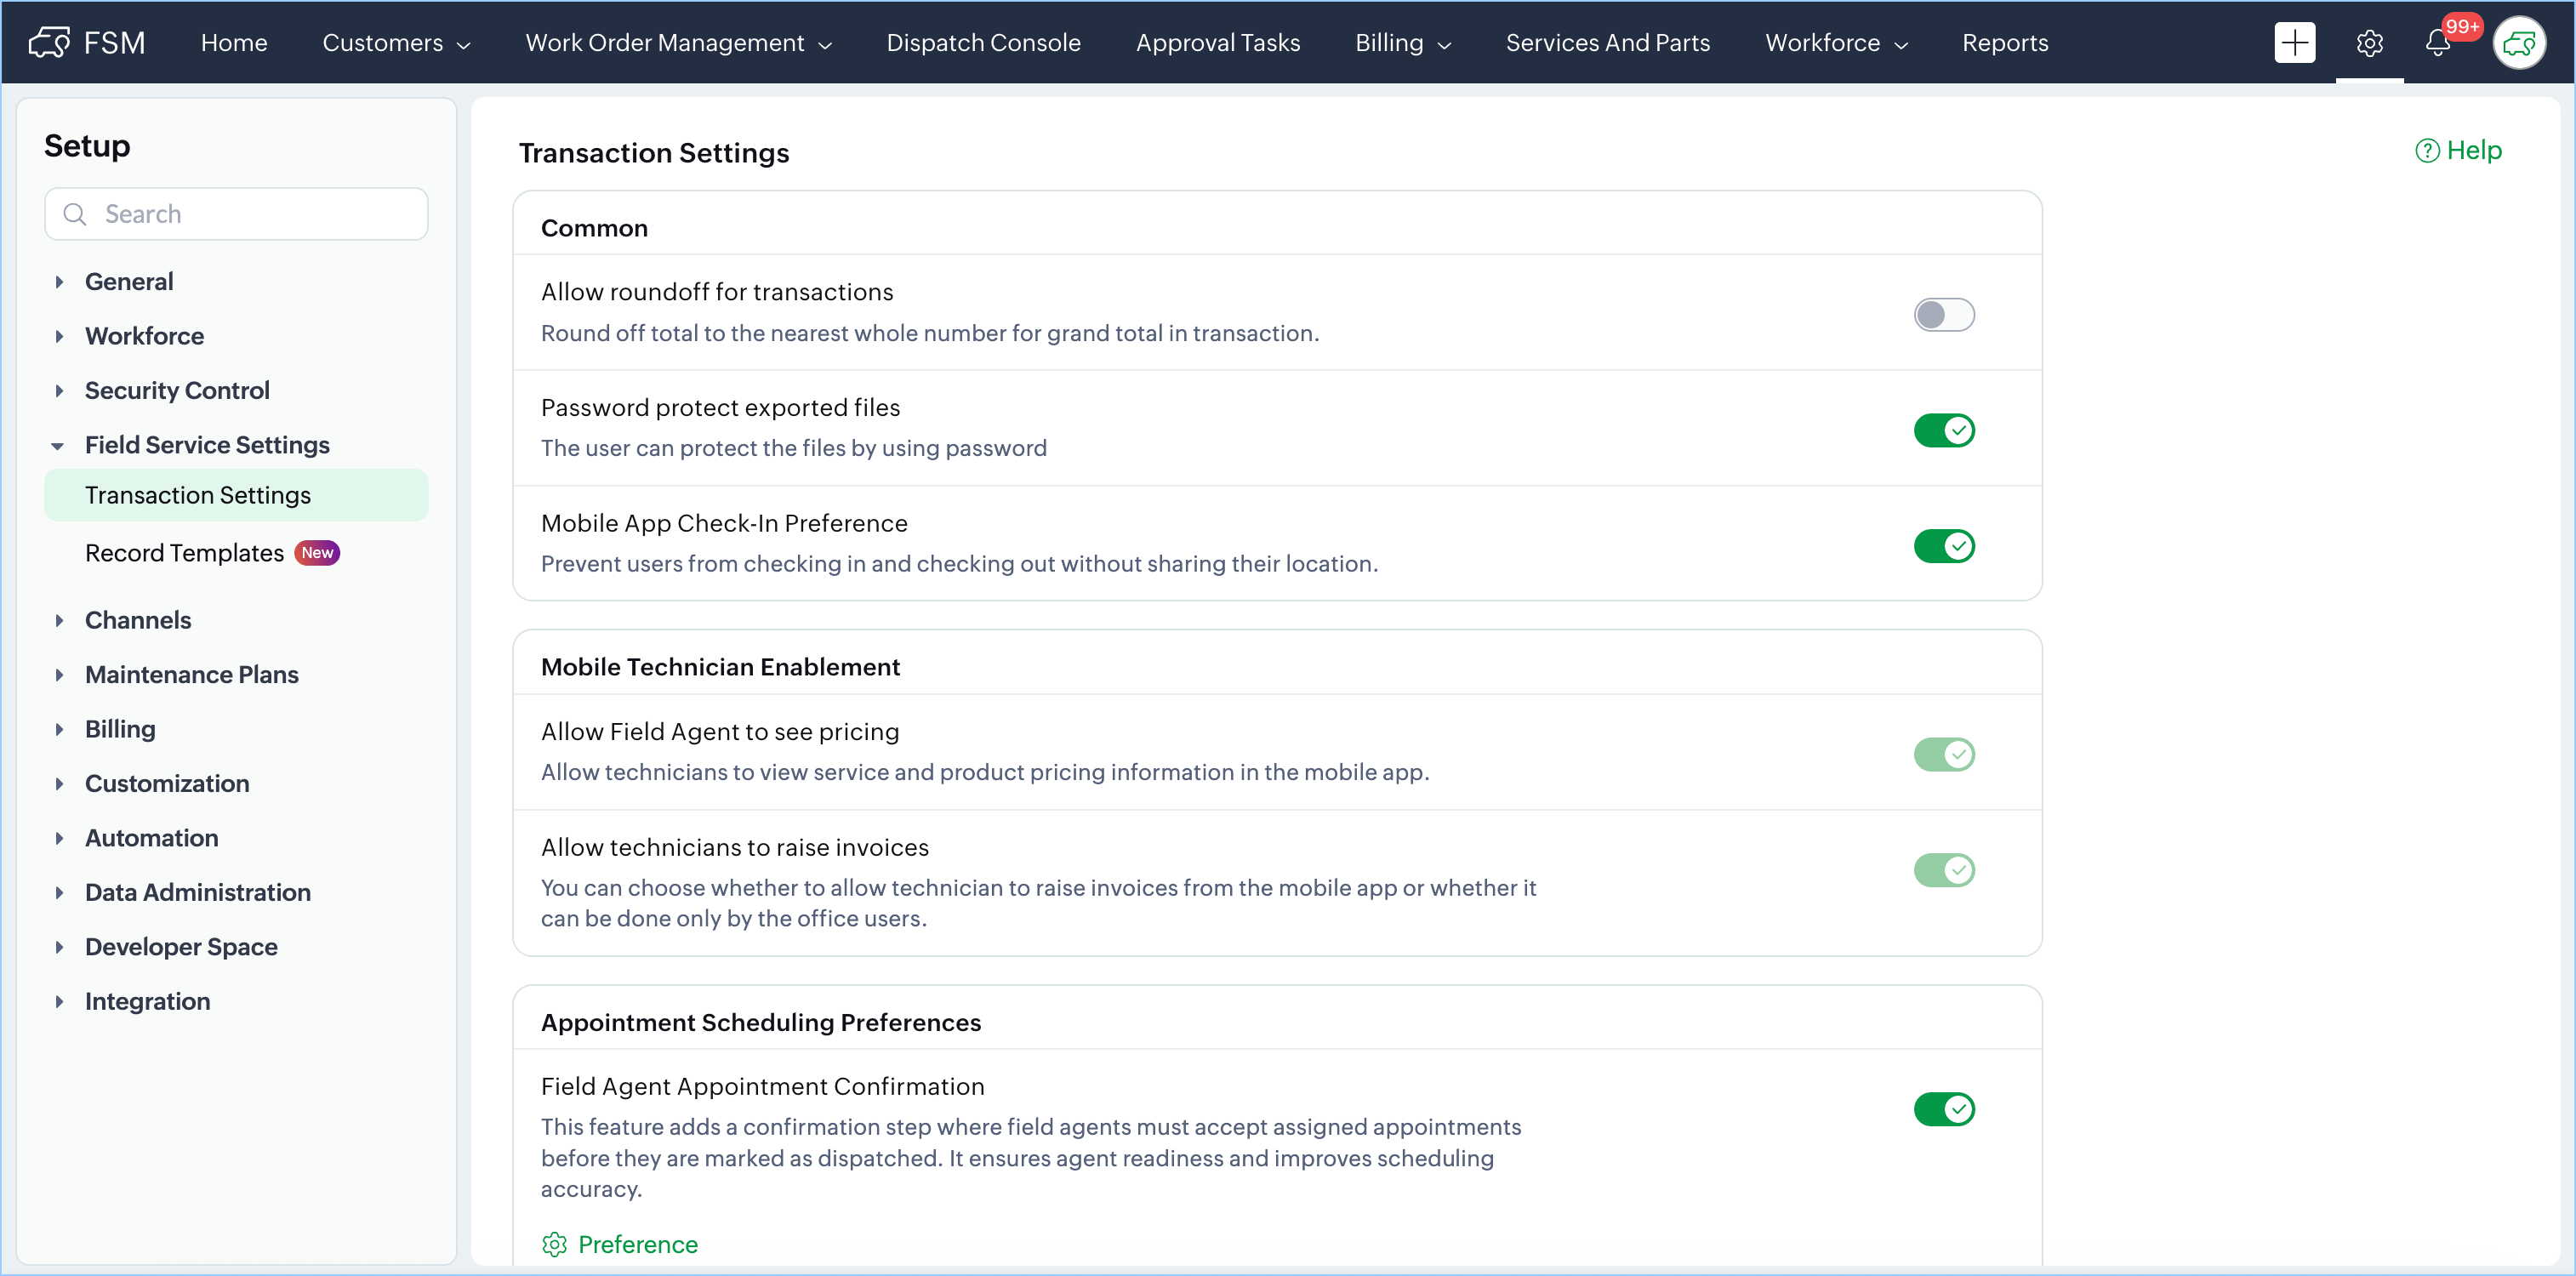
You can toggle the availability of certain features in Zoho FSM. This allows you to determine whether a certain feature should be available to the user or not. You can find these feature controls at Setup > Field Service Settings > Transaction Settings.
Round off currency values
Use the toggle switch for Allow roundoff for transactions to round the Grand totals in transactions to the nearest whole number. This will be applicable to currency values.
Password Protect Exported Files
If you enable Password protect exported files, then you will have the option to add a password to the files you export from the following places:
- Export Data from Zoho FSM (Setup > Data Administration > Data Export)
- Export a Zoho FSM report
- Email a Zoho FSM report as an attachment
Enforce Location Sharing For Mobile Check-In
If you enable Mobile App Check-In Preference, users cannot check-in to the mobile app without providing the location permission.
Dual Customer Mode
The Dual Customer Mode will allow you to use service and billing addresses from two different Contact/Company in Requests, Estimates, and Work Orders. This is particularly useful when the entity requesting the service is different from the one responsible for payment.
Once you enable this setting, two new fields—Billing Company and Billing Contact—become available in Requests, Estimates, and Work Orders.
To accommodate the new fields:
- Service Address and Territory are moved under Contact Details.
- Billing Company and Billing Contact are added under a new Billing Details section.
After this rearrangement, the field order will remain the same even if you later disable Dual Customer Mode. Only the Billing Company and Billing Contact fields will be removed.
With the new fields, you can select in Requests, Estimates, and Work Orders:
- A billing company or contact that is different from the primary Company/Contact selected in the record.
- A billing address associated with the billing company/contact.
The selected Billing Address will also appear on the generated invoice.
Dual Customer Mode is beneficial in scenarios such as:
- Property management companies paying for tenant service requests.
- Corporate facilities where the service location and billing department are different.
- Schools or hospitals where services are provided to a specific site but billed to the central administration.
Example
Suppose your service team receives a repair request from a Tenant living in an apartment. The tenant is the service contact, but the Property Management Company is responsible for paying the invoice. With Dual Customer Mode enabled:
- You can set the tenant as the Contact,
- Also, select the property management company as the Billing Company, ensuring the invoice is routed correctly while your service team works with the onsite contact.
Work Location Validation
Maintain complete oversight of your field operations with the new Work Location Validation setting. Zoho FSM will capture the exact GPS coordinates of your technicians the moment they start or complete work. This enables highly accurate tracking and provides a robust audit trail of field activities.
When Work Location Validation is enabled:
- You can configure a Range (in meters) from the Service Address, within which the agent must be located to perform key actions such as Start Work and Complete Work in the mobile app.
- You can also define how the app should behave if location permission is not enabled on the mobile app.
To set the configuration:
- Click the Edit [
] icon.
- Enter the desired Range (in meters).
- For If location not available, choose one of the following options:
- Skip: Agents can start or complete work even if location permissions are disabled.
- Show Warning: A warning message is displayed if the agent attempts to start or complete work without enabling location permission. The action is still allowed.
- Restrict Action: Agents cannot start or complete work unless location permissions are enabled.
- Click Save [
] to apply the changes.
Field Activity Location Report
A dedicated Field Activity Location Report captures detailed information related to work location validation, helping you monitor and audit field activity.
Key Report Fields:
- Location Compliance
- Compliant: The agent performed the action within the configured range of the job location.
- Non-Compliant: The agent performed the action outside the defined range.
- Location Unverified: Location data was unavailable. This occurs when:
- Location permissions are disabled on the mobile app
- The action is performed from the web application
- Service Appointment Details: Includes the Name, Summary, and specific Action (Start/Complete) performed.
- Coordinates: Lists the Expected Address, Expected Latitude/Longitude and Actual Latitude/Longitude coordinates recorded at the time of the action.
- Executed Time: The exact timestamp of the activity.
Customer Association Requirement
This transaction setting will be available only if the sync type for the Zoho FSM-Books/Invoice integration is Type IV.
In this sync type, by default, only Contact is mandatory when creating Request, Estimate, Work Order, Asset, or Payment records. When the transaction setting Customer Association Requirement is enabled, either a Company or a Contact becomes mandatory. If neither is provided, the error message At least one of 'Contact' or 'Company' is required will be displayed.
Asset on Service Line Items
When you enable the Asset on Service Line Items setting, you can associate assets directly with the service line items in Estimates, Work Orders, and Service Appointments. This allows you to specify which asset each service is performed on, giving you better visibility and control over asset-level servicing and maintenance.
Once enabled:
- You can select assets in the service line items of the relevant records. The assets you can choose from are those linked to the Contact/Company selected in the record.
- The Service Line Items related list of an asset will display all the service line items where that asset has been used.
- The Part Line Items related list will show the part line items associated with those service line items.
Example
A home appliance service company offers repair and maintenance for multiple household appliances. During a single visit, the technician might service several appliances belonging to the same customer — for example, an air conditioner, a washing machine, and a refrigerator.
By associating each line item in the work order with the specific appliance (asset) it applies to, the company can ensure clarity and accuracy across service, billing, and reporting. Here, the technician performs all three services in a single visit, but each service is clearly linked to the appliance it applies to.
Include Asset Details in PDF Templates
To include the asset details selected in the line items in PDF templates, do the following:
- Navigate to Setup > Customization > Templates and select the PDF Templates tab.
- Hover over the desired PDF template and click the Edit [
] icon.
- Click on More Options [
 ] in the Service & Part section and select Edit.
 - Click
to open the Column Selector. Select the column Asset and click Apply.
- Click Update in the Update Line Item Section dialog.
- Click Save in the PDF Template Builder page.
Appointment Scheduling Preferences
Mentioned below are the feature controls for appointment scheduling.
Field Agent Appointment Confirmation
Refer to this page for details.
Allow Overlapping Appointments
If you enable this, you will be allowed to schedule overlapping appointments. From the Allow overlapping dropdown, choose a value and click Save [  ]. You can choose whether a warning message is shown when creating an overlapping appointment.
What are overlapping appointments?
Ordinarily, in Zoho FSM, you will not be allowed to schedule/dispatch an appointment for a service resource/equipment between a given Scheduled Start Date Time and Scheduled End Date Time if it overlaps with the scheduled/actual times of any of its existing appointments. However, with the transaction setting Allow Overlapping Appointments, you can schedule/dispatch appointments for service resources/equipments even with overlapping timings.
If you choose Allow overlapping With Warning, then you will be shown a warning message with the list of appointments which have conflicting schedules with the one you are trying to schedule/dispatch. Click Continue to proceed.
In the Service Appointment Details page, click on the Info [  ] icon to view the details of the service appointments that have conflicting schedules with this appointment. The number next to the icon indicates the number of appointments with which this appointment has conflicting schedules. Hover over the service resource/equipment names to see who has conflicting schedules. Their name will be encircled in red, and the Info [
  ] icon shown next to their name.
In the Dispatch Console, the overlapping appointments will be shown with a dotted outline.
In the Service Appointment List page, you can use the FSM List Views Overlapping Service Appointments, and My Overlapping Service Appointments to filter out the overlapping appointments.
Minimum Interval for Next Appointment (Ongoing)
If you enable this, you can set the time interval that should be maintained between an appointment that you want to schedule for a service resource/equipment and any ongoing appointment of the service resource/equipment.
This time interval will be considered from the Scheduled End Date Time of the ongoing appointment or the current time (the Zoho FSM Org timezone will be considered), whichever is latest.
Example
Consider that the time interval set is one hour. An appointment is scheduled from 11:00 am to 11:30 am to Lori Ross. The appointment was started at 11:05 am. At 11:15 am, if you try to schedule another appointment for Lori Ross, the latest that you can schedule the appointment for is at 12:30 pm (11:30 am + 1 hr). However, if you try to schedule an appointment for Lori Ross at 11:45 am, the latest that you can schedule the appointment for is at 12:45 pm (11:45 am + 1 hr).
Note: Any interval set here will not be considered if Allow Overlapping Appointments is enabled.
Allow Scheduling During Time Off
If you enable this, you will be allowed to assign appointments to field agents even when they are on time off. From the Allow Scheduling During Time Off dropdown, choose a value and click Save [ ]. You can choose whether a warning message is shown when assigning appointments to field agents when they are on time off.
If you disable this, then the toggle for the Service Resource Filter, Exclude Service Resources On Time Off will be automatically switched on, but it will be grayed out (unavailable for editing).
Allow Scheduling During Crew Assignment
If you enable this, you will be allowed to assign appointments to field agents even when they are part of a crew. From the Allow Scheduling During Crew Assignment dropdown, choose a value and click Save [ ]. You can choose whether a warning message is shown when assigning appointments to field agents when they are part of a crew.
If you disable this, then the toggle for the Service Resource Filter, Exclude Service Resources On Crew will be automatically switched on, but it will be grayed out (unavailable for editing).
Scheduling Outside Shift Hours
If you enable this, you will be allowed to assign appointments to field agents even outside their shift hours. From the Allow scheduling outside shift hours dropdown, choose a value and click Save [ ]. You can choose whether a warning message is shown when assigning appointments to field agents outside their shift hours.
If you disable this, then the toggle for the Service Resource Filter, Exclude Service Resources Outside Shift Hours will be automatically switched on, but it will be grayed out (unavailable for editing).
Automate Work Order Completion
There are two feature controls with which users can choose how to automate work order completion - Automatically complete a work order, Prompt to complete work order
Automatically complete a work order
If you enable this feature, the parent work order will be automatically completed when a service appointment is completed; provided the other service appointments of the work order are completed.
Prompt to complete work order
If this feature is enabled, each time the user tries to complete a service appointment, they will be given an option to complete the parent work order as well.
To complete the parent work order along with the service appointment using Prompt to complete work order:
- Navigate to Setup > Field Service Settings > Transaction Settings.
- Enable the toggle for Prompt to complete work order.
- Click Complete Work in the Complete Work overlay of a service appointment.
- In the confirmation message, select the checkbox Complete associated Work Order WOX? and click Proceed.
The parent work order will be marked as complete if all the other service appointments associated with the work order are also completed.
Note: Prompt to complete work order cannot be enabled if Automatically complete a work order is enabled.
Set Conditions For Service Appointment Completion
There are two feature controls using which you can stipulate the conditions for completing a service appointment - Service Report required for SA completion, Jobsheets completion required for SA completion.
Service Report required for SA completion
If you enable this setting, creation of a service report will be mandatory for completing a service appointment. When you attempt to complete a service appointment, you will be prompted to create a service appointment. Click Create Service Report in the popup message and proceed to create a service report. Once the service report is created, click Continue.
Jobsheets completion required for SA completion
If you enable this setting, completing the job sheets, if any, will be mandatory for completing the service appointment. When you attempt to complete a service appointment, you will be prompted to complete the job sheets. Click Create Service Report in the popup message and proceed to completing the job sheets. Once all the job sheets are completed, click Continue.
Default Appointment Duration
The Default Appointment Duration transaction setting lets you define the default duration to be applied when creating an appointment. This duration is used to automatically populate the Scheduled End Time based on the value entered in the Scheduled Start Time field. The default value is one hour. To change the value, click on the Edit [ ] icon, enter a new duration, and click Save [
 ].
].
Auto Stop Time Sheets
By default, all open time sheets are set to automatically stop at 11:59 pm of the Zoho FSM Org timezone. Refer to this page for details. You can use the transaction setting Auto Pause under Time Sheet to modify the predefined Auto Pause Time. Click on the Edit [ ] icon, enter a new time, and click Save [
 ]. You can also use this control to disable the auto stop of time sheets.
Allow Overlapping or Concurrent Timesheet Entries
What is this setting for?
When you enable Allow Overlapping or Concurrent Timesheet Entries, you can create a new time sheet for a service resource when there is already an open time sheet for it. You will be able to create or edit time sheets such that they have overlapping timings for the same service resource. This can be for the same or different service appointments.
When should it be used?
This will allow field technicians to log time for simultaneous repairs or tasks they have to perform within the same visit. They can log time for multiple appointments they might have to work on within the same visit.
Scenario I: A plumber is called to fix a dripping faucet, a running toilet, and a shower diverter valve in the same bathroom.
Simultaneous Tasks:
- Allowing sealant on the faucet to dry while moving on to the other tasks.
- Repairing the toilet flush mechanism while replacing the diverter valve.
How does this work?
In this case, the technician creates a time sheet when they start working on repairing the toilet flush mechanism. Simultaneously, when they start a time sheet for fixing the dripping faucet, they will be shown a dialog box with the details of the existing time sheet. The field technician can click Proceed to create a new time sheet.
Scenario II: A technician may be performing routine preventative maintenance while being called for an emergency repair in the same facility.
Simultaneous Tasks
- Continuing preventative tasks while managing the urgent repair request.
- Logging progress on both the preventative maintenance and the emergency task, ensuring that both are fully documented and resolved.
How does this work?
In this case, the technician can work on two appointments, one for preventative maintenance (AP-88) and another for the repair (AP-89) with overlapping time sheet entries. The field technician needs to click Proceed to create overlapping time sheets.
Estimate approval through email
When you enable Estimate - Email Approval, the estimate email sent to the customer will have the options to accept or reject it.
Expiry Time for Email Approval Link
When you send the estimate to the customer, they will receive the estimate details with the options to accept or reject it. Using the transaction setting Expiry Time for Email Approval Link, you can set the duration until which these accept/reject options should remain valid. To set the duration, enable this transaction setting, enter a new value for Set Expiry Time (Days), and click Save [ ]. You can set the duration from 1 to 30 days.
If this transaction setting is disabled, then the default of seven days will be considered as the expiry time.
Hide Attachments During Service Report Creation
When you enable Hide Attachments, the Attachments field in the Technician Feedback step of the Create/Edit Service Report wizard will not be displayed.
Remove Customer Signature
Ordinarily, in Zoho FSM, the customer signature in the service report will be removed when you edit it. By default, the transaction setting Remove Customer Signature will be enabled. However, if you disable the transaction setting Remove Customer Signature, the customer signature in the service report will not be removed when you edit it.