Views
A View in Zoho FSM refer to a collection of records filtered based on specific criteria. It enables you to easily access important information and efficiently manage your data. There are two types of View - Default, Custom.
Default Views
Default or FSM List Views are system-defined views that have records based on predefined filters. E.g. Invoiced Work Orders, My Contacts, Dispatched Service Appointments, etc.
Custom Views
Custom views are your own unique views for displaying data that are tailored to your specific needs and preferences. You can either create a view from scratch or by cloning an existing view.

- Permission Required: Manage Custom Views
This permission is required for creating, editing, and deleting custom views.
This permission is required for creating, editing, and deleting custom views.
- Find out the Edition-specific limits for Custom Views.
Custom views can be created in the following modules:
- Companies
- Contacts
- Requests
- Estimates
- Work Orders
- Service Appointments
- Services And Parts
- Assets
Create Custom Views
Follow the steps below to add a custom view in a module:
- Select the module in which you want to add a custom view.
- From the Views dropdown, click Create Custom View.
- Choose one of the below options and click Create:
- Create from Scratch
- Clone from Existing
- In the Create Custom View or Clone Custom View form, do the following and click Save:
- From the Clone From dropdown in the Clone Custom View form, choose the view from which you want to create the custom view.
- Provide a Name for the custom view.
- Add criteria based on which you want to see the records in the custom view.
In the Clone Custom View form, the pre-defined criteria of system-defined views will not be cloned.
Click + or - to add or remove a filter criteria. You can add a maximum of five criteria. Click Edit Pattern to make changes to the criteria and click Save. - Add columns to your custom view.
- You can either drag and drop a column from the Available Columns to Selected Columns, double click a column under Available Columns, or click + against a column under Available Columns.
- To remove a column from Selected Columns, hover over the column name and click the Delete [
] icon.
- You can reorder the columns in Selected Columns.
- The system-defined columns will however be greyed out and cannot be deleted or reordered.
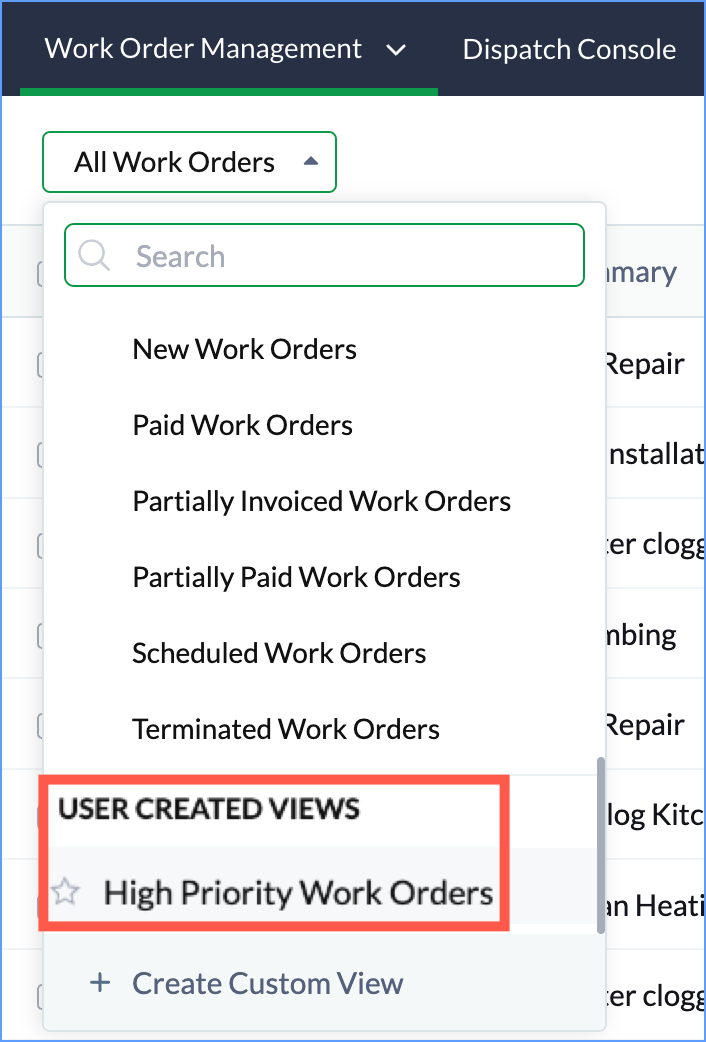
The custom views will be listed under User Created Views.
Click the Refresh [  ] icon if the changes are not reflected.
Edit Views
To edit a view:
- Click the Edit [
] icon next to the Views dropdown.
- In the Edit Custom View form, make the necessary changes and click Save.
The name of a system-defined view cannot be edited.
Delete Views
To delete a view:
- Click the Delete [
] icon next to the Views dropdown.
- Click Yes, Delete in the confirmation message to continue.
Mark View As Favourite
To mark a view as favourite:
- Click the Favourite [
] icon next to the view name.
Once the view is bookmarked, the favorite icon next to the view name will be highlighted [ ]. The bookmarked views can be viewed under Favourites.
You can also mark a view as favourite while creating or editing a view.