Self Service Portal
The Self Service Portal in Zoho Lens allows customers or field users to quickly raise a support request using a QR-based portal and get placed in the Service Queue. Once the request is submitted, admins can view it in the queue and assign it to an available technician. After accepting the request, the technician can connect with the user and start a remote visual assistance session.
Enable the Self Service Portal
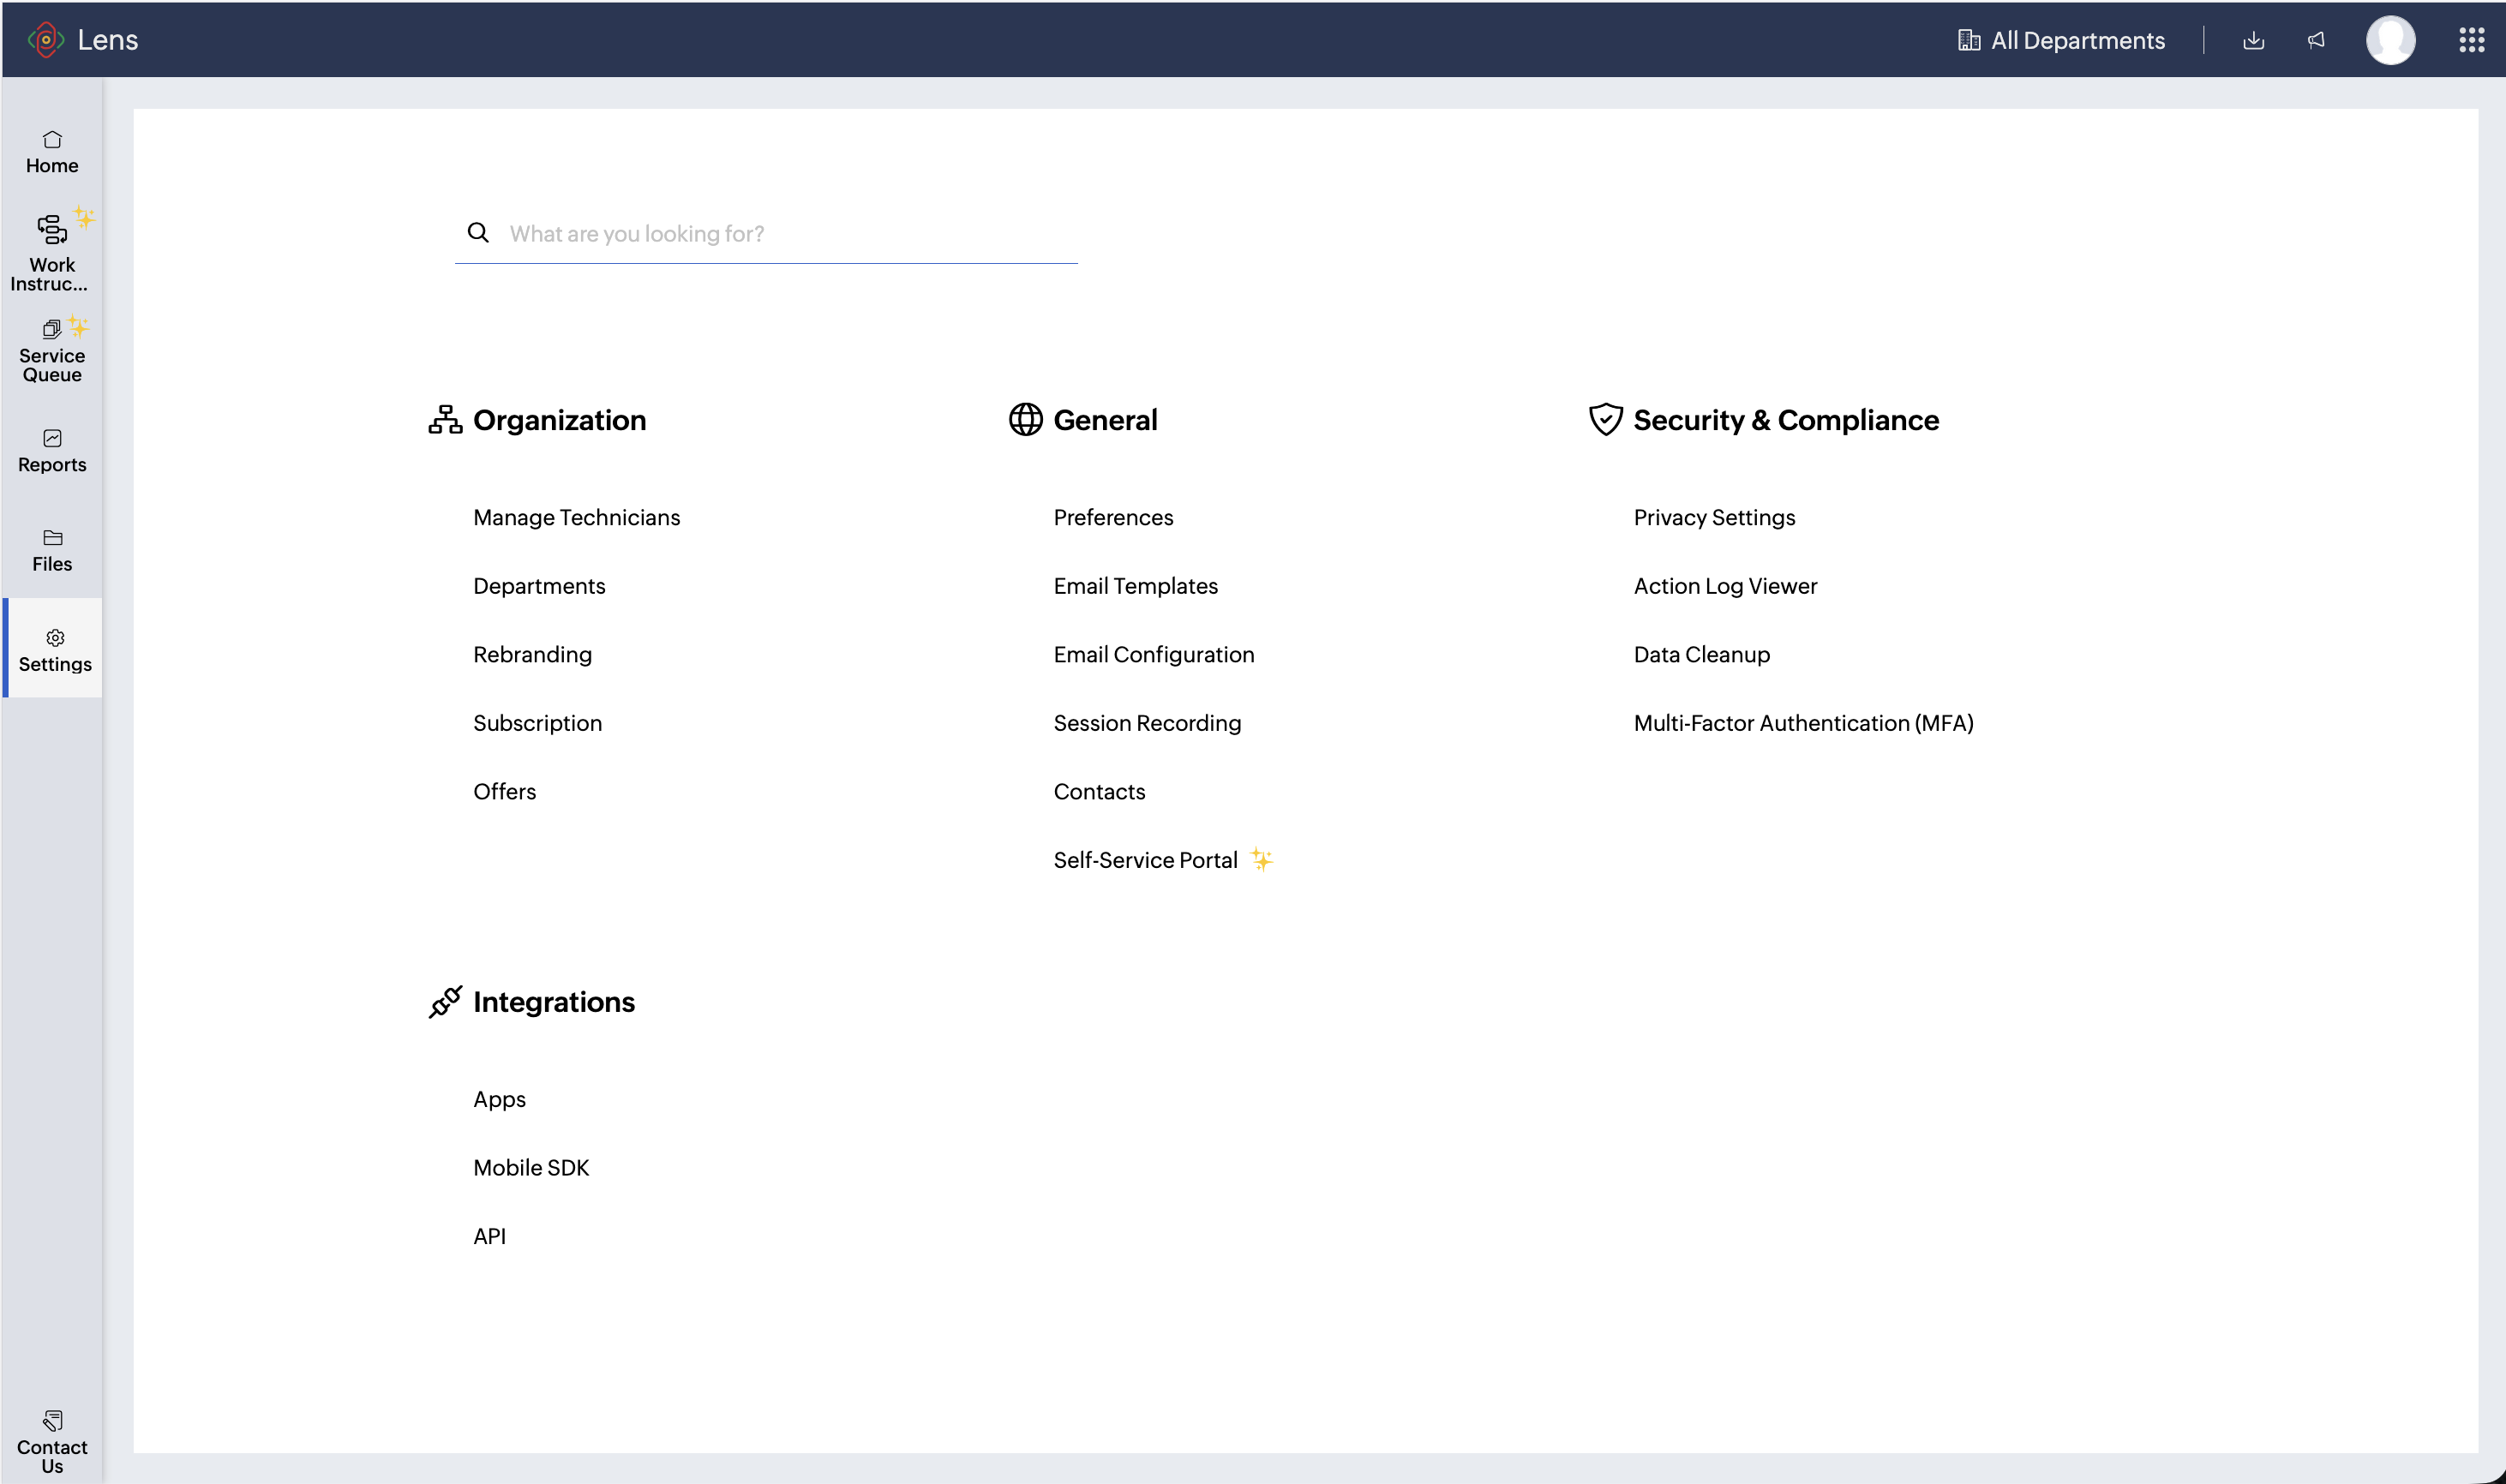
Go to Settings > General > Self Service Portal and enable the Self Service Portal toggle.
Configure the Portal
The portal is configured using your organization name by default, which appears in the portal interface. A unique Technician Portal URL and Client Portal URL are generated automatically. Admins can update the organization name at any time, and the portal links will be generated accordingly.

Technician Portal URL
Technicians use this link to access and manage all customer support requests.
Client Portal URL
Customers use this link to raise support requests. You can also share department-specific links for direct queue access.
Manage Departments

Note: Only admins can manage departments within the portal to organize incoming requests. They can also filter requests by department in the Service Queue for easier management.
All departments can be made available in the client portal, or the list can be customized to display only the required departments.
The department can be selected by customers while submitting a session request through the portal.
Alternatively, a department-specific Client Portal URL can also be shared so that requests are automatically routed to the selected department.
Inbound Request Expiration Time
Admins can configure the Inbound Request Expiration Time to define how long a request remains active in the queue.
The minimum duration is 30 minutes, and the maximum is 2880 minutes. Requests that exceed the configured time are automatically marked as inactive.
Access the Client Portal
When the Client Portal URL is opened on a desktop or laptop, a QR code is displayed on the screen.
Users must scan this QR code using their mobile device to continue. The Client Portal can be accessed through the Zoho Lens mobile app or a mobile browser.
Raise a Support Request
After scanning the QR code, the Client Portal Form opens on the mobile device. The user or customer enters the required details such as name, email address, issue description, department (if enabled), and attachments if needed, and then submits the request.
The request is automatically created in the Service Queue, and the initial status is marked as Pending Assignment.
Service Queue – Managing Requests
Once a technician accepts the request, the session is connected. Technicians can view the requests assigned to them in the Service Queue, review the request details, accept the request, and initiate the remote session.
Admins can view all incoming portal requests in the Service Queue, assign requests to any available technician, and monitor the status of each request.
Reports
All Self Service Portal requests are also available in the Reports section, where admins can track details such as the number of portal requests, technician assignments, session duration, and request status history.