Promote webinars through email campaigns
Zoho Marketing Automation has simplified the process of organizing and advertising your webinars using email campaigns. Boost your customer engagement by integrating your Zoho Marketing Automation accounts with Zoho Meeting and other third-party apps.
Add a webinar to an email campaign
To create an email campaign:
-
Choose
Marketing Campaigns
in the left panel, then select Email.
-
Click Create at the top-right corner of the screen in the Email Campaigns list view.
-
Enter a
campaign name
and select a
topic
for your campaign in the
General Details
section.
- Click Next.
- Select
Webinar.
-
Click
Next.
-
Choose the platform where you're hosting the webinar you want to promote. You can choose either Zoho Meeting or GoToWebinar. Make sure that the platform you choose has been integrated with your Zoho Marketing Automation account.
-
Click
Next
.

Note:
Topics are information preferences your contacts select when signing up or later in the preference center. This way, you can make sure your contacts receive the right information. While creating an email campaign, it's mandatory to select a suitable topic. This is to ensure that only the contacts associated with the selected topic will receive your email. If there are contacts who have not been associated with any topic then, you can associate them to the selected topic by checking the Map it to the selected topic box in the email configuration page.
Topics are information preferences your contacts select when signing up or later in the preference center. This way, you can make sure your contacts receive the right information. While creating an email campaign, it's mandatory to select a suitable topic. This is to ensure that only the contacts associated with the selected topic will receive your email. If there are contacts who have not been associated with any topic then, you can associate them to the selected topic by checking the Map it to the selected topic box in the email configuration page.
Use Zoho Meeting
If you are using Zoho Meeting, follow these steps:
-
Click
Connect.
-
Enter the name of the event you wish to promote through the campaign.
-
Click
Initiate.
Learn more
about the Zoho Meeting integration.
-
After integrating with your Zoho Meeting account, select the name of the webinar you wish to promote from the dropdown list.
-
Click
Next
.
Use GoToWebinar
If you are using GoToWebinar, follow these steps:
-
Click
Connect
.
-
Click
Continue
.
Learn more
about the GoToWebinar integration.
- After integrating with the GoToWebinar account, select the webinar you wish to promote from the dropdown list.
-
Click Next.
Configure an email campaign
Follow the steps below to configure an email campaign:
-
Click on
Add Recipient
under the To section to select the contacts to whom you wish to send your email campaign.
-
You can select the recipients by clicking either of the following options:
-
Lists - Various lists from your organization can be selected. Contacts in the lists will be added as recipients.
-
Segments - Various segments from your organization can be selected. Contacts in the segments will be added as recipients.
-
Tags - Various tags from your organization can be selected. Contacts associated with the tags will be added as recipients.
-
Custom - You can define your own criteria, and contacts that satisfy those criteria will be added as recipients.
-
Select
your target audience from the dropdown menu. You can exclude specific contacts by turning on the toggle icon adjacent to the Exclude Contacts option. This enables you to exclude contacts to whom you don't want to send the campaign.
-
Click Save.
-
Under the Subject section, click Add Subject to add a suitable subject line.
-
Enter a suitable subject for the email campaign. You can use merge tags to customize your message for each of your contacts by clicking the Personalize button.
-
Enter a suitable pre-header line in the Pre-header text field if you wish. You can enter a maximum of 150 characters in both the fields.
-
Click Save.
-
Under the From section, click Add Sender Details.
-
Enter the name and email address.
-
Enable the Use different reply-to address toggle. Enter an email address to which you want to receive the replies to this email campaign.
-
Enable the Track replies toggle to track your replies.
-
Click Save.
If the contact was imported from Zoho CRM, you can personalize the sender details by clicking the Personalize button. Now, the name and email address of the CRM lead owner, who owns the contact will be filled automatically.
This feature is available only if your CRM account is integrated with Zoho Marketing Automation and the contacts are imported over a sync.
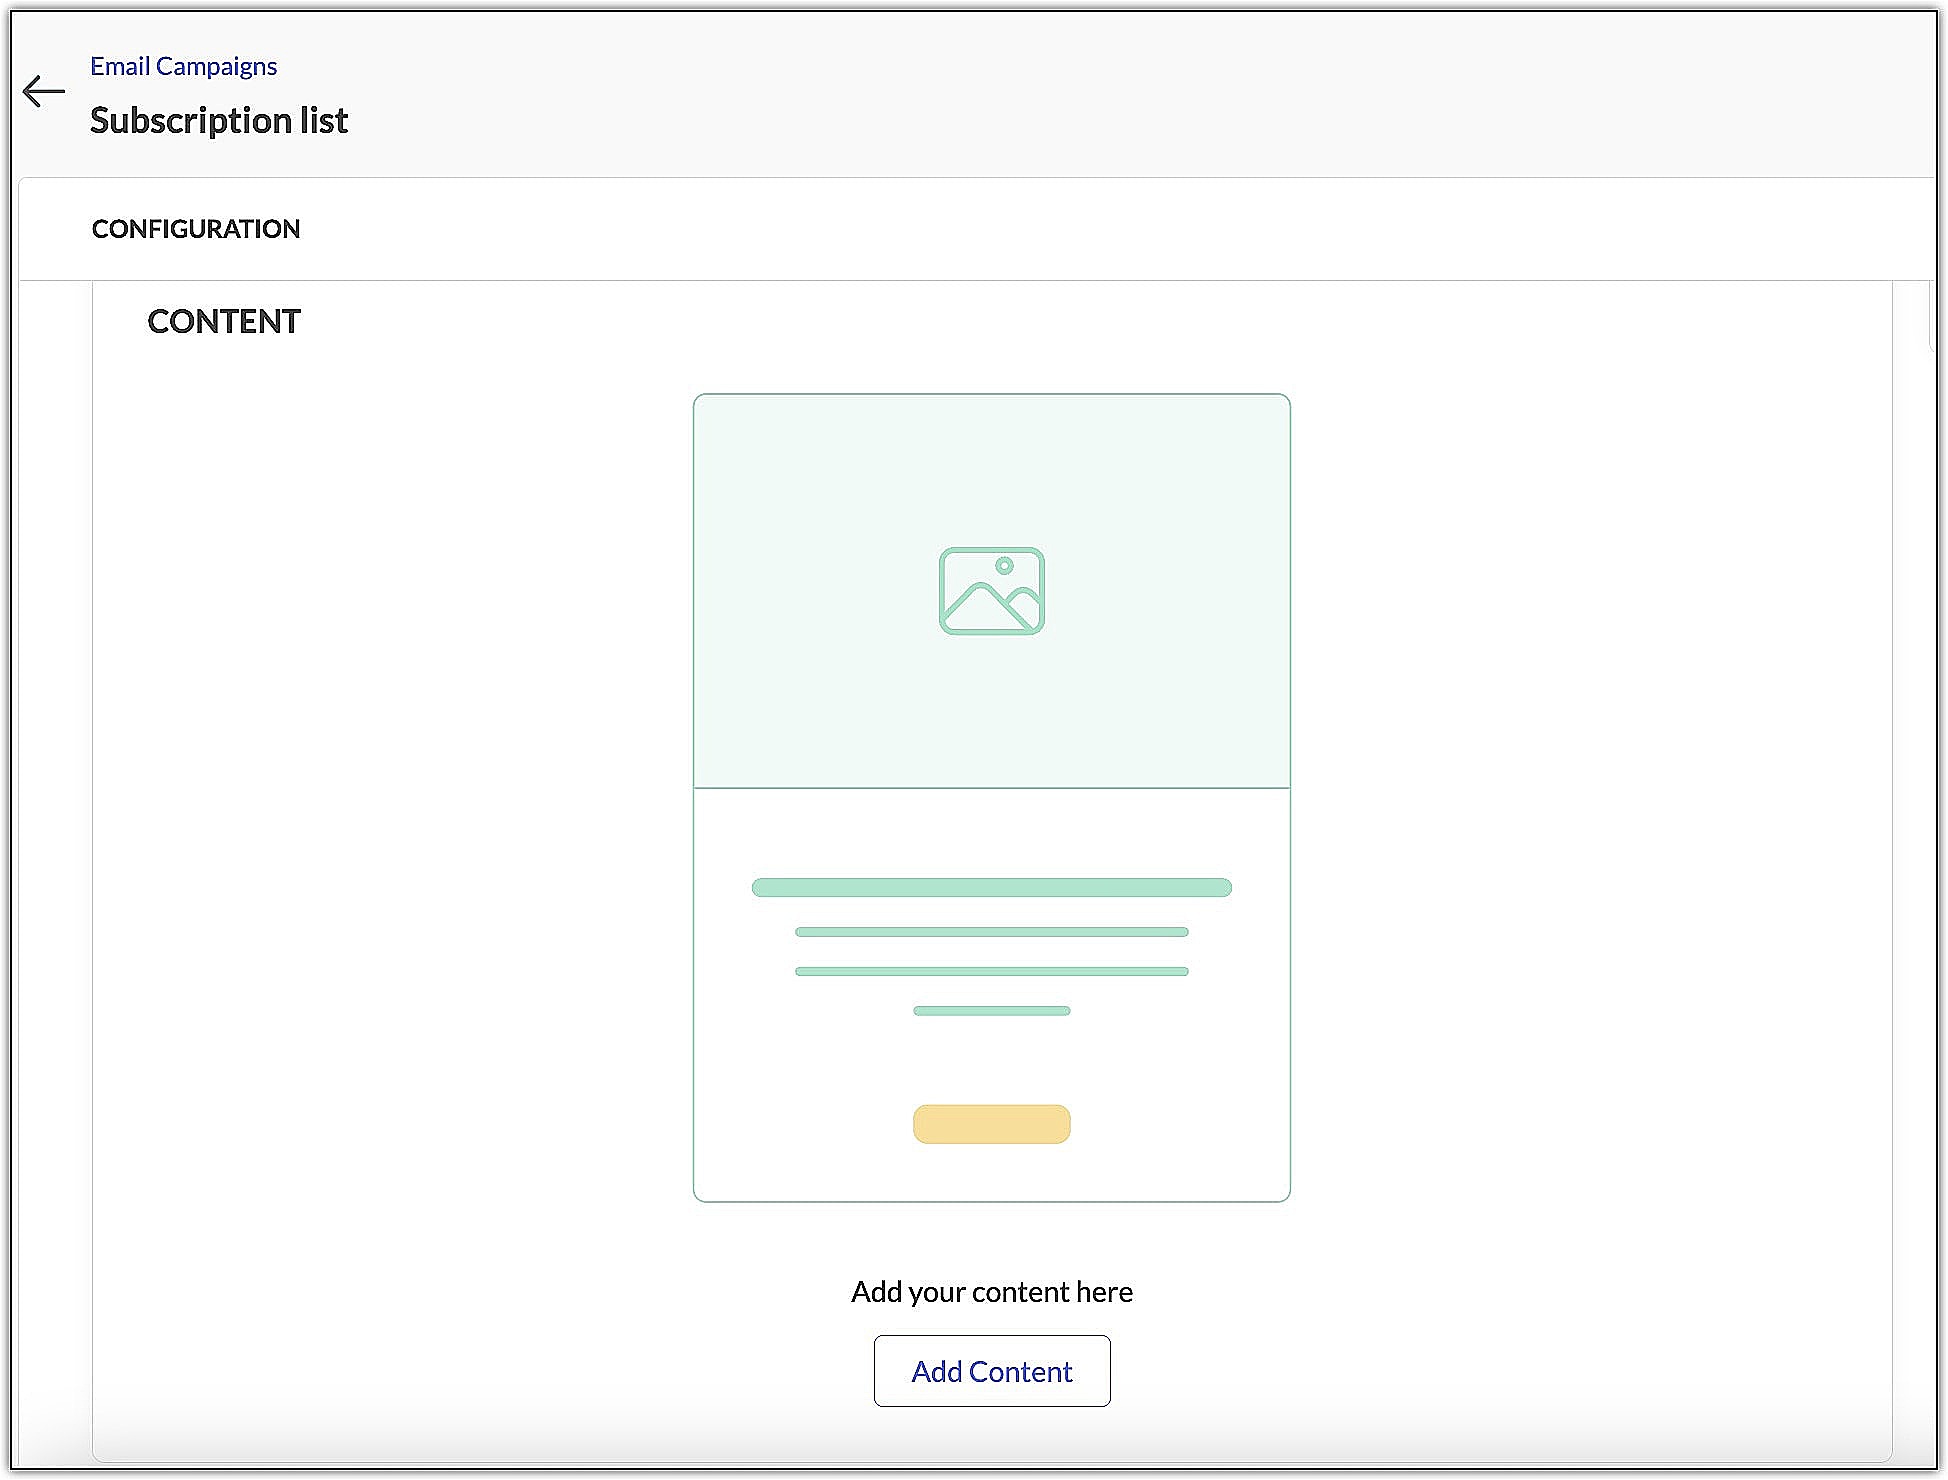
To add content to your campaign, click Add Content under the Content section.
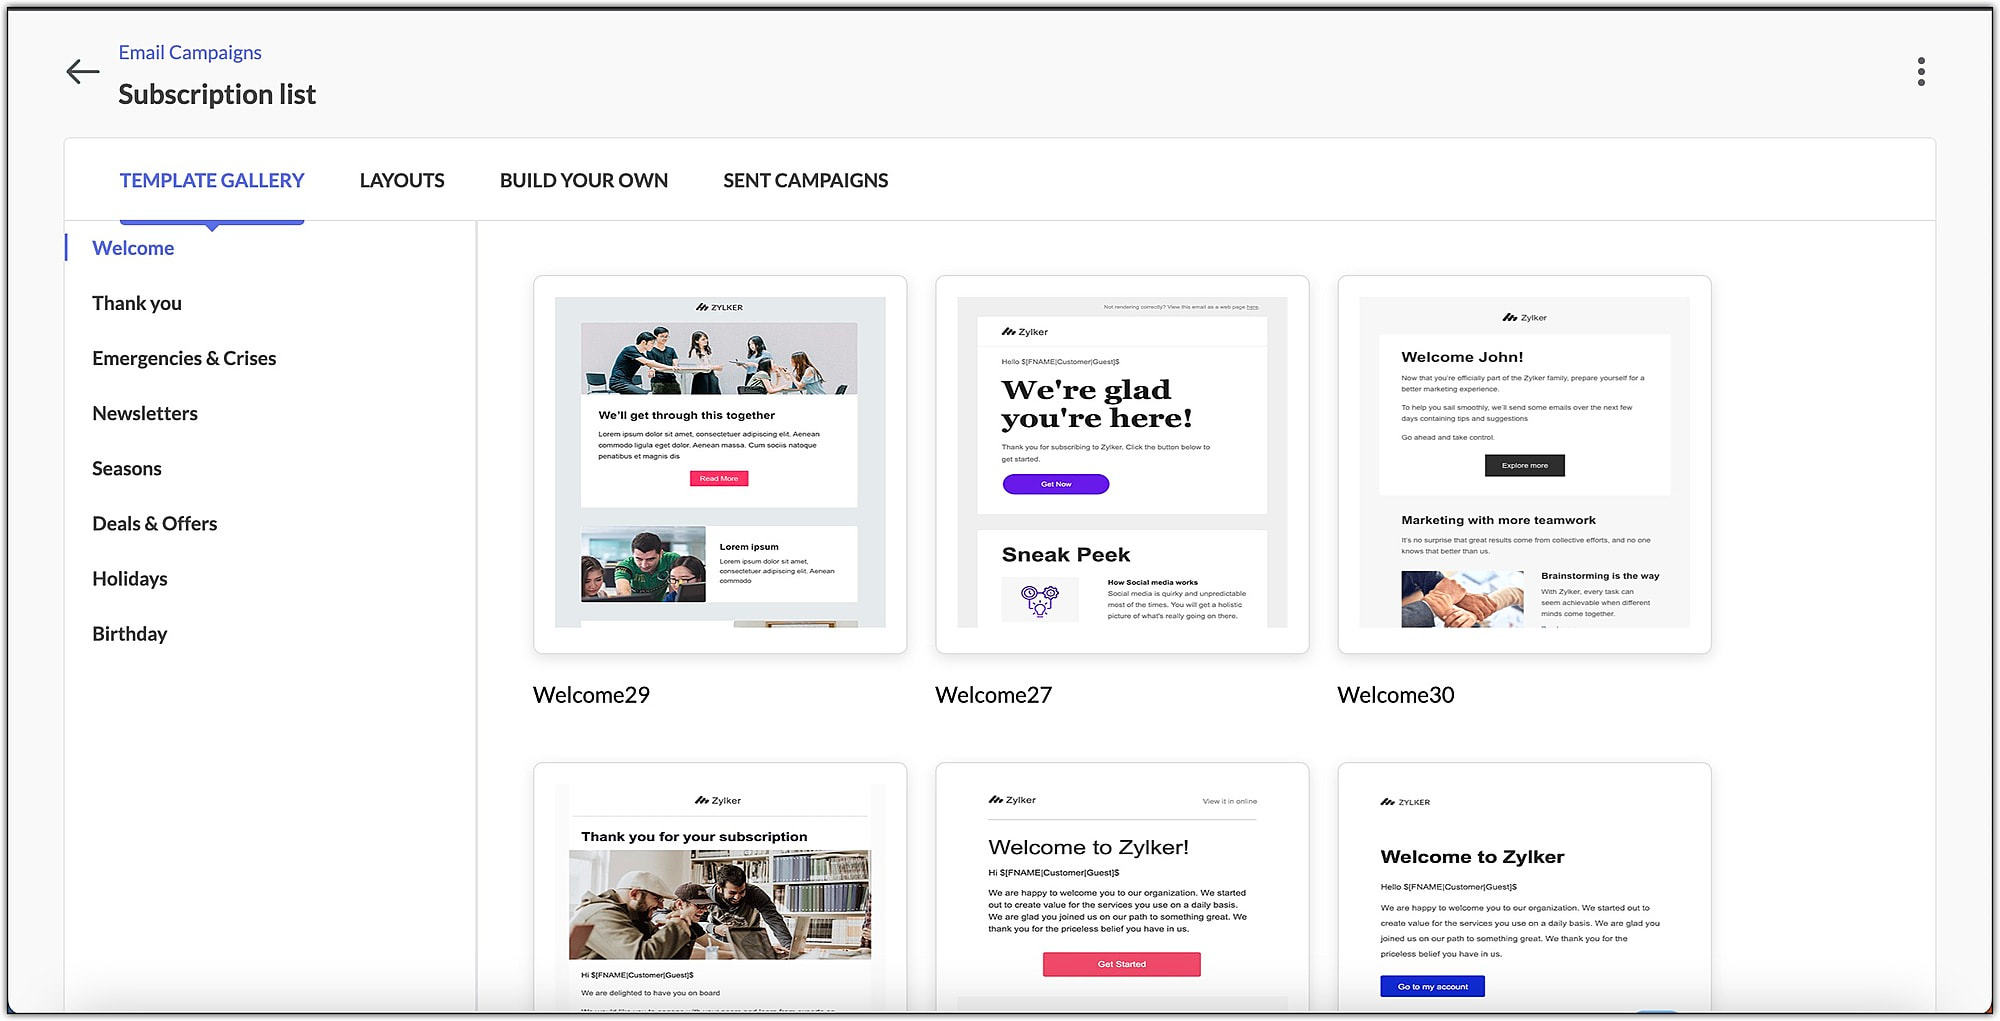
You can design your campaign with the help of Template Gallery, Layouts, Build your Own or Sent Campaigns. After adding the content, click Save and Proceed.
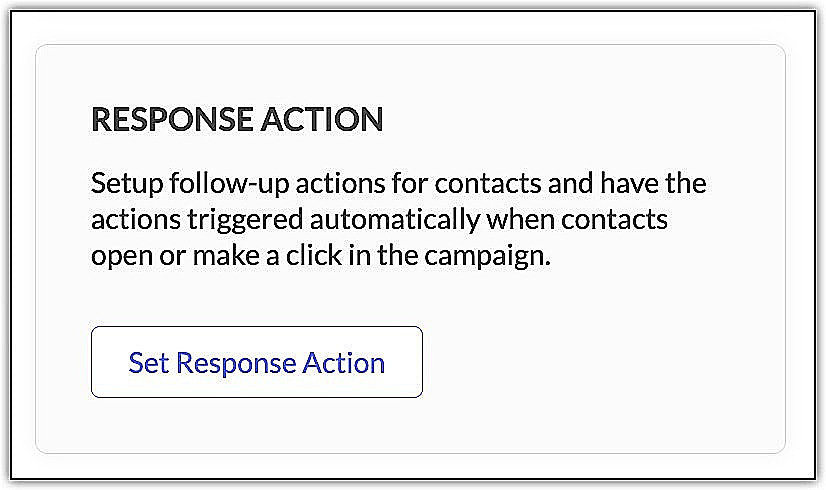
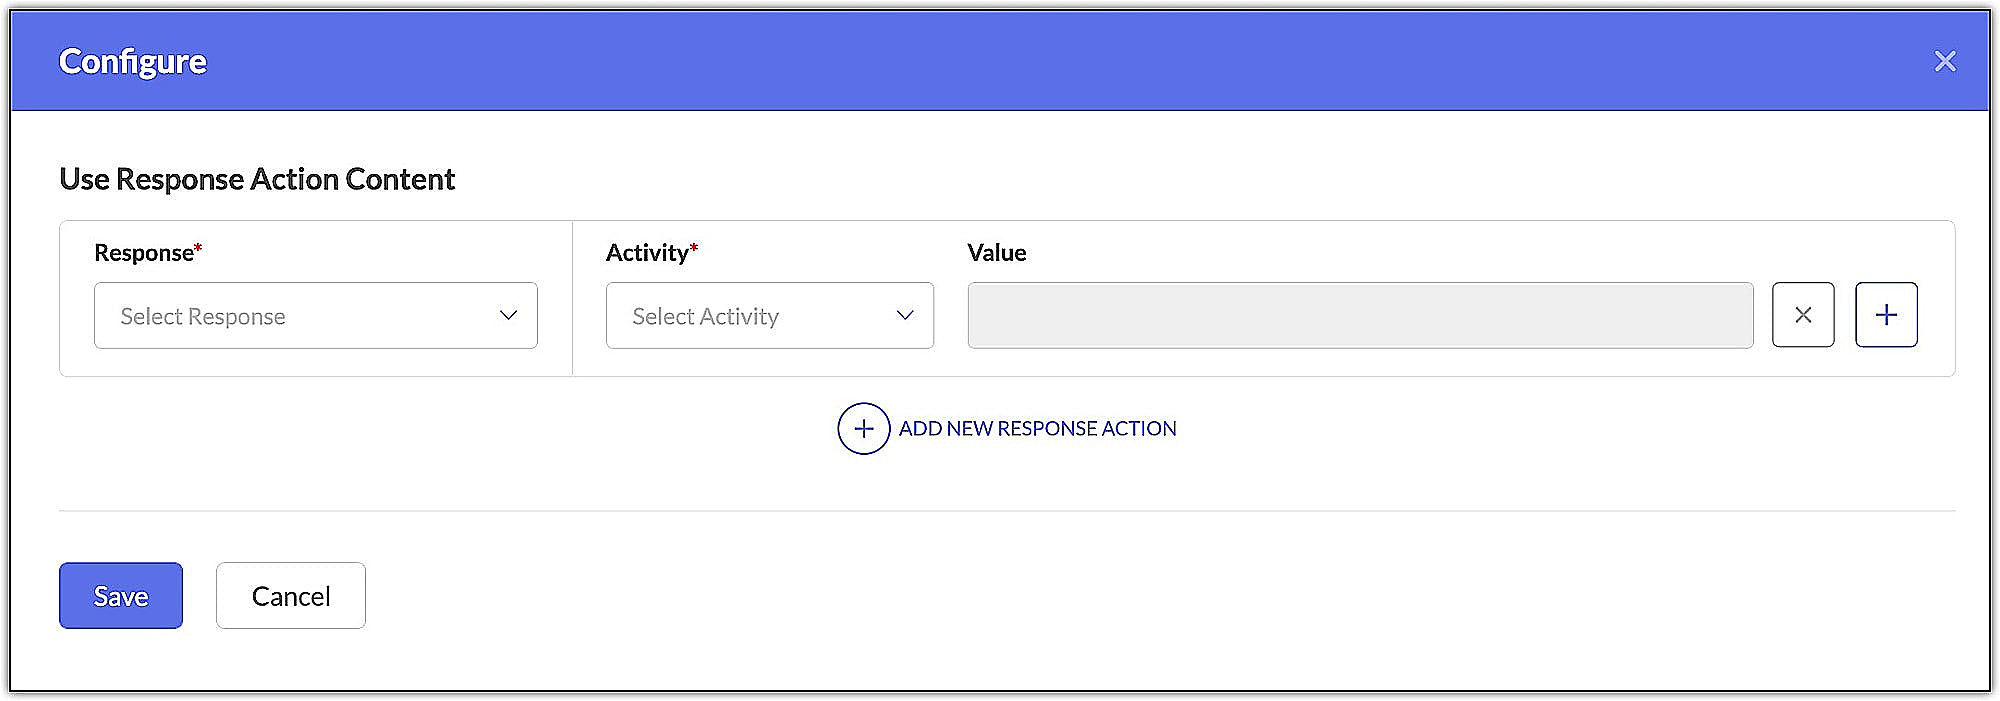
To set a response action, click Set Response Action in the Response action section. This helps you send responses automatically to those recipients who have shown any activity, such as link click, email opened, etc., on the email campaign.
Set the criteria for the response action and click Save.

You can perform A/B testing in the configuration page where you can create and test two completely different versions of your campaign to a small section of your recipients. With that, you can send the version of the campaign that performs better to the remaining recipients.
Conduct an A/B test
To perform an A/B test:
Enable the A/B Test toggle in the configuration page.
Configure the required settings; i.e choose the percentage, test duration, and select a winner metric.
You should also select an action to be performed if the results that emerge are inconclusive.
Click Save.
Navigate to the Variation B sub-tab and create a new campaign. Here, you can perform the test against a completely different version or just the required part(s) of the campaign by enabling the Use Variation A toggle present in each field—namely subject, sender, or content. Once you enable this, the data in Variation A will be copied to the Variation B campaign.
Send a test email
To send a test email:
Click Test email once you've designed your content.
In the Select email address field, enter the email addresses to which you wish to send the test email. Click Send. You can send the test email to a maximum of 5 email addresses at a time.
Send an email campaign
To send an email campaign:
Click Review and Launch at the top right corner of the configuration screen.
Configure when to send your campaign. You can send it immediately or schedule it for later.
Select Send immediately. Here, you can select any one of the following:
Send now - Send your campaign right now.
Batch sending - Segment your contacts into smaller batches and send your campaign at specified time intervals. This controls your website traffic and prevents potential strain on your server. To do this, you need a minimum of 200 contacts.
Optimal open time - Send your campaign at a time your recipients' will likely open their emails. This will be calculated based on past open time patterns for each recipient. If an optimal open time is not found for a recipient, your campaign will be sent immediately.
Click Send for Review.
You can only pause an email campaign after it is sent.
Schedule an email campaign
To schedule an email campaign:
Click Review and Launch in the top right corner of the configuration screen.
Select Send later.
Select the date, time, and time zone to schedule the campaign.
Select a schedule type. Apart from batch sending and optimal open time options, there's an additional As per recipient's time zone type, by which you can send the campaign at the desired time in the recipient's time zone.
Click Send for Review.
You can edit your email campaign before the scheduled time. Once the campaign is reviewed and approved by our content compliance team, it will be sent at the intended time. Reports will be available on the Reports tab, which shows analytics relevant to the campaign.