How to set up sync with Salesforce
Salesforce is an online sales CRM software for managing your business sales processes. Integrating Zoho Marketing Automation with Salesforce will allow you to sync contacts from Salesforce, engage them consistently and make them sales-ready.
Set up sync
- Click Settings icon on the top-right corner of the screen, then click Apps under Integrations.
- Click Salesforce under Connected Apps. Click Create sync button.
- Select a module to sync: Contacts, Leads, or Custom modules.
- Select a mailing list if required to which you intend to sync the contacts. All the synced contacts will be available in the selected list as well as in the All contacts module of Zoho Marketing Automation.
- Select a topic if required to associate your contacts with a relevant topic you intend to communicate with them.
- Select a lawful basis. This option will be available only if you've opted to comply with GDPR in your Zoho Marketing Automation account settings.
- Schedule a Sync time to sync the records periodically. However, the first sync will be initiated immediately as soon as you initiate a sync.
- Enable Update empty field value toggle if required. By enabling this, values of mapped fields removed in Salesforce will also be updated with empty values in the respective field of Zoho Marketing Automation.
- Enable the necessary toggles under Advanced options depending on your sync requirement.
- Click Next and proceed to map fields.
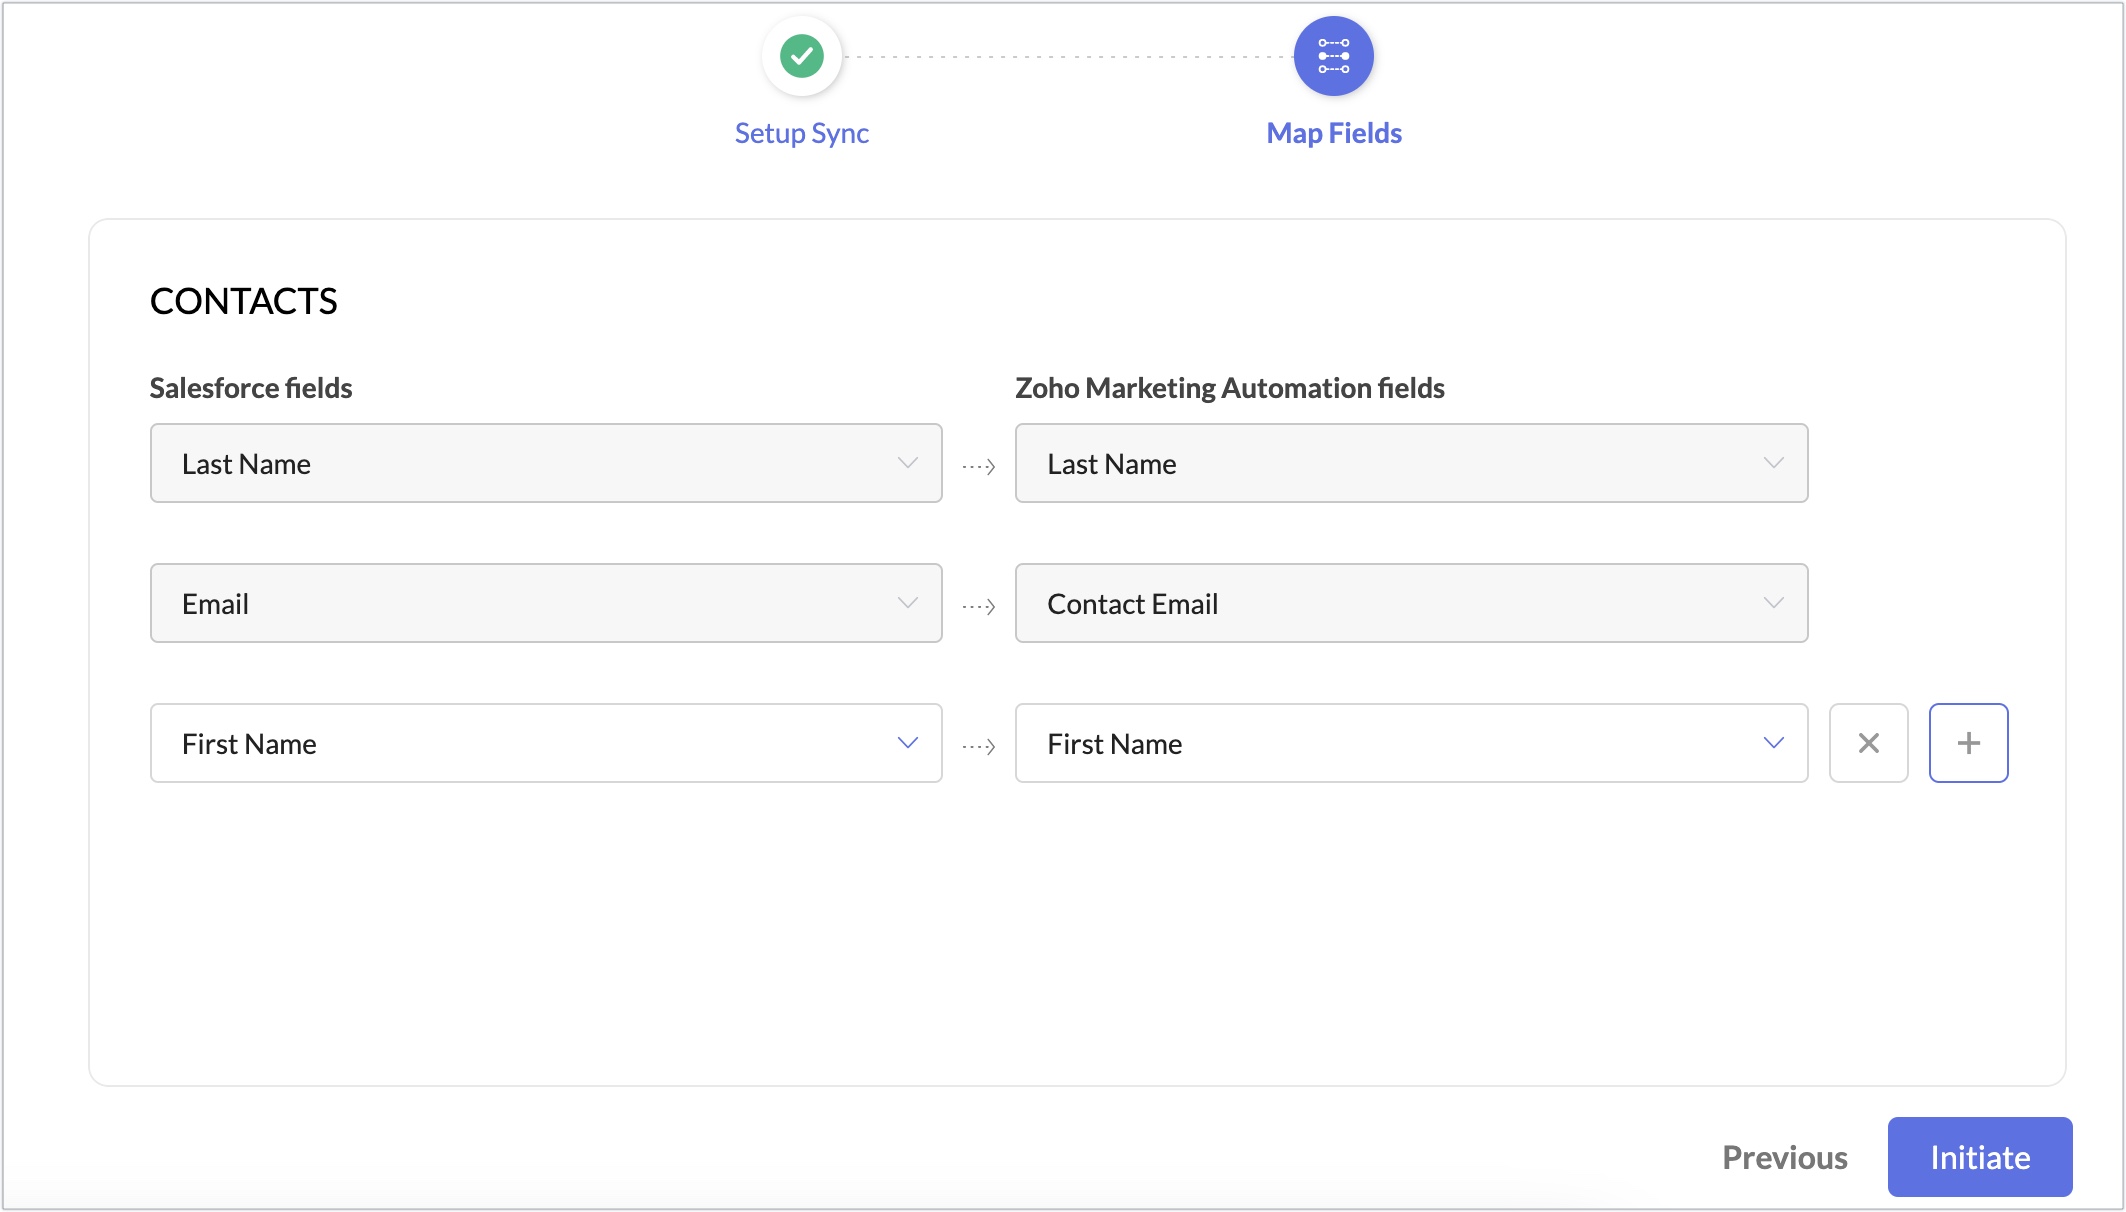
Map fields
Map your contacts Salesforce fields to respective Zoho Marketing Automation fields to import the contact information. Click (+) icon to map your custom fields.
Click Initiate.
Sync Detail View
To see the detail view of the sync,
- Click Settings icon on the top-right corner of the screen, then click Apps under Integrations.
- Click Salesforce under Connected Apps.
- Click on the sync name to see the sync detailed view. You can create a new sync or disconnect the integration by clicking the respective buttons in the top right corner of this screen.
Edit Sync Configuration
- Click Settings icon on the top-right corner of the screen, then click Apps under Integrations.
- Click Salesforce under Connected Apps.
- Click on the sync name to see the sync detailed view.
- Click Edit icon and edit the required details. You can edit Advanced Settings by clicking Edit icon in the respective section.
- Edit data and click Save.

You can pause/reinitiate the sync by clicking the respective buttons in the sync detail view page.

Edit Mapping
- Click Settings icon on the top-right corner of the screen, then click Apps under Integrations.
- Click Salesforce under Connected Apps.
- Click on the sync name to see the sync detailed view.
- Navigate to Field Mapping tab.
- Edit data and click Save.
View sync history
- Select the desired sync in sync listing view.
- Navigate to Sync history tab.
- Here you can see a detailed view of your sync list:
- Sync time - The time at which the sync was performed.
- Total records - Total number of contacts synced at the given time.
- Added - Number of new contacts added at the given time.
- Updated - Number of existing contacts updated.
- Skipped - Number of contacts not synced since they didn't match the sync criteria.
You can export your skipped contacts as a .csv file by clicking the export icon next to the skipped value.