Portal management
Zoho Marketing Automation has four roles by default: admin, manager, editor, and viewer. Each role's access and permissions vary slightly. You can view a detailed description of how each role varies by viewing the Roles and Permissions help article.
In this user guide, we'll walk you through how to perform operations such as how to inviting your colleagues, creating and assigning roles, removing a user from an organization, and much more. Admins can create different custom roles and assign permissions for those roles according to their requirements.
User statuses
In Users tab, you can find out what the status of your users is. There are seven different statuses,
- Active – The user is an active member in your organization and has the access to it.
- Pending – An invite has been sent to the user to join your organization.
- Blocked – The user's access to the organization is blocked, as the user has ignored the invitation emails twice.
- Ignored - The user has ignored the invite, which means they've clicked the Ignore button in the invitation email.
- Re-invited - The user has been sent a second invitation email.
- Declined - The user has ignored the invitation email the first time.
- Inactive - The user has been marked inactive and cannot access Zoho Marketing Automation.
Portal level roles
As mentioned above, you can manage multiple workspaces within a portal. When you migrate to the new user management setup, roles are allocated within a workspace and there are couple of portal level roles, as well. Though the roles in portal and workspaces might not be exactly the same, the privileges they have depends on the role assigned to them by the portal admin.
The portal level roles are:
Admin
An Admin can create a workspace, add users, and grant them different levels of permissions. They will have access to all workspaces and can perform any activity on any workspaces within the portal. An Admin can perform the following actions in an account,
Account defaults:
- Manage domains (website)
- Signup pages and emails
- Double opt-in
- Brand settings
- Manage portal settings
- Email tracking
- Compliance settings (GDPR & HIPAA)
- Email limits
- Domain authentication
- SMS settings
- Settings >>Channels >>Whatsapp
- Organization level webhook
- Manage workspace
- Audit logs
- Notifications
Integrations:
- Connect or re-connect integration
- Deny Integration
- Activate syncs (create, edit, and delete)
- Edit Settings
Portal users:
- Manage users (add, edit, and delete)
Roles and permissions:
- Create, edit, view, and delete roles
Manage workspace:
- Create workspace
- Inactive or delete workspace
- Add workspace custom role
- Edit workspace custom roles
- Delete workspace custom roles
Subscription
- Manage subscription (upgrade and downgrade)
- Close a portal and organisation
Topic management:
- View and access topics
- Create topics
- Edit topics
- Delete topics
Lead qualification:
- Lead scoring
- Lead stages
Settings – Web (includes CookiePolicyBanner and SmartUrl):
- Create, view, and edit
Settings – SMS:
- Set Unsubscribe handling for SMS
- Select default phone field
Member
All users in the portal apart from the admin are referred to as a member. Any new user added to workspace or portal with any role (except Portal Admin) will be mentioned as Member under Workspaces.
Actions admins can perform
Add Users
Only an admin can invite users, who are added to the organization as soon as they accept the invitation. A user can be associated with more than one workspace, which can be configured while adding them. To invite a user, follow these steps:
- Click Settings in the top right corner of the screen.
- Click Portal Users under Users and Controls.
- Click Invite User.
- Enter the email address, name and role for the user.
- Click Invite.
Change roles
To change the role of a user, follow these steps:
- Click Settings in the top right corner of the screen.
- Click Portal Users under Users and Control.
- Click More beside the respective user and click Change role.
- Change the role of the user. Click Save.
Remove users
To remove a user from the organization, follow these steps:
- Click Settings in the top right corner of the screen.
- Click Portal Users under Users and Control.
- Click More beside the user and click Remove User.
- Click Remove in the popup that follows.
Activities that can be done by members (non - admin)
View the list of portal users
Users can view a list of other users in the portal by following these steps:
Click Settings in the top right corner of the screen. Click Portal Users under Users and Control. View the list of users in the portal. 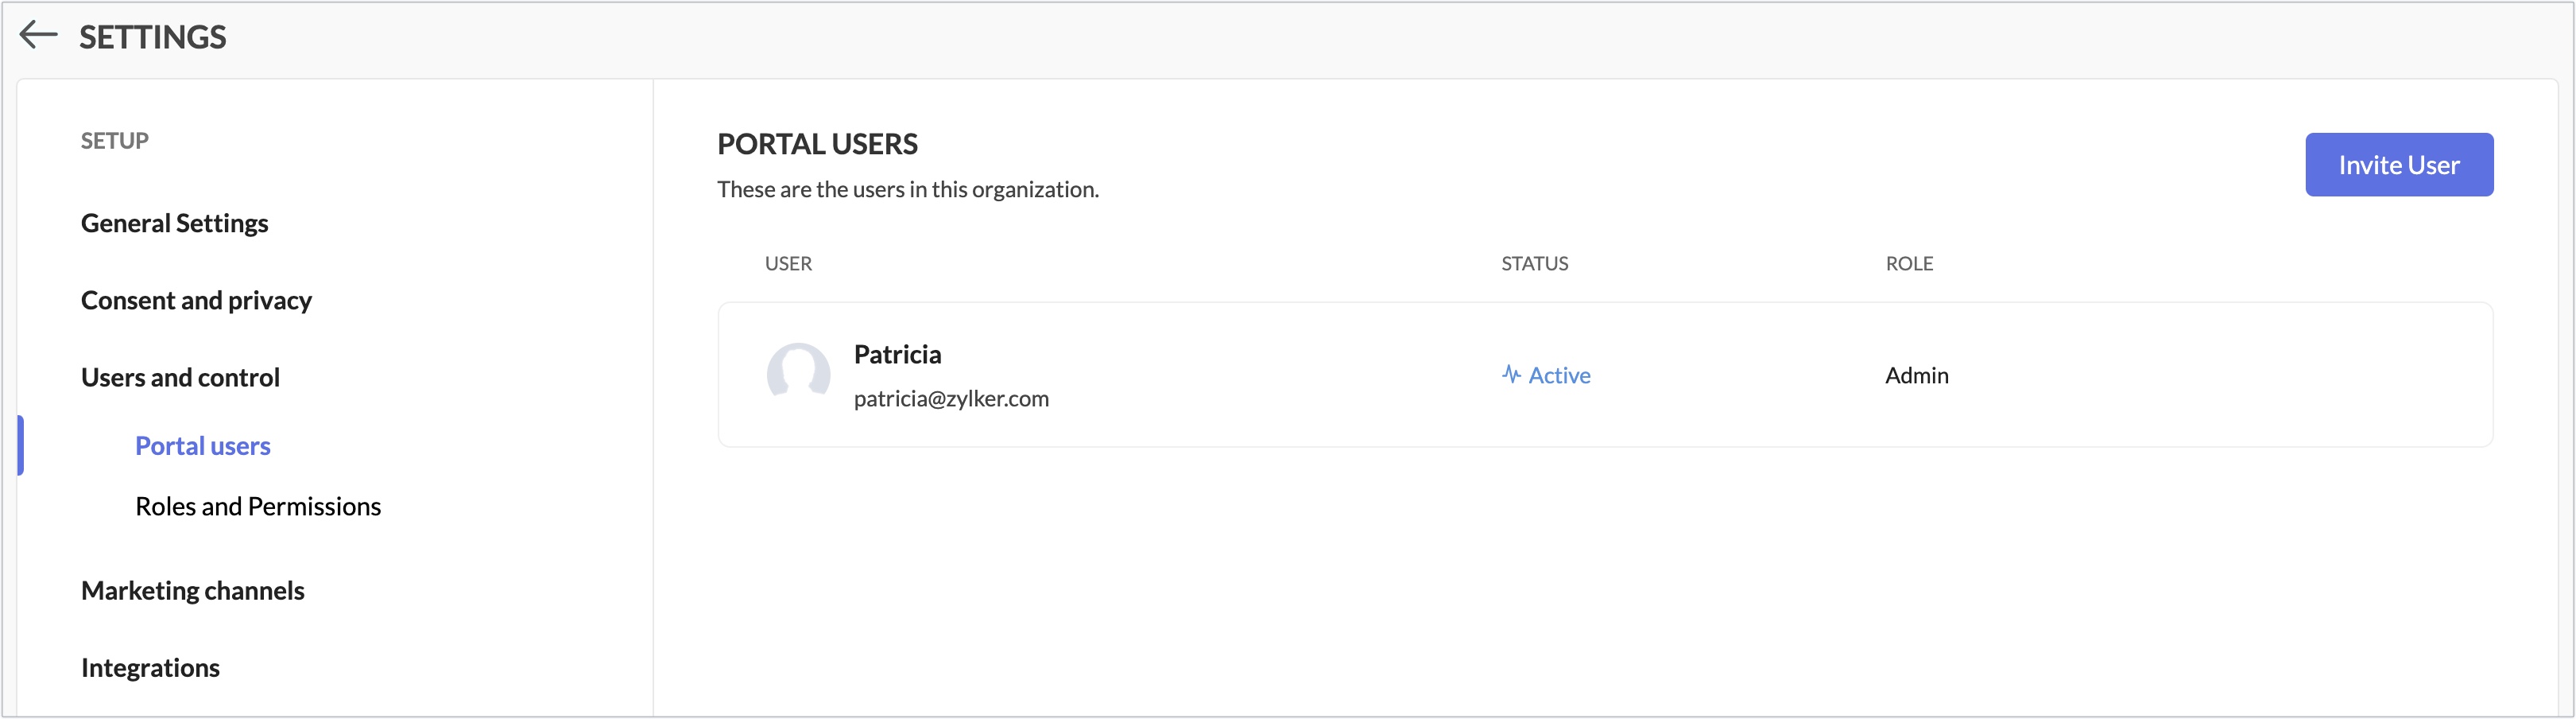
Switch between portals
Zoho Marketing Automation enables you to connect to multiple organizations through portals using a single account. Portals eliminate the need for creating multiple accounts and allow you to efficiently oversee and organize different organizations within Zoho Marketing Automation using just one account. To access an organization's portal, you must be invited by its administrator. You can use portals to be a member of multiple organizations using a single account, switch between those accounts by switching portals, and assign a default portal. You can be a part of and access multiple portals.

Note
- You can only own a single portal, but can be a part of multiple portals.
- You cannot use the same email address as the sender address to send email campaigns in all the portals. This is to avoid blasting multiple emails from different portals using the same sender address, which might affect the deliverability rate of the organization. There is also a chance that email services might consider it as spamming. You need to use different email addresses for each portal if you intend to send an email campaign using your account in a different portal.
Follow the steps given below to switch between portals:
- Click the Profile icon on the top right.
- Click My portals.
- Click on the portal name you've to access, and you'll be redirected to the chosen portal.