Custom authentication with PingOne
- Go to PingOne.
- In the Select Account dropdown menu, select PingOne.
- Enter your email address, then click SIGN ON.
- Enter your password, then click Sign On.
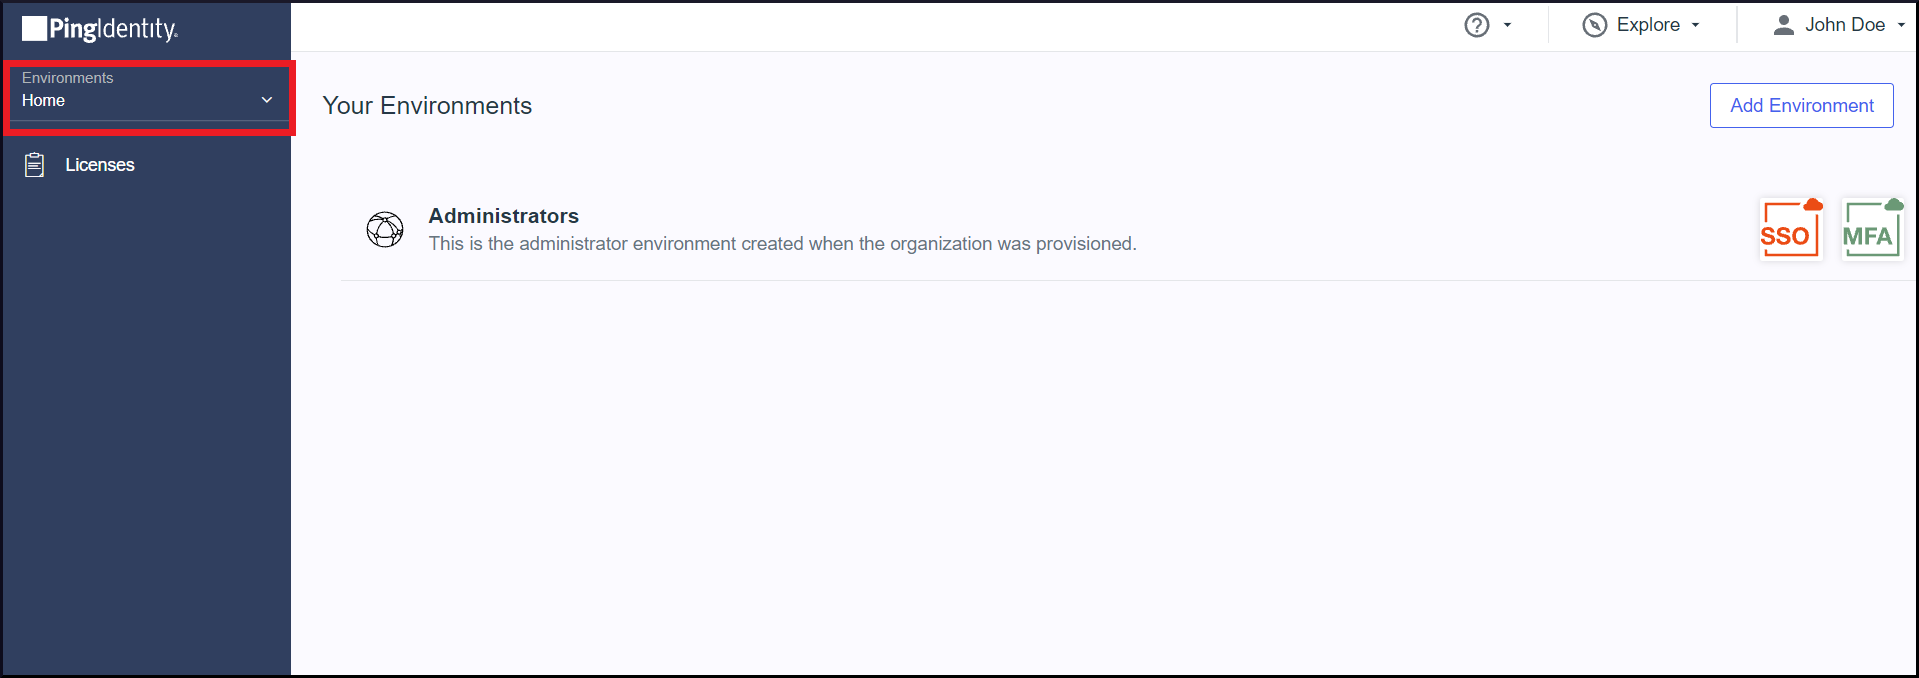
- Click the dropdown menu in the left pane under Environments, then click Administrators.
- Click
 in the left pane, then click
  next to Applications.
- Click ADVANCED CONFIGURATION under SELECT AN APPLICATION TYPE.
- Click Configure next to SAML.
- Enter "Zoho One" in the APPLICATION NAME field.
- Enter a description and upload an icon, if needed.
- Click Next, then select Manually Enter.
- Enter the ACS URL in the ACS URLS field.

Note: You can find the ACS URL in Zoho One's Custom Authentication page. Copy and paste it in the respective IdP to complete the configuration. - Click Download Signing Certificate under SIGNING KEY.
- Select the X509 PEM (.crt) format to be downloaded.
- Enter the ENTITY ID from the following table based on the Data Center (DC) your Zoho One account is present in.
Data Center | Corresponding Entity ID |
United States (US) | zoho.com |
Europe (EU) | zoho.eu |
India (IN) | zoho.in |
China (CN) | zoho.com.cn |
Australia (AU) | zoho.com.au |
Japan (JP)
| one.zoho.com
|
- Select urn:oasis:names:tc:SAML:1.1:nameid-format:emailAddress under SUBJECT NAMEID FORMAT.
- Enter a time duration in seconds (say, 3600) in the ASSERTION VALIDITY DURATION (SECONDS) field.
Note: Assertion Validity Duration is how long a SAML assertion is valid for before it expires.
- Click Save and Continue.
- Select Email Address under PINGONE USER ATTRIBUTE.
- Click Save and Close. You will be redirected to the Applications page.
- Click the Configuration tab.
- Copy the SINGLE LOGOUT SERVICE URL and the SINGLE SIGNON SERVICE URL, then use the information to set up SAML in Zoho One.
- Paste the SINGLE SIGNON SERVICE URL in the Sign-in URL field.
- Paste the SINGLE LOGOUT SERVICE URL in the Sign-out URL field.
- Browse and upload the X509 PEM (.crt) in the Verification Certificate field.
- Go back to the Applications page in PingOne and slide the toggle bar next to Zoho One to enable user access.
Test the SAML connection
- Go to Zoho One.
- Enter your email address, then click NEXT.
- Click Sign in another way.
- Click Sign in with SAML. You will be redirected to sign in through PingOne.