Effortlessly Manage Ticket Visibility with Zoho Desk's Custom Permissions Feature
Requirement Overview
Only selected users (e.g., admins or managers or supervisors) should have access to all tickets in the help center, while other agents should only see their own tickets.
Configuring Help Center Ticket Visibility in Zoho Desk: Step-by-Step Implementation Guide
Step 1: Enable Help Center Ticket Visibility Permissions
Before restricting ticket access, ensure that the Help Center is configured to allow ticket visibility. Follow these steps:
- Navigate to Help Center Settings:
- Go to Setup (⚙️) in Zoho Desk.
- Select Channels → Help Center → Access Settings.
Enable Ticket Access:
Toggle "Allow customers to view tickets in the Help Center" (if customer visibility is needed).
Reference Screenshot:
Step 2: How to Create an Account and Add Users
The next step is to create an account for the department within Zoho Desk's help center. Once the account is created, users will need to be associated with it.
Follow the steps below to complete this process:
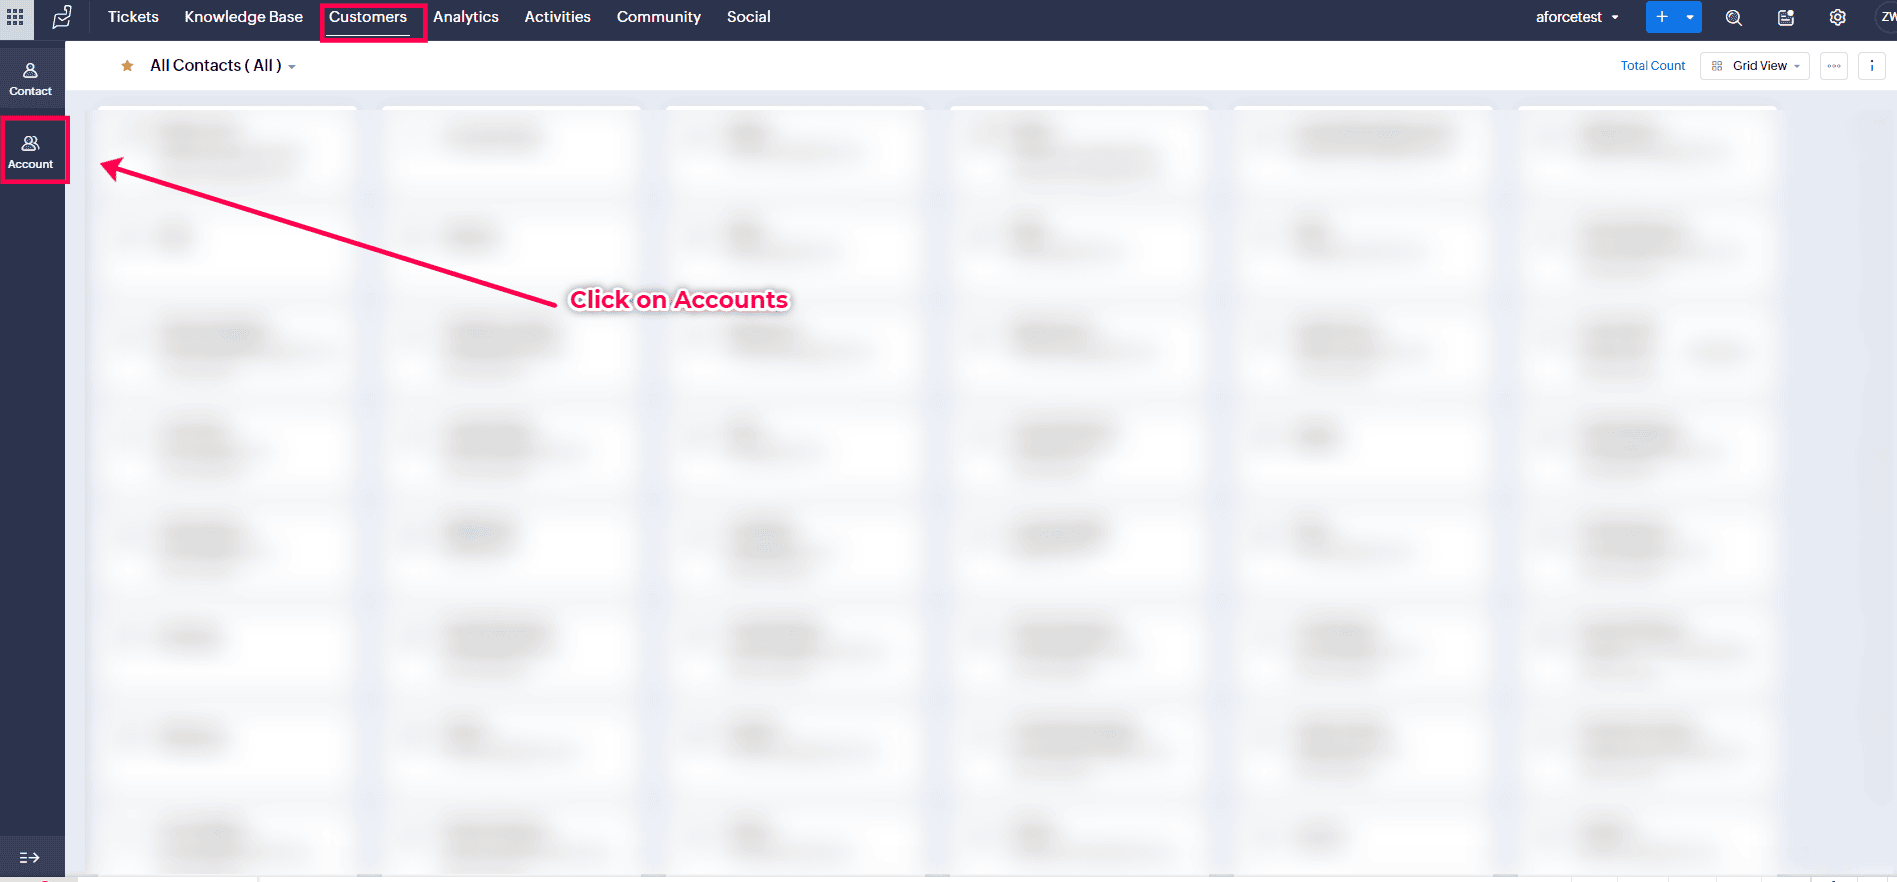
1. Navigate to the "Customers" module of the department within Zoho Desk.
2. Click on the "Accounts" tab to access the account creation page.
Reference Screenshot:
2. Please verify if you have an existing account where you can consolidate all the Contacts from the help center. If not, please create a new account. I have already created an account and added two users to it.
Creating an account: To set up a new account, click on the '+' icon and follow the prompts to create the account. Once the account is successfully created, navigate to the contacts section and search for contacts using their email addresses to associate them with the account.
Reference Screenshot:
4. The user is required to locate the contact information for the help center, specifically the email address, in order to access it easily and search.
Reference Screenshot:
5. After the contacts have been successfully added to the account, they will be displayed as shown in the screenshot below.
Reference Screenshot:
Let's move on to the next step.
Step 3: How to Customize Visibility for a More Efficient Workflow
The user should switch off the button for any users who do not want to see all tickets, but only the ones they have created. This allows the user to control which tickets are visible to certain individuals, ensuring that only relevant information is shared with each user. By toggling off the button for specific users, the user can customize their viewing experience and streamline communication within the ticketing system.
Reference Screenshot:
Disabling the option mentioned above will restrict the user only to view tickets that they have created in their department. Other tickets will not be visible to them.
Step 4: Enable Ticket Access for Selected Users
To allow certain users to view all tickets, the toggle must be turned on.
Reference Screenshot:
Step 5: Test & Verify
- Log in as an User 1 (admin/manager) to verify they see all tickets.
- Log in as User 2 (Agent) to confirm they only see their own tickets.
- In order to ensure the functionality of the setup described above, we conducted a series of tests to confirm that it was working as intended.
- To provide clarity, we added two users to the system - User 1 (admin/manager) and User 2 (Agent). The goal was to grant User 1 access to all tickets created by any user while limiting User 2 only to view tickets that were created by themselves.
- We proceeded with testing by logging into the account of User 2 and checking the number of tickets that were visible to the user. This step was crucial in verifying that the access restrictions were correctly applied based on the user's role.
Reference Screenshot:

Note: Please note that only tickets for other users will be visible under the team's ticket section to users with access.
Testing in the User 1 account to verify if the user can view the ticket created by User 2.
Reference Screenshot:
Step 6: Outcome
- User 1 (Admins/Managers): Can view all tickets.
- User 2 (Agents): Only see tickets assigned to them.
Conclusion:
Based on the observed behavior, evidently, User 1 has access to view all tickets created by other users. On the other hand, user User 2 is restricted to viewing only the tickets that they have created themselves and cannot access tickets created by other users. This distinction in permissions ensures that user User 1 has a broader scope of visibility in the ticketing system compared to User 2.
This setup ensures data privacy while allowing necessary access for support operations.
This setup ensures data privacy while allowing necessary access for support operations.

Custom Solution Created by Abbas | Zoho Partner Support.
If you need any further clarifications, please don’t hesitate to contact partner-support@zohocorp.com.
Additionally, we kindly ask all "Europe and UK" partners to reach out to partner-support@eu.zohocorp.com.