Learner Management
Watch our help video on how to enroll users in a course:
Enroll Users/Groups
By default, all applicable courses and learning plans can be accessed via the Course Catalogue. However, any user can be enrolled into any course by using the Enroll Users / Groups feature.
To enroll a user or a group of users:
- Open any course and go to the Members tab.
- Click Add Members and navigate to Enroll Users/Groups tab.
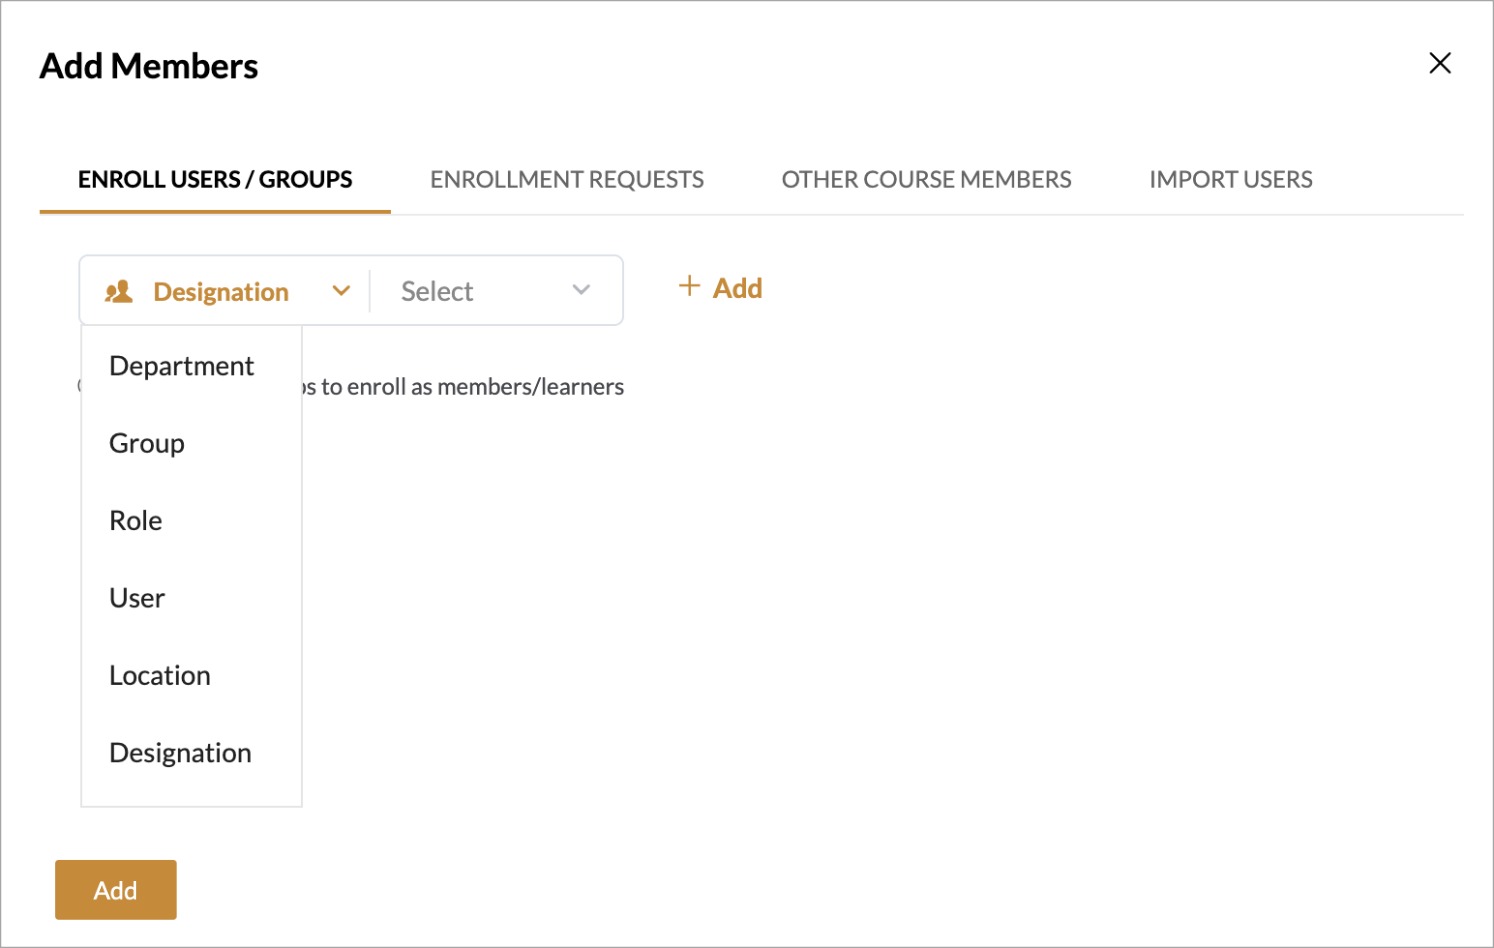
- Using the dropdown, select the desired department, group, role, user, location, designation to add entire groups or select User to add individual users.
- Click Add.

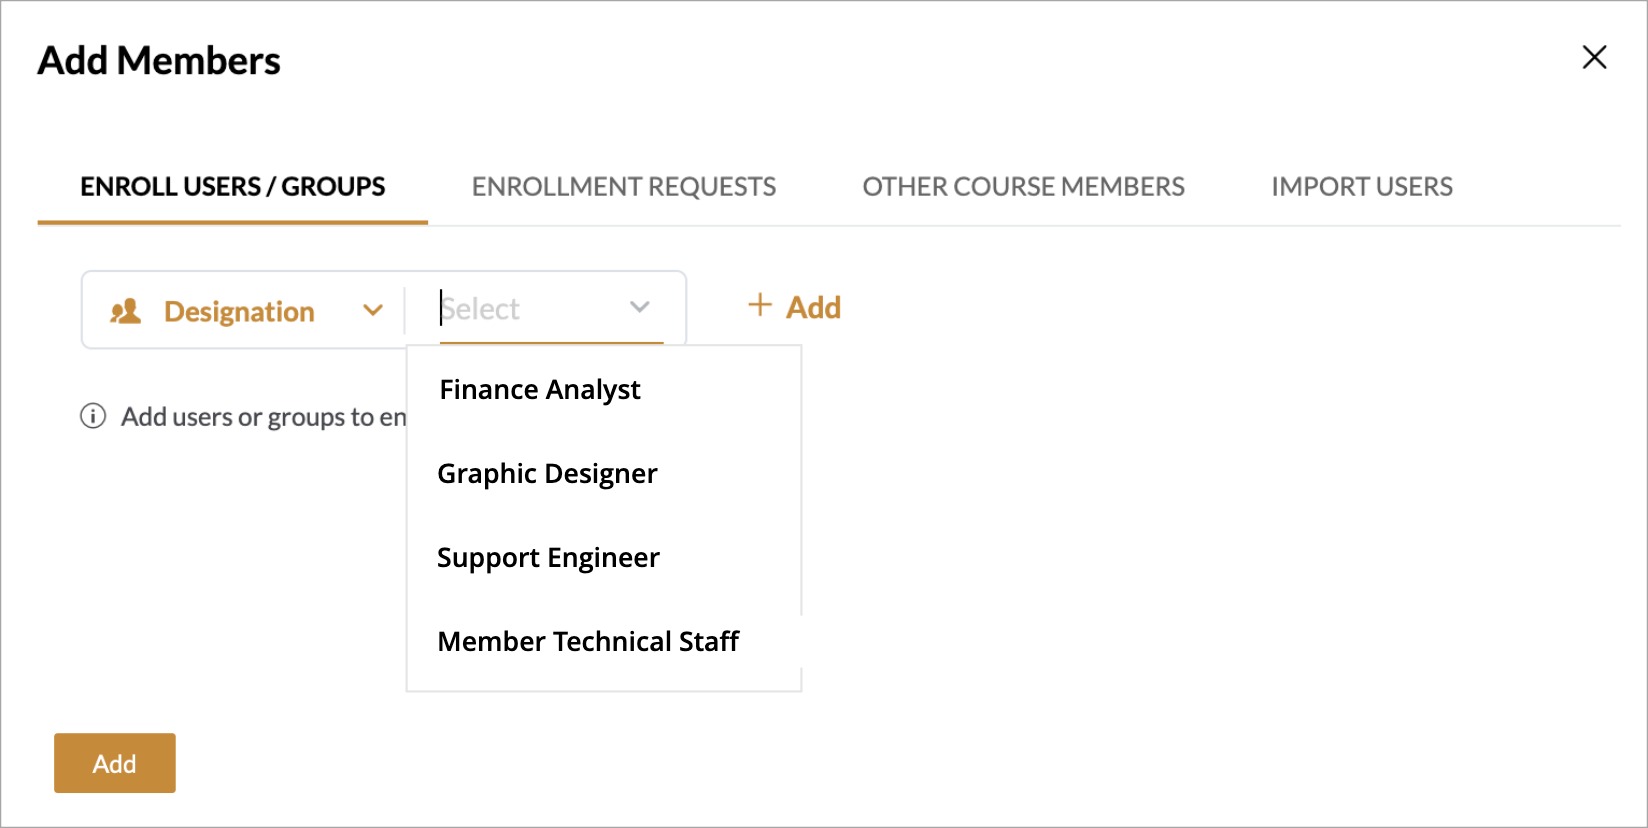
Additionally, the admin can now add users by selecting a Designation in the Enroll Users/Groups tab. This will automatically enroll all users with the selected designation in the course.
Enrollment Requests
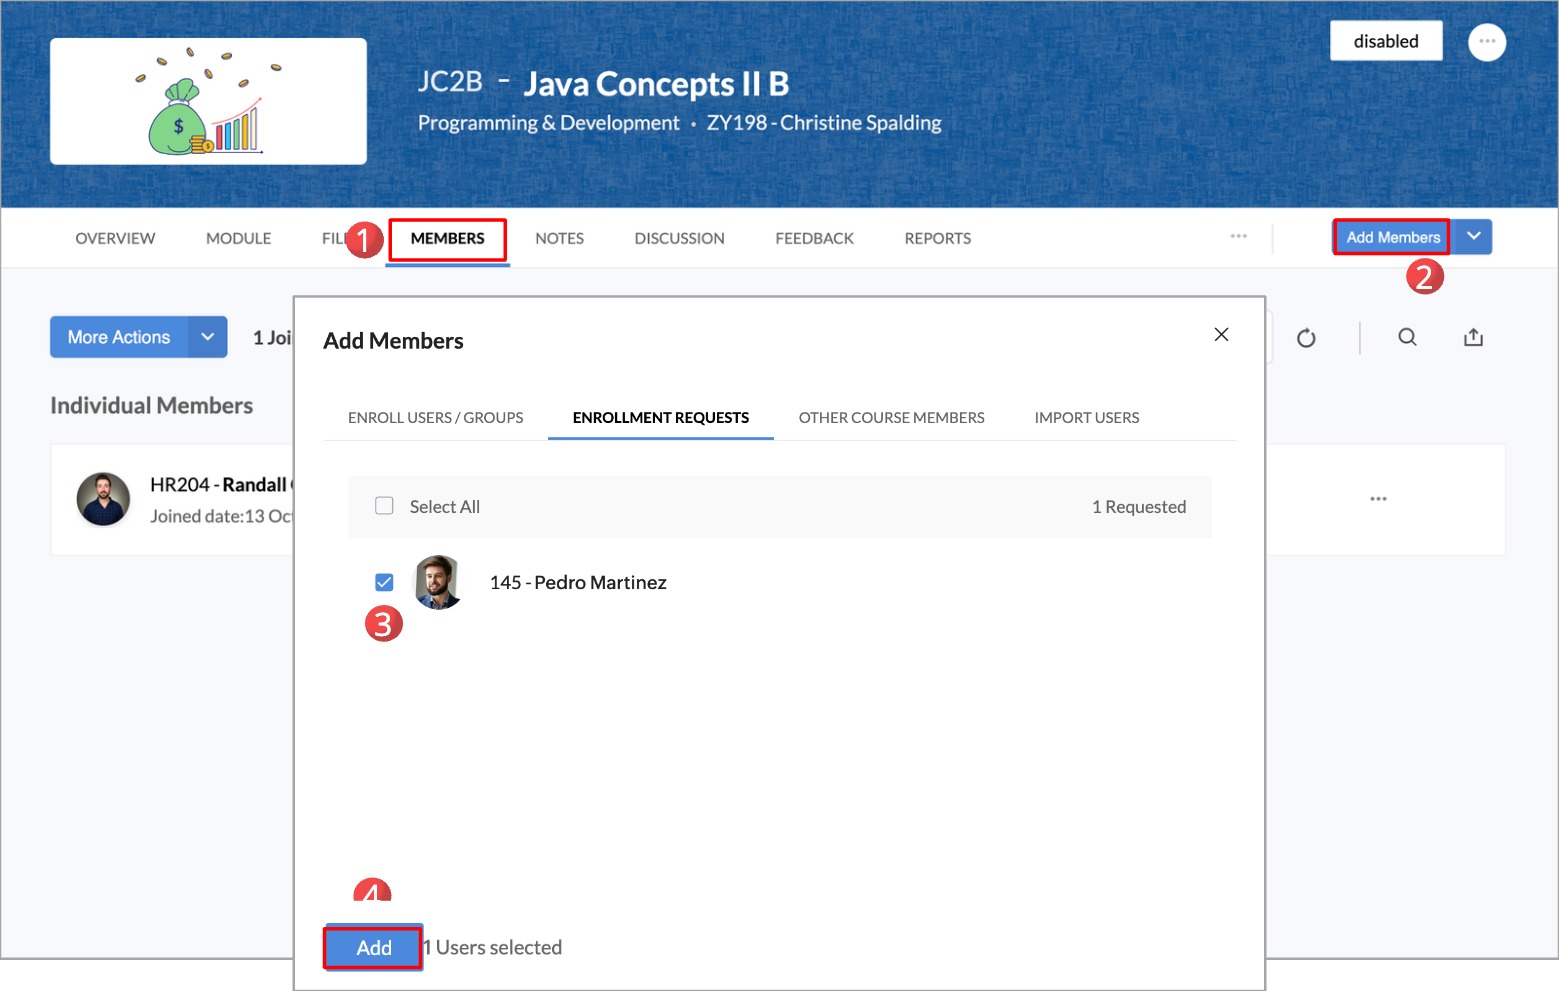
If you wish to add a member who has requested enrollment, you can do so from Add Members > Enrollment Requests tab. You can view all the pending requests and accept multiple requests as well.
Other Course Members
Using the Other Course Members tab, members who are already part of any other course can be directly enrolled in this course.
To add other course members to this course:
- Open the course you wish to add other group members to.
- Go to Members > Add Members > Other Course Members.
- Using the provided drop-down, select a course or batch (if applicable).
- The third drop-down has three options to vary who is to be added from the selected course: All, Completed, and In progress. Make a preferred selection.
- Click Add.
Import Users
The import users feature can be used to add members directly from an XLS, XLSX, or CSV file. This feature can be used in self-paced courses, blended learning courses, and courses within learning plans. In the uploaded file, one of the columns must contain a heading with the keyword "mail" or "email" with the subsequent rows containing the email ID of the employees. Additional columns are optional and can include the employee name, employee ID, etc.
To import users:
- Open any course and go to the Members tab.
- Click Add Members and navigate to Import Users tab.
- Select Upload File to browse and select the file to be imported. If you would like to download a template file, click on one of the file formats shown.
- Once the file is uploaded, click on Add.
Archive Members
Once a learner completes a course, they can be marked as archived. This ensures that all data associated with archived members is final (attempts, grades, etc cannot be further changed).
Here are some important points associated with archived members:
- Archived members will not be included when a course is cloned.
- Archived member's learner data is final. They cannot be unenrolled.
- Members of a course cannot be assigned as course administrators unless they are marked as archived.
- If an archived member is selected as a course administrator, they have access to both learner and admin views, as shown below.
Message Members
You can use this feature to send a custom email message to members of a course at any time.
- To use this feature, open any existing course with members added and click on More Actions > Send Message
- Use the options to filter members to send an email to your intended recipients.
- A list of the filtered members will be displayed.
- Enter a subject and type a message. Click Send Email.
In the example below, a reminder to attend the next session is sent to all absentees of a session (screenshot below).