Creating mobile test cases using editor or builder mode
1. Overview
Zoho QEngine empowers users to streamline mobile application testing by enabling them to create efficient test scripts tailored to their Android and iOS testing needs. For a deeper understanding of how mobile testing works, refer to our Understand Mobile Testing document.
The platform offers dedicated testing environments for both Android and iOS applications. Equipped with a robust test editor, it provides two distinct modes: Editor mode for writing scripts manually and Builder mode for a simplified, visual approach. This flexibility ensures that users can write, manage, and refine their test cases with ease.
Another way of creating test steps is by using the recorder feature. Refer to the recorder document for more details.
2. Writing a test case
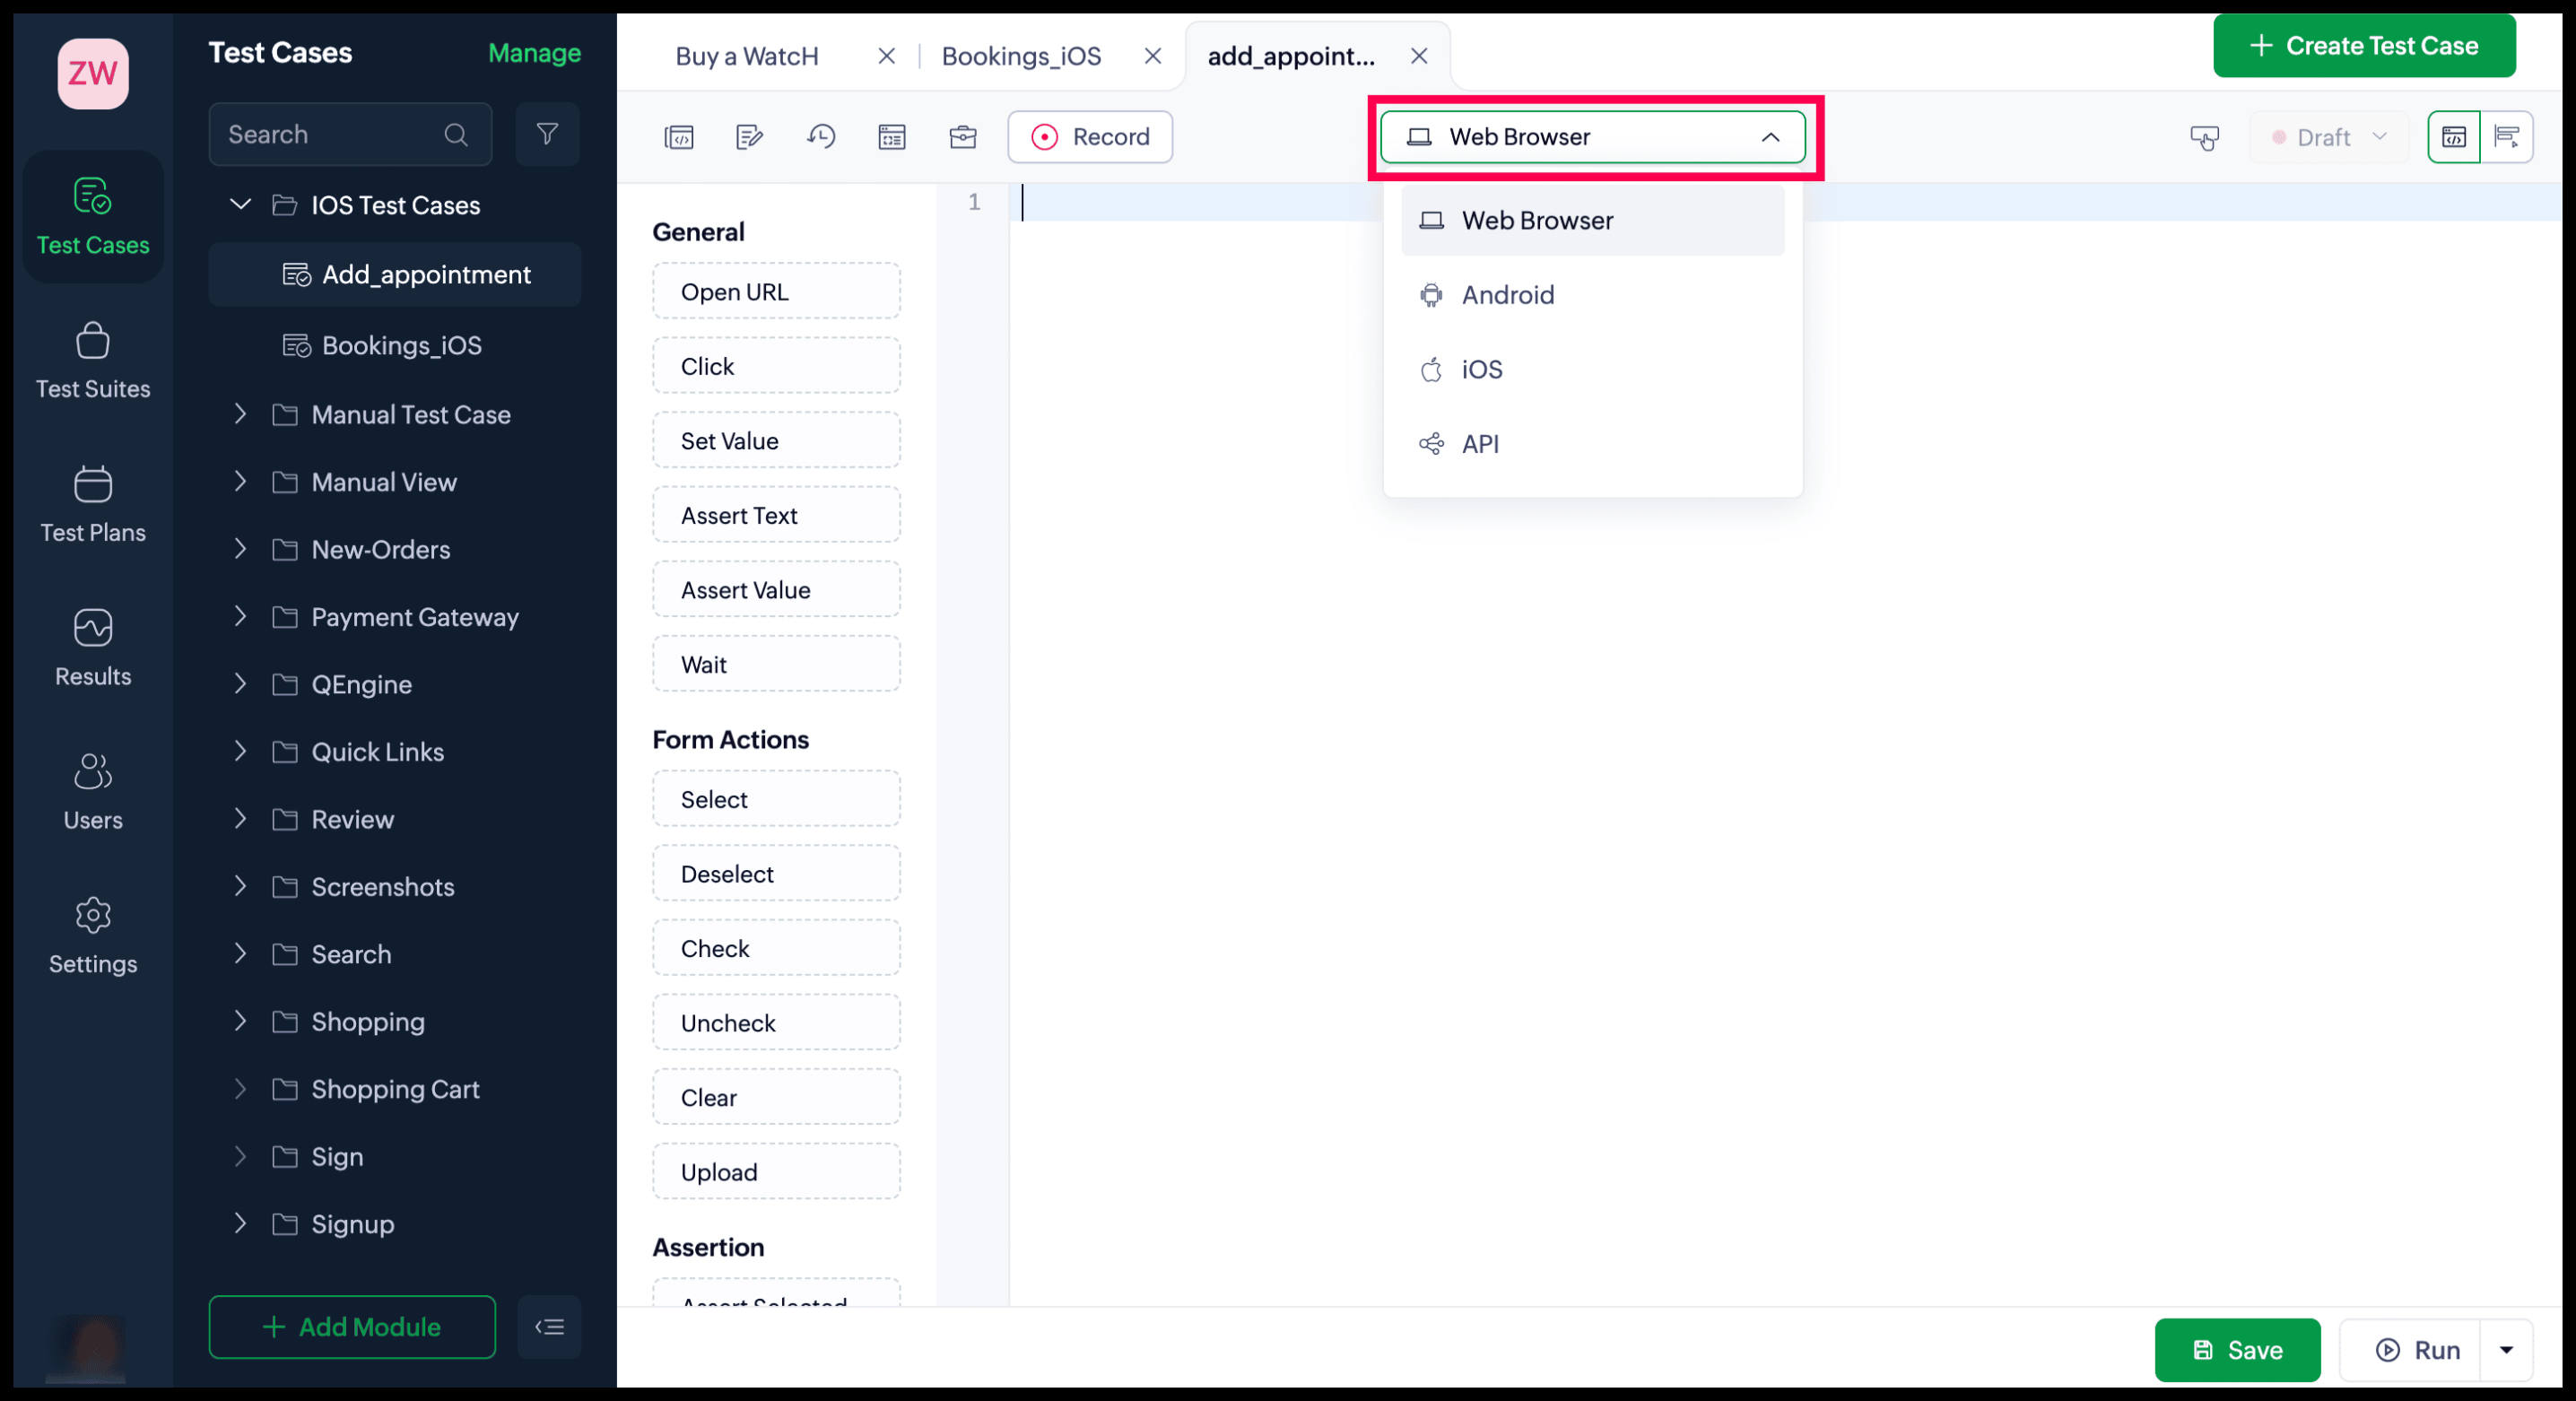
Before writing your test cases, ensure that a test case is created. Once done, switch the platform to either Android or iOS, based on your testing needs.
Then, select one of the two available modes: Editor or Builder mode.
2.1. Editor mode
Editor mode appears by default. Follow these steps to learn how to write test cases in this mode:
- Use the auto-complete feature to create your test cases—either by double-clicking tasks or dragging and dropping them from the task panel into the editor. Alternatively, you can type the test steps manually using the tasks.
- After adding the required task, provide the relevant parameters for them. The parameters can contain the following:
- Elements: Locators for the elements that are interacted with can be set in two ways. The first method is to manually hard-code the locators. To do that, select the desired locator type, and the editor automatically fills in the correct format for that type. After inspecting the mobile application with the mobile inspector, you can copy the locator values.
For example, to use the locator inside theTap task, from the dropdown, choose classname as the type of locator. Insert the class value with the format that auto-filled: tap("classname:XCUIElementTypeCell")
Alternatively, testers can leverage the auto-complete feature by typing "ui." to access the list of created elements.
Additionally, the Refer Elements option allows users to copy, edit, and create new elements. To copy or edit existing elements, select the page name and hover over the copy or edit icons for the required element. To create new elements, click +Add. - Variables: To access the variables created, start typing in the format "$<variable>". This way, you can view the list of all global and environment variables in addition to the system variables that are present by default.
- Functions: The format of a function in a parameter should follow the format:<module_linkname>.<function_linkname>(<parameters>).where,<module_linkname> is the link name of the module under which the function is placed;<function_linkname> is the link name of the function to be invoked;<parameters> is the input values to be passed, if any.
 Notes
Notes- Only functions that return a value can be used as parameters.
- Function arguments aren't mandatory. You can also add them later by editing the test case details of that function. Learn more
- Only functions that return a value can be used as parameters.
Files: Files are supported only for selected tasks. To access saved files, type in the format "files.<filename>".
Click Save to save all changes or edits to the test case.
2.2. Builder mode
To start writing in Builder mode, follow the steps below:
Click Builder Mode.
- Drag and drop the required tasks from the task panel on the left to the editor.
- After adding the task, you need to provide the relevant parameters. Click the argument placeholder on the right. The set expression pop-up contains an input field and provides the option to select the required elements, variables, files, or functions. The parameters can contain:
- Elements: Parameters for the interacted-with elements are defined by selecting locators directly from the element option. Simply choose the element name from the dropdown menu, and the locator automatically populates the input field in the format: "ui.ZWatch.Add_Cart".
Alternatively, parameters can be defined manually by specifying the locators. Use the mobile inspector to inspect the application and retrieve the locator values. Paste the copied values into the appropriate fields, ensuring they adhere to the correct format for the selected locator type. For example, if the locator type is "class name", the format followed inside a task like tap would appear as: "classname:XCUIElementTypeCell".
Additionally, the Refer Elements option allows users to copy, edit, and create new elements. To copy or edit existing elements, select the webpage or application page name, and hover over the copy or edit icons for the required element. To create new elements, click +Add. - Variables: The Variables section includes a list of all global and environment variables, in addition to system variables that are present by default. Select the required variable or type in the format "$<variable>" inside the input field.
- Functions: Function can only be used as a parameter by using the call function task inside the required task. Call function is a dropdown in the case of Builder mode. Select the desired function from the saved list of functions.
- Files: Uploaded files are accessible from the Files section. Select the required file from the saved list of files.
After applying the required parameters, click Done. To save the changes or edits to the test case, click Save.
You’ve now learned how to create test cases using both modes! To preview their real-time execution, ensure the agent is installed and your preferred devices are properly configured and connected.
After testing the real-time behavior of your test cases, you can include them in a test suite and test plan. This enables you to evaluate their interactions with other functionalities and facilitates scheduled testing for more thorough assessment.
3. Related Links
4. What's Next
Next steps
Previous steps
Next steps
Once you’ve written or refined your test cases using Editor or Builder mode, the next step is to execute and analyze them. Head over to the live preview document to learn how to run your test cases and gain valuable insights through detailed reports.
Previous steps
Before diving into writing or refining test cases, it’s essential to familiarize yourself with creating a test case. Refer to the test case recorder document to learn how to create test cases effectively.