Approval SLA
Approvals can sometimes be delayed when approvers do not respond within the expected timeframe. Approval SLA helps you set a deadline for each approver and define automated actions that should take place before, on, or after the deadline.
With Approval SLA, you can set an approval deadline and schedule actions such as sending reminders, automatically approving or rejecting a record, or delegating the approval to another user. This helps keep approval processes moving and reduces delays caused by pending approvals.
Configuring Approval SLA
Configure an SLA to define the time limit for completing an approval. The SLA can be configured for specific approval requests based on conditions, and you can specify the actions to be performed when the SLA is reached.
- Create a new Approval process
- In the Approval SLA section, click Add Approval SLA.
- Approval SLA Settings panel, enter Time to approve - Specify the maximum time allowed for an approver to review and act on the approval . Enter the time limit and select the required time unit from the dropdown.
- Under Escalation Rules, specify when an action should be performed in relation to the approval time limit. You can choose one of the following options:
- Before — Perform the action before the approval time limit is reached.
- On — Perform the action when the approval time limit is reached.
- After — Perform the action after the approval time limit is reached.
- Select the action to be performed when the escalation rule is triggered. The available actions include:
- System Reminder — Sends a reminder email to the assigned approver. You can click View template to view the email template.
- Auto Approve — Automatically approves the approval request.
- Auto Reject — Automatically rejects the approval request.
- Auto Delegate — Automatically delegates the approval request to another approver. If you select Auto Delegate, select the approver to whom the approval request must be delegated.
- You can configure multiple escalation rules for the same Approval SLA by clicking + Add Rule.
- Review the configured rules and click Save in the Approval SLA Settings panel.
- The configured SLA is added to the approval process.
View and Approve Approval Requests
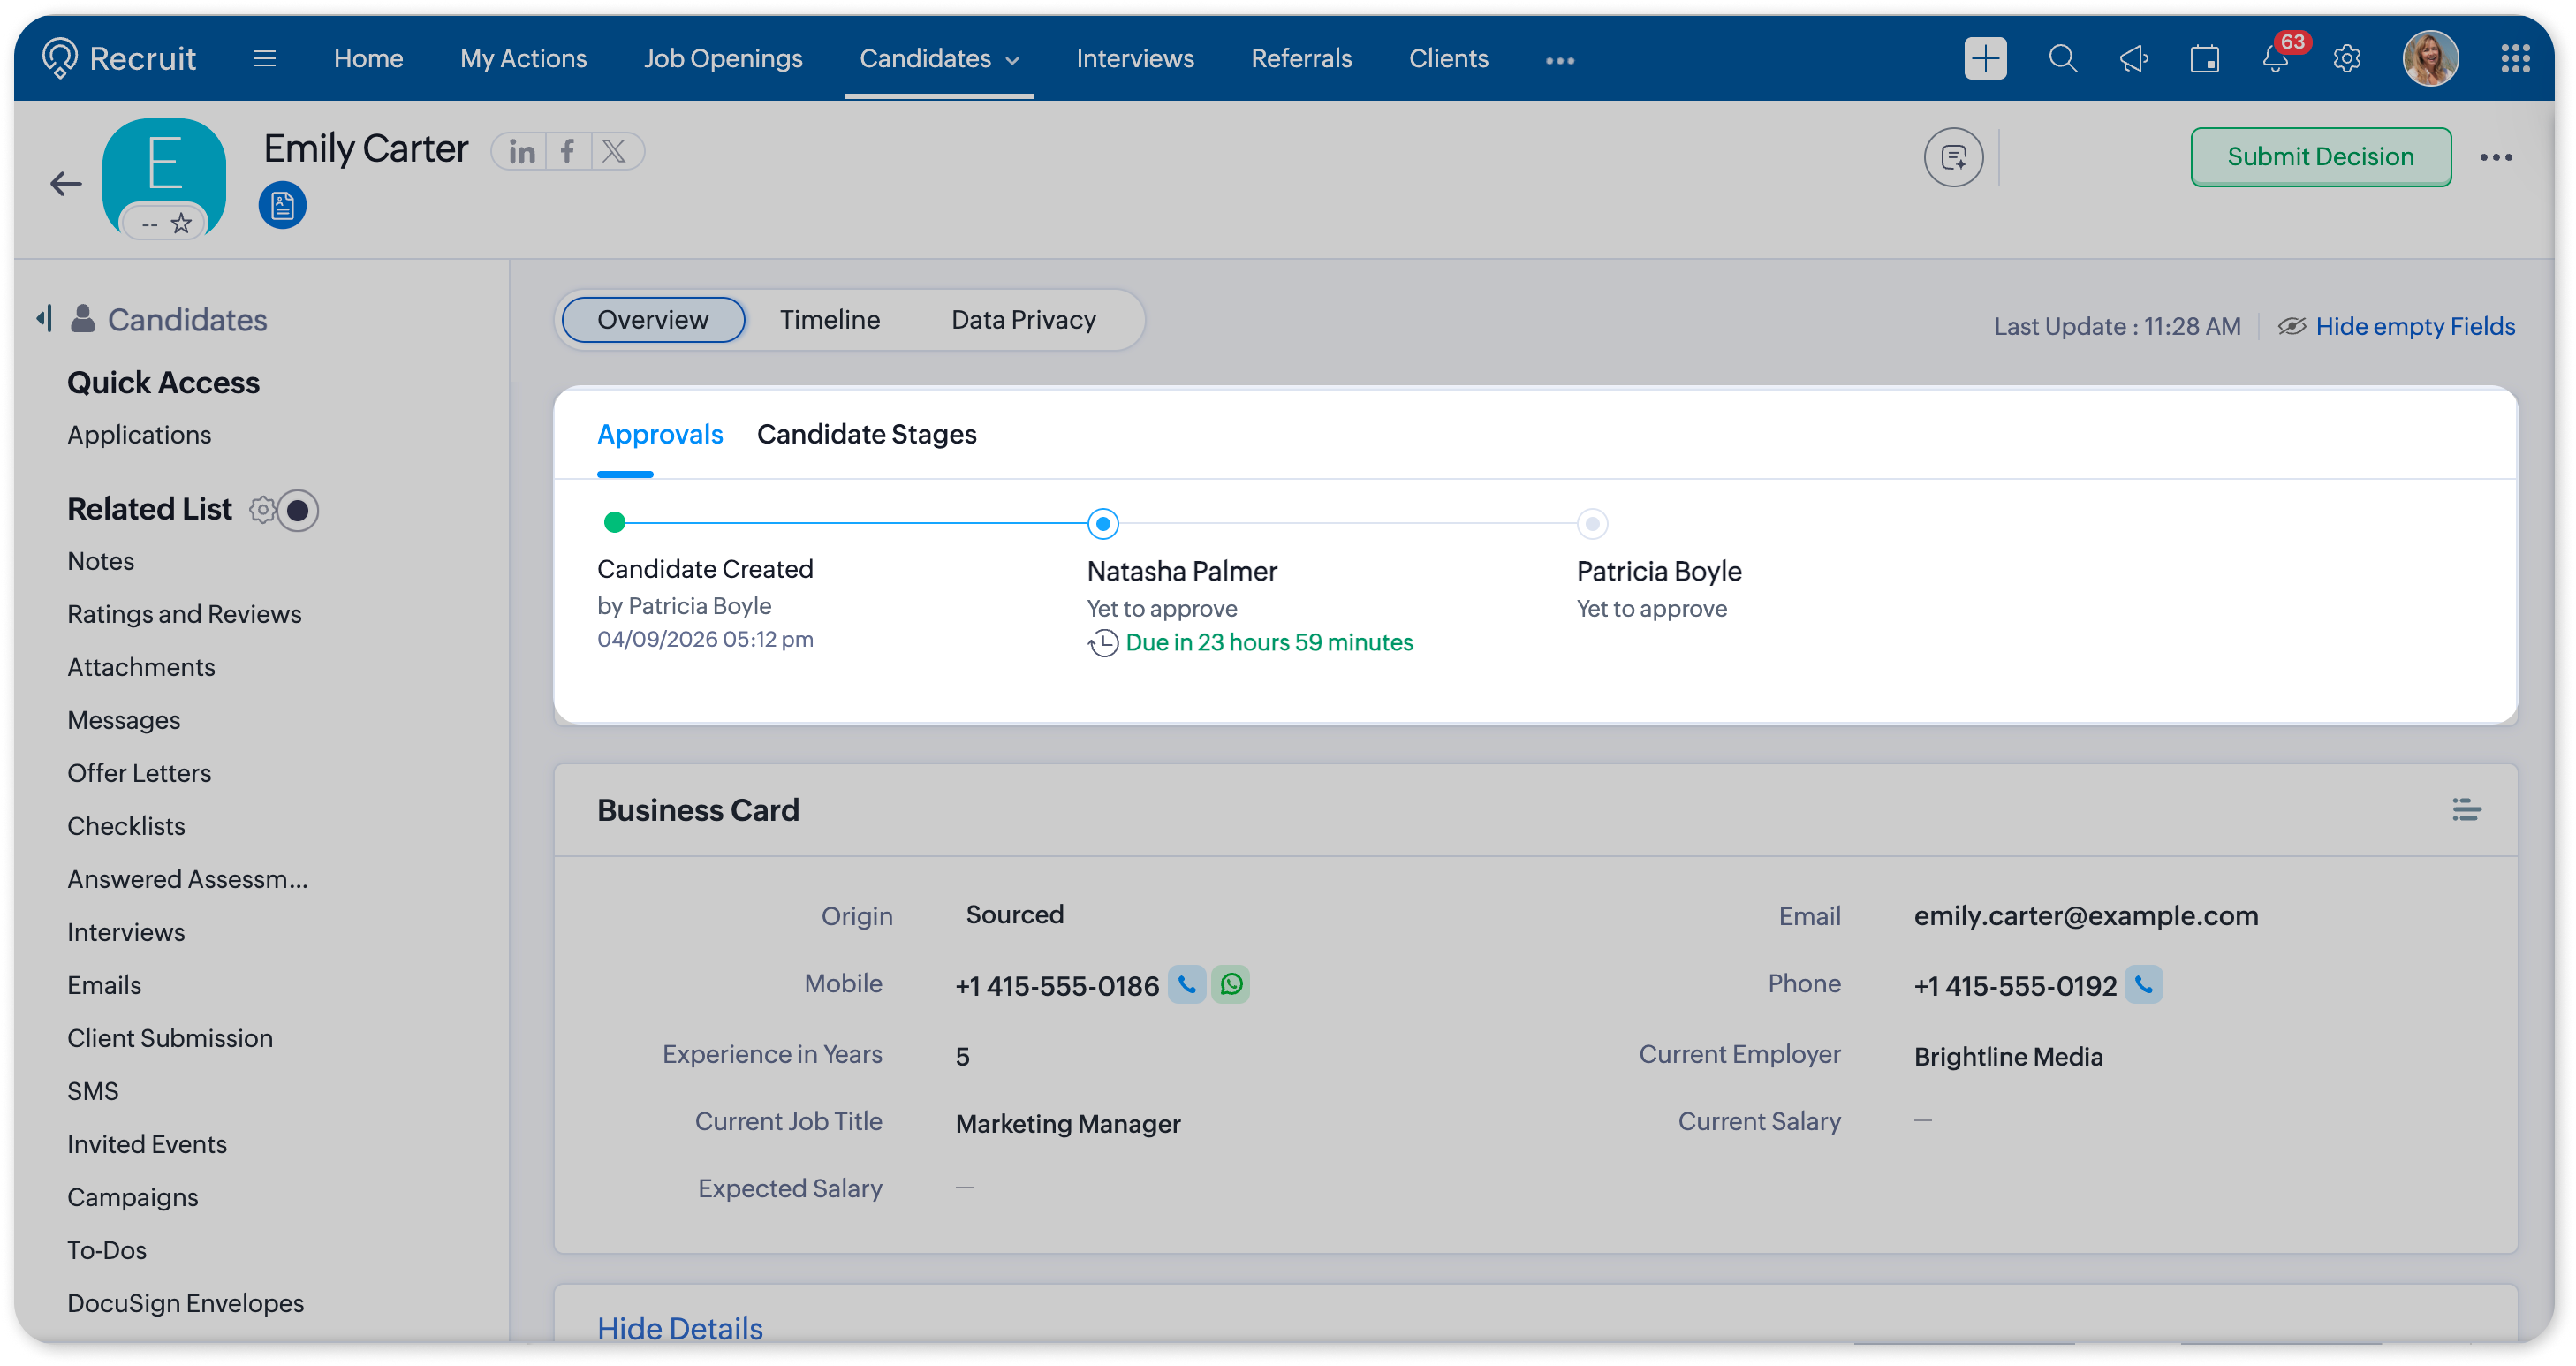
Candidate Detail Page
In the record's Approvals section, view the approval flow. The approval flow displays the approvers involved in the process and their current approval status
My Actions Detail Page
You can view and manage your pending approval requests from the My Actions page.
- Go to My Actions.
- Click the required approval request to open its details. Review the approval request and click Approve, Delegate, or Reject as required.