Add, Edit, and Delete Table Rows and Columns
Tables help you summarize, group, and present data in an organized way. They can be used to compare various market values and trends easily. Zoho Show lets you add tables from a variety of built-in styles.
Add a table
- Select Data Art from the Insert section at the top and click Table within it.
- Enter the number of rows and columns required in the space within the window.
- Click and
hover your cursor over the grid to select the number of rows and columns.
- Click on a theme color to customize the color of your table.
- Click on the selected table, and click Insert to add the table to your slide. You can also double click the selected table to add it to your slide.
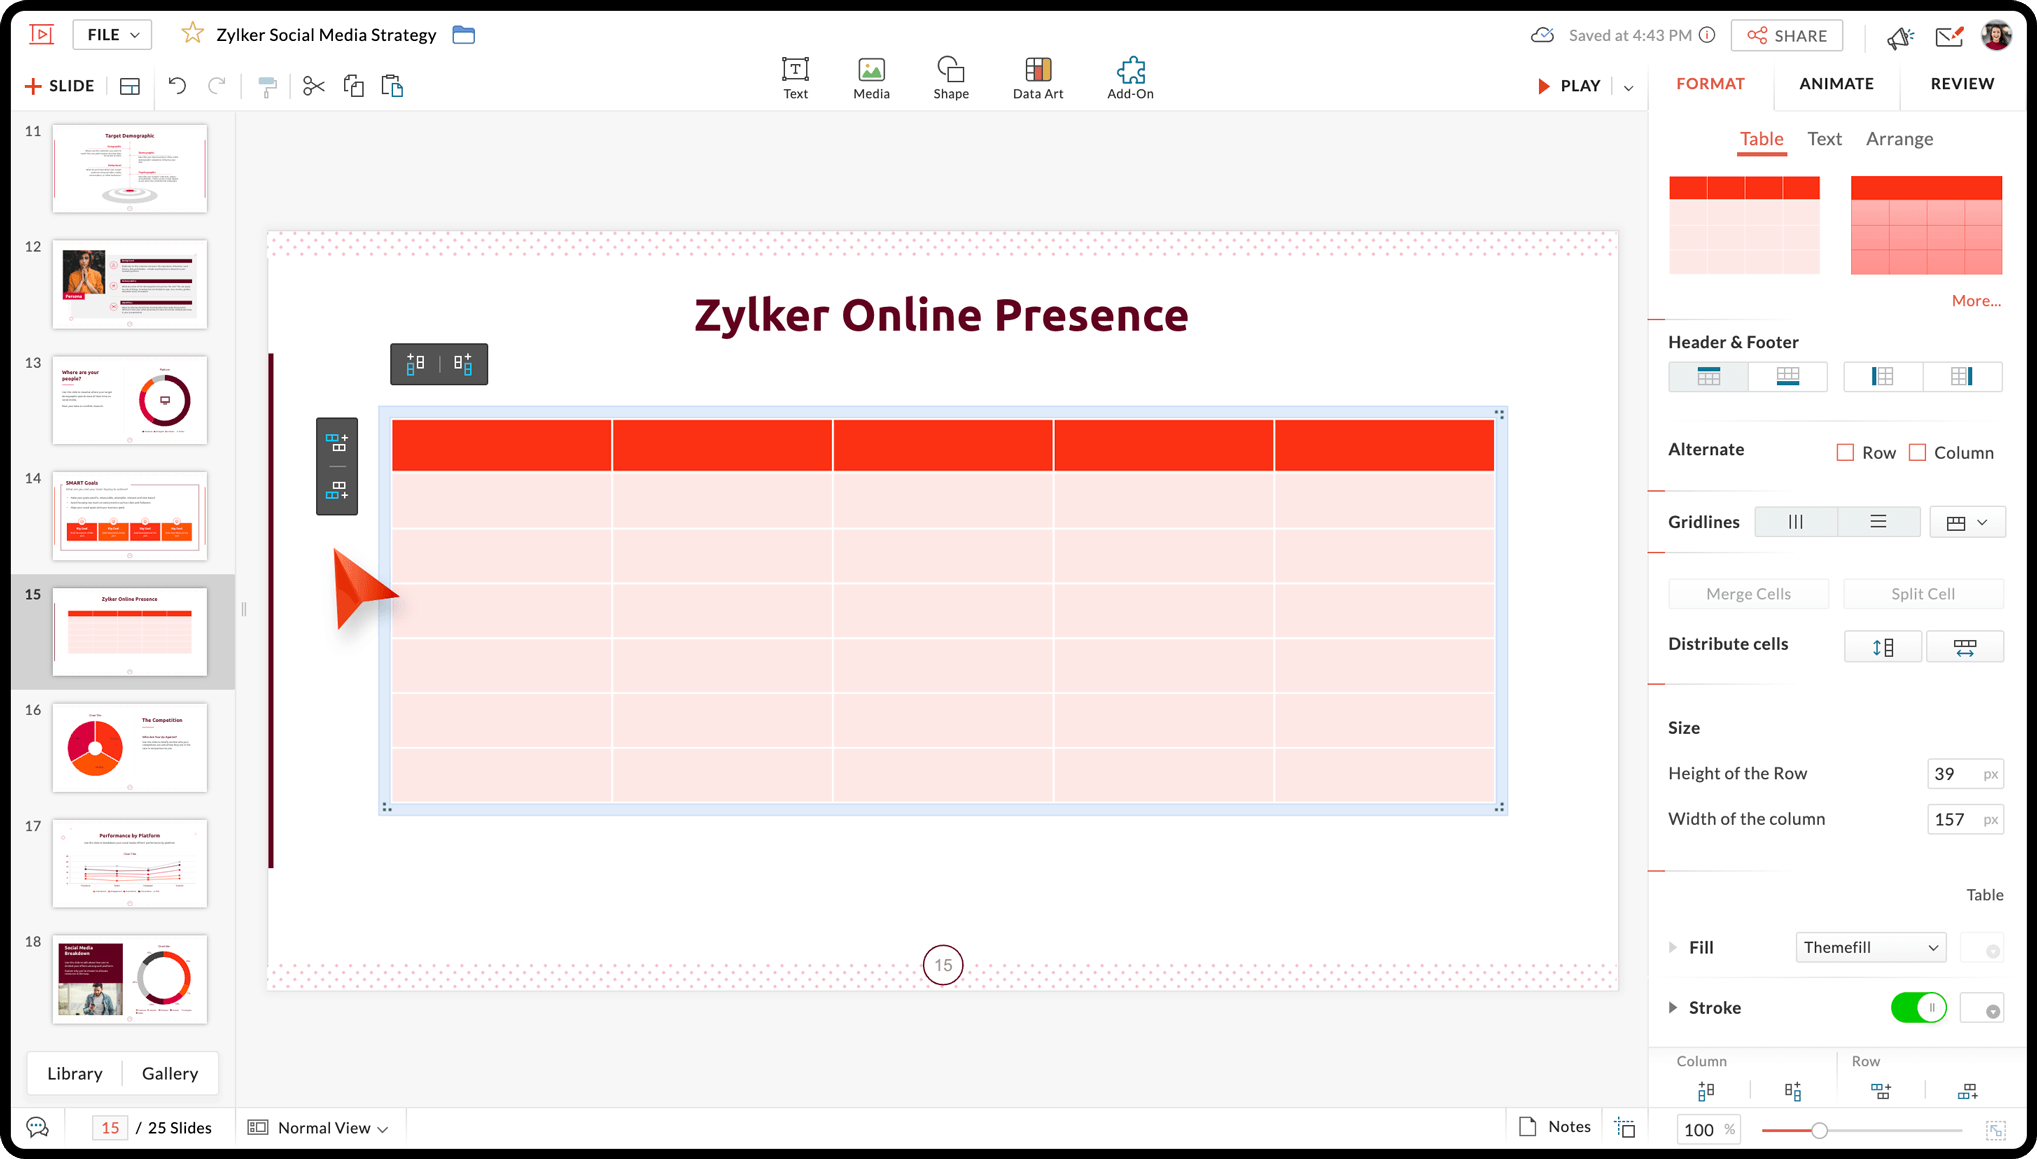
Edit a table
- Click on the table. This will open the formatting options in the right pane.
- Enter the required data in the Height of the Row and Width of the Column to adjust the size of the table. You can also use the up and down arrows to resize the table.
- Alternatively, you can resize the table by dragging the corners.
Insert a new row
Click  to add a row on top and
  to add a row below the currently selected row.
Insert a new column
Click to add a column to the left  and
and  to add a column to the right of the selected column.
Delete a row/column/table
- Click on the row or column and click the cross icon to delete a row or column.
- You can also right click, choose Delete, and select Delete Row to remove the selected row(s), Delete Column to remove the selected column(s), or Delete Table to delete the entire table.
Add data to a table
Click inside the cell to enter text or other data values to your table.
Add data using data fields
- Select the preferred table format.
- Click Data Fields. The linked data fields will be visible in the space given.
- Hover over the required data field and click + on it. You can also double click on a data field to add it.
- Click Change or Remove to change or remove the selected data field.
Note: To learn how to create a data field, click here.
Add data from spreadsheets
- Select the preferred table format.
- Click Insert Spreadsheet. This will direct you to the WorkDrive picker.
- Search for the required spreadsheet.
- Check the box next to the selected spreadsheet and click Pick.
- Select the range of data you want to add to your table and click Update. You will now be directed to the Data Art window.
- Click Change or Remove to change or remove the selected spreadsheet.
- Click Insert.
Note: If you'd like to detach or edit a from the data field linked to the table, click on the table and click the  and
and  respectively. You can then manually update the table with the required data.