Social Library
Social Library is a file management space that helps you add and manage images, GIFs, and videos to use for your social media posts. With the Social Library, you can upload pictures, videos, and GIFs from your Desktop or Cloud and maintain a repository of frequently used or key media files to use across your brand's social channels..
Some of the significant benefits of managing the Social Library are,
1. The time required to upload any media to your posts from the Social Library is comparatively swifter and more efficient as it is already pre-uploaded and can work from any device you are scheduling/publishing from.
2. More sources to choose media filed from in case you are uploading content from the Cloud Picker.
How to upload media to the Social Library?
You can upload media to the Social Library in two ways, from your Desktop and using the Cloud Picker.
Uploading media to the Social Library from your Desktop
To upload media from your Desktop to the Social Library, follow the steps below.
1. Go to the
Posts tab on your Dashboard.
2. Tap on the
Social Library on the left-hand-side menu.
3. Click on the
Upload Media button on the top.
4. From the drop-down, select the option as
Desktop, upload media of your choice, and hit the
Open button.

5. Finally, click the Attach button to include the desired media to the Media Library.
Uploading media to the Social Library from Cloud Picker
1. Go to the
Posts tab on your dashboard.
2. Tap on the
Social Library on the left-hand-side menu.
3. Click on the
Upload Media button on the top.
4. From the drop-down, select
Cloud Picker as your option.

Cloud Picker provides a choice of six different online cloud sources, to pick your media files from and push to the Social Library on Zoho Social. They are:
Zoho WorkDrive
Google Drive
Box
OneDrive
Dropbox
Evernote
Zoho WorkDrive
Zoho WorkDrive is an online come offline file storage and collaboration platform for small businesses, teams, and enterprises.
To add media from Zoho WorkDrive, go with the steps below.
1. Click on the first option-
Zoho WorkDrive on the Cloud Picker window.
2. Click on the menu and select
My Folders or any folder option you feel might have the media you are looking for.
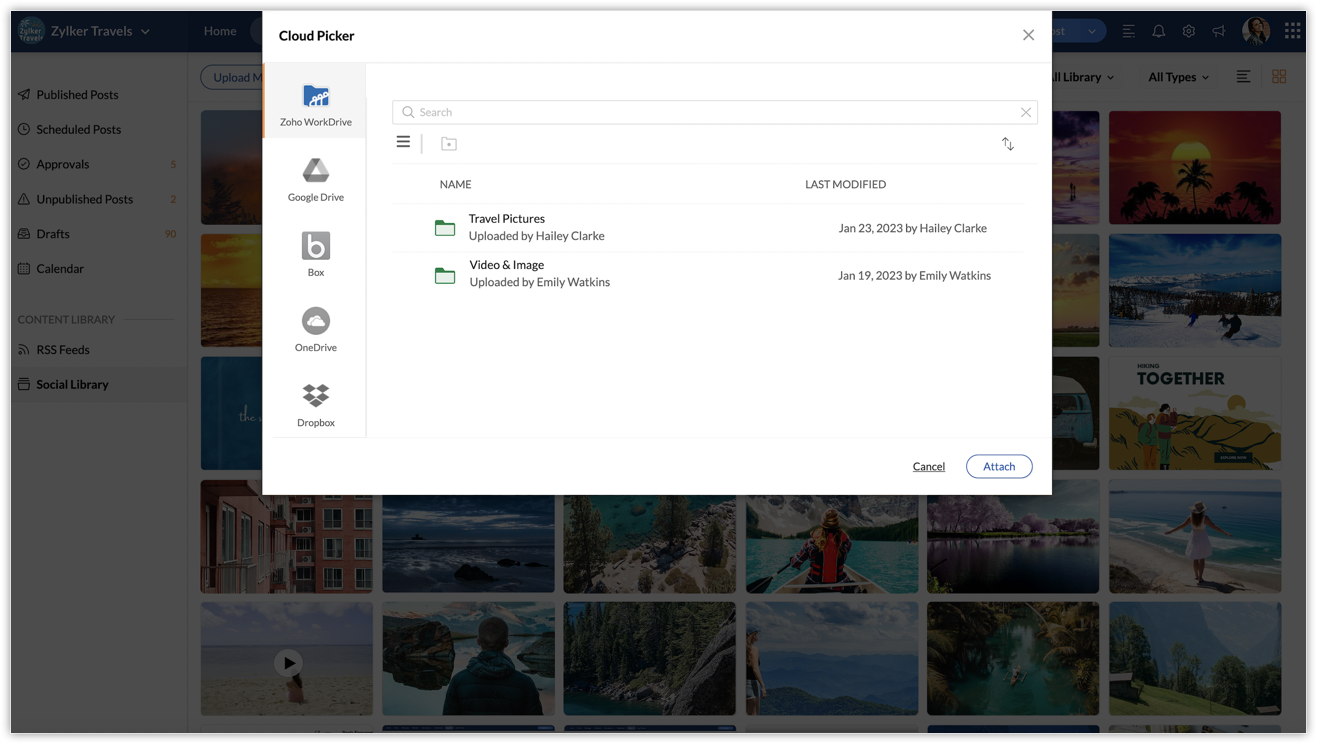
3. Once you decide on the media files you want to include, hit the
Attach button to add it to the Social Library.

1. You can attach a maximum of
5 files (images, videos, and GIFs) in each of the folders you select to include your media.
2. You can sort your media based on the name, last modified time, and created time.
3. You can search for the media you want to include by searching the file name on the search bar.
4. You can choose to add or remove media by just clicking on the X icon on top of the file name of the media you included.
Google Drive
Google Drive is another file storage and synchronization application developed by Google to store, synchronize, and share files across servers and devices.
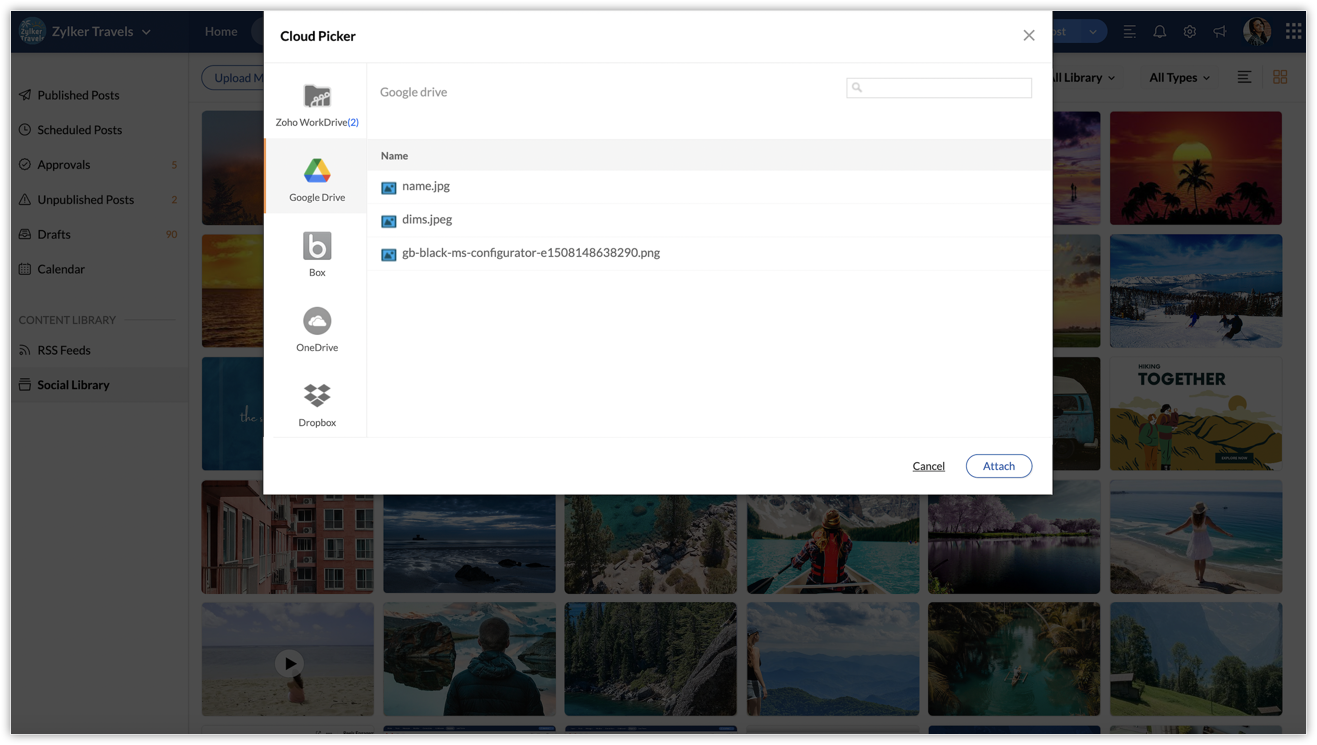
To include media from Google Drive, follow the steps below.
1. Click on the second option- the
Google Drive icon from the Cloud Picker window.
2. Select the media files from the list of all media displayed and hit the
Attach button.
Box
The Box is an application that focuses on cloud content management and file-sharing services for businesses.
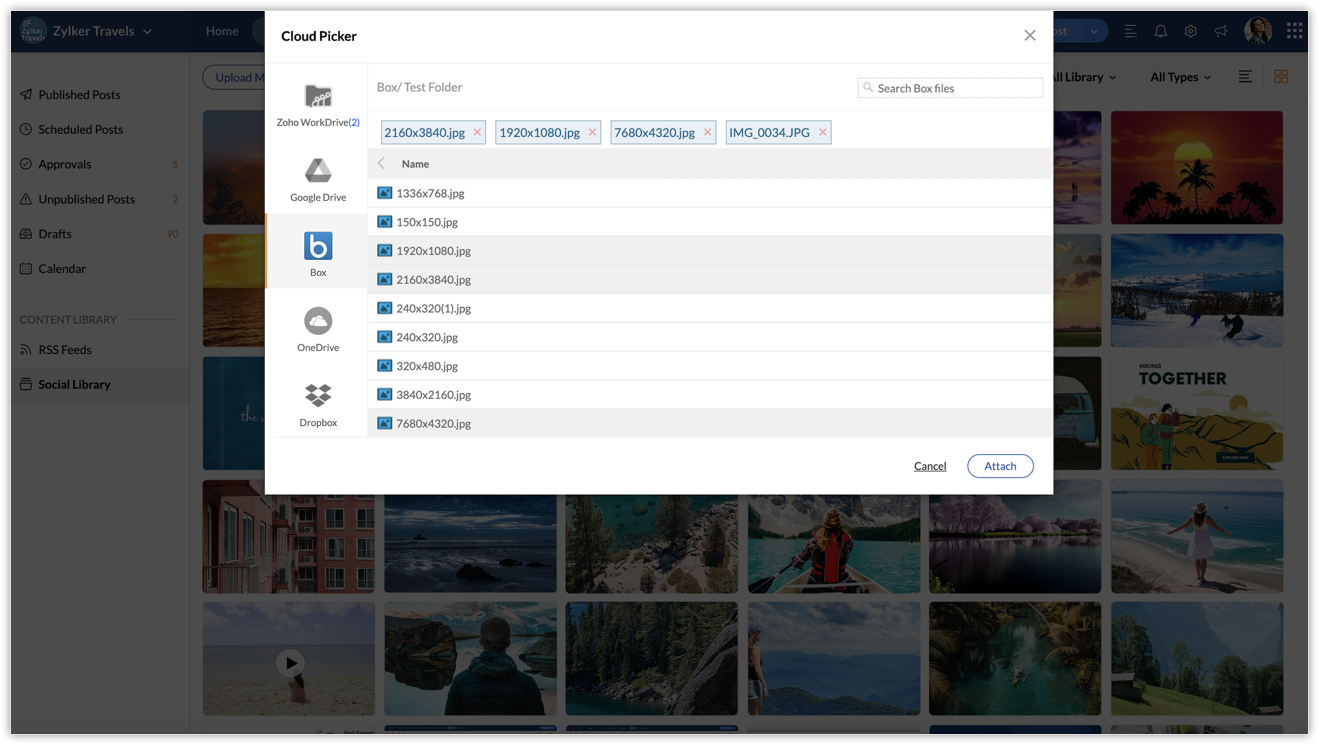
To upload media from Box, to the Social Library,
1. Click on the third option-
Box on the Cloud Picker window.
2. Select the images, videos, and GIFs you want to include and hit the
Attach button.
OneDrive
OneDrive, previously known as the SkyDrive, is a file hosting and synchronization service from Microsoft.
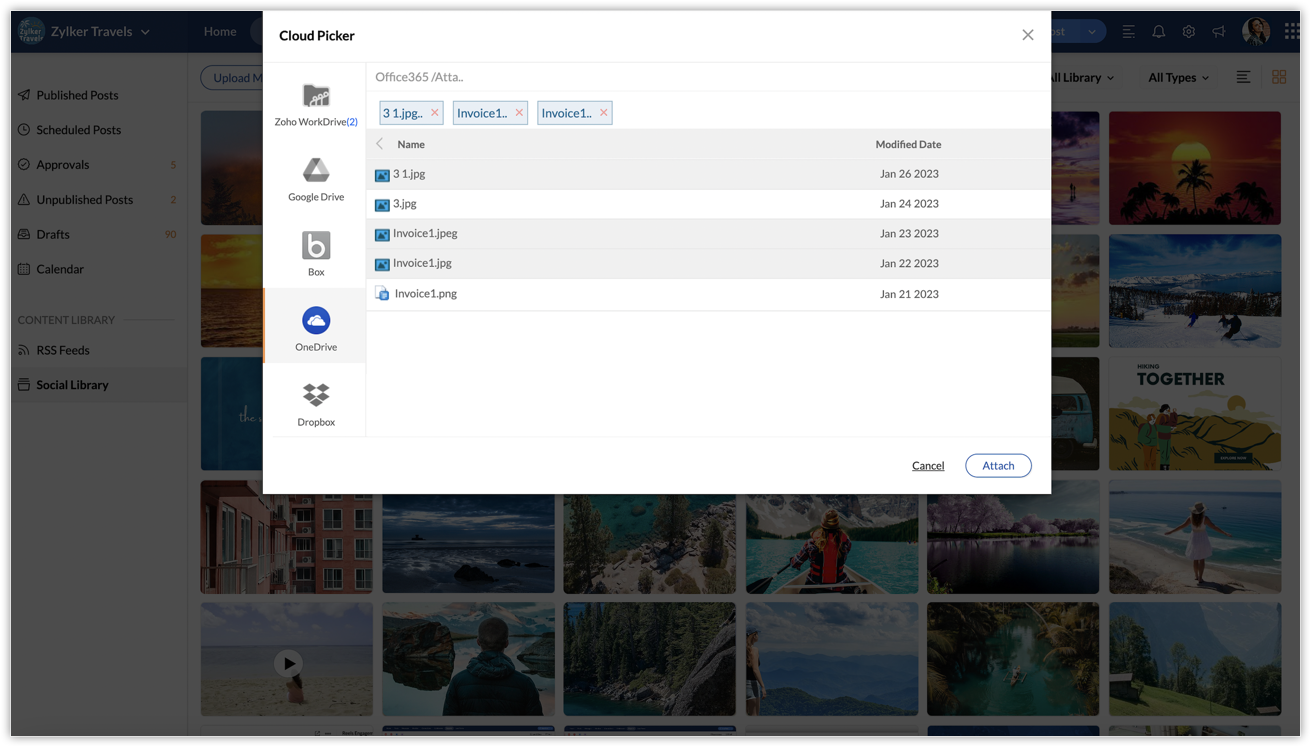
To attach media to the Social Library from OneDrive,
1. Click on
OneDrive from the Cloud Picker window.
2. Select the media you want to include and hit the
Attach button.
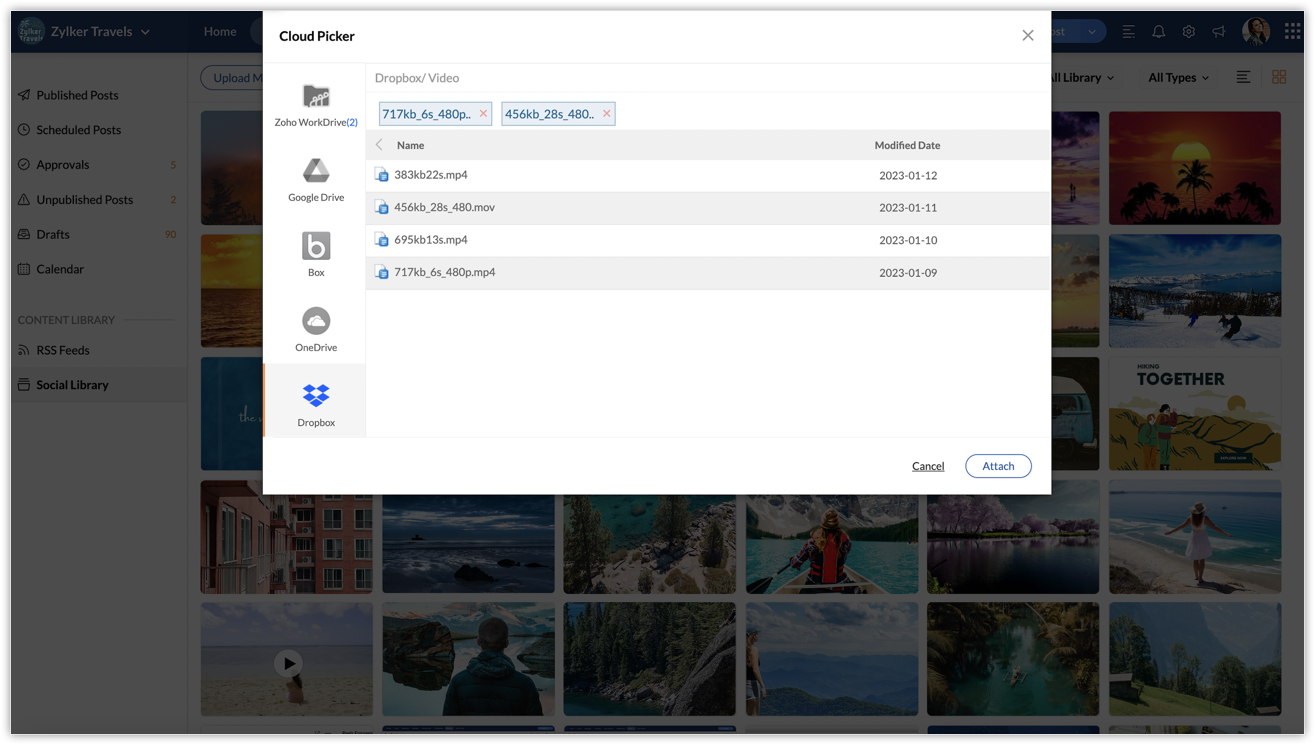
Dropbox
Dropbox is an application that lets you manage files and cloud content together with your team.
To add your media from Dropbox,
1. Click on the
Dropbox option from the Cloud Picker window.
2. Select the folder which has the media you want to include and hit the
Attach button.
Evernote
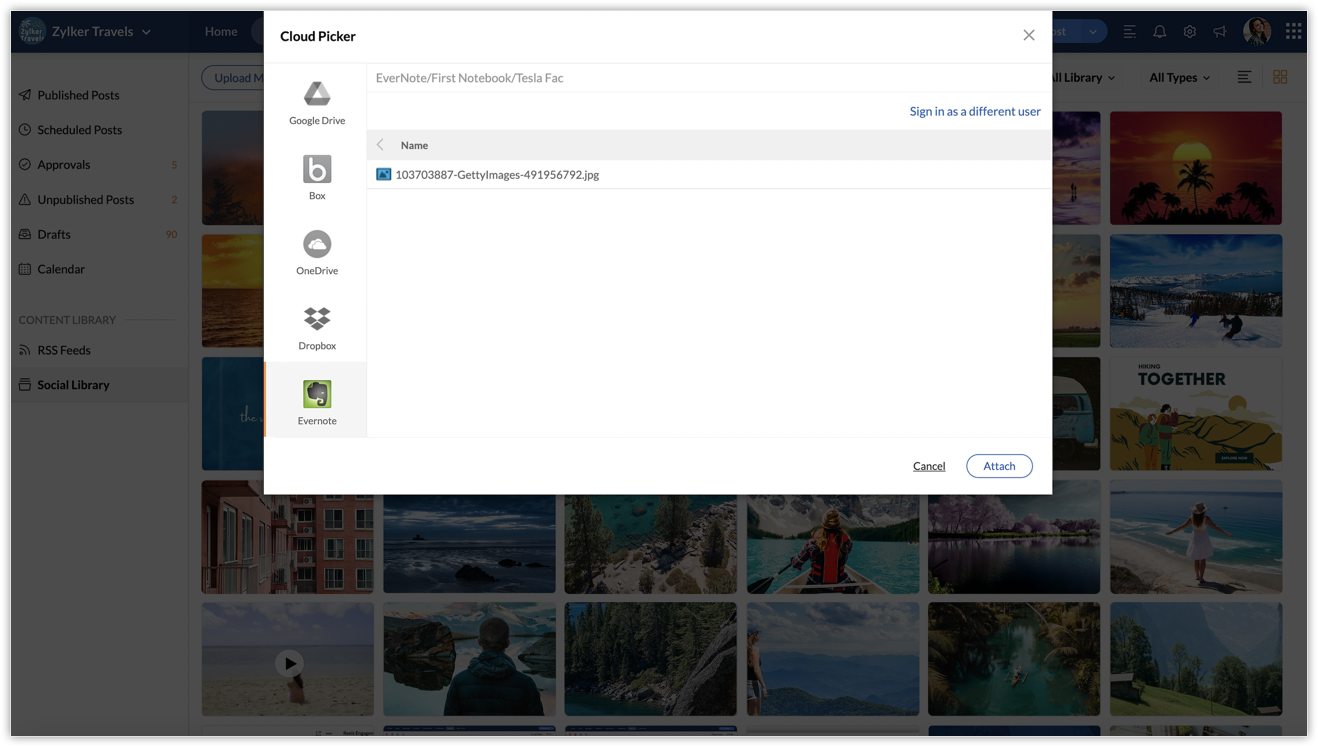
Evernote is an application where you can take instant notes and share them with your colleagues.
To attach media from Evernote,
1. Click on the
Evernote icon on the Cloud Picker window.
2. Select the folder and include the media you want to add, and hit the
Attach button.

Ensure that you authenticate each of these cloud services directly from your Publishing Window to set it up, in order to generate media from these sources.
Uploading media to the Social Library from Media Library
- Go to the Posts tab.
- Click Social Library on the left.
- Click the Upload Media button at the top.
- Choose Media Library from the drop-down list.
- Search on Pixabay, Pexels, or Giphy with the relevant keyword and select the required media items by ticking the check box.
- Click Attach to add them to the Social Library.
Uploading media to the Social Library from Canva
- Go to the Posts tab.
- Click on Social Library on the left side of the window.
- Click on Upload Media on the top and choose Design on Canva from the drop-down list.
- Design the required image on Canva.
- Click Attach to add it to the Social Library.
Further Reading
Zoho CRM Training Programs
Learn how to use the best tools for sales force automation and better customer engagement from Zoho's implementation specialists.
Zoho DataPrep Personalized Demo
If you'd like a personalized walk-through of our data preparation tool, please request a demo and we'll be happy to show you how to get the best out of Zoho DataPrep.
Centralize Knowledge. Transform Learning.
All-in-one knowledge management and training platform for your employees and customers.
New to Zoho Writer?
You are currently viewing the help pages of Qntrl’s earlier version. Click here to view our latest version—Qntrl 3.0's help articles.
Zoho Sheet Resources
Zoho Forms Resources
New to Zoho Sign?
Zoho Sign Resources
New to Zoho TeamInbox?
Zoho TeamInbox Resources
New to Zoho ZeptoMail?
New to Zoho Workerly?
New to Zoho Recruit?
New to Zoho CRM?
New to Zoho Projects?
New to Zoho Sprints?
New to Zoho Assist?
New to Bigin?
Related Articles
Can I upload and store images and video on Zoho Social?
Yes, you can upload and store images, videos, and GIFs within Zoho Social's Media Library which is a content repository. You can upload media to the Media Library on Zoho Social directly from your Desktop or using the Cloud Picker tool that lets you ...How to upload media from GoogleDrive?
To include media from Google Drive, follow the steps below. 1. Click on the second option- Google Drive from the Cloud Picker window. 2. Select the media files from the list of all media displayed and hit the Attach button. You need to be logged in ...How to upload media from Box?
To upload media from Box to the Media Library on Zoho Social, 1. Click on the third option- Box on the Cloud Picker window. 2. Select the images, videos, and GIFs you want to include and hit the Attach button.Media Library on Zoho Social
Media Library on Zoho Social is a repository of images and GIFs that can be added to your social posts. It is well organized and accessible, making it easy to search for media and upload it. Media library provides access to platforms such as Pixabay, ...Connecting Threads with Zoho Social
Meta Threads, also simply known as 'Threads', is a text-based social media platform that was introduced by Meta in 2023. Users can share information like text, images, and videos, and initiate and be a part of discussions. The integration of this ...
New to Zoho LandingPage?
Zoho LandingPage Resources


