Create and manage work items
A work item is the task or requirement that is identified as a solution to a user problem or a fix to an issue. Zoho Sprints requires you to create and compile work items into backlog and sprints and managing them is key to running your project efficiently.
Create work items
You can create work items in the project backlog, sprint backlog, and active sprint. You can also use the global add option to create work item for any project within your workspace from anywhere across the application.
To create work item:
- Open the required project.
- Go to Backlog.
- Click the Create button. The item creation form will appear.
- Enter item name and description.
- Add attachments, if any.
- Select the sprint to which the item needs to be added. If not, you can add it to the project backlog to be picked up later.
- Select item status.
- Specify the item type as Story, Task, or Issue based on the nature of the item.
- Select the priority level, specify start and end dates, and enter the estimation points.
- Click the Create button to add the item to project or sprint. Or, click the Add More button to create this item and add another item.

- Set priority level to denote the significance of the item.
- Estimation points help in quantifying the likely effort required for the item, providing a measurable assessment system. You can define estimation type in Project Settings.
- Customize the item creation form by adding more fields. You can customize the form layout in Customization under Settings.
- Associate the item in relevant epics and releases.
- Drag and drop items from the project backlog into the sprint backlog under the respective sprint.
- Drag and drop items under an item to create subitems.
Alternatively, you can easily add the item to a sprint in the backlog.
- Go to the sprint backlog.
- Click the Add more Item work items link at the end of the required sprint.
- Select the item type.
- Enter item name.
- Press the Enter key. The item will be added to that sprint.
Click the More Details link to open the item creation form.
Move work items to another project
You can easily move the work item from one project to another from within the details view of the work item.
To move the work item:
- Select the required item to navigate to the item details page.
- Click the drop-down beside the Project Name field.
- Select the project to which the item should be moved.
- Select the backlog or a sprint from the chosen project.
- Click Update.
Item will be moved from the current project to the chosen project.
Clone work items
The work items details page comes with the option to clone items. This allows you to make a copy of the work item and make modifications based on your requirement. The clone includes checklists, item links, subitems, and checklists of subitems of the parent item and also creates a work item link between the clone and the parent.
To clone an item:
- Select the required item to navigate to the item details page.
- Click the clone icon on the right side navigation bar. A confirmation pop-up will appear.
- Click Yes. The item is cloned and added to the respective sprint or sprint or project backlog.
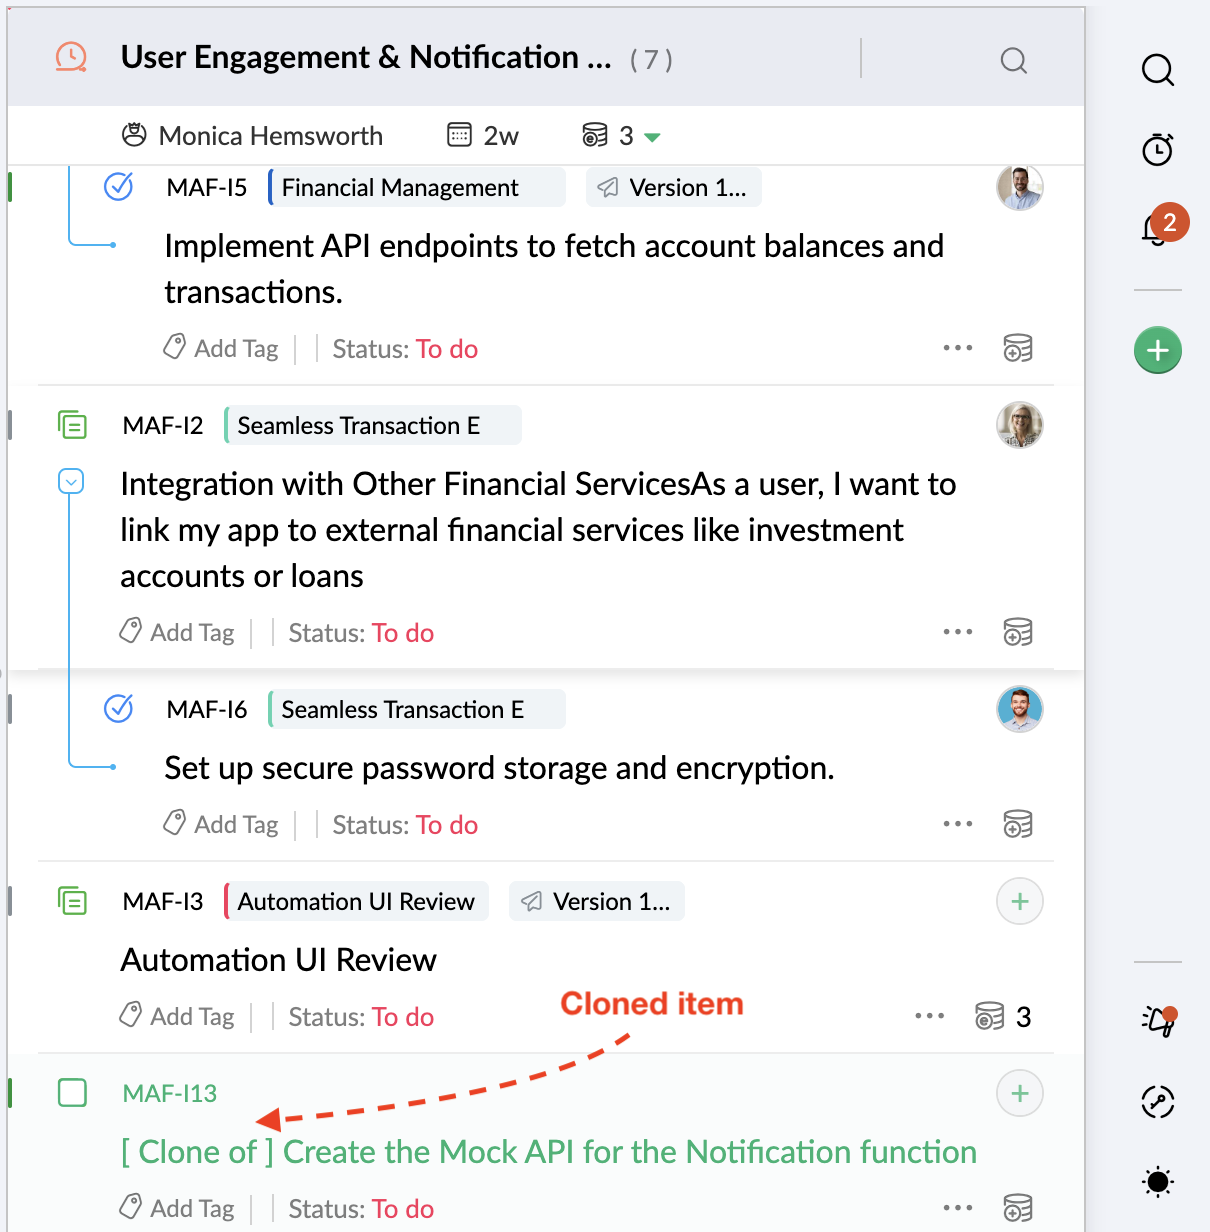
The cloned item can be identified using the prefix "[Clone of]" in the item title.
Item views
There're two views to the items listed in the backlog: Plain View and Detail View.
- Plain view provides a simple view comprising only the item ID, item name, and assignee.
- Detail view offers a more comprehensive view displaying the item ID, item name, priority level, estimation points, tags, item status, assignee, and more actions.
- You can include the subitem details in the view. Click the View dropdown and select Subitem Expand View.
- You can customize the fields visible in this view. Click the View dropdown and select Backlog View Setting. Select the fields that need to be included in the view. You cannot remove the default fields from the view.
Search work items
You can search for items in the backlog using item name or ID.
To search for items:
- Go to the backlog.
- Click the Search icon.
- Enter item name of ID. The work items matching the search criteria will appear.
Filter work items
The advanced filter mechanism allows you to sift through abundant data and easily find what you're looking for. You can apply filters to the items in the project backlog or sprint backlog. There are two types of filters: Quick and Custom filters. Quick filters are the in-built filters that are based on the various attributes of projects. Whereas, custom filters equip you with AND/OR conditions to create your own criteria pattern. You can save the filter criteria and reuse them to avoid the rework. Click here to learn all about filters.
To filter items:
- Go to the backlog.
- Click the filter icon at the top.
- Select Backlog to filter items in the project backlog or select Sprint to filter items in the sprint backlog.
- Select Quick or Custom filter.
- Select built-in filter criteria or define your custom criteria.
- Apply the filter to view the work items matching that filter criteria.
Group work items
There is a list of grouping criteria with options to group your items. This allows the items to be categorized under the selected criteria, facilitating an organized view. For instance, if your want your items to be grouped as story, task, and bug, select item type as grouping criteria.
To group items:
- Go to the backlog.
- Click the group icon at the top of the project or sprint backlog.
- Enable the Show all groups option to view the groups without any work items as well.By default, only the groups that have work items matching the group criteria will be listed.
- Select a criteria for grouping. The items in the backlog will be organized into groups of the selected criteria.
Select None to remove grouping.Sort work items
You can sort the work items in the backlog in ascending. You can select a criteria for the order and the items will be sorted accordingly. For instance, if you want to sort the items based on creation date, select Item created on option as sorting criteria.
To sort items:
- Go to the backlog.
- Click the sort icon at the top of the project or sprint backlog.
- Select a criteria for sorting. The items in the backlog will be sorted based on the selected criteria.
Select Default to remove sorting.
Pick up an item
You can pick up work items from the backlog. Click the plus icon inline with the item. You will be added as an assignee.
You can only pick items that do not have anyone assigned.Bulk actions
You can make changes to multiple items in bulk, move multiple times, and delete multiple items.
To update multiple items:
- Use the checkbox in the work items to select them. The bulk actions will appear.
- Click the Update button.
- Select the required field.
- Enter the new value.
- Click the Update button. The changes will be saved to the selected items.
To move multiple items:
- Use the checkbox in the work items to select them. The bulk actions will appear.
- Click the Move button.
- Select the target project and the sprint.
- Click the Move button. The selected items will be moved.
To delete multiple items:
- Use the checkbox in the work items to select them. The bulk actions will appear.
- Click the Delete button. A confirmation pop-up will appear.
- Click Delete to confirm. The selected items will be deleted.
Import
You can import and export work items. You can import work items using the following methods:
- From file - Import by uploading XLSX,XLS,CSV, or JSON files into Zoho Sprints. Learn more.
- From Zoho Projects - Import by selecting the required Zoho Projects portal. Learn more.
- From JIRA - Import by configuring your JIRA account. Learn more.
Export
You can export the work item data in an xls or csv file and download it to use outside of the application. This can be used to transform data from Zoho Sprints into a file that you can process in third party apps or other in-house devices.
- You can apply filters to export select data.
- You can access the exported file in Export History.
- Go to the all board module.
- Select the required sprint.
- Click the ellipsis icon at the top. The menu will appear.
- Select Export. The Export Filter will appear.
- Select the required file format.
- Define grouping if necessary.
- Select the fields that need to be exported.
- Specific Recurrence Type to set up scheduled exports.
- Enable Header to assign the field names as headers for the columns.
- Select the filters that need to be applied or create custom filters. Learn more.
- Click the Apply & Export button. The export will be initiated.
- Click the ellipsis icon and select Export History in the projects menu. The exported file will be available in the Completed Export tab.
- Completed Export lists the Date, Time, and File Name of your export. View the export details and, if applicable, the recurrence details of the file.
- Active Export lists all the files that are active and scheduled for export.
- Click the file or the Download icon to download the file.
- Or, click the Export icon on the right navigation bar to download file.