Trigger Functions
Zoho Survey is integrated with Deluge, our online scripting language, which can help you add functions to automatically perform actions when responses are submitted. Use Deluge and APIs to create connections and push data to third-party services or other Zoho products, even if they aren't yet integrated with Zoho Survey. For example, you can set a trigger to create a support ticket in Zoho Desk when a bad review comes in, or send a thank you email every time a response is submitted.
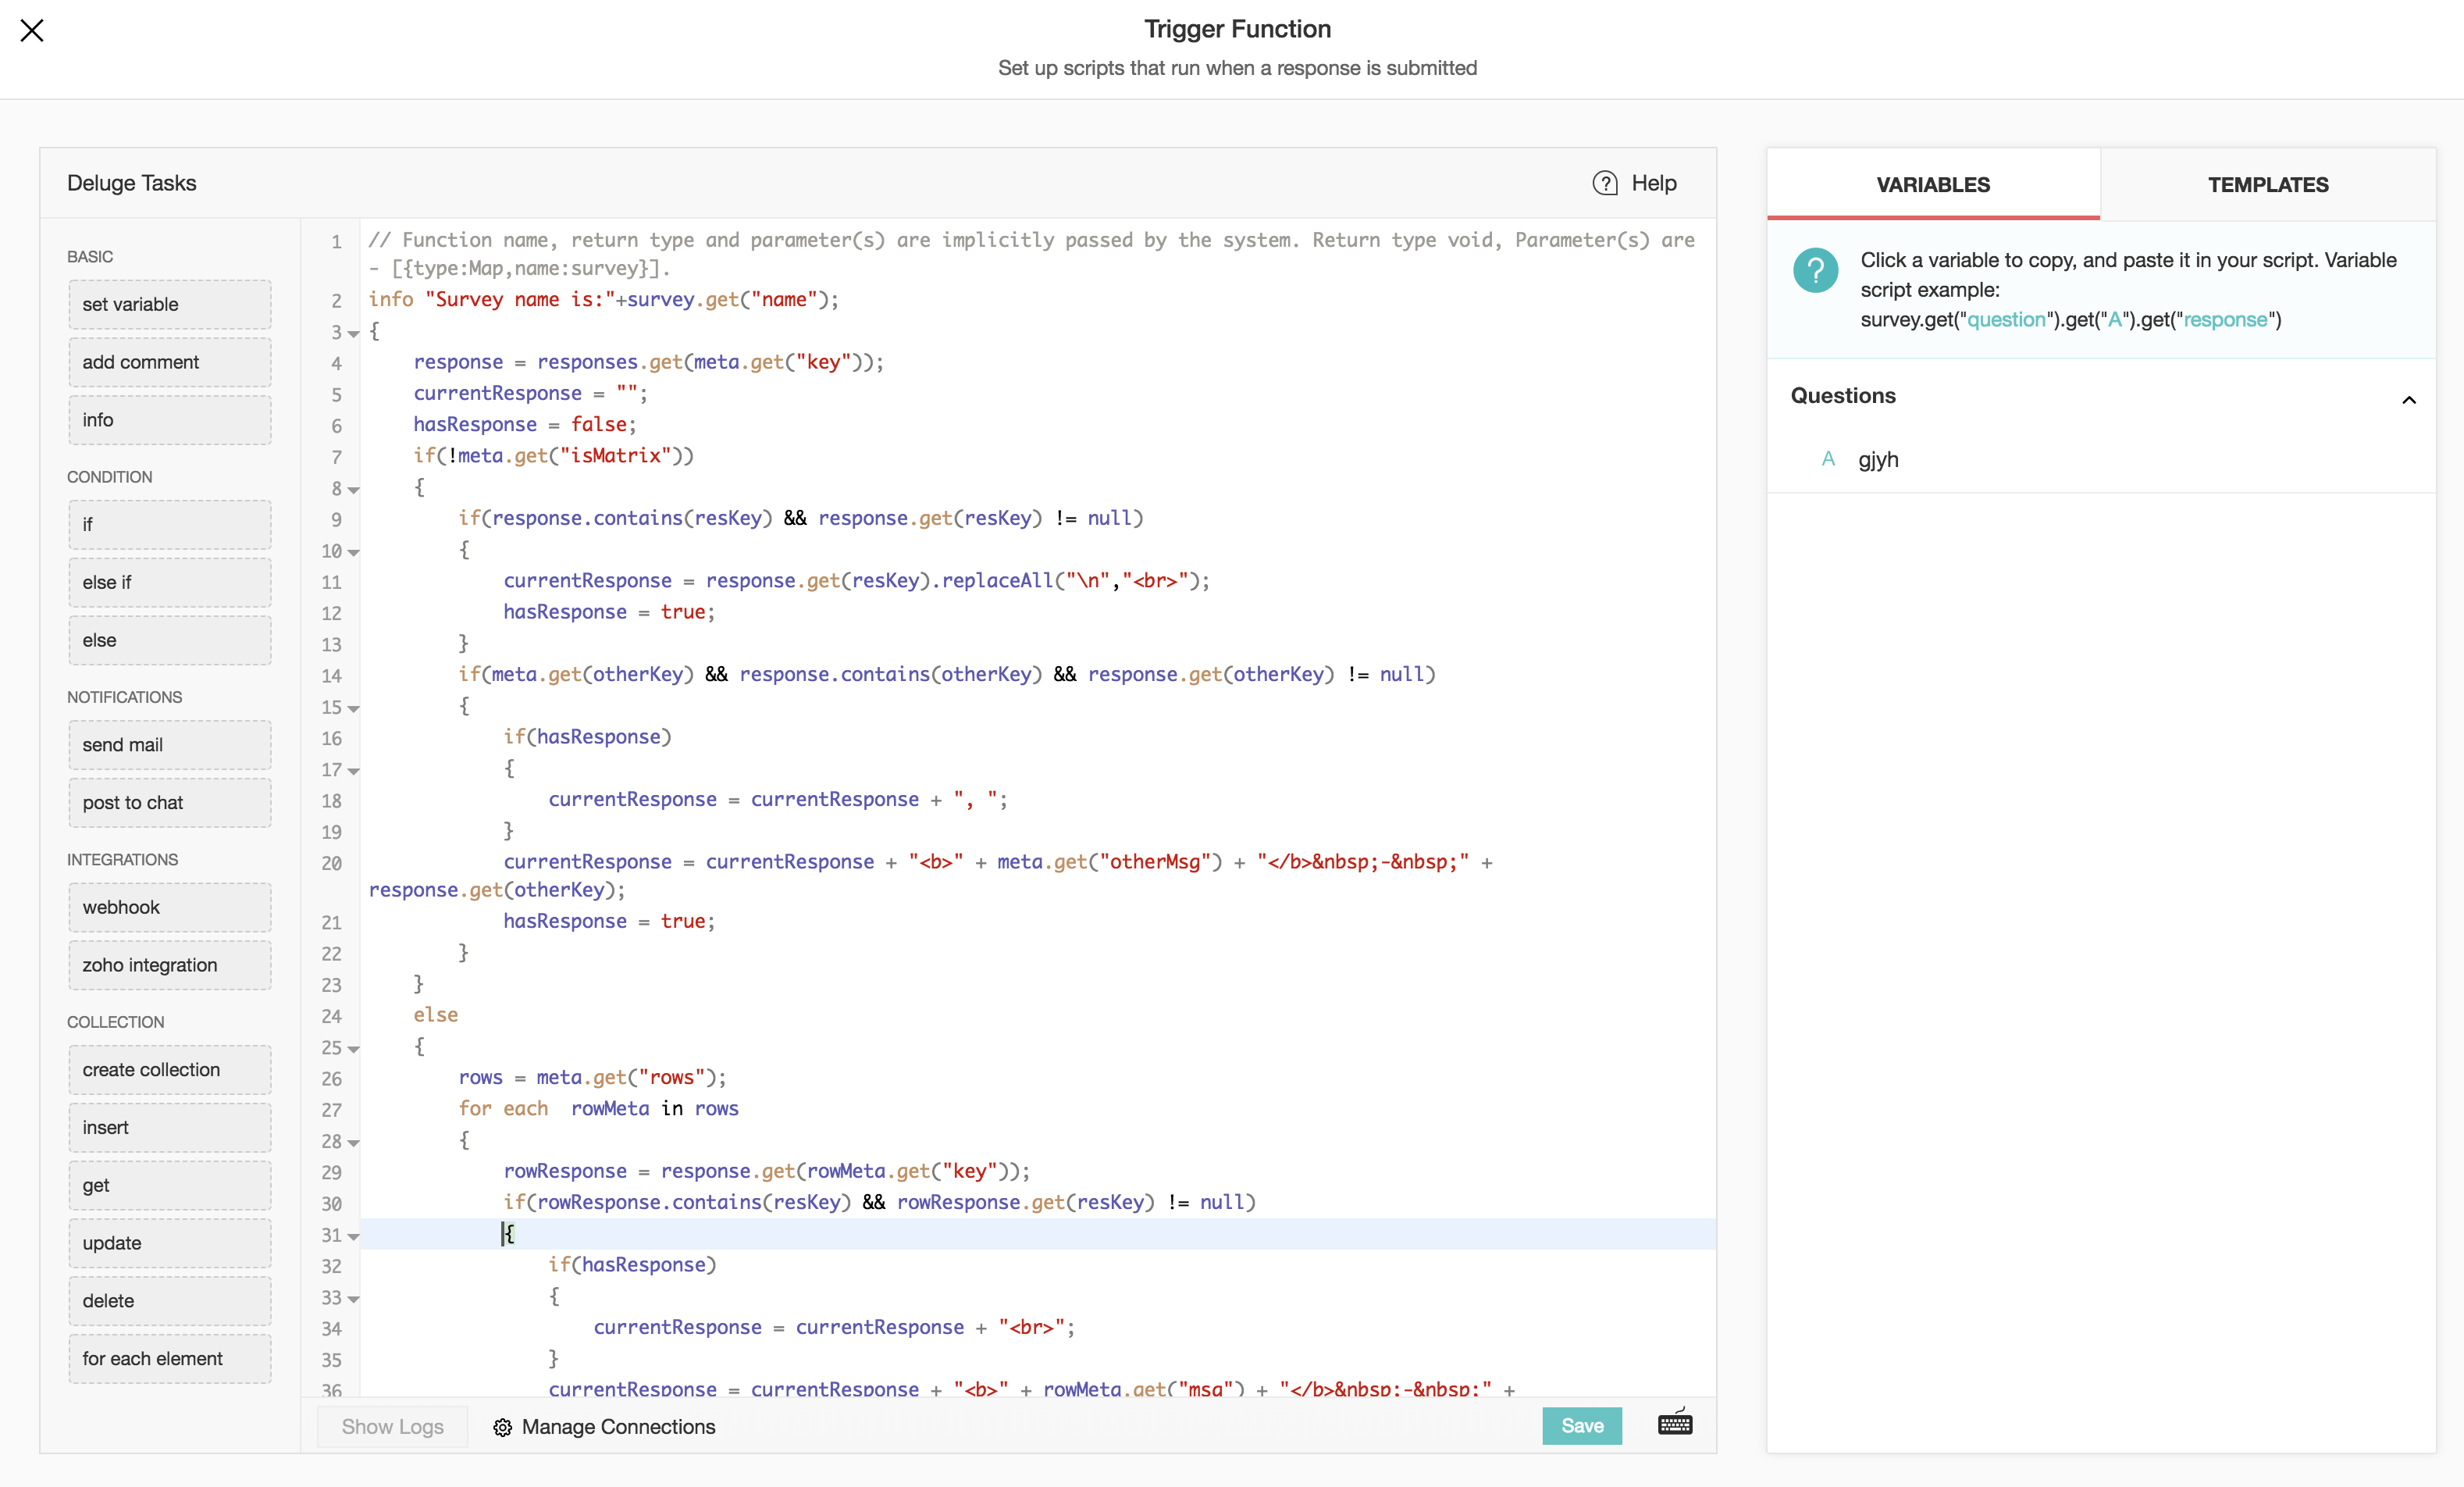
The trigger function screen has the following components:
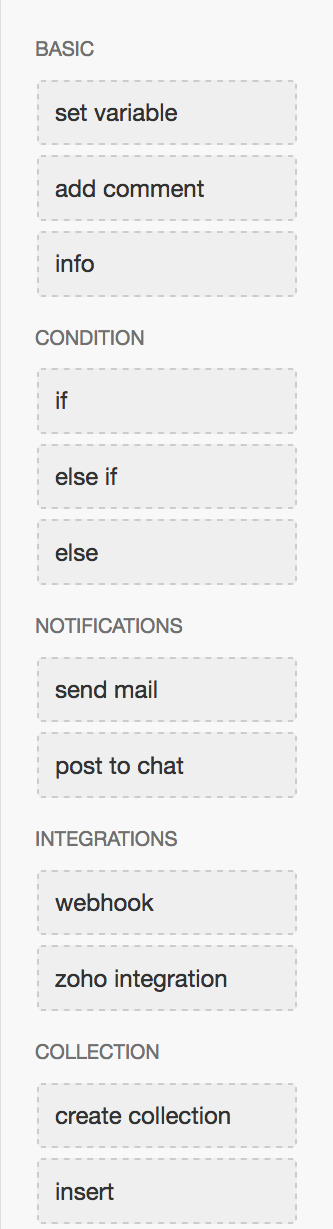
Syntax: The scripts available on the left pane
Editor: The Deluge editor where you add scripts to trigger actions
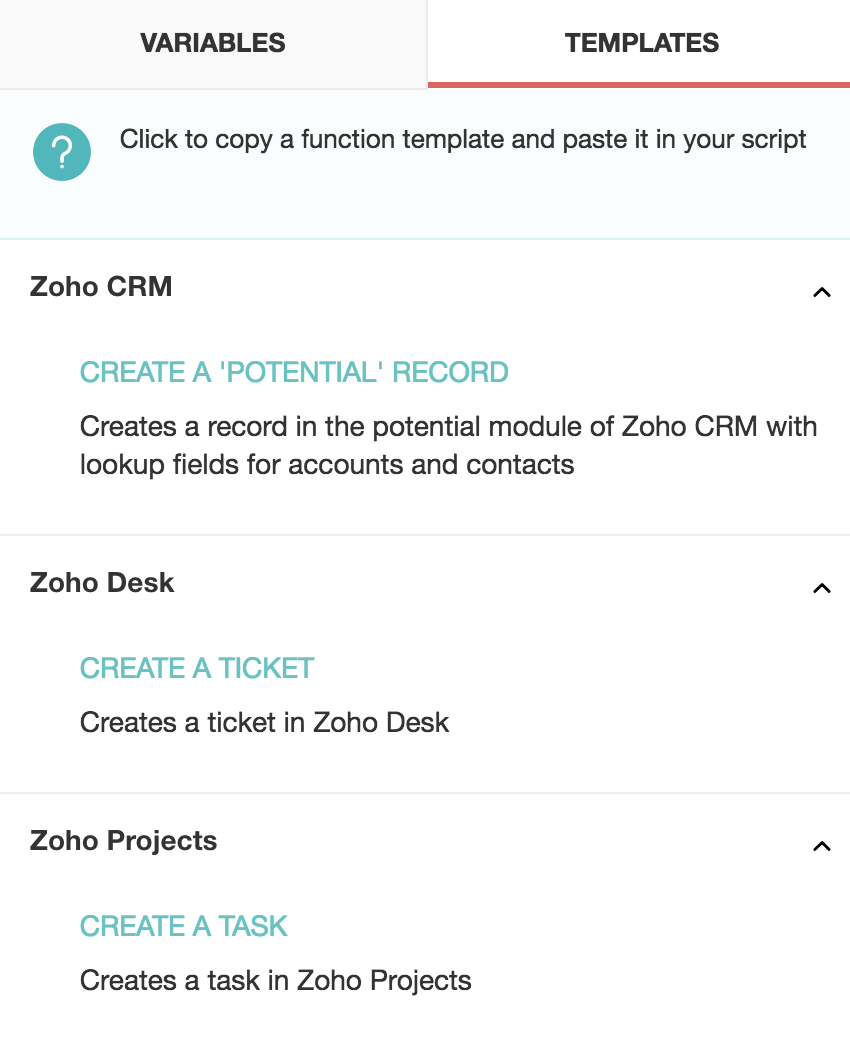
Variables: The survey responses for each question to be used in the script, on the right pane
Templates: The pre-written, ready-to-use code
Logs: The log list for debugging purposes
Connections: The connections that you would need to perform integrations within Zoho products
To enable trigger functions in your survey:
-
Click the Hub tab.
-
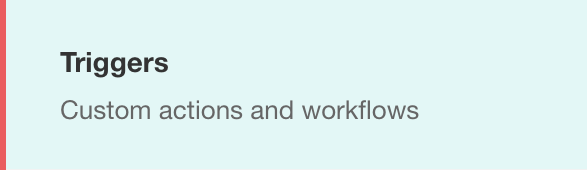
Click the Triggers section.
-
Click Create in the Trigger Function section.

-
Drag and drop syntax from the left pane into the script editor.
-
Copy variables and templates from the right pane and paste them into the script based on your requirements. Read more about built-in Deluge functions here.
-
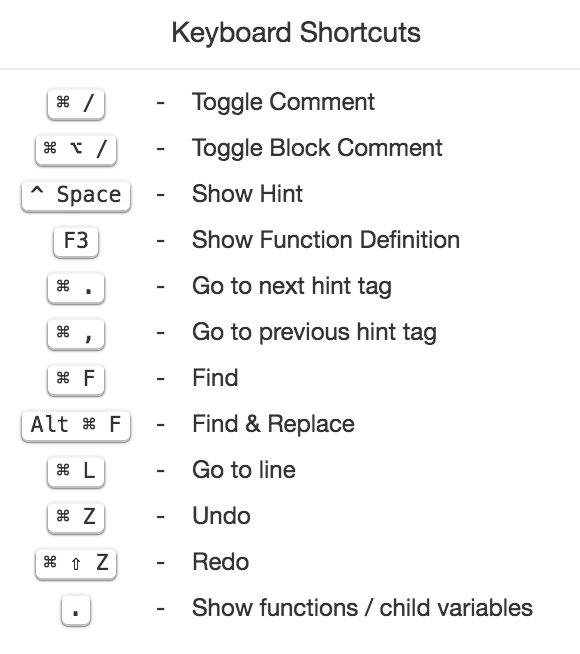
Click
 to access the keyboard shortcuts.
-
Click Save.

To remove a function:
-
Click Remove Function in the top right corner of the script builder to remove a function you have added.
-
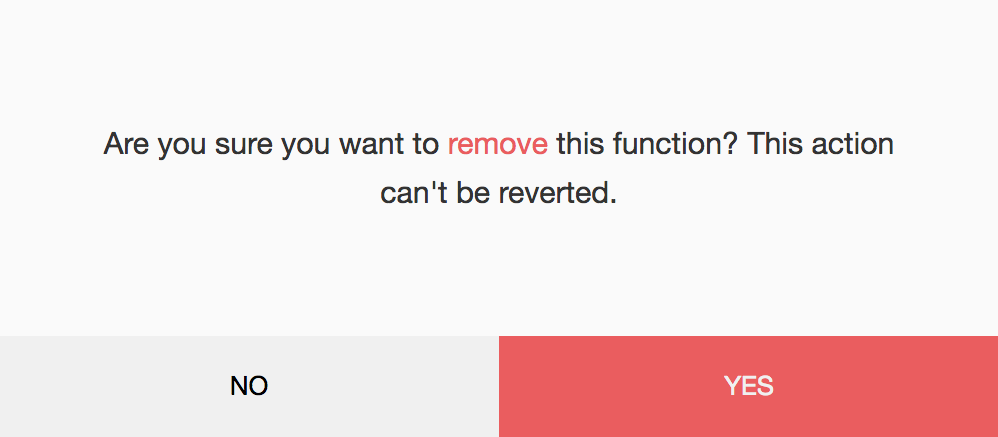
Click Yes in the confirmation message that opens.
To check the logs:
-
Click Show Logs in the bottom left corner of the Deluge editor. Use the logs for debugging purposes.
-
Click Refresh Logs to update the logs.
-
Click Hide Logs to close the log window.
To add a connection:
-
Click Manage Connections and select Add Connection. You can perform the following actions here:
-
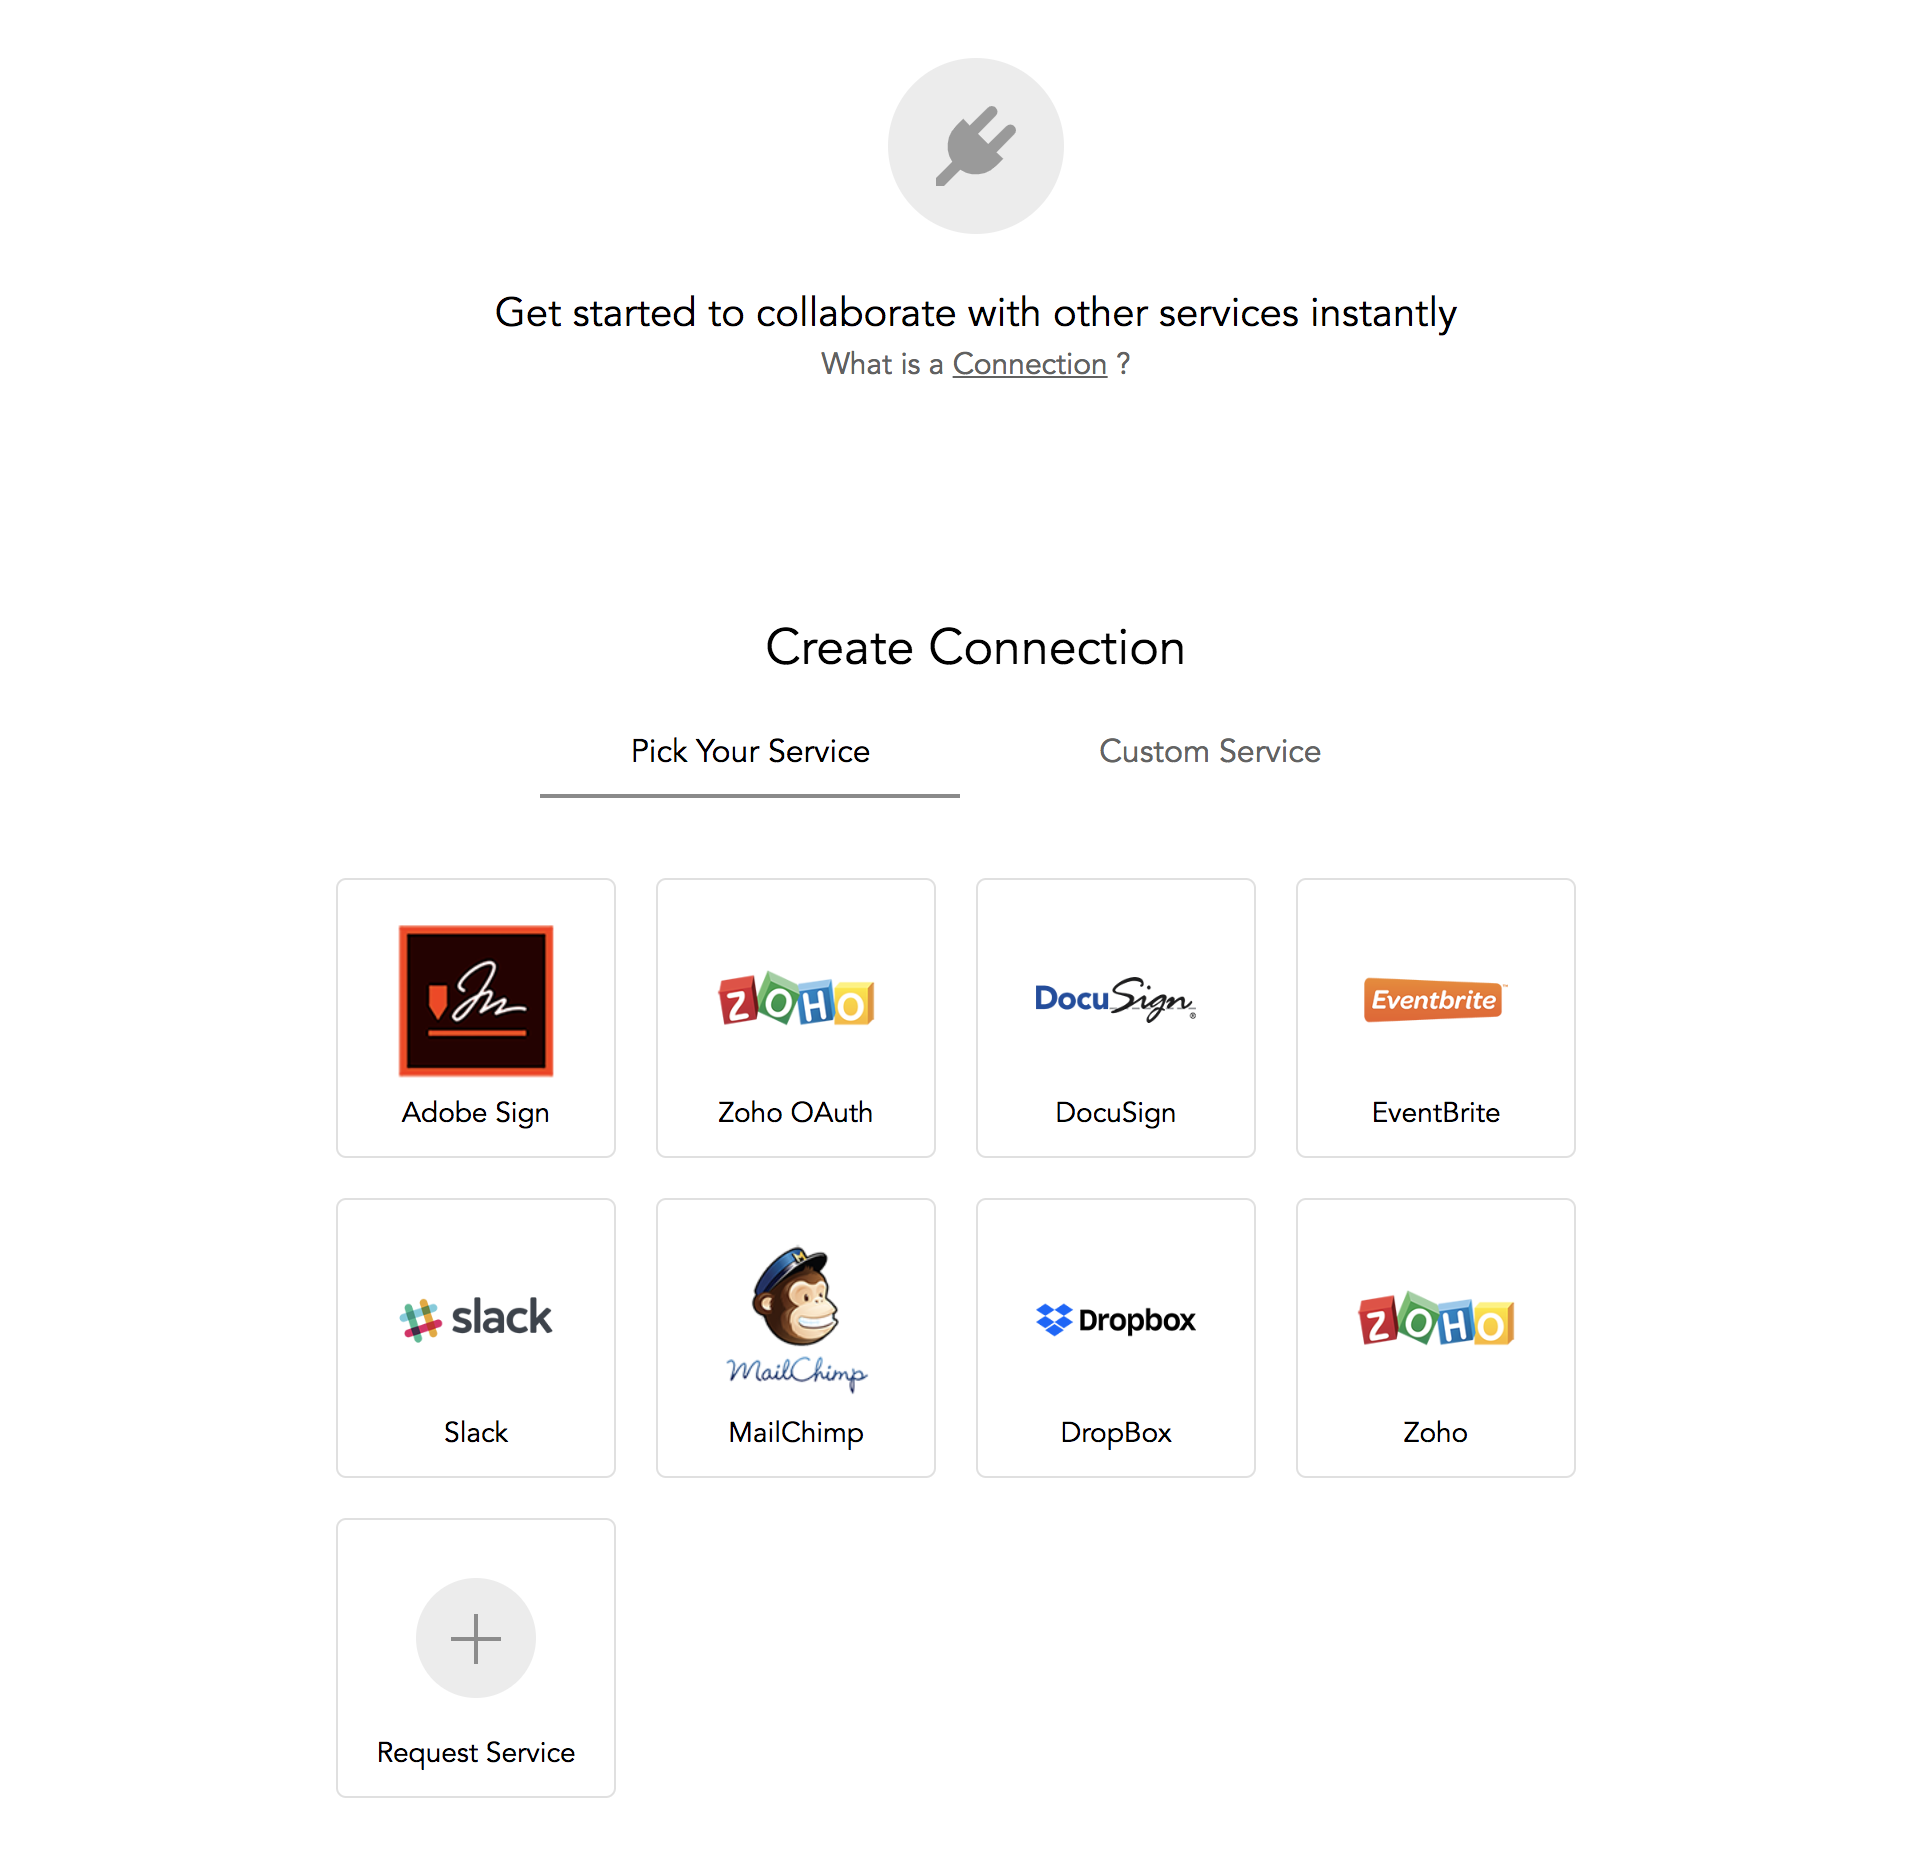
- Select a service in the Pick Your Service section.
- Type a connection name in the Connection Name field.
- If there are scopes available for the service, you can select them from the Scope list.
- Select the checkbox to use the credentials of the logged in user.
- Click Create and Connect.
- Type the API key into the Please enter the API Key text box.
- Click Save Details.
- Click Accept to allow the users to access the listed information, and your connection status will change to Connected.
- Click Reject if you don't want to allow them to access the listed information.
- Click Back to go back to the previous page.
- Press esc to close this process.
To add a service that isn't available as a connection:
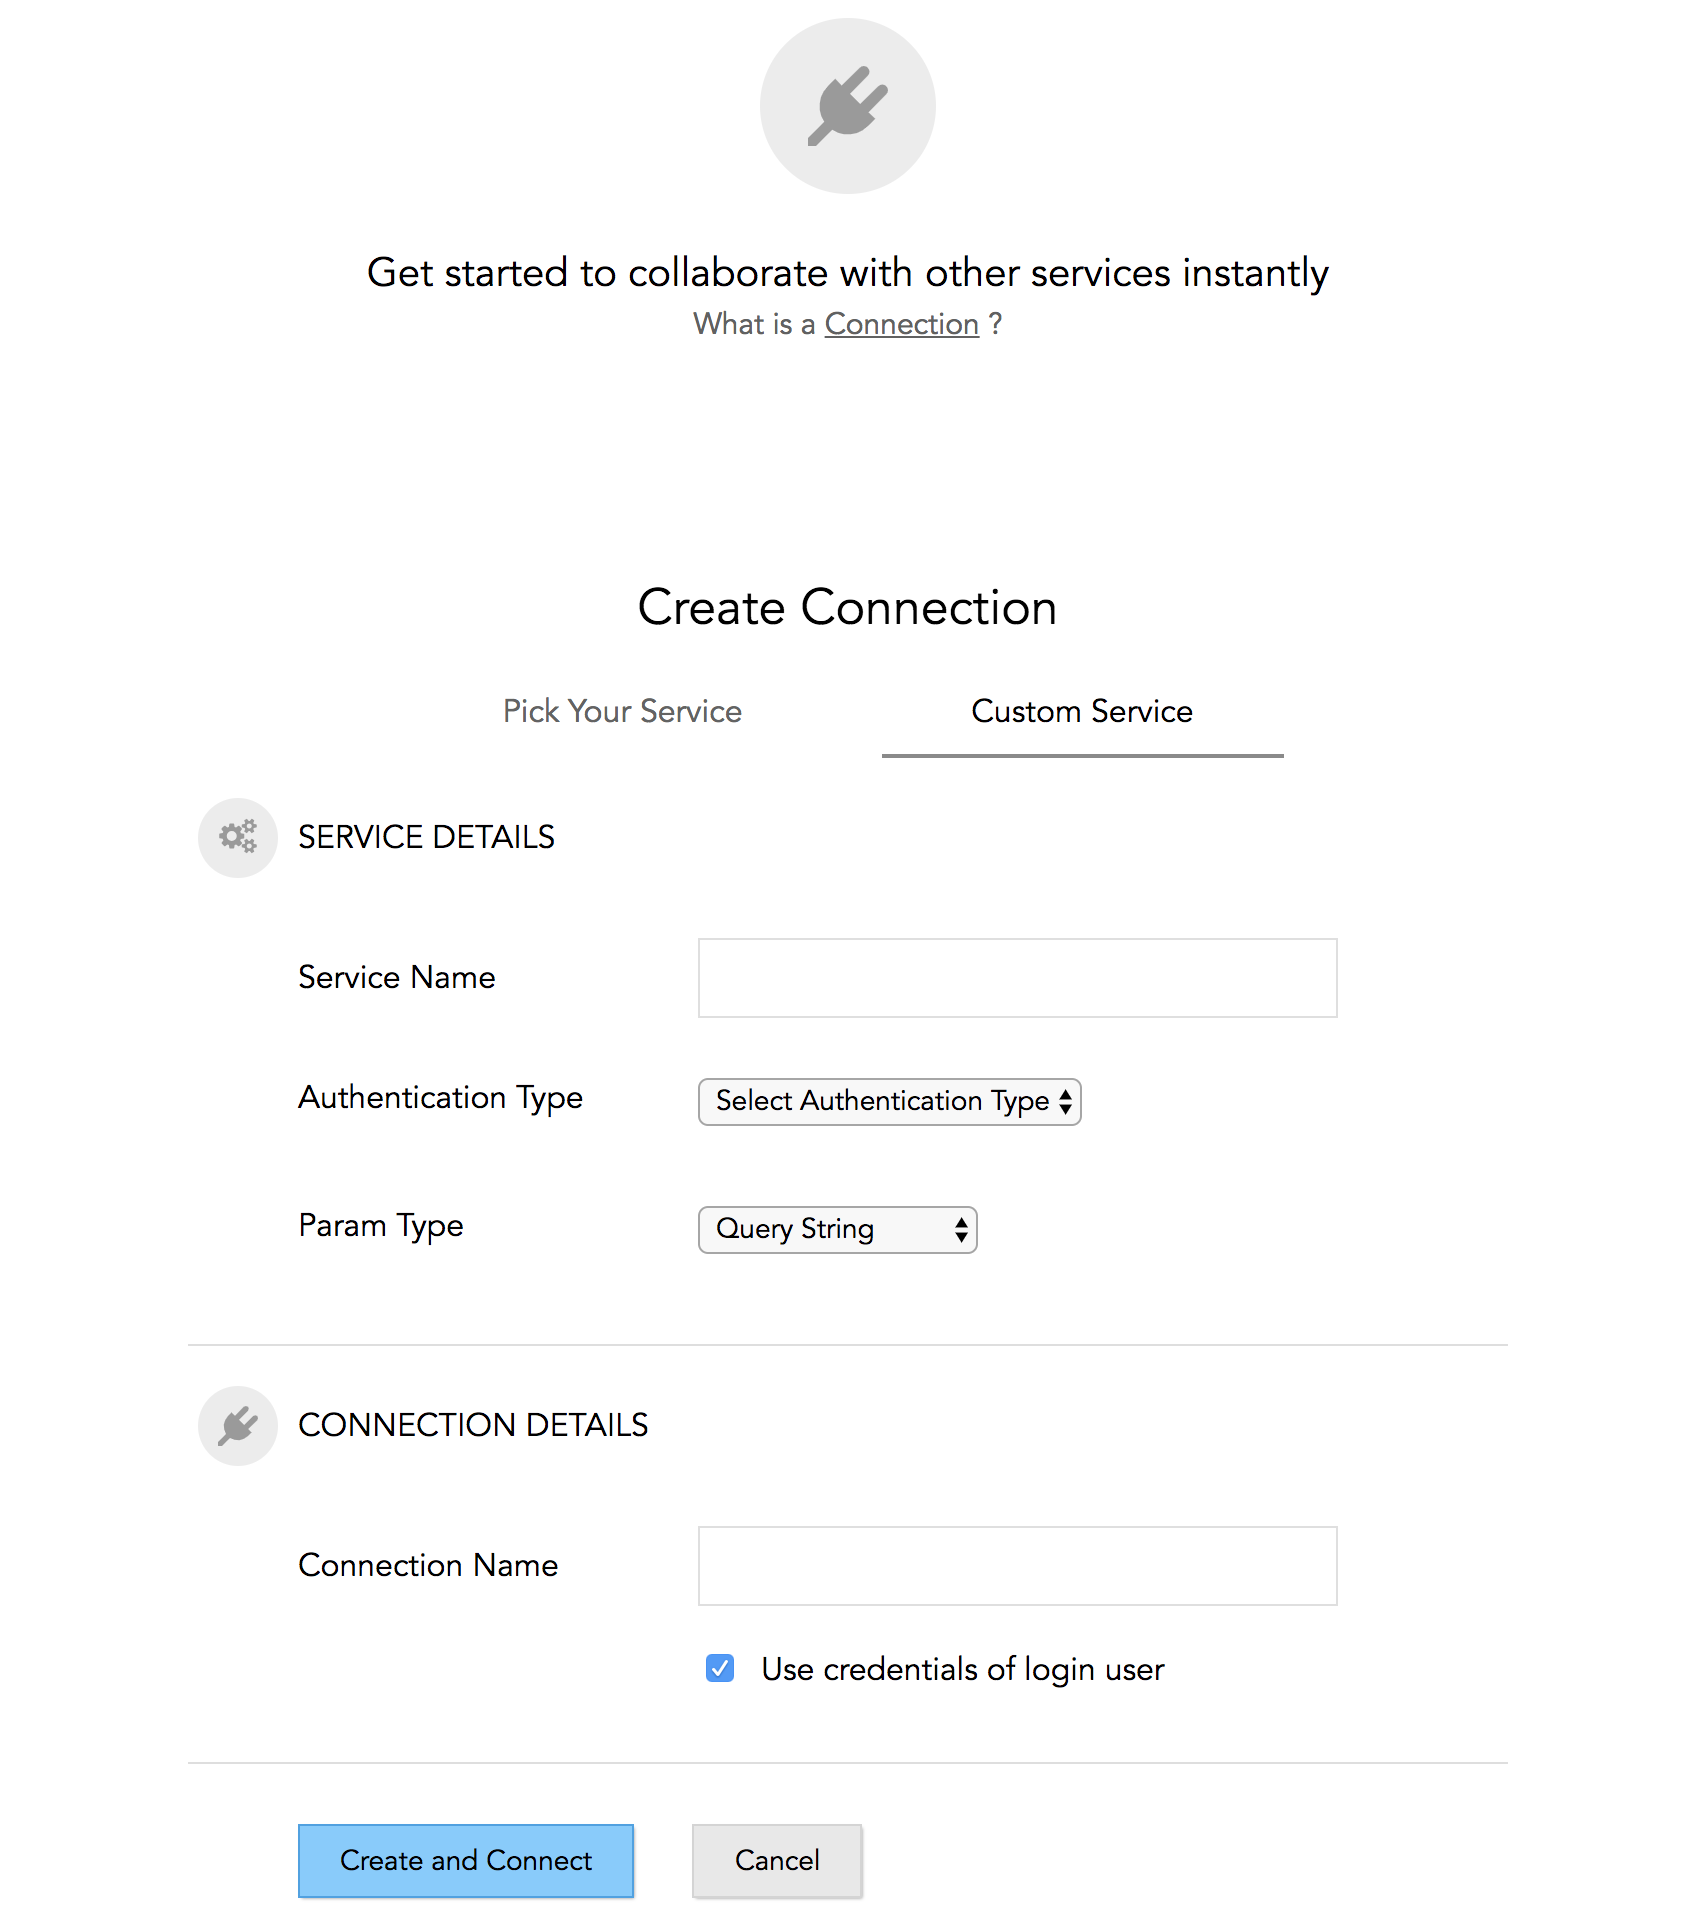
- Click Custom Service.
- Type a name for your service in the Service Name field.
- Select an authentication type in the Authentication Type dropdown.
- Select the parameter type in the Param Type dropdown.
- Type a connection name in the Connection Name field.
- Select the checkbox that follows to use the credentials of the logged-in user.
-
Click Create and Connect.
To edit a connection:
-
Hover over the connection and click the edit icon on the All Connections page.
- Make the necessary changes and click Update.
To view all your connections:
-
Click Manage Connections. You will be taken to the All Connections page.
- Click Own Connection to view all the connections you have created.
To reconnect:
Hover the mouse over a connection and click Connect or click the plug icon  on the All Connections page.
on the All Connections page.To delete an existing connection:
-
Hover the mouse over a connection and click Delete on the All Connections page.
-
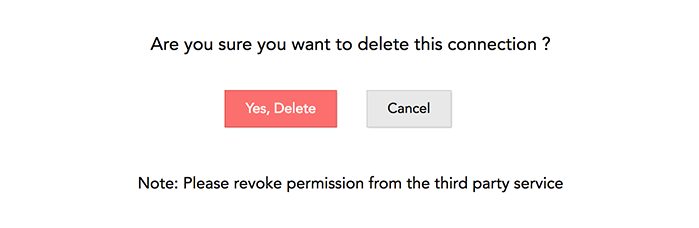
In the confirmation message that follows, click Yes, Delete.
Read more about Deluge here.