How to use Automation?
Plan | Free & Professional |
User Permissions | Portal Owner, Portal Manager, |
Platform | Web, Android, & iOS |
Let's look into how you can use Zoho Tables Automation:
Setting up Automation
To set up Zoho Tables Automation, follow these steps:
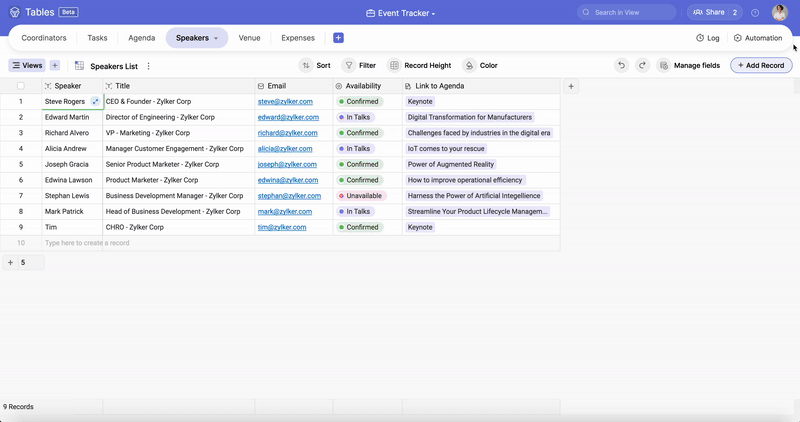
1. Open the base that you want to automate.
2. Click on "Automation" at the top right corner of the page.
3. It opens up the automation set up panel to Click the "+ Create New" button.
4. In the "Trigger" panel, choose an event of your choice that will trigger your automation. For example, you can choose to trigger the automation when a record matches a condition in the table.
5. Click + Add Action to open the "Action" panel and choose the action you want to perform when the trigger sets off. For example, you can send an email every time a record is updated in the table.
6. Configure the details of your action For example, if you choose to send an email, you can specify the recipient's email address, subject line, and content of the email.
7. To rename your automation click on the 3 dot icon next to the automation name and choose Rename.
8. Click on the "Active" button at the bottom right to activate your automation.
After you have set up your automation, your automation will execute the action whenever the trigger event occurs.
You can also edit or delete an automation by clicking on the same "Automation tab" and making the desired changes.
You can also edit or delete an automation by clicking on the same "Automation tab" and making the desired changes.