Calendar View
The Calendar View allows you to view your record on a calendar. It helps you to organize all your records according to the date field in your table. With calendar view, you can stay on top of your appointments & project timelines by planning your schedule more efficiently.
Creating a Calendar View
Click the + Add a View option, and from the pop-up list, select the Calendar option. Once you create the view, it will appear as shown in the image below:
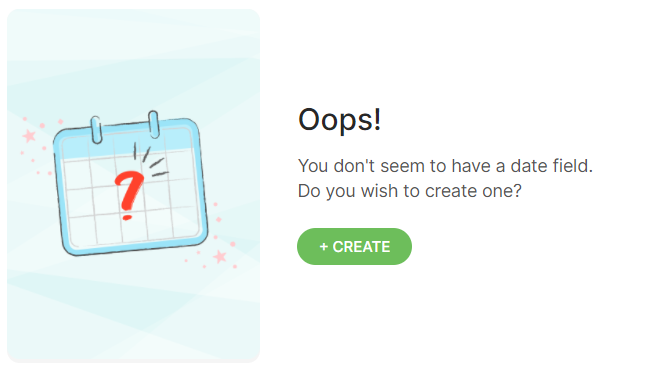
Note: The Calendar View is applicable only if you have a date field configured. Else you will get a notification as shown in the image below.
By default, the records will be viewed in the Month format. The following options are available in the drop-down:
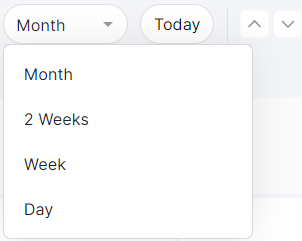
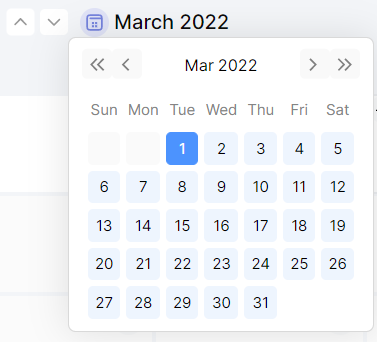
Use the Up and Down toggle buttons to move to the next month, weeks, or days depending on your selection. Select the Date Picker, and based on your selection, a mini calendar will pop-up wherein you can go to the respective dates/months/year.
Hover over your mouse on a date, and click the + button; this will open a pop-up window. You can add a new field, rename your field, and check the activity log using the Log button.
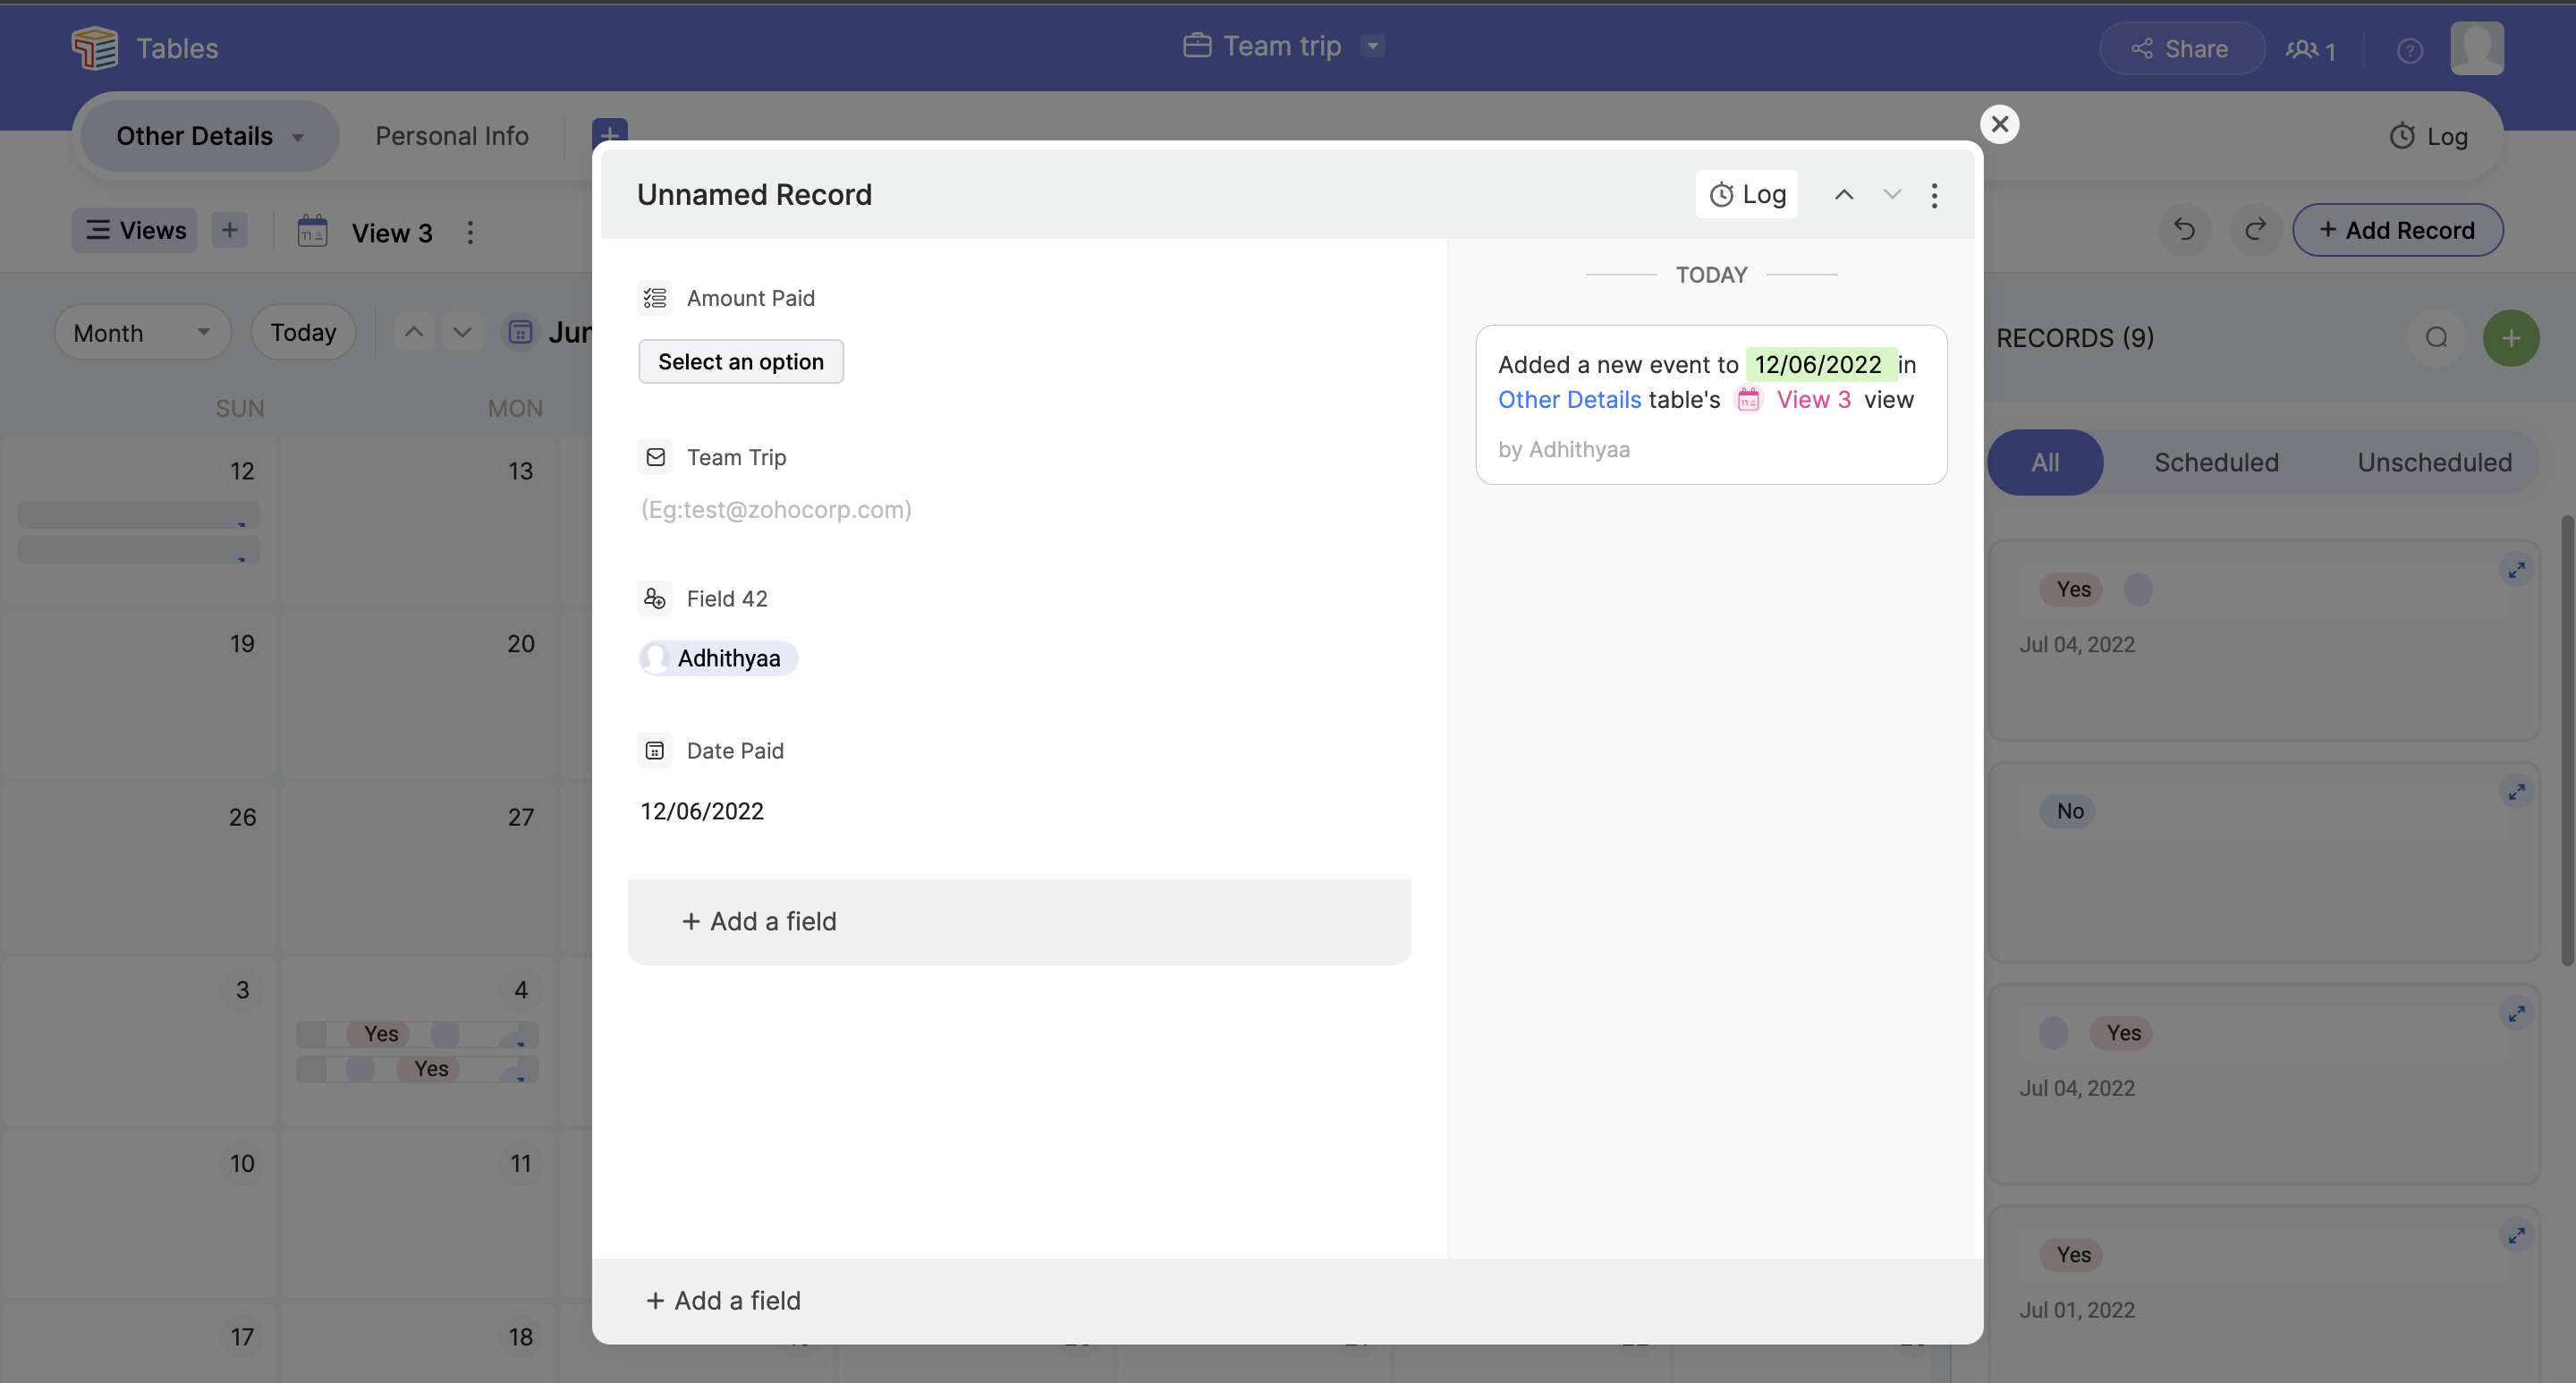
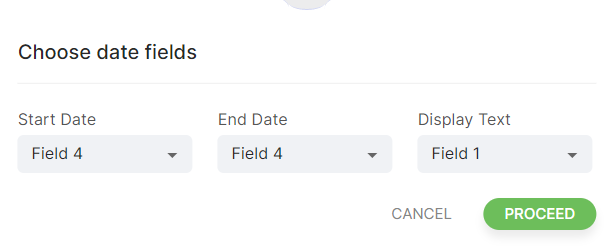
Use the Configure option to choose the date fields. Provide the Start date, End Date, and Display Text, and click PROCEED.
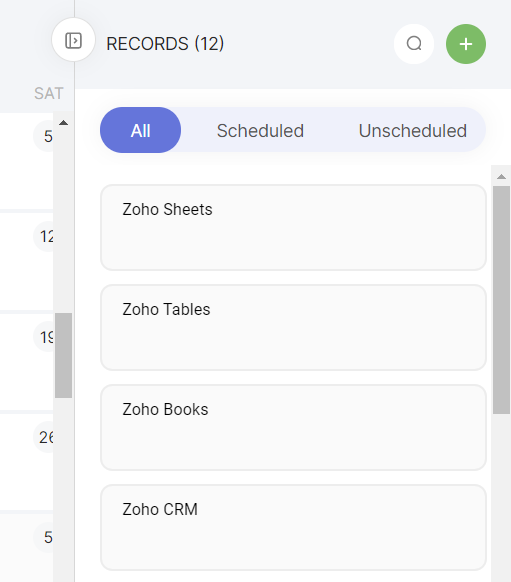
Use the List Records option to view All records, Scheduled records, and Unscheduled records. These can be useful in planning your day/week/month. Click the search icon to search for a particular record and the + icon to create a new record. Scroll down to view other records. Click the List Records option to hide/unhide the list record.
Hover over your mouse on a date, and click the + button; this will open a pop-up window. You can add a new field, rename your field, and check the activity log using the Log button.
Use the Configure option to choose the date fields. Provide the Start date, End Date, and Display Text, and click PROCEED.
Use the List Records option to view All records, Scheduled records, and Unscheduled records. These can be useful in planning your day/week/month. Click the search icon to search for a particular record and the + icon to create a new record. Scroll down to view other records. Click the List Records option to hide/unhide the list record.
In the calendar view, you can create records through three options:
- By selecting the + Add Record option
- By selecting the + Symbol in the RECORDS Pane
- By selecting the + New Record option when you hide the List Records Pane
The Sort, Filter, and Color functionality work in the similar way as explained in the above sections.