How to enable or disable checkboxes using conditions in Mail Merge
Overview
In Zoho Writer merge templates, checkboxes can automatically reflect the selected options from your form or data source, appearing checked or unchecked based on values from Zoho Forms, Zoho CRM, Zoho Creator, spreadsheets, or other supported sources
For example, you create a Zoho Form to collect applicants’ programming skills (Java, Python, C++). In your merged document, only the skills the applicant selected will be ticked in the checklist.
Prerequisites
- Create the form and add a checkbox field (e.g., “Programming Skills”) with multiple options: Java, Python, C++. Share the form and collect responses.
- Create a merge template connect to your form and setup the fields.
Steps
- Create checkbox merge fields for each checkbox options (JavaScript, Python, and Java)
Click Configure and set up the corresponding conditions for each checkbox field. For example, configure the condition as: "Programming Skills" contains “Javascript”.
- Repeat step 2 for all remaining checkbox fields (Python, Java ...etc)
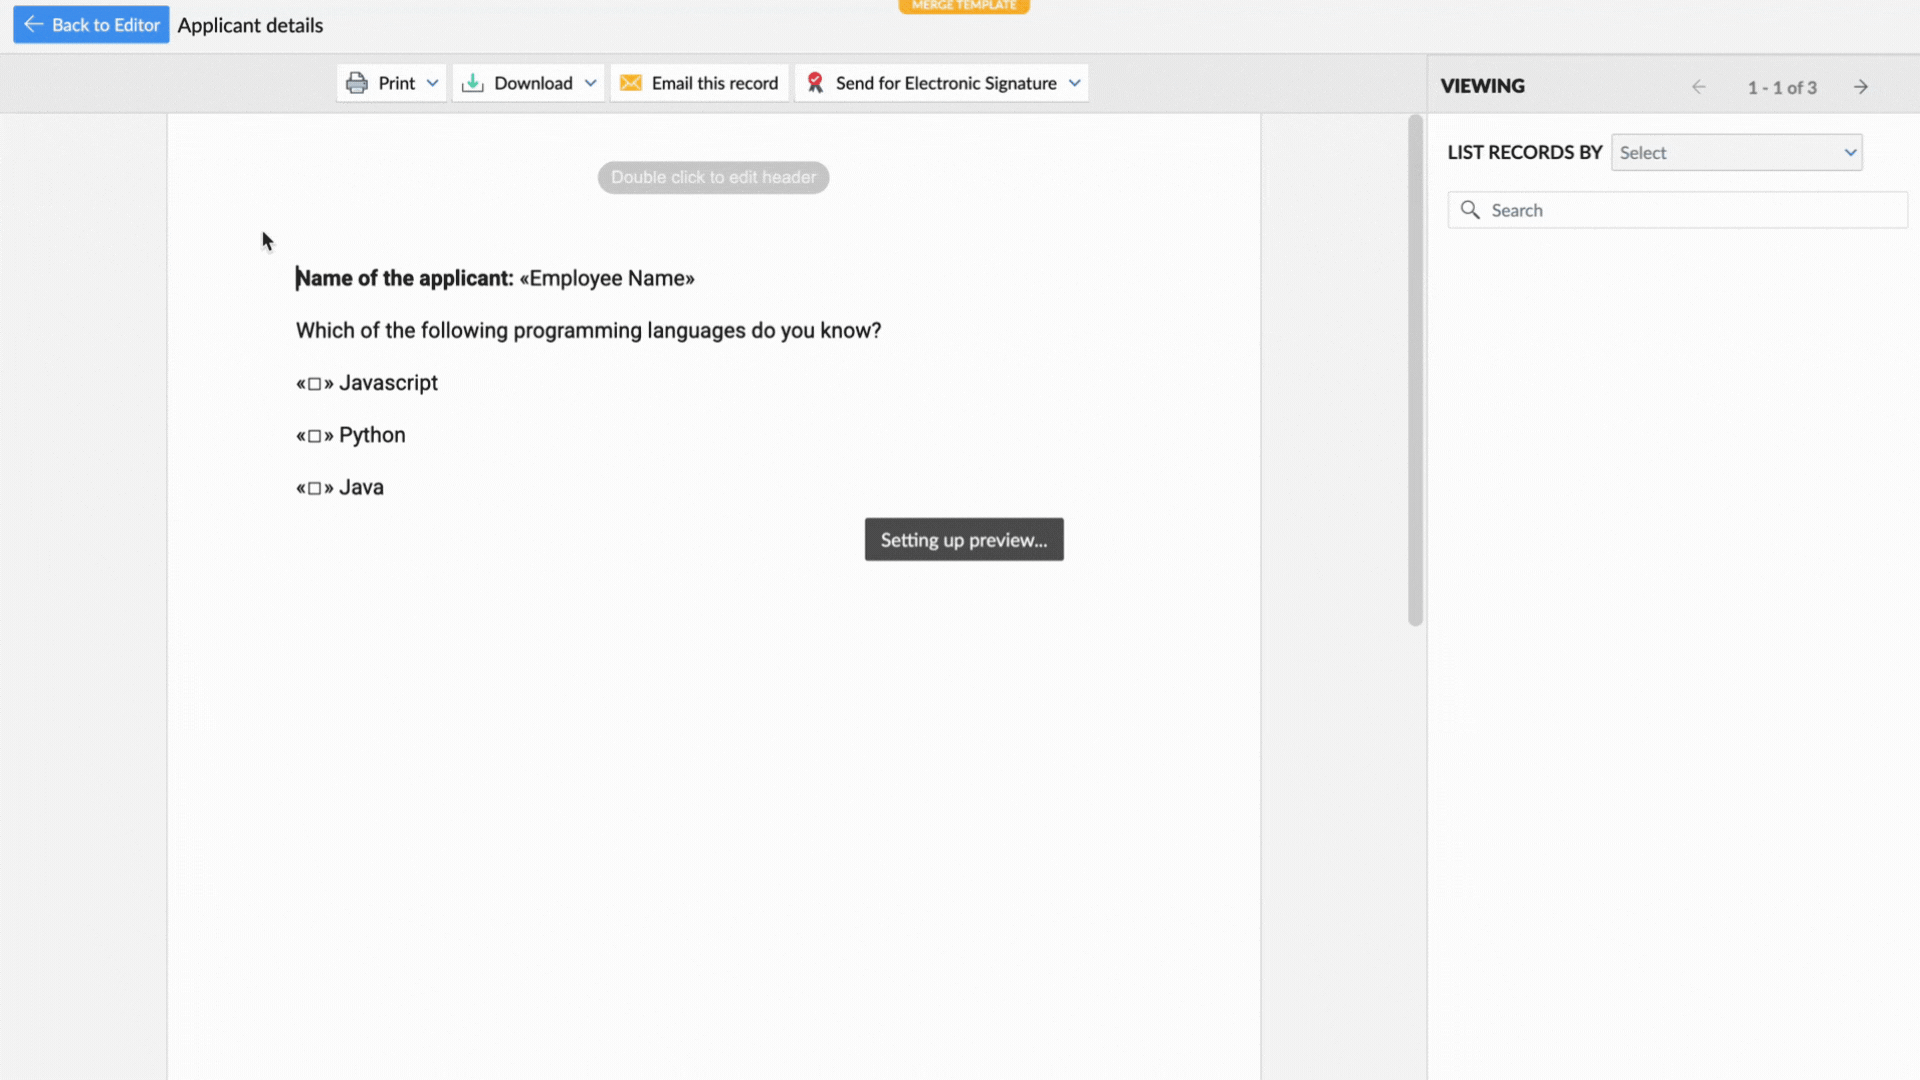
- Insert each checkbox field along with its corresponding text label in the template as shown below.
- Click Preview Merge to verify that the appropriate checkboxes are selected based on the applicant’s choices, and then run the merge.
Troubleshooting
1. Error/Symptom: Checkbox not ticking
Possible Cause: Condition might not match the stored value from the source
Recommended Solution: Preview the source data to confirm the exact text (e.g., “Java” vs “JAVA”)
2. Error/Symptom: All boxes unchecked
Possible Cause: Field might not be mapped correctly
Recommended Solution: Ensure the checkbox merge field is mapped to the correct data source field