Getting started with Zoho Apptics
Getting Started
Welcome to Zoho Apptics! The right place for your apps.
Zoho Apptics is the privacy-friendly product analytics solution that provides you with in-app usage, engagement, performance, and growth monitoring for your mobile, web, and desktop apps– all in a single console. Integrating your apps with Zoho Apptics empowers you with app-driven insights across platforms and optimize your app's user experience better for your users.
Zoho Apptics helps app owners, developers, and marketers to make data-driven decisions at every touchpoint within the app. It allows:
- App developers to keep a check on the health and performance of the app.
- App marketers to understand adoption and engagement within the app along with drop-off at every step.
- App owners with a complete picture in a single dashboard.
Features
All the features within Apptics are purpose-bundled together to make sense of the data in the console. The relevant features are grouped under the developer, marketer, and ASO folders.
- App stability and performance: Debug view, real-time dashboard, crash and error reporting, in-app feedback and bug reporting, store reviews, APIs, app versions, and remote logger
- App growth: In-app updates, in-app ratings, and remote configuration
- App usage and engagement: Users, user groups, new devices, active devices, events, screens, sessions, custom properties, and geography
- User behavior: Flows, funnels, retention, and segmentation
- Channels: Push notifications
- ASO (App Store Optimization): Store reviews and ratings, review tags, categories, Performance metrics (for iOS apps)
Apart from the mentioned features, Apptics privacy focused features like role-based access control, audit logs, user consent management module, tracking management for user groups, etc. that help you comply with various privacy regulations across the globe.
Architecture
Apptics' architecture is based on a combination of how data flows from the user's device to Apptics console.
Supported SDKs
Zoho Apptics supports all your favourite frameworks:
- Android
- iOS
- iPadOS
- macOS
- tvOS
- watchOS
- React Native
- Flutter
- Unity (Vision OS)
- Windows
- JavaScript
- Linux
Steps to get started with Apptics
You can get started with Apptics in three simple steps:
Setup your Apptics account
- Visit www.zoho.com/apptics/ on your web browser.
- Fill in the necessary details to sign up, accept the Terms of Service and Privacy policy, and click on Get Started
- If you already have an account, click Sign in.
- Once you sign in, you will be redirected to the Manage organization page. Click on Create new organization.
- Add the details such as the organization name, timezone, phone number, the platform in which your app runs on, application ID, and production environment.
- When you create a organization in Zoho Apptics and if you agree for Zoho Apptics to collect app data from your users, you are given a choice as to whether you are willing to ask your app users for consent for data collection or not.
- Click Next and the organization will be created. Using the details provided, a project will be automatically created and your app will be registered under the project.

If you decide to use the user consent module, the user will be asked to review their privacy preferences in the app's settings upon their first interaction with your app. A sample screenshot from an Apple iPhone is shown below.

- If the user selects Include my identity and all the other options are enabled, data is collected from the user's device will be associated with the user identity.
- If the user disables Include my identity and all the other options are enabled, data is collected from the user's device but will remain anonymous in Apptics. A randomly generated identifier will be associated to the data.
- If the user disables all the options, no data tracking will happen.
Create a project and add your app
If you have created a organization, but do not have a project under it, you can follow the below steps:
- Click Create a project.
- Enter the project details. Provide the project name.
- Select the platform in which your app runs on, i.e., iOS, tvOS, macOS, watchOS, visionOS, Android, Windows, Web, or Linux.
- Add the application ID. You need to provide the bundle ID for Apple (iOS/iPadOS/macOS/tvOS/watchOS/visionOS) apps, package name for Android apps, and domain URL for web apps.
- Select the environment, i.e., to choose whether the data should be tagged under the development or production environment.
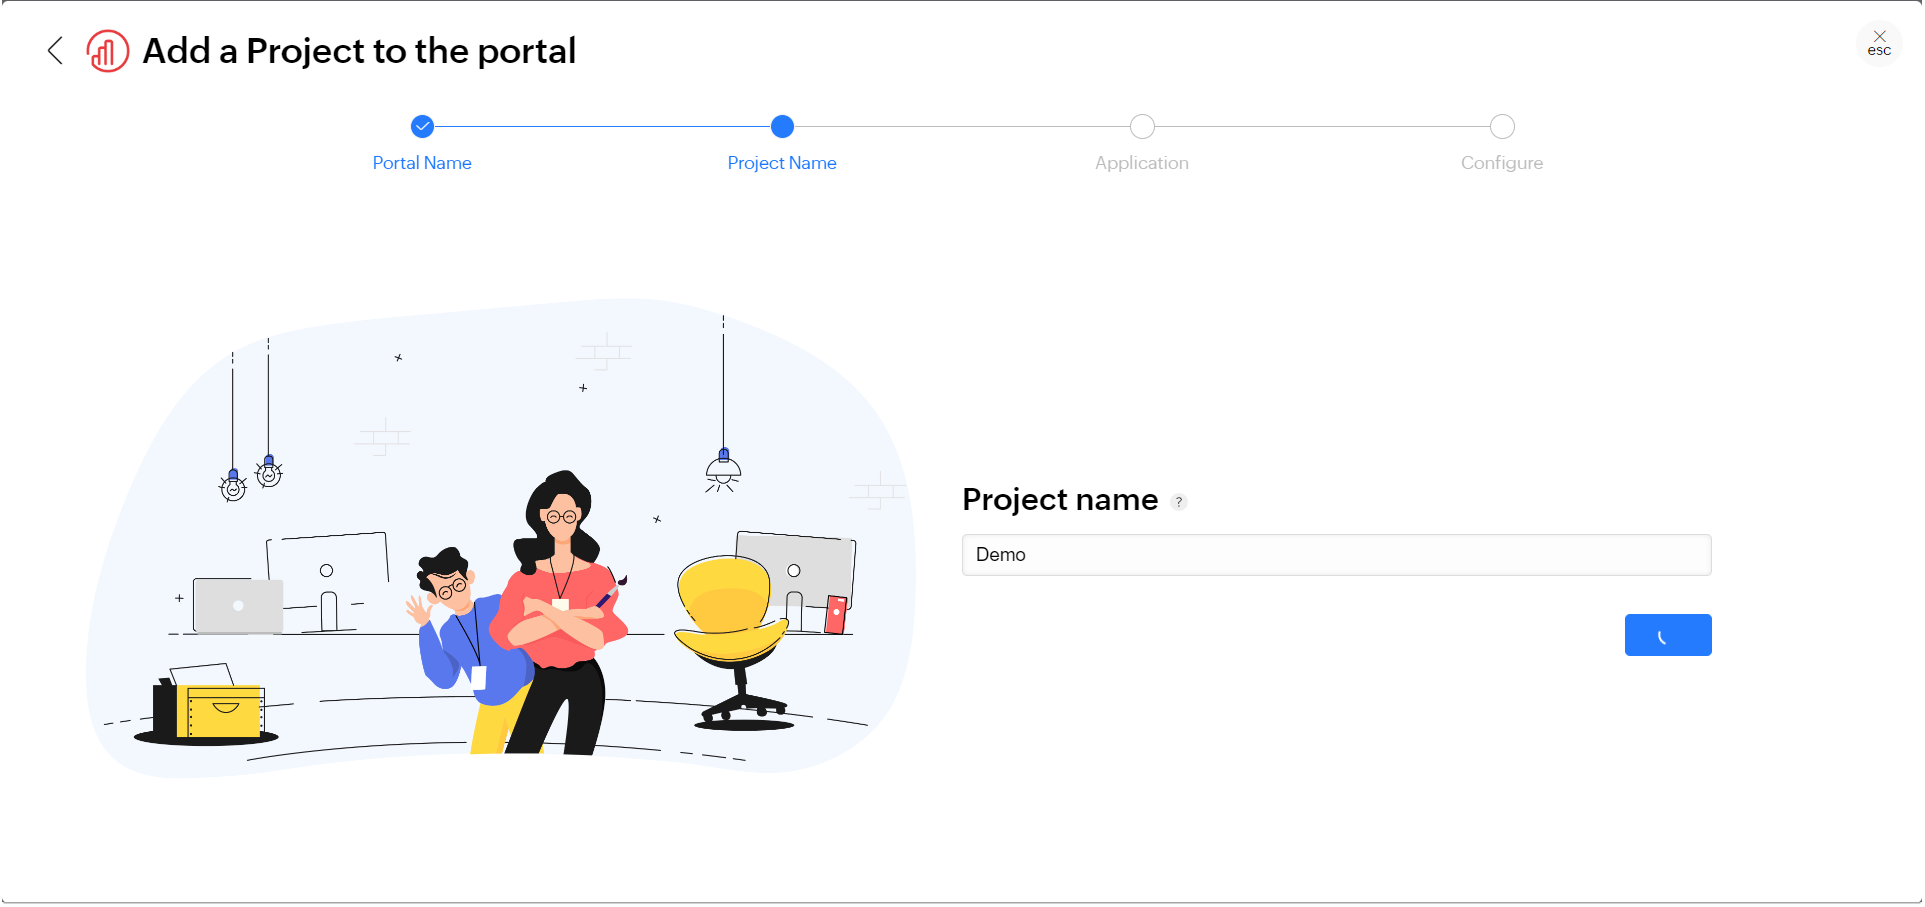
- Once you have provided the necessary details, click Next. The project will be created and the app will be registered under the project.
- Once you register your app, you can complete the integration steps as given in the UI to start receiving app data in the console.
You can complete the integration right-away or skip for now and later complete it from the Quickstart page in the console. Learn how to create a project and add an app from here.
 Note: The user who creates the organization in Apptics is the Super admin of the organization and will have all the privileges. There can be only one Super admin for each organization. There can be an `N` number of admins for an organization. An admin will also have all the privileges in the organization however the admin cannot update or delete an existing organization.
Analyze data in Apptics dashboard
The dashboard in the Apptics console gives you an overview about your app's key metrics such as crashes, sessions, new devices, active devices, top events, and top screens for the selected date range.
Validate SDK integration and data flow
Once you have completed the SDK integration, you can check and validate if the datapoints are getting logged accurately in the console. The Debug view module under the developer folder provides a real-time stream of data points being logged in Apptics from the developer's device or a simulator during the development stage.
For example, you can see the exact events that are triggered within the app from a debug device in the Debug view console. This helps verify that the correct events are being logged as intended and ensure that all the relevant data is being passed correctly. If not, youu can identify any issues with data logging immediately and make the required changes.
Invite users to the organization
You can invite members to the organization and add them to your project. Zoho Apptics offers role-based access, where the org admin or the project manager decides what pages can be accessed by whom within a project. Defining specific roles is important as it is easy to manage an individual working on multiple projects with different permission levels.
You can add or invite a new member to any one of the following roles - Platform Development Lead, Platform Developer, Marketer, Platform Design Lead, Platform Designer, Testing Lead, Tester, Follower, and Client.
Note: You can invite multiple users by separating the email addresses by a comma.- Click on the profile picture in the upper right corner.
- You can either navigate to Organization members and click Invite user, or directly click on Invite a new org member.
- Add the email addresses of the user(s) you want to invite to the org.
- Select the type of user, i.e. Member or Admin.
- Select the project to which the user will have access and the role of the user. (This is optional)


- Click Invite and an invitation mail will be sent to the users. The users will have to accept the mail invite, to be able to access Apptics.
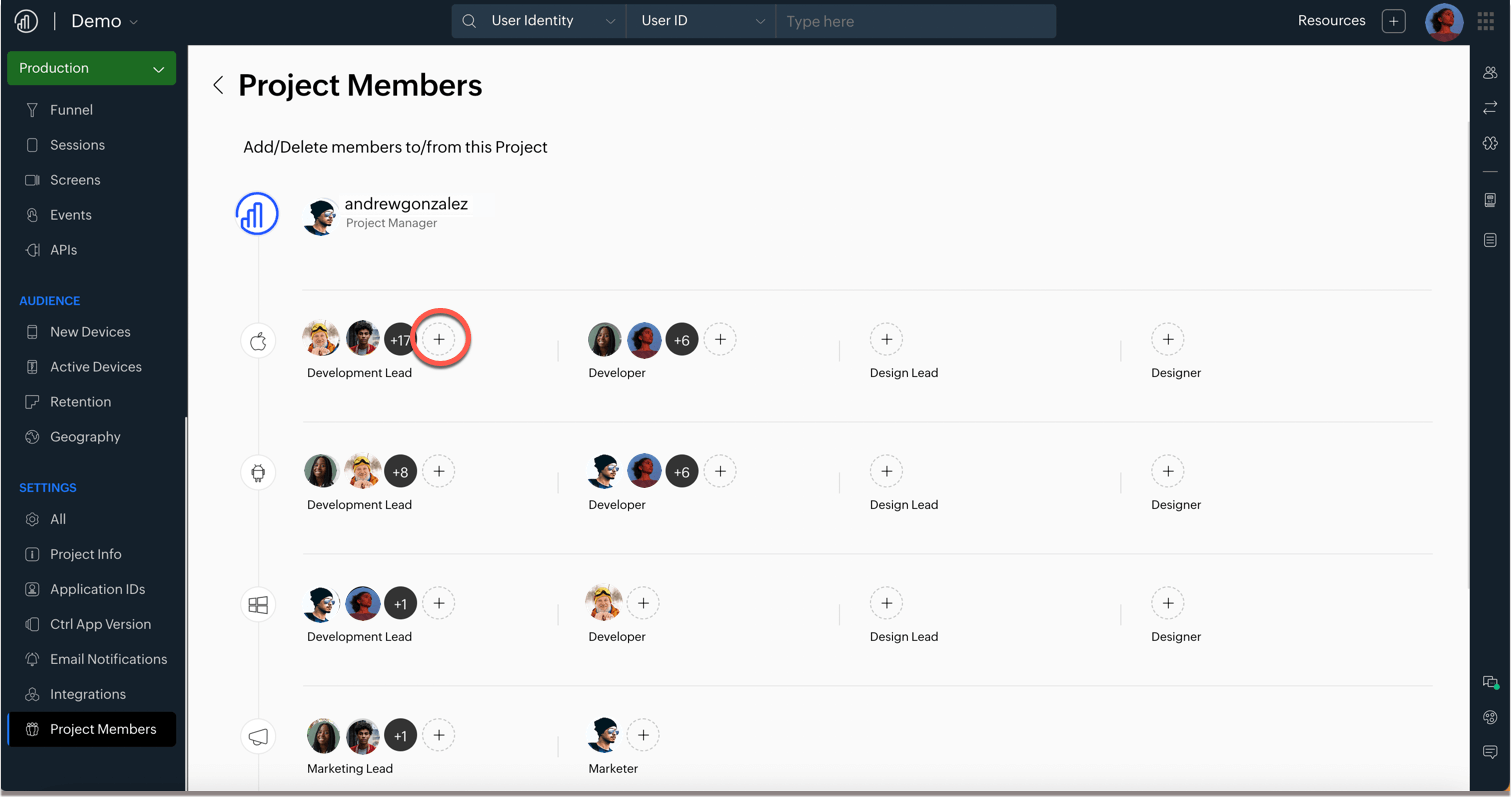
Add org members to the project
- Go to Settings > Project members.
- Click on the + icon under the specific roles.
- A pop-up will appear with all the org members. Select the org member and click Done.
The user will be added to your project.
 Note: Only the org members will be listed in the pop-up. If the user you are trying to add is not available in the list, contact your org admin to add them to the organization. You can find the org admin on the org members page.
Devices, users, and data
Definitions
- New devices: The total number of devices in which the app has been downloaded and installed. Whenever the device is reset to factory settings or the app is removed and installed again, the device is registered as a new device in Apptics.
- Active devices (cumulative): The total number of devices in which atleast one active session has happened.
- Active devices (unique): The unique number of devices in which atleast one active session has happened in the past 30 days.
- All time users: The total number of registered users for your app across platforms and devices.
- New users: The total number of new registered users for your app across platforms and devices for the selected date range.

For example:
Day 1 - Device A, B, C, D (4 unique devices)
Day 2 - Device A, C, E, F, G (5 devices, 3 unique)
Day 3 - Device A, C, H, I (4 devices, 2 unique)
Day 1 - Device A, B, C, D (4 unique devices)
Day 2 - Device A, C, E, F, G (5 devices, 3 unique)
Day 3 - Device A, C, H, I (4 devices, 2 unique)
The total unique active devices for 3 days = 4+3+2 unique devices
New and active devices in console
If you use the user consent management module for your app, the data collected based on the user consent is shown as opt-in, anonymous, and opt-out devices in the console. For the opt-out devices, only the total count of opt-out devices and the consent state will be maintained in the Apptics server. When a user downloads the app from the marketplace, the device is registered as a `New Device` in Apptics with a device ID and a randomly generated UUID.
Once the SDK is initialized within the app, by default tracking will start anonymously and the data will not be associated with any identifier until you use the setuser() method. You can use any identifier in the setuser() method. Refer to our SDK guide for detailed information:
The user ID that you use in the setuser() method should also be maintained at your end as well. You can later use this user ID to search data in the Apptics console.

WARNING: You should not use any direct personally identifiable information in the setuser() method. If you do have to use a direct PII, make sure that the same is conveyed to your app users.
Generally, the new devices in Apptics can be equated to the number of downloads from the marketplace. However, this data should not be compared with the App Store or Play Store installed count. The reason being, we collect data based on the consent preference from each device and tracking status set by the developer.
The key metric to measure is the active devices (cumulative and unique). The active devices are a measure of at least one active session during the defined period. You can see the unique active devices for 30 calendar days and above 30 days you can see the cumulative count.
Note: When you use Zoho Apptics as your preferred analytics solution, you don't have to implement Apple's tracking transparency (ATT) framework.
Data collection and data sharing preferences
This section explains the different scenarios when there is a change in the device data-sharing state and how it affects the collected data in Apptics.
- Use case A: A user has opt-in today and later changes to:
Anonymous opt-in - This will be considered a new user. There will be no connection between user A and this new anonymous user.
Opt-out - The data collection will stop immediately once the state is set to opt-out. - Use case B: A user is anonymous opt-in and later changes to:
Opt-in with identity - This will be considered a new user. There will be no connection between user A and this new user.
Opt-out - The data collection will stop immediately once the state is set to opt-out. - Use case C: A user has opt-out and later changes to:
Opt-in with identity - Data will be collected with the user's identity once the state is changed to opt-in with identity.
Anonymous opt-in - Data will be collected but not associated with the user's identity.
Note: User consent module is not mandatory to be used and the above use cases will be applicable only if you choose to use the User consent module from Apptics. If you choose not to use the consent module and yet the in-app data contains any direct personally identifiable information, make sure you convey this to your app's users.