Active Campaign
Installation
Navigate to the Zoho Cliq Marketplace.
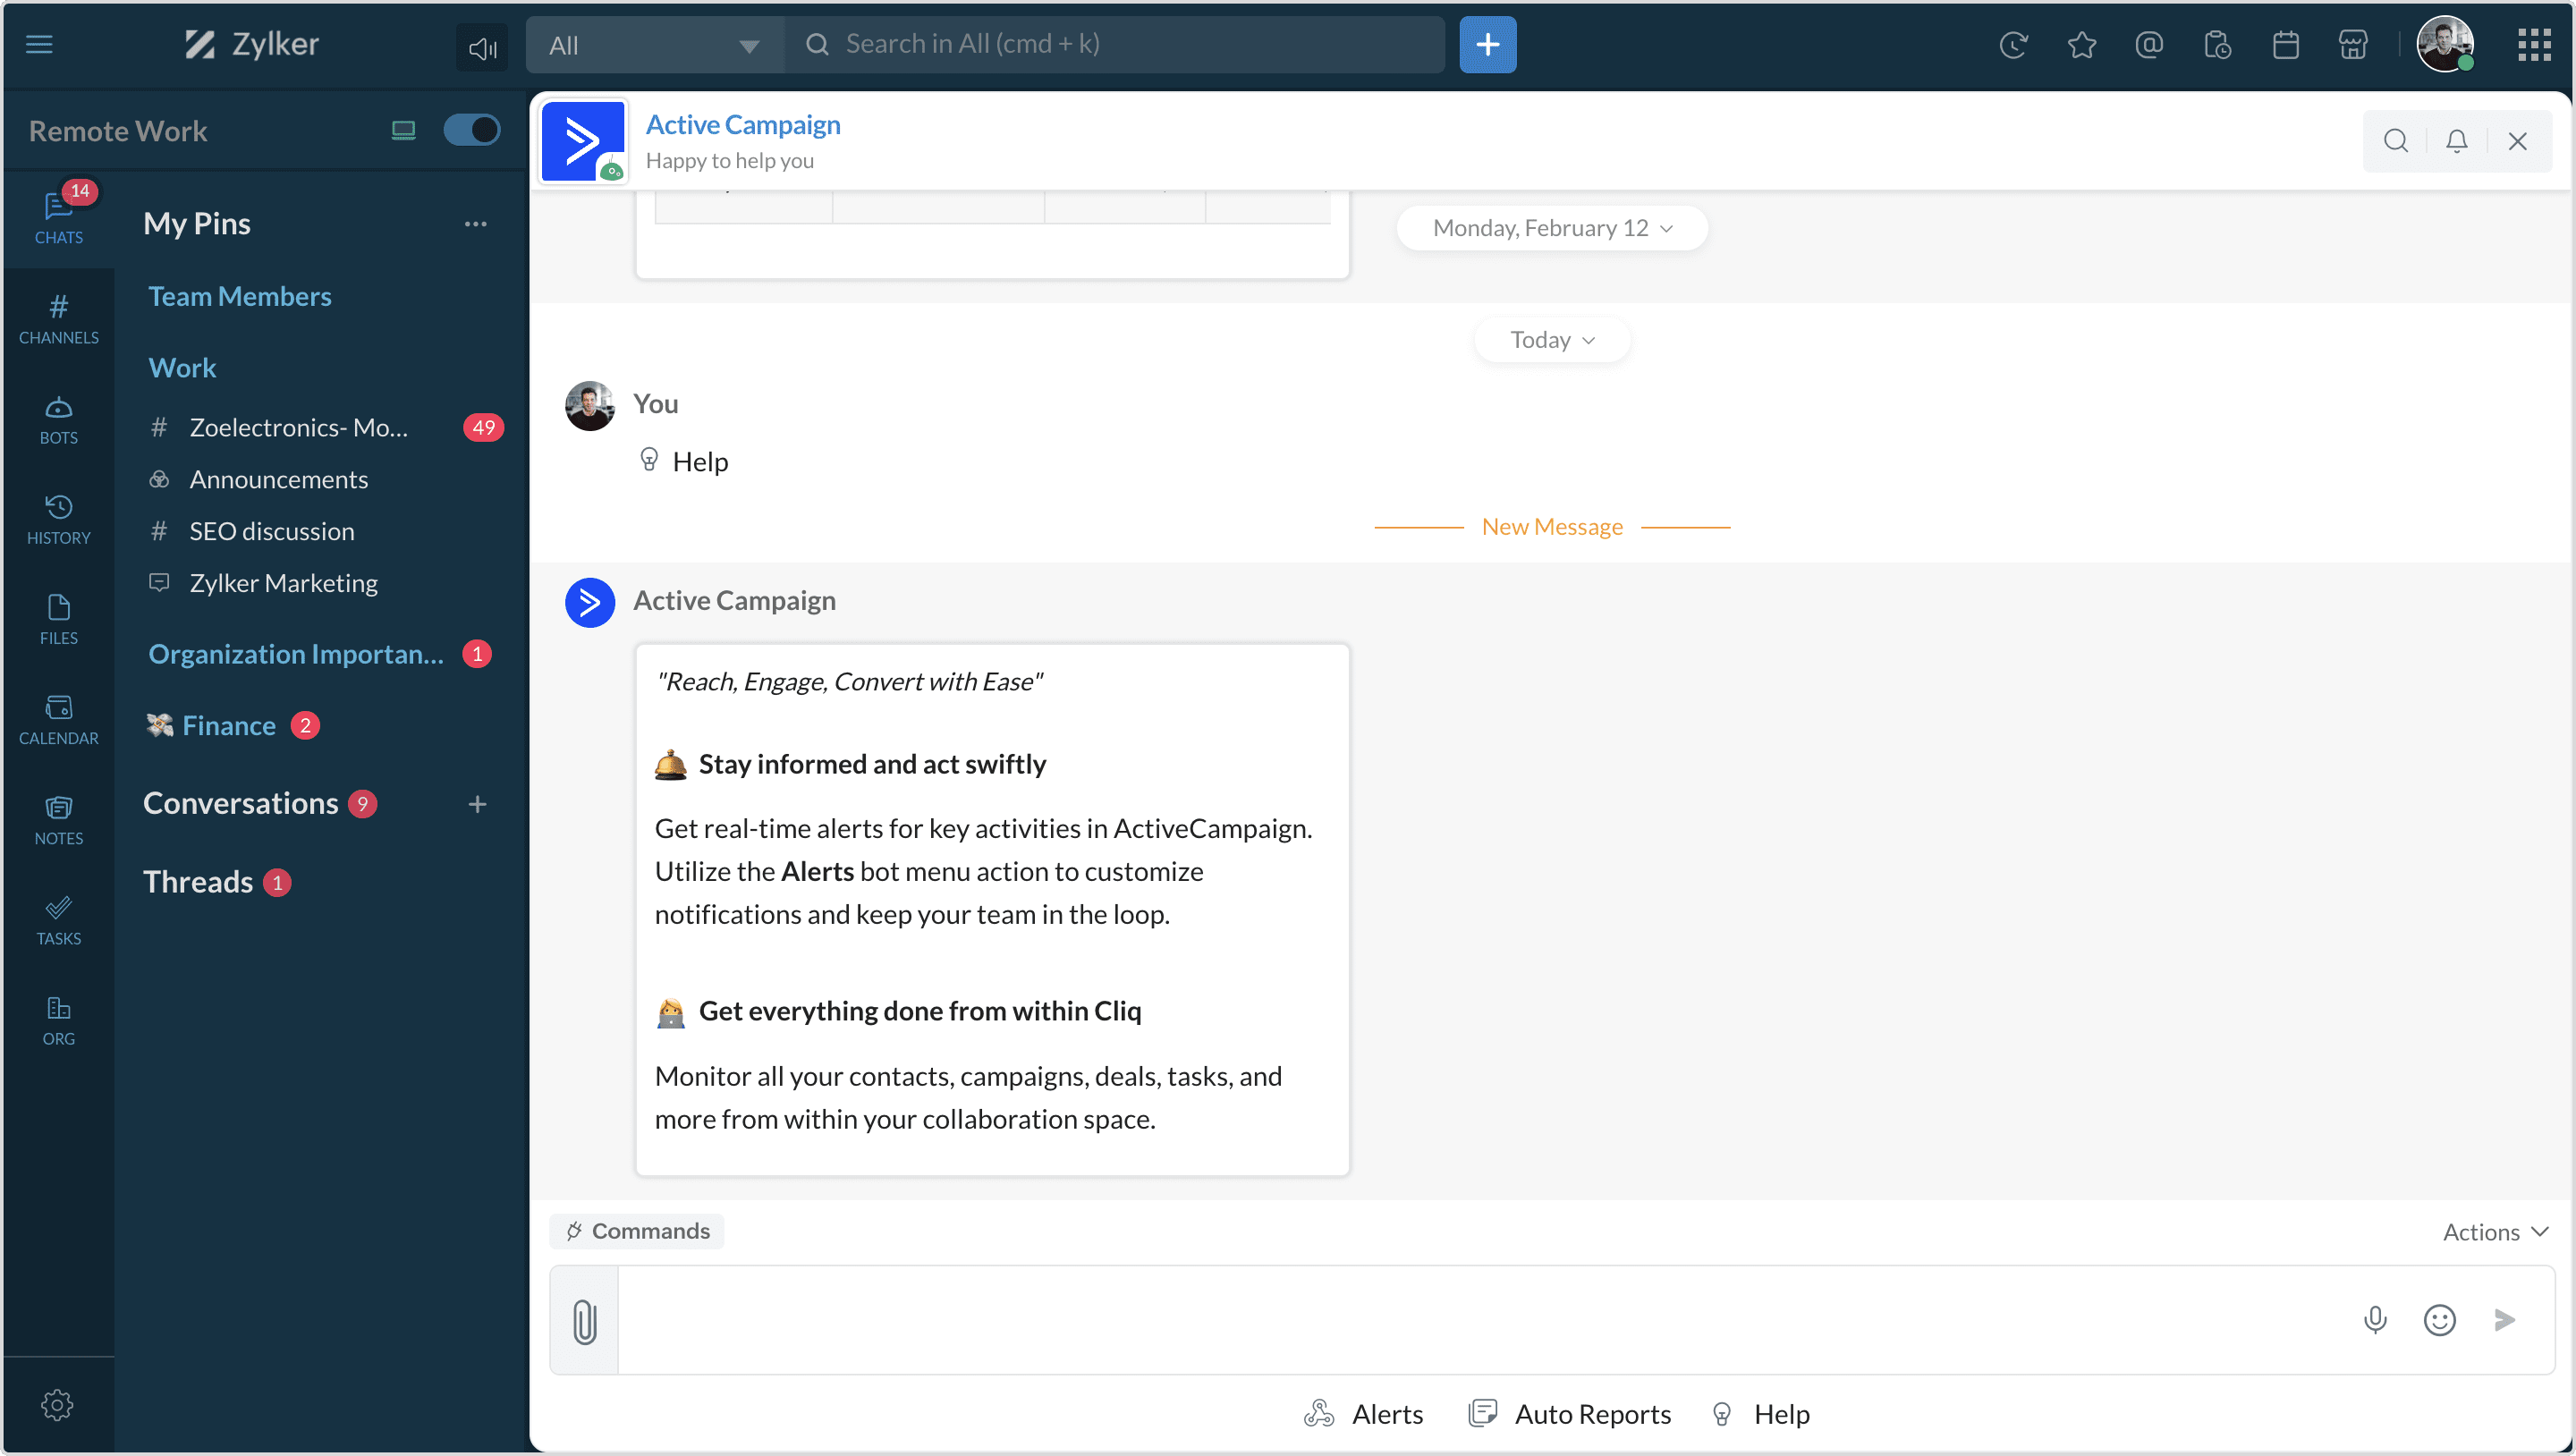
Upon successful installation, a bot message will be posted.
API token authentication
Click Get started in the bot message to grant permission for Zoho OAuth account access.
Enter the API token and click Save Details.
Connect your account
Once you have authenticated your API token, click Connect your account.
Enter the URL to connect your account and click Submit.

Note:
To copy the API URL and token, in your Active Campaigns account, go to Settings and click the Developer tab.
Under API access, you will find the URL and API token.
Bot
The Active Campaign bot offers three actions: alerts, auto-reports, and help.
Alerts
Enable
Modify
Using the modify option, you can update your alert notifications for the events.
Disable
Using the Disable option, you can disable alert notifications in Cliq.
Auto Reports
With the Auto Reports bot action, you can generate and share campaign reports in designated channels.
The bot action provides two key options: Create and View.
Create
View
Help
By selecting the Help bot action, the bot will post a message to guide you through what the integration offers.
 Widget
The Active Campaign widget has four tabs: Campaigns, Pipeline and Deals, and Contacts and Help.
Campaigns
This section shows a complete list of your campaigns, including their status and creation date.
- View Campaigns: This directs you to a detailed page to explore and review specific information about the selected campaign.
- Report and Engagement: Access insightful reports showcasing various metrics related to the campaign, presented in both tabular columns and pie charts, for a comprehensive understanding.
Pipelines and Deals
This section shows the list of all your pipelines, where you will be able to see the stages of your pipelines and details.
For each pipeline, two options are available:
View pipelines: This directs you to a detailed page to explore and review specific information about the selected pipeline.
Stages: You gain access to a comprehensive list of various pipeline stages and detailed deal information.
Contacts
Help
This section provides an overview of some tricks and tips that will guide you with the integration.
Zoho CRM Training Programs
Learn how to use the best tools for sales force automation and better customer engagement from Zoho's implementation specialists.
Zoho DataPrep Personalized Demo
If you'd like a personalized walk-through of our data preparation tool, please request a demo and we'll be happy to show you how to get the best out of Zoho DataPrep.
All-in-one knowledge management and training platform for your employees and customers.
You are currently viewing the help pages of Qntrl’s earlier version. Click here to view our latest version—Qntrl 3.0's help articles.
Zoho Sheet Resources
Zoho Forms Resources
Zoho Sign Resources
Zoho TeamInbox Resources
Related Articles
Setup and Sync from Active Directory/LDAP server
System requirements Zoho Directory Sync Tool READ and REPLICATING DIRECTORY CHANGES permissions for the domains that need to be synced .NET Framework - 4.6 or later Browser - Internet Explorer 9 or later Operating System - Windows 7 or later Password ...How to view Active, Inactive, Paid and Invited users?
Users in an organization are segregated under four categories and they are: Active users - All the current users in an organization are defined as active users. Inactive users - All users who the admin has marked as Inactive and has blocked them from ...How to mark an existing user as active/ inactive in Cliq?
To mark an existing user in an organization as active/ inactive by following the below steps: In the Admin Panel, under Users & Profiles, select Users. Clicking on any specific user will open their profile info page. Right under the profile picture ...How can an admin manage channels created by users in the organization?
An admin can manage the channels created by a user in the organization. To do so, follow the below steps: Navigate to the Admin Panel. Under Resource Management, select Channels. The channels are classified into Active and Archived. Note: As an ...How can I rearrange the order of left sidebar in Cliq?
You can rearrange the way your left sidebar looks in Cliq. To do so - Click your Contact image in the top-right corner of the screen. Select Profile & Settings from the user panel that appears. Select General in the left sidebar. Under Select your ...


